“How do I flavor weed?” is a common question by new cannabis growers. I truly believe that the best marijuana flavor is achieved from a properly cured bud. However, the idea of growing “flavored” weed (in a safe way of course) is a fun concept. Several strains of weed naturally contain hints of chocolate, vanilla, strawberry, cherry, root beer, and citrus flavors, which you can enhance with certain growing techniques. There also are cannabis “flavoring” supplements like the Botanicare “Sweet” line which is a lot more controversial. Keep reading to learn more about growing “flavored” cannabis buds at home!
Learn 7 Tips to Growing Top-Quality Bud
The “Natural” Way to Flavor Weed
Most cannabis strains have some natural flavors on their own. In fact, growers have spent years breeding cannabis strains that produce a natural bouquet of scents and aroma that mimic other flavors.
Some cannabis strains you may have heard of include delicious names like Lemon Shining Silver Haze, Strawberry Cough, Blueberry Headband, Cherry Grapefruit, Wedding Cake, and many more variations of fruits, candy, sugary treats, and more.
Generally, these strains have been bred to specifically be reminiscent of their namesake, but often need the right growing conditions in order to turn out as expected. For this reason, many who decide to grow these strains may be disappointed to find out their home-grown doesn’t taste exactly how they remember when they last tried that strain. It often takes some experimentation to get the desired result.
For example…
Lemon Shining SIlver Haze (by Royal Queen Seeds) – Hybrid
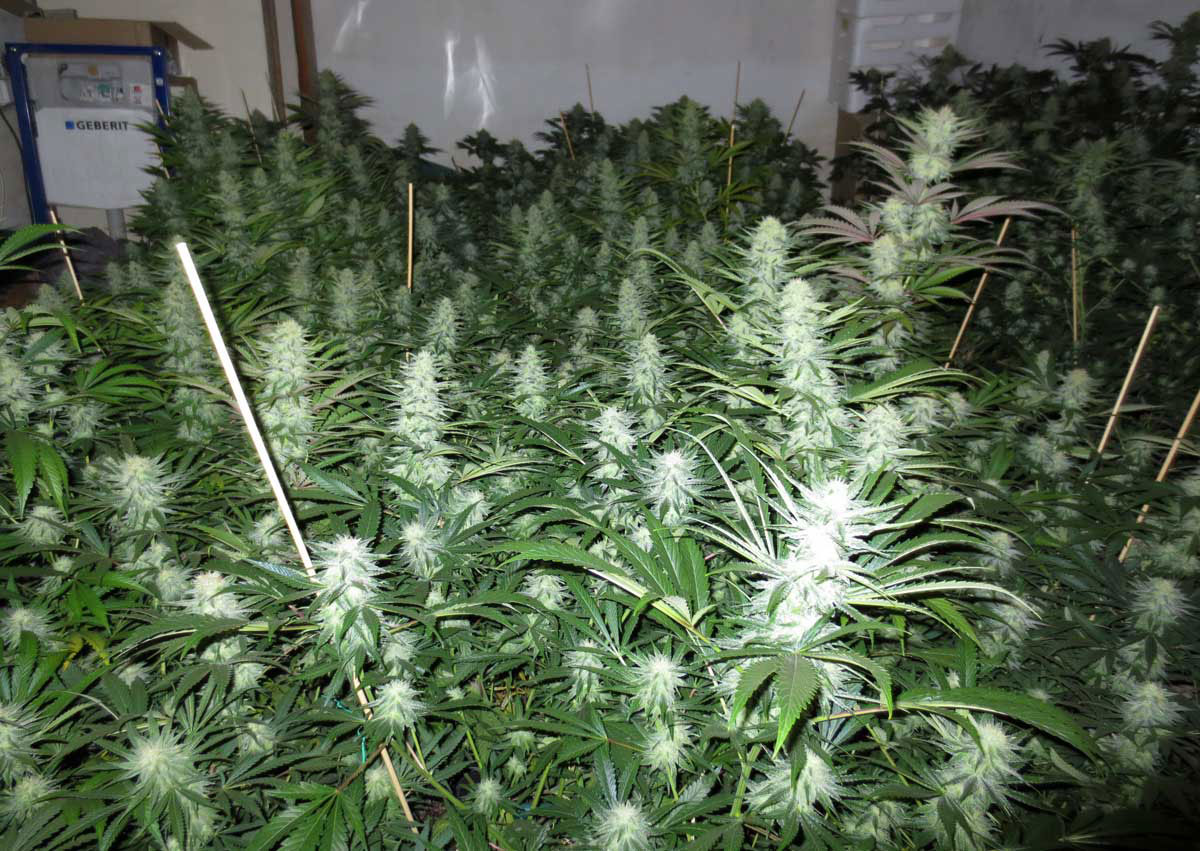
Smells lemony, and certain plants will end up smelling like a Lemonhead with a mix of citrus, sour and sweet. The potency is surprisingly strong, energetic, and creative, and may be described as “psychedelic”. Doesn’t usually cause ‘couchlock’ so many people like this strain for daytime use.
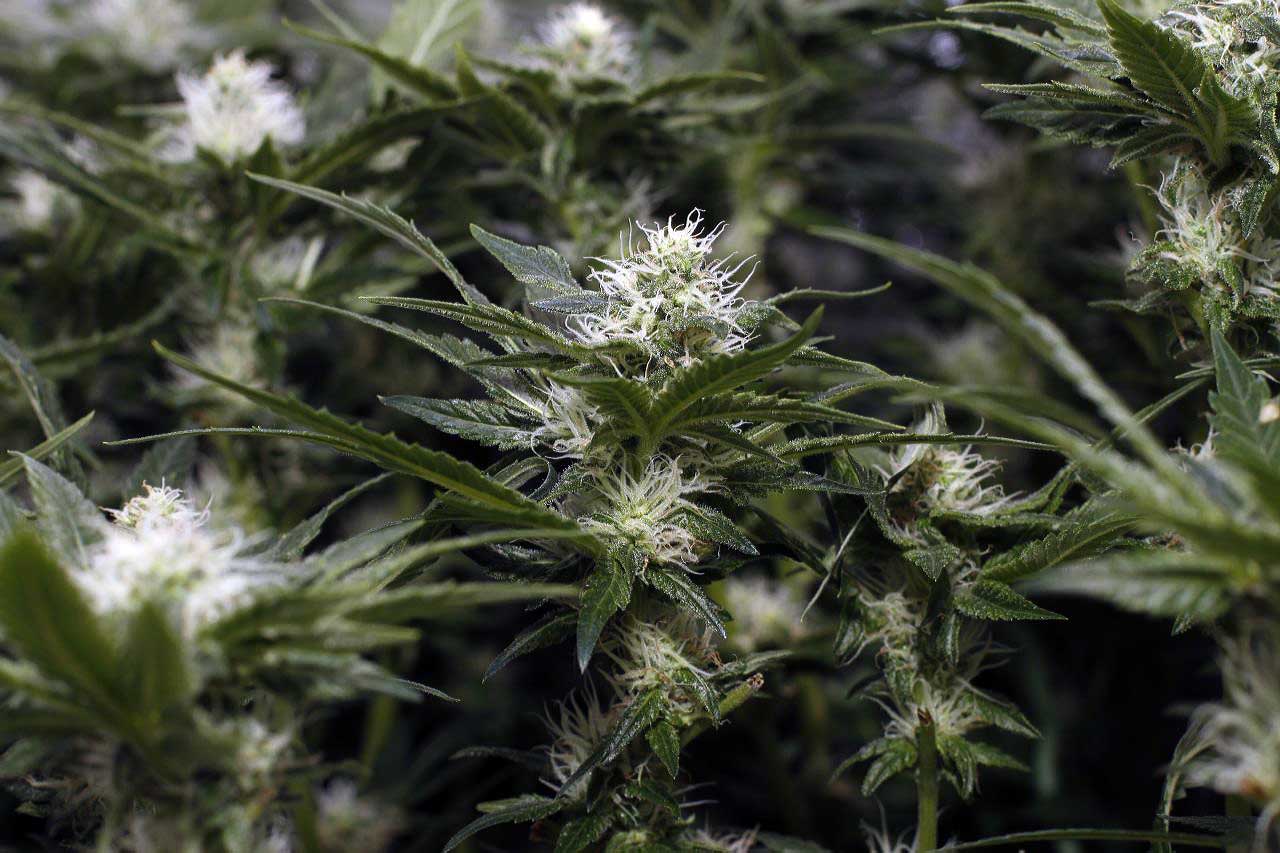
Here is an example of a room full of Lemon Haze plants
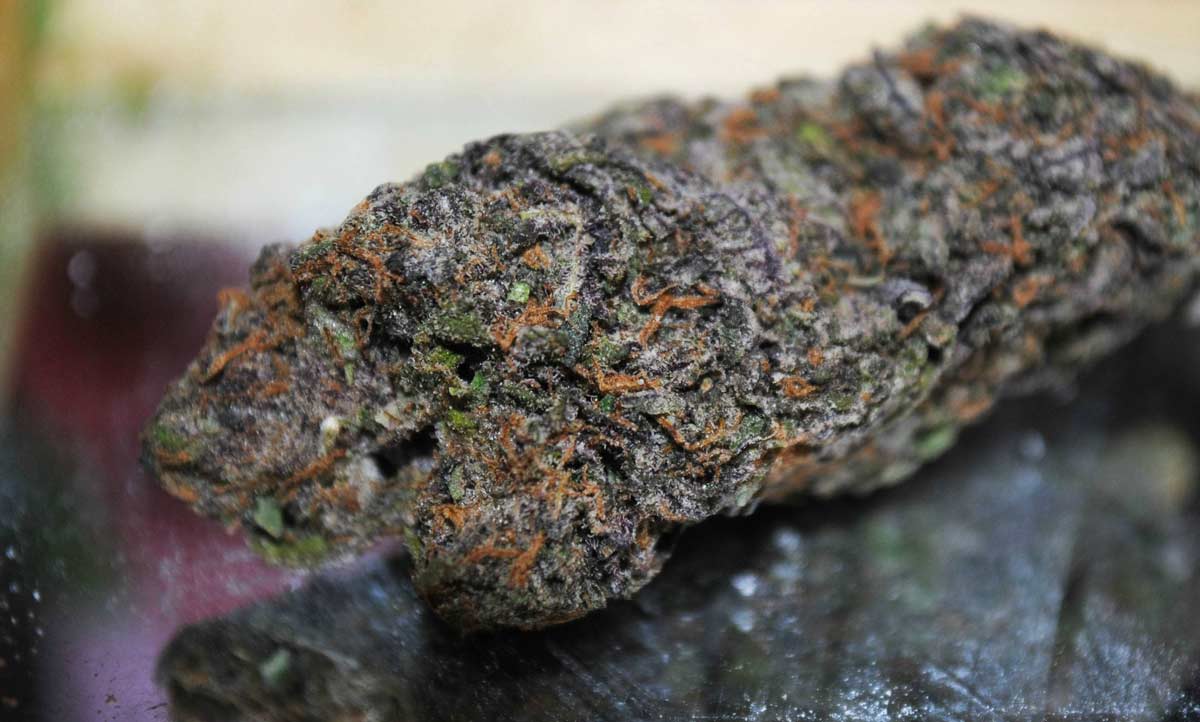
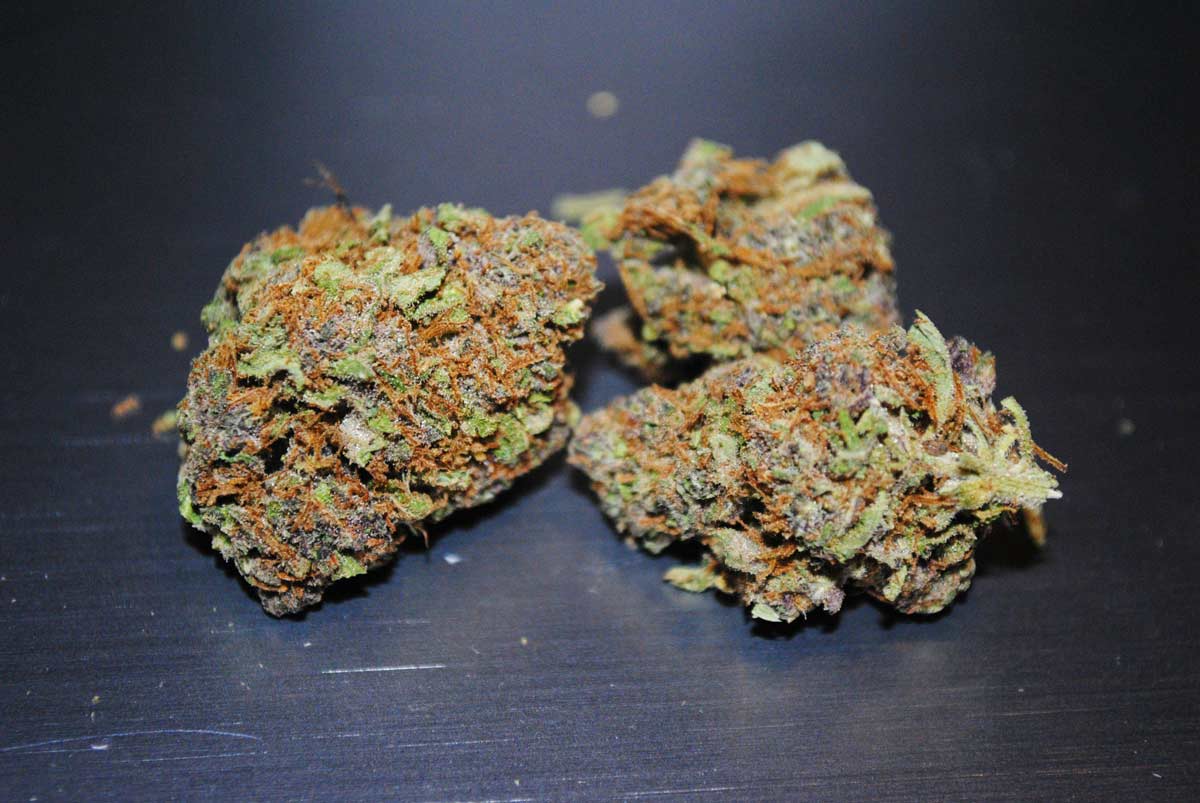
Pineapple Express Auto (by Fastbuds) – Autoflowering hybrid
Note: This is an autoflowering strain, which means it will automatically start making buds after about 4 weeks from germination and will be ready to harvest around 10 weeks from germination.
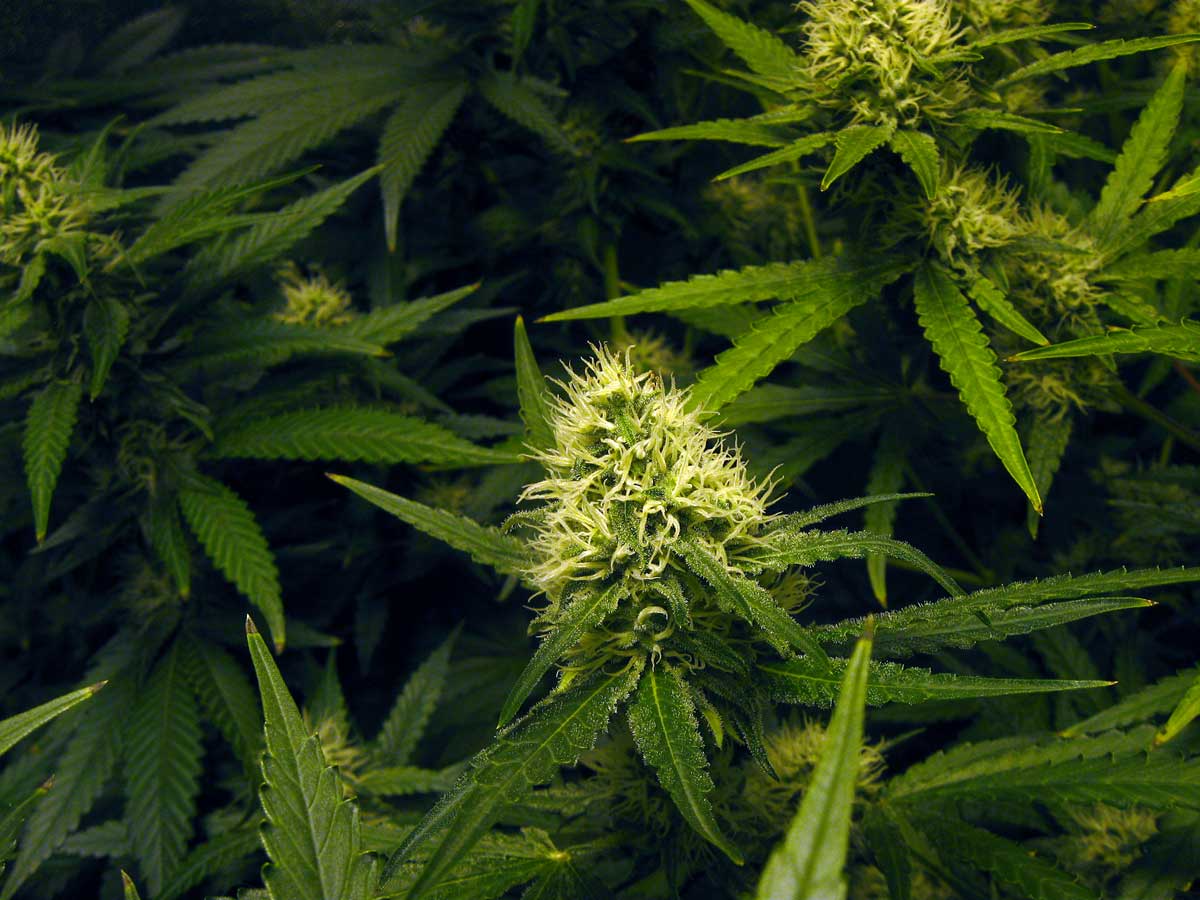
A lot of the time when someone says a strain smells or tastes like a fruit, they mean that you’ll get small hints of that smell in the undertones. With Pineapple Chunk the buds actually smell sweet, and some really do smell and taste quite a bit like pineapple. Especially if you follow the growing instructions listed below to bring out natural fragrances, you’ll get the best taste.
A great-yielding strain that always gets a surprising number of positive comments about the taste and smell. The bud effects are smooth. You will be able to start smelling the pineapple when the plant is still in the flowering stage, but the smell is most pronounced after the buds have been dried and cured.
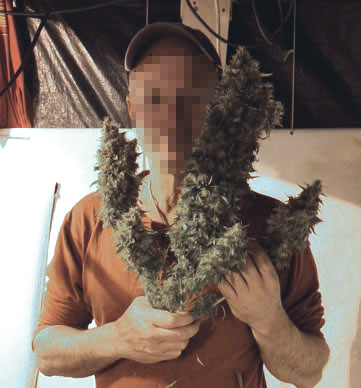
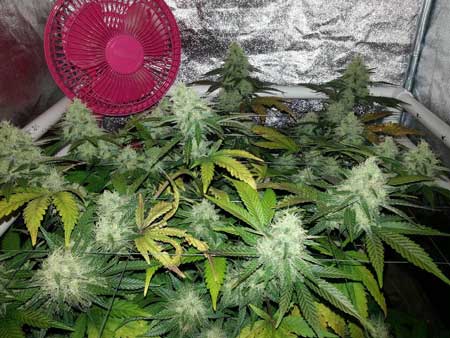
Pineapple Express Auto plants have the ability to produce huge yields when cared for properly. Check out these incredible buds by grower Smarty.
Here’s a list of more “taste-famous” strains but there are tons and tons of them!
Photoperiod Strains
- Blueberry – blueberry
- Bubbleicious – bubble gum
- Cheese – cheese lol
- Chocolate Haze – chocolate
- Cream Caramel – caramel sugar
- Honey Cream – sweet
- Kandy Kush – candy/sweet
Autoflowering Strains
- Berry Ryder Auto – berry
- Blackberry Kush Auto – berry
- Cream Cookies Auto – coffee and cookies
- Wedding Cake Auto – vanilla sweet
So that is the first step in flavoring weed – finding the right strain. If you go to a major seed bank they often have a way to find the taste/smell you want.
For example, Seed Supreme has a strain selector you can use to help narrow down your choices, and they also let you search for tastes/flavors like skunk or candy. They’ve got everything from fuel to peach! I like Seed Supreme as a seed source because they carry strains by breeders who have already proven themselves. They’re very professional, and at least for right now, they are probably as close as you can get to a “real store” for seeds in the US.
What about other, more straightforward methods to flavor cannabis buds? Well there are two basic times to enhance the essence of your cannabis buds: before you harvest the cannabis or after you harvest the cannabis. Although you can change the actual natural taste of your cannabis during the grow, most methods to try to actually alter the natural smell/taste after the grow don’t work well. When it comes to the time after harvest, you have an even more important job – you must dry and cure your buds properly or they may smell like grass or lose their smell altogether.
Grow in “Living” Soil (Super Soil)
Even better than giving your plant organic nutrients is to grow with your roots in a living soil, often called “Super Soil”. In other words, this is a type of soil with an active colony of microorganisms. It is like the soil a plant would use in nature, only it’s even better because it’s been amended with exactly the right kind of nutrients and supplements. There’s evidence that buds grown in this medium tend to have a more varied and complex terpene profile, which may lead to buds that smell and taste better.
For example, Green House Company has been leading the way in cannabis terpene and terpenoid research by growing cannabis in a variety of ways and then directly measuring the terpene content in the buds. They have found that while hydroponic grows tend to get much higher yields (with the exception of a few Indica strains), soil-grown buds tend to have a more complex terpene profile. You can see the results of the terpene analysis here (archive link so you can still get the info since that page has gone missing since they changed their site).
Learn how to grow cannabis with super soil. Just add water and wait for weed to come out.

Living soil is often referred to as “Super Soil” in the cannabis world; this just means soil that has been amended and composted. This creates a “micro-herd” of microorganisms in the soil, which break down and feed nutrients directly to your plant roots. As a result, as long as you’re growing with clean water you don’t have to provide extra nutrients or worry about the pH of your soil. Your micro-herd is doing all the work for you. You just water your plants and that’s it.
The one downside is plants tend to grow a little slower compared to when using liquid nutrients, but as a reward for using super soil, your buds will be much more fragrant, with a lovely bouquet of smells that are difficult to produce any other way.
If you’re serious about maximizing the taste and smell of your buds, growing in super soil is probably one of the best-known ways to achieve that goal.
Improve Flavor During the Course of Your Grow
Specialized Nutrients & Supplements
When it comes to nutrients and supplements, you have several choices that can help improve the overall scent of your buds. In fact, many products have been formulated specifically to increase and enhance the smell of cannabis buds.

Here’s what you need to keep in mind when it comes to nutrients and supplements…
Only Use “Bloom” (Low Nitrogen) Nutrients in the Flowering Stage
When your plant is in the flowering stage it’s important to make sure you only use specially formulated “flowering” cannabis nutrients, as these nutrients are made for the budding stage and will have lower levels of nitrogen and higher levels of potassium and phosphorous. That’s exactly what your plant wants.
Use Organic Nutrient Sources
Try to use nutrients that are made from living sources (made from things like kelp, guano, bone meal, worm castings, etc).
How can you tell? Chemical/mineral nutrients are nutrient sources listed on the nutrient bottle with molecular compound names like Ammonium Phosphate, Magnesium Carbonate, Potassium Nitrate, etc.

Chemical nutrients have great qualities that make them attractive to a lot of growers. They increase the rate of vegetative growth, increase yields, and may possibly even contribute to greater bud potency. Using them won’t necessarily “hurt” the smell of buds, but these do not seem to contribute to smell as much as when the plant is using nutrients from living sources. The best smell-related results seem to occur when nutrients are getting broken down in the soil instead of being delivered directly to roots in their most simple chemical form.
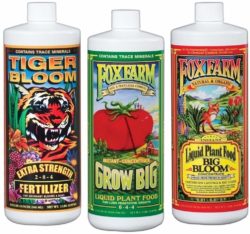
A great option that gives the best of all worlds is the Fox Farms Nutrient trio for soil. This is a complete cannabis nutrient system that can support your plants from seed to harvest. Although “Tiger Bloom” and “Grow Big” are not 100% organic, they use high-quality ingredients and consistently produce great results in soil as far as smell and appearance. The “Big Bloom” part of the trio is probably the best part. It is completely organic and although it’s not a complete food source on its own, it can be used by itself as a Bloom Booster for plants in soil. It’s a bit more difficult to give too much “Big Bloom” to your plants since it’s basically a soup of natural sources of nutrients! (Still, don’t go crazy!)
Fox Farms Nutrient trio for soil gives the benefit of using organic nutrient sources but with faster growth than fully organic nutrients.
Restrict Overall Nutrient Levels in the Last 6 Weeks of Flowering
Cannabis plants do a lot of vegetative growth during the first several weeks of flowering and need a lot of nutrients to power that growth. However, around 6 weeks after the switch to flowering, they’ve mostly stopped growing new stems and leaves altogether and at this point, their nutrient needs go down quite a bit.
Around week 6 of the flowering stage, your plants will mostly stop growing new stems and leaves, and needs lower levels of nutrients (especially Nitrogen) until harvest.
Now, you don’t want to starve your plant of nutrients in the flowering stage because that will cause early leaf yellowing and ultimately hurt yields and bud appearance. If your plant already looks pale green all over, you don’t want to reduce nutrient levels further.
However, as far as smell is concerned, it’s important not to go overboard during the last 6 weeks of the flowering stage with nutrients, especially Nitrogen, as it can deposit a “green” or “chemical” taste/smell to buds. This is true whether you’re using chemical or organic nutrients, though it’s harder to over-fertilize with organic nutrients.
High levels of nutrients, especially the kind found in liquid plant food, can deposit extra nutrients into the buds themselves, possibly altering the taste and smell. After buds are fully formed you don’t want to overdo it with Nitrogen or other nutrients. In addition to hurting the smell, too much Nitrogen can also prevent buds from fattening properly.
NO Scent Neutralizers
Some products are great at neutralizing the smell of cannabis… almost too good.
ONA products are strong enough to neutralize a whole room of almost any smell (it was designed for sewers!), leaving a strong chemical-y clean scent. The problem with scent neutralizers is they can actually alter the smell of the buds themselves. If you use a lot of products that leave a strong artificial “clean” smell (perfume, cologne, Febreeze, ONA products, etc) in the air near your developing buds, it can affect your buds even if they never get touched.
If a product leaves a strong smell of chemicals or perfume in the air, don’t use it near your plants!
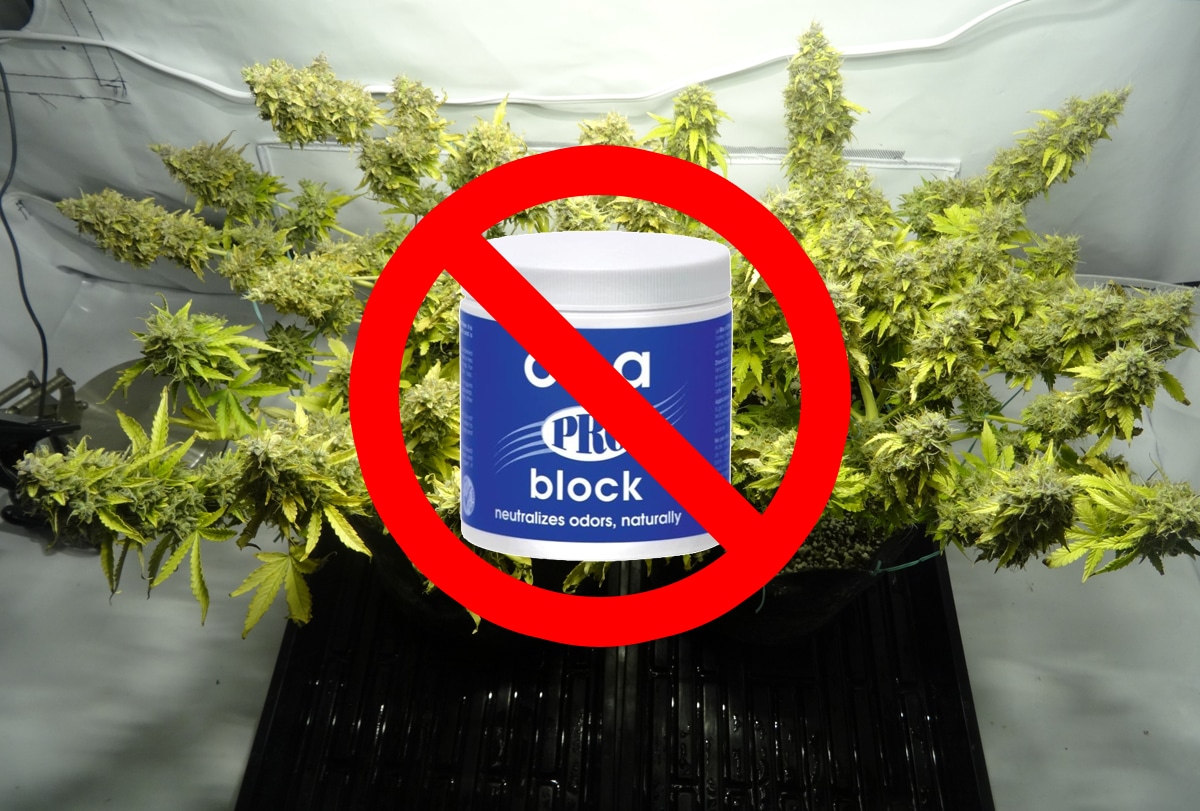
The Glade plug-in in your bathroom isn’t going to affect the smell of your buds, but if you spray a lot of Febreeze in the grow space whenever guests come over or put something like ONA gel in your tent with your plants, your buds may come out smelling just like Febreeze or ONA even if they never come in direct contact. If you don’t know what’s causing the odd taste/smell to your buds, this can be really frustrating.
Learn how to completely scrub all smells using a carbon filter – they work better than any spray product and won’t affect the scent of your buds!
Taste-Boosting Supplements
Supplements can be a controversial topic when it comes to growing cannabis, and there are hundreds of options with new products frequently appearing on the market. It can be tough to cut through all the marketing speak and figure out what actually is going to make a difference in your grow. Here’s a list of the most common (and least controversial) supplements that improve taste:
Sugar-Based Supplements
Many sugar or carbohydrate-based supplements claim to improve the taste/smell/sweetness of buds. A cheap alternative to expensive sugar-based bloom-boosting supplements is blackstrap molasses. Giving this to your plants for the last few weeks before harvest can help them get bigger and taste/smell better.
It’s not specially made for plants; it’s the regular stuff you’ll find in your kitchen or at the grocery store. Blackstrap molasses adds sugars, amino acids, and trace minerals. Unfortunately for hydro growers, anything organic like molasses is not suitable for a hydroponic reservoir. But molasses works well for soil and coco growers. Just make sure you don’t get ants.
For the last 2-3 weeks before harvest, give 1/2 tsp of Blackstrap Molasses per gallon when watering (for soil or coco coir)

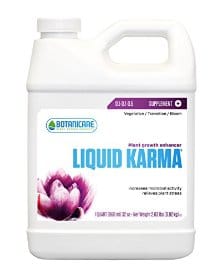
Improve or Enhance Natural Bloom Processes
This group contains ingredients that are meant to help the plant do its job better. In addition to carbohydrates or sugar, these types of supplements also contain extracts from plant, marine, and mineral sources, as well as things like vitamins, amino acids, polyflavonoids, etc.
The jury is still out and which is the most effective supplement, but some of the most popular cannabis supplements based on this type of formula include…
- Floralicious Plus (by General Hydroponics)
- Liquid Karma (by Botanicare)
- Bud Candy (by Advanced Nutrients)


Supplements that “add” a taste or smell to buds
I’m intrigued by the idea of Botanicare’s Sweet Carbo line, though I’ve never actually gone through with it and given any to my cannabis plants. According to Botanicare:
The natural esters in Sweet are easily absorbed by the plant, but are not broken down further once deposited within the plant tissue. This means that as new flowers develop they will contain small amounts of these natural esters which contribute to the overall flavor and aroma of the finished product.
They offer flavors such as citrus, berry, and “raw” (which is just a generally sweet smell). These are meant to be used throughout the flowering stage to help build smell/flavor in the buds as they mature. However, since these contain a small but significant amount of magnesium, they should not be used while flushing during the last 2-3 weeks before harvest. At this point, the smells have already been deposited into the buds. These supplements also contain amino acids and some other enhancers, so it’s kind of like getting a lot of different products at once.


Other growers who’ve tried the “raw” version have said they can definitely notice an increase in the amount of “sweet” taste and smell in their buds.
All these supplements have been developed specifically for enhancing plants like cannabis. Just be careful not to go overboard.
The more types of supplements you use, the bigger the chance you might end up burning or causing a nutrient lockout problem with your plants. If possible, always try to use all supplements and nutrients from the same nutrient company. This lessens the chance of unwanted interactions since the whole line is designed to work together. When in doubt, go for an established nutrient company that has been around for years over one that has just appeared recently.
Flush 1 Week Before Harvest
 If you’ve been giving your plants extra nutrients in their water, then it’s recommended to stop using them 1 week before harvest time in soil, and a few days in coco or hydro. This gives the plant time to use up any extra nutrients contained in the plant so they are less likely to come through in the taste of your buds.
If you’re not giving your plants extra nutrients in their water (for example if you’re growing in super soil) then there’s no need to flush before harvest because you’ve already been giving your plants plain water from the beginning. Your micro-herd is taking care of getting the nutrients to your plants without going overboard, and by this point in the grow, you will have used up a lot of the extra nutrients.
In regular soil, it’s common to flush for a week before harvest because there’s still some amount of nutrients contained in the soil.
In coco or hydro, there are no extra nutrients as a buffer, so it’s recommended you flush for only a few days. Giving a really long flush in a soilless medium can cause leaves to turn yellow and die too early. This hurts yields and can make buds look less attractive if the sugar leaves turn yellow too.
Click here to learn more about flushing your cannabis plants
“Clearing” or “Salt Leaching” Solutions
These products are formulated to help remove extra minerals or salts when flushing the plant, which may reduce the chance that these minerals end up altering the smell or flavor of your buds.
They’re meant to be used if you’ve been giving your plants extra nutrients in their water; they aren’t necessary when the plant has been getting all its nutrients from the soil. If you’ve got an active microbial colony in your soil, these might do more harm than good, but they’re a great choice for growers in soilless mediums like coco or hydro where the plant is getting all its nutrition from liquid nutrients.
- FloraKleen (by General Hydroponics)
- Clearex (by Botanicare)


Harvest Using the Right Technique
The most important thing about harvesting cannabis is to…
- Harvest at the right time. Smells (terpenes) build up throughout the flowering stage. If you harvest too early you will have far lower levels of terpenes, and your buds won’t be nearly as fragrant as they would be if they had been allowed to develop to maturity.
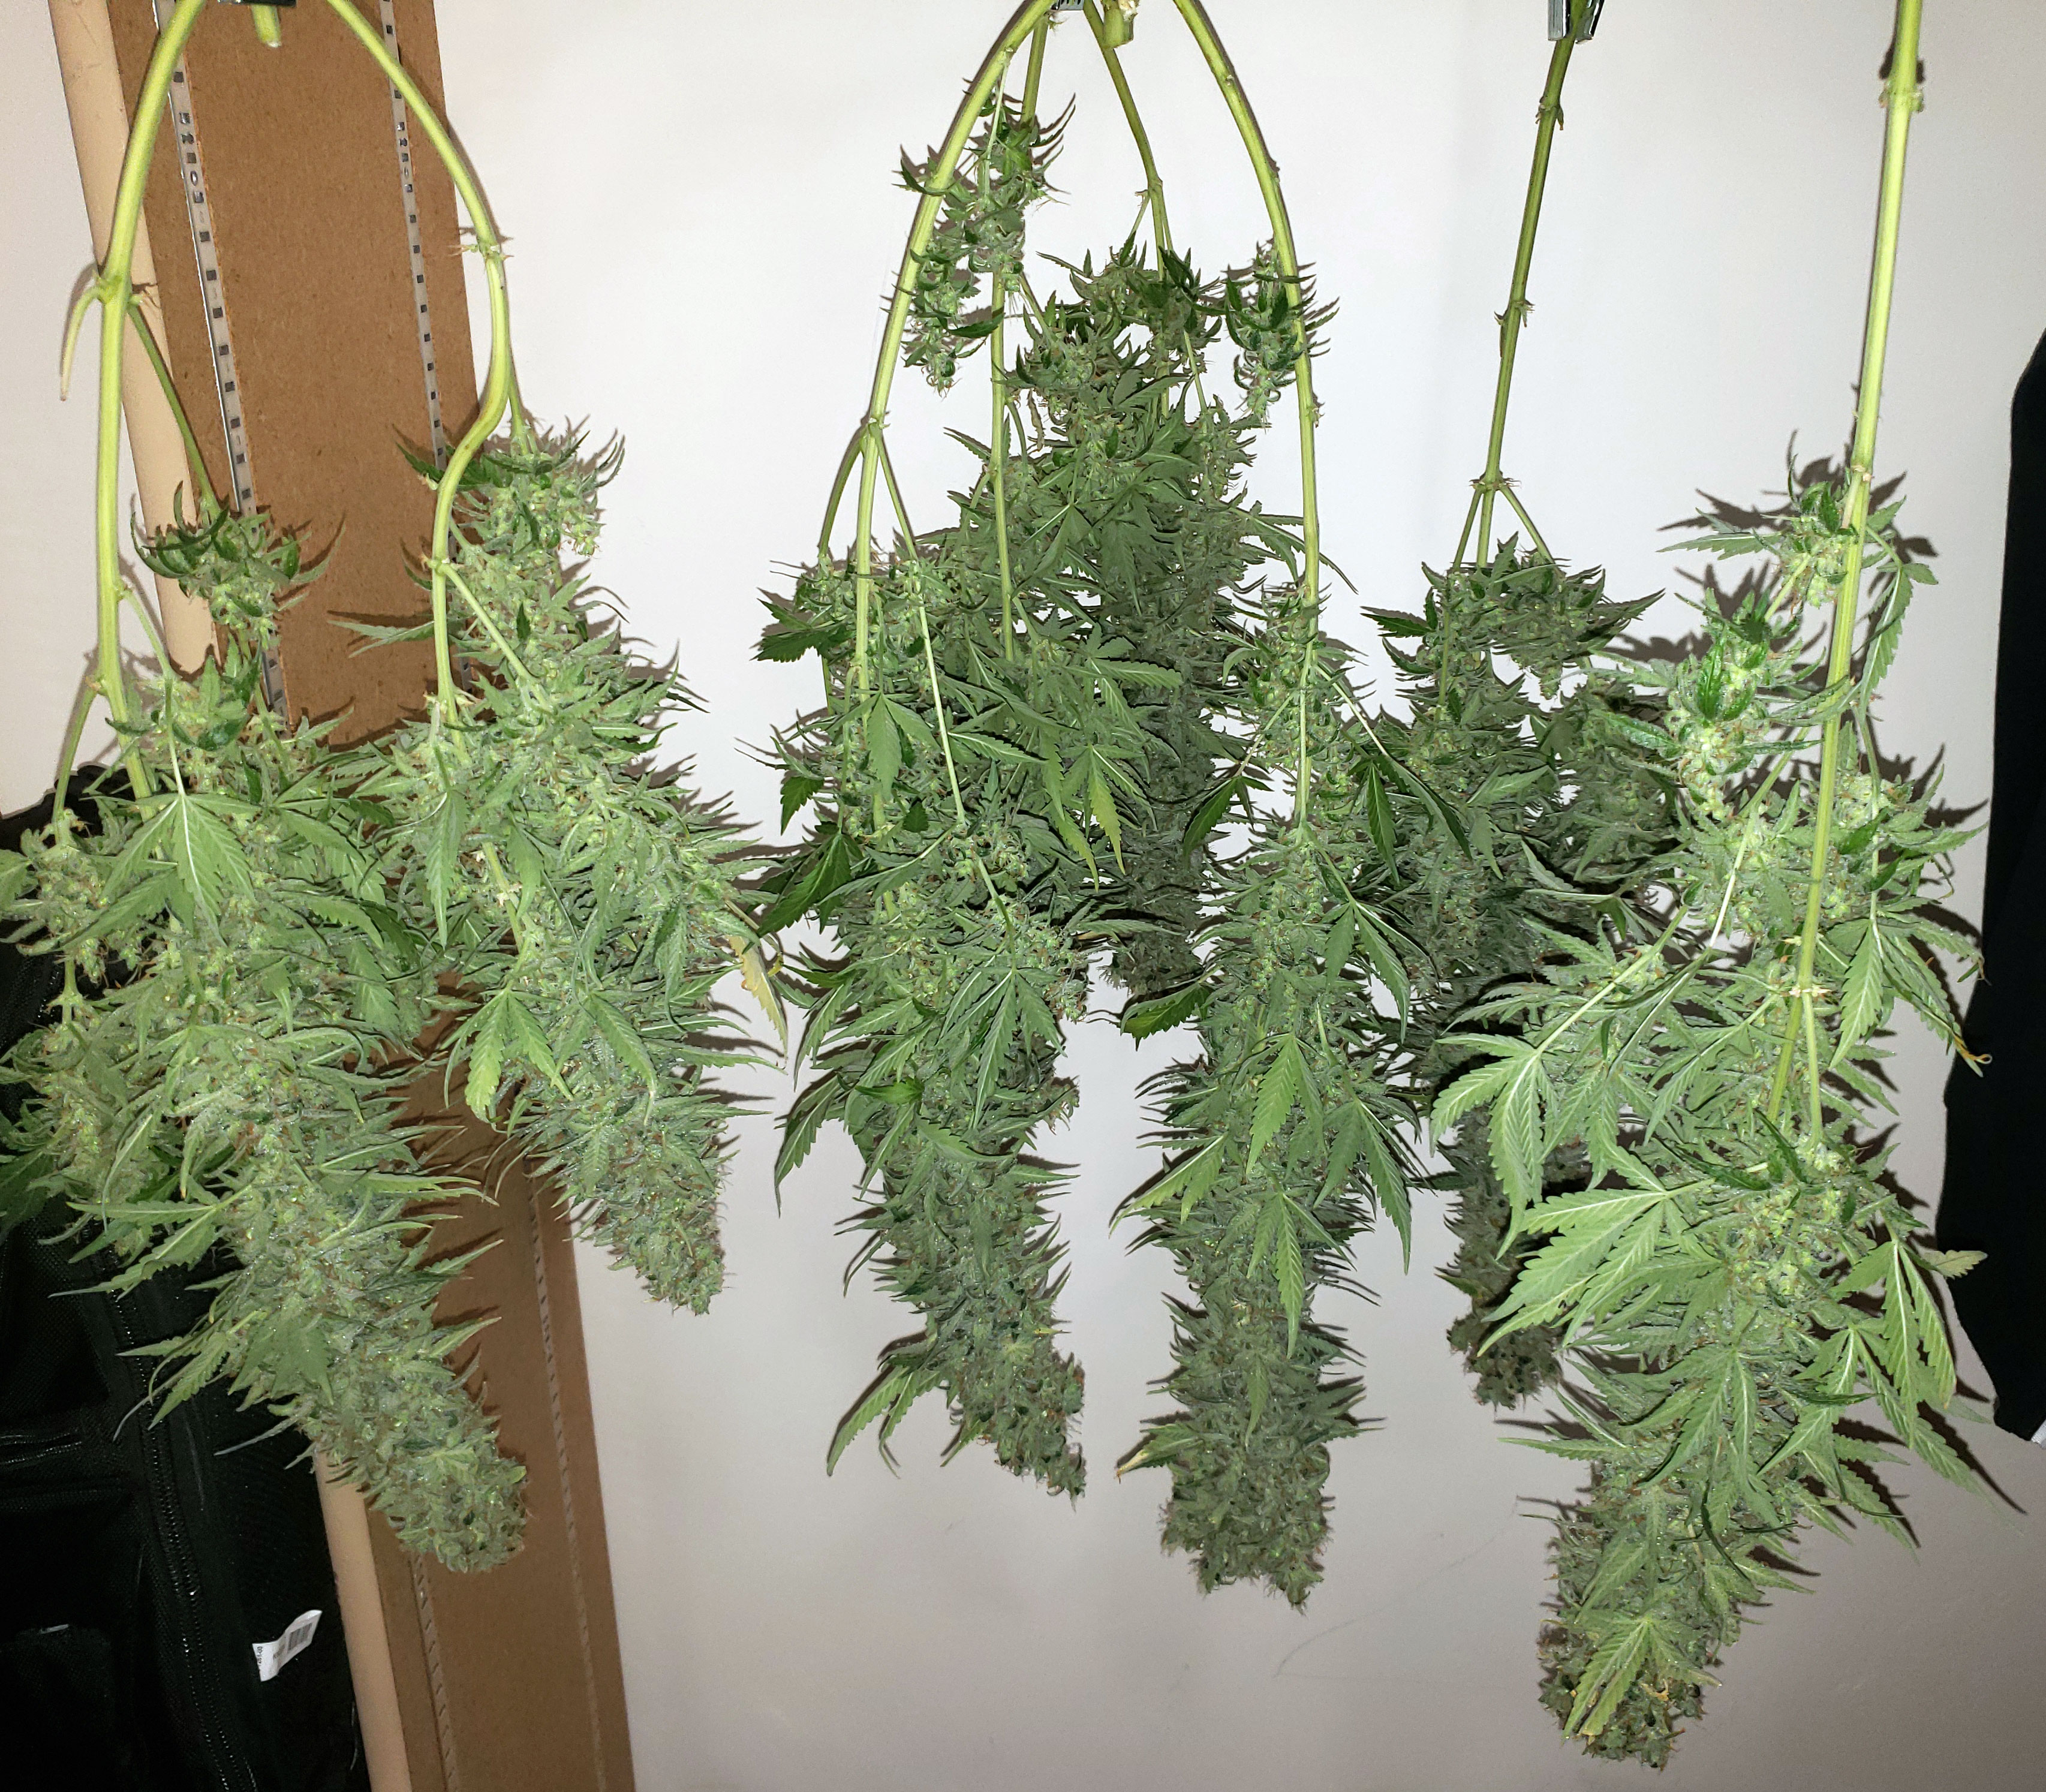
- Keep the air cool (under 70°F if possible) when buds are drying if you plan to hang them upside down to dry. Drying buds slowly in a cool space during the first few days after harvest is crucial to producing cannabis that smells like it did in flowering. One of the worst things you can do when air-drying buds is to allow them to dry in a hot or extra humid environment, as this encourages the growth of mold and other microorganisms that make buds smell bad and get rid of that beautiful weed smell you’ve been cultivating the last few months. The only exception to this rule of “keep your buds cool while drying” is if you’re using a specially-made cannabis bud dryer. Learn how to dry your plants properly.
How to Improve Flavor After Harvest
(CRUCIAL – don’t skip this!)
Drying Your Buds – Read the Complete Drying Tutorial
- Dry buds slowly. Drying buds too quickly can give them a “green” or minty sort of taste and smell that doesn’t go away even after curing. It’s normal for buds to smell sort of like grass or hay immediately after drying, but if you dried them slowly the smell will come back after a few days into the curing process.
- Maintain a temperature of 70°F or lower while drying if at all possible. A good general range for drying is between 60-70°F as keeping the temperature lower helps prevent terpenes from burning off while preventing the growth of mold or microorganisms.
- Try to maintain ~50% humidity while drying. In the space where buds are drying, you’d like about 50% RH. Humidity that is 40% and lower tends to dry out buds too fast. Humidity that is 60% or higher makes it much more likely you’ll get mold, and buds may take a very long time to dry in a humid environment.
- Buds are dry when they snap off instead of bend. When buds feel completely dry and pop off their stems without leaving strings behind, they are done drying and ready to put in jars. At this point, the small stems on the branches will snap, but the bigger ones may still bend without snapping (bending means there is still water contained inside).
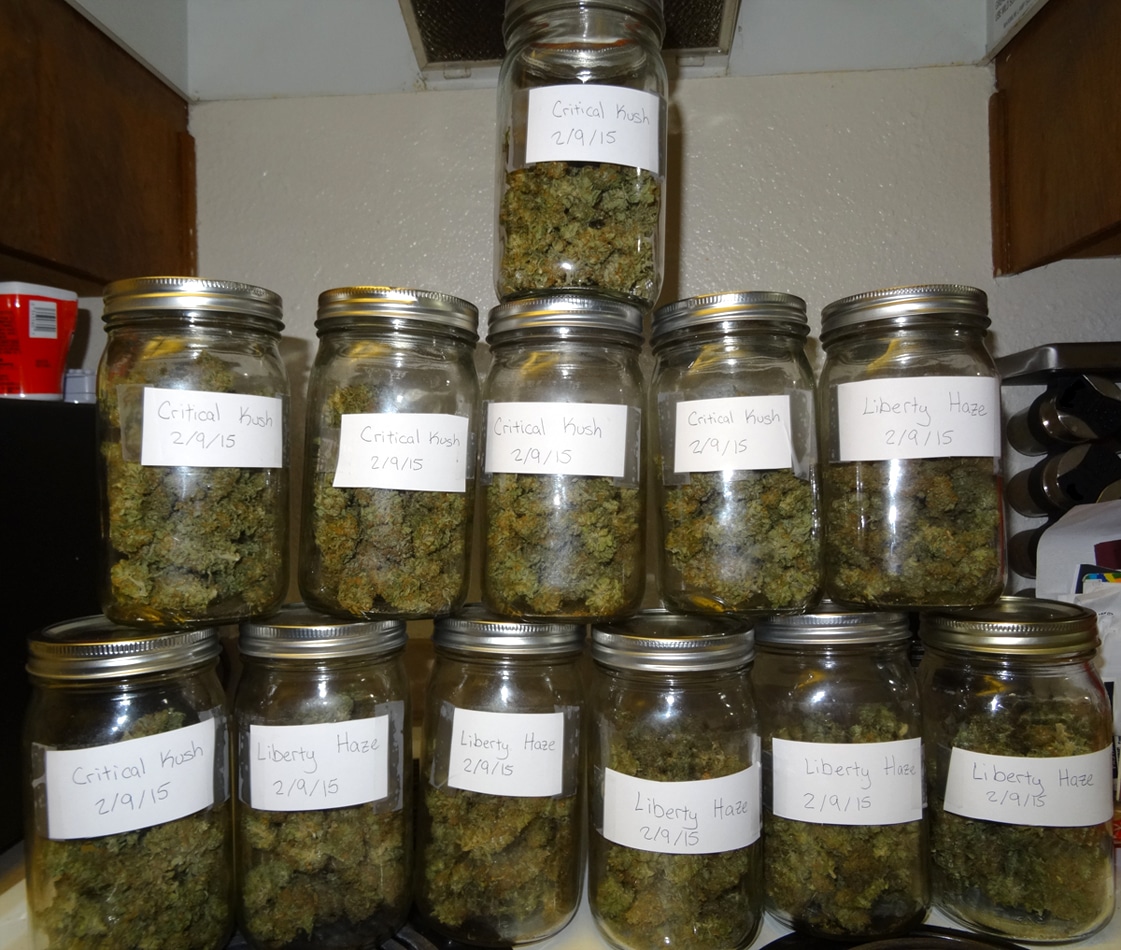
Curing Your Buds in Jars – Read the Full Curing Tutorial
The curing process may seem unnecessary if you’ve never done it before, but it is going to significantly improve the taste, smell, and overall smoothness of your buds. You simply cannot skip the curing process and get cannabis that lives up to its potential.
There are chemical processes that happen in the buds themselves during the curing process that drastically changes their scent. These processes also increase the perceived potency of buds and many find the mental/body effects of buds to be much stronger and/or more pleasant after buds have been cured.
- Put buds in jars. Place your newly dried and separated buds in quart-sized mason jars as this is the beginning of the “curing” process. Fill jars 80% full of buds and close them up.
- Watch out for rising humidity levels. If you’ve dried your buds slowly and put them in the jars at the right time, the overall humidity in the jar is going to rise over time as the moisture from inside the buds works its way to the outside. If buds ever feel moist or are sticking together in the jar, it means there’s too much water contained inside and the jar should be left open for a few minutes to an hour to help dry things out. If this happens to you, check on buds frequently until the humidity has stabilized. Buds should always feel completely dry.
If you’re interested in closely monitoring your humidity during the curing process, I like the little mini hygrometers you can buy for cheap on Amazon. They are small enough to fit in your curing jars. A hygrometer is more of a luxury than a necessity, though it will take out a lot of the guesswork. They typically display both the temperature and the relative humidity in each curing jar.
Get 6 mini hygrometers for under $15 on Amazon

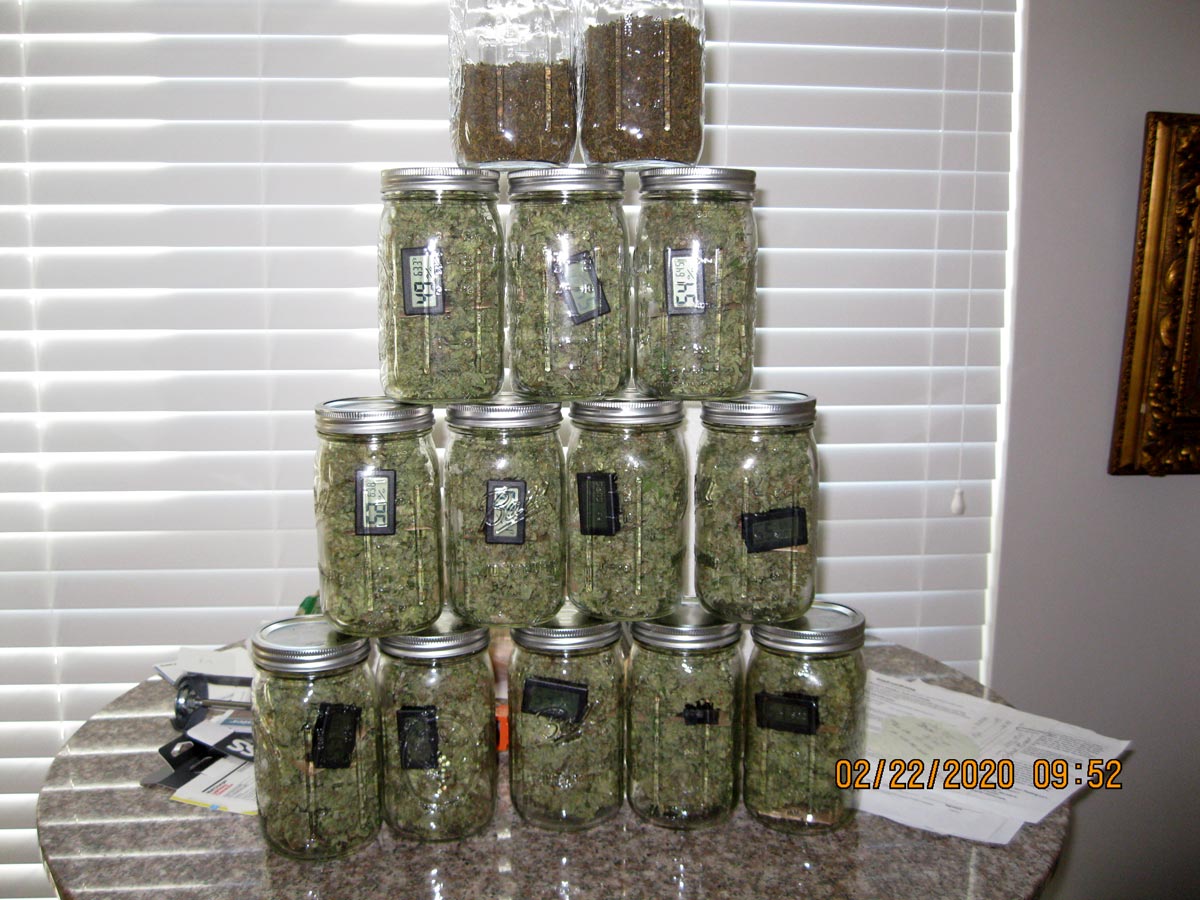
- At first, open the jars daily to let in air and check on buds. If using a hygrometer you want to keep the RH around 60% in the jars. For those who don’t want to monitor the humidity closely you can get specialized “humidipacks” that are designed for curing cannabis. These automatically maintain the humidity between 58-62% (depending on which version you get), which are both great humidity levels for curing cannabis buds
Boveda 62 humidipacks automatically maintain the humidity in jars around 62% RH for you during the curing process. Best if you plan to use the buds right away. Get the 58% version for longer storage, or if you want the weed to burn a little faster. I grow so much weed per harvest I usually have to store a bunch of it, so I always get the 58% versions since they’re better for longterm storage.

- Open jars less often after 1-2 weeks of checking daily. As long as the buds have stabilized and never feel wet when you check on them, you can start opening the jars less often. You leave jars closed for a few days at first, then a week, etc.
- Buds are considered “done” curing after 2-4 weeks, though many growers agree that bud quality and smell will continue to improve for several months of curing.
- It’s normal for buds that were just dried to lose some of their “weed” smell, especially if you didn’t give buds a cool drying environment. When you first put buds in the jars, they may even smell a little “green” like grass or hay. They may have lost a lot of their “cannabis” smell that was assaulting your nose in the flowering stage. Don’t worry. Typically your cannabis smell will come back over the first several days to weeks of curing.
- Watch out for the smell of ammonia or an unpleasant “funk.” Whenever you open your jars and take a little whiff, watch out for the smell of ammonia or a bad “funky” kind of scent. That could mean that extra moisture in the jar is causing anaerobic bacteria to grow when it’s sealed up. If you smell something that doesn’t seem right, keep the lids off your jars for an hour up to a day to help buds dry out a bit, and check again tomorrow to make sure the smell has cleared up.
Read the complete drying & curing tutorial