by Nebula Haze
Marijuana Seedling Germination & Transplant Guide
In this tutorial, you’ll learn how (and when) to transplant your new cannabis seedlings so they grow as fast as possible!
Did you know that seedlings in solo cups often grow faster than seedlings started in big containers?
The reason some growers transplant their plants instead of starting them in their final container is that seedlings usually grow faster during the first few weeks of their life if you start them in something small like a solo cup. The growing medium dries out much faster in a smaller container, which means your seedling roots are always getting access to lots of oxygen at all times. It also makes it more difficult to overwater your plants!
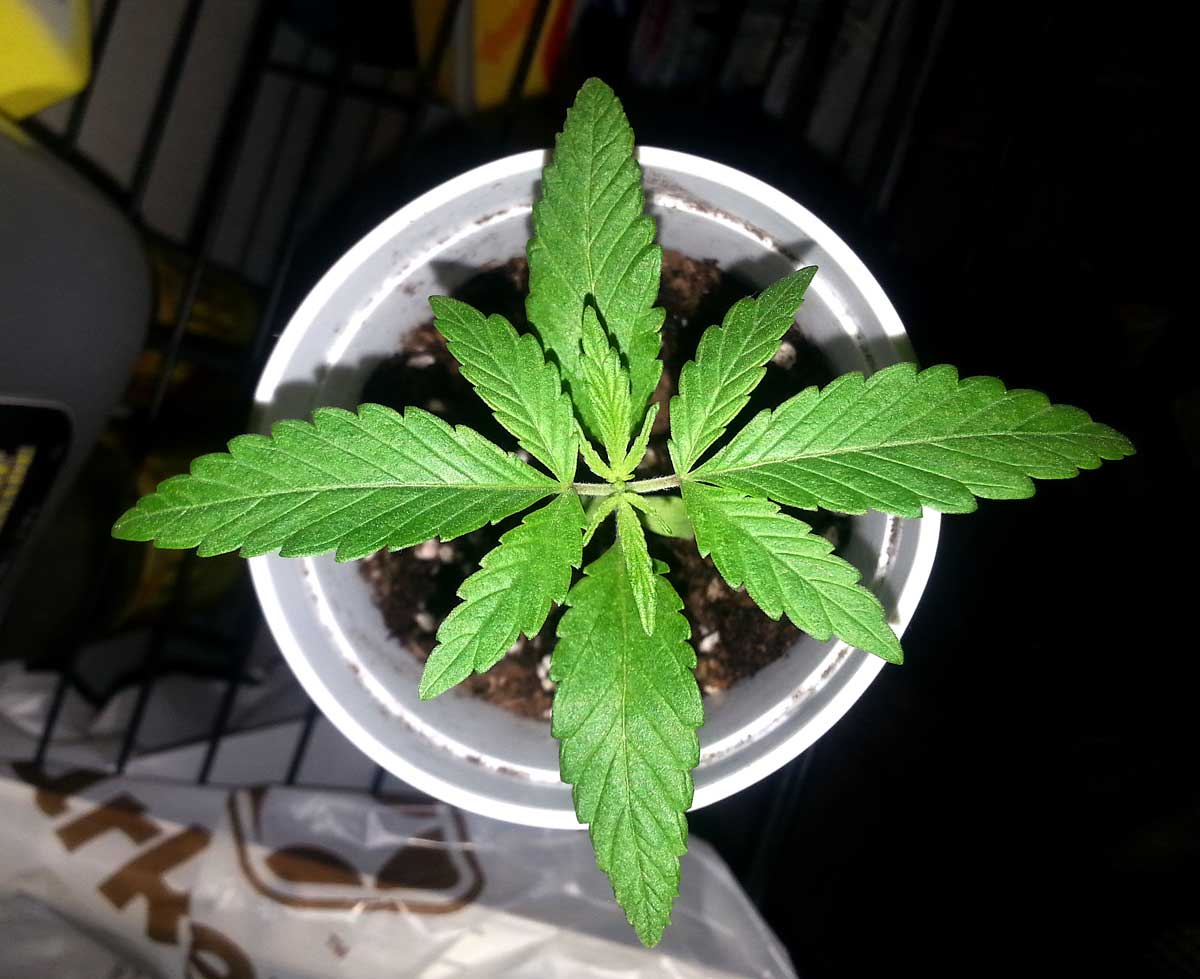
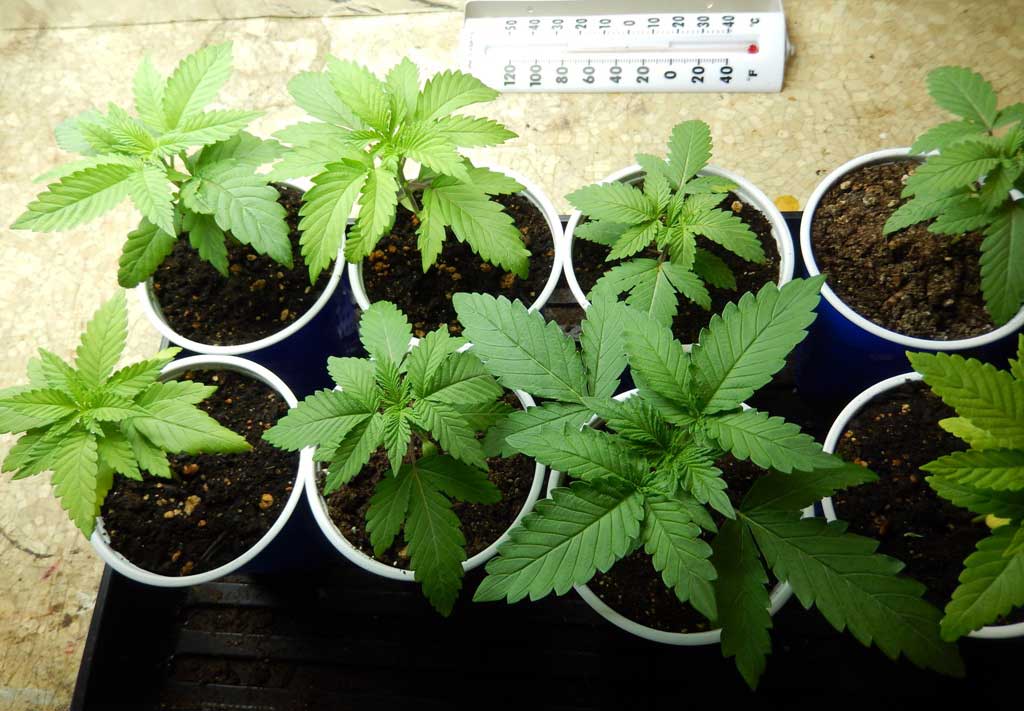
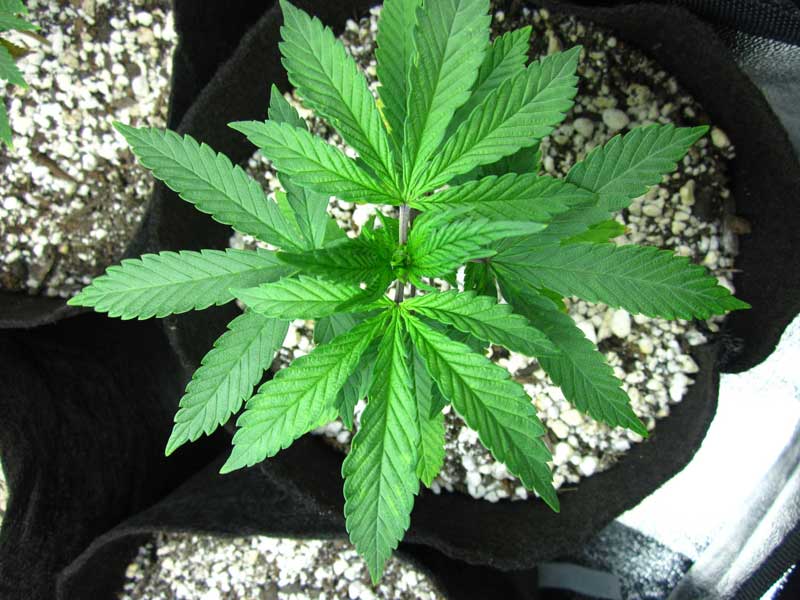
If you start seedlings in a solo cup, you should try to transplant to a bigger pot around the time the leaves reach the edges of the cup. This seedling is ready for transfer!
If seedlings get too big for their cups before transplanting to a bigger container, you may accidentally limit your plant’s root space. This slows down growth and can cause puzzling deficiencies! So if you do start in small containers it’s important to transplant your seedlings on time to avoid letting them become rootbound!
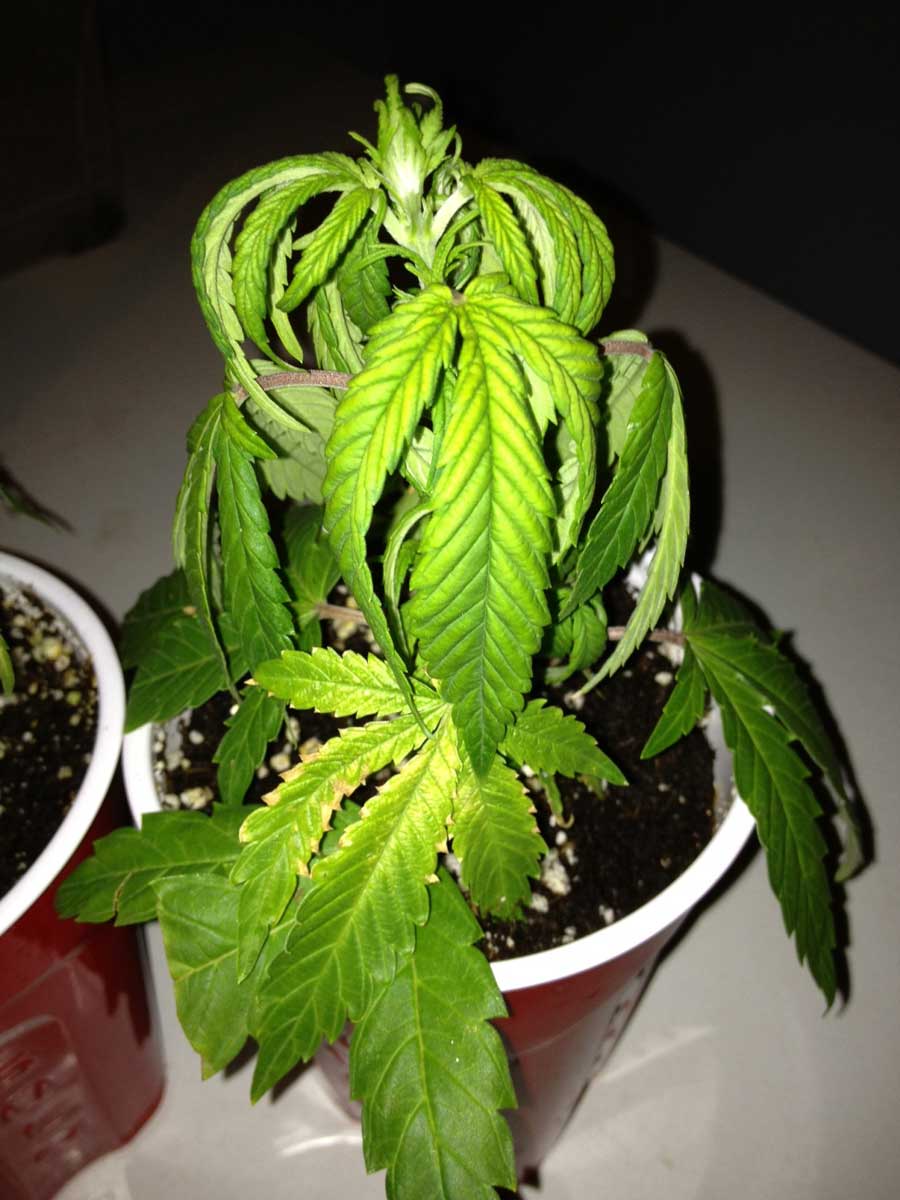
“Rootbound” seedlings are often droopy and may display odd symptoms that are hard to explain. If seedlings are rootbound you’ll see during the transfer process that the roots have wrapped all the way around the outsides of the container, preventing the plant roots from doing what they need to do. Try to transfer to a bigger pot before this point!

For many growers, it’s simpler to start plants in their final containers. Although your seedlings may grow slightly slower at first, you never have to worry about transplanting them. You also avoid the possibility of shocking them during the transplant process.
That being said, if you want the fastest growth from your seedlings and don’t mind transplanting, starting in small containers like solo cups may be the way to go.
The truth is, your seedlings will thrive whether you start in a big or small container as long as you take good care of them! Neither way is the “best” method; it’s more a matter of personal preference.
Learn how to avoid common seedling problems!
1.) Germinate Seeds with Paper Towel Method
Before you can start transplanting, you need to germinate your seeds. I recommend the “paper towel” method for germination because this method is easy and hard to mess up! Learn About Other Ways to Germinate Seeds!
- Place your seeds inside a folded wet paper towel, and place it between two paper plates (or regular plates) so that they don’t dry out.
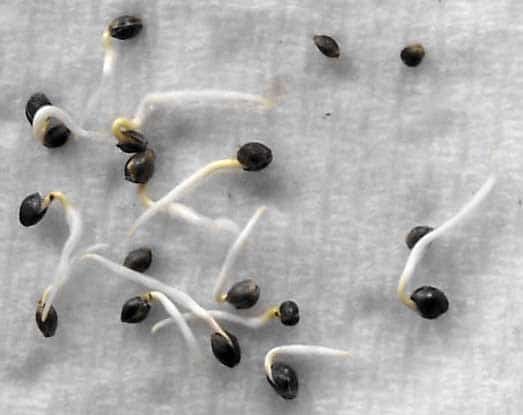
- Check on your seeds every 12 hours but try not to disturb them. When they’ve germinated, you’ll see the seeds have cracked and there are little white roots coming out.
- They should germinate in 1-4 days, though some seeds can take a week or longer (especially older seeds).
- Keep them warm if possible. One thing you can do to get seeds to germinate a little faster is to keep them in a warm place (75-80°F). Some people use a seedling heat mat but in most cases that’s unnecessary.
These seedlings were sprouted using the paper towel method!
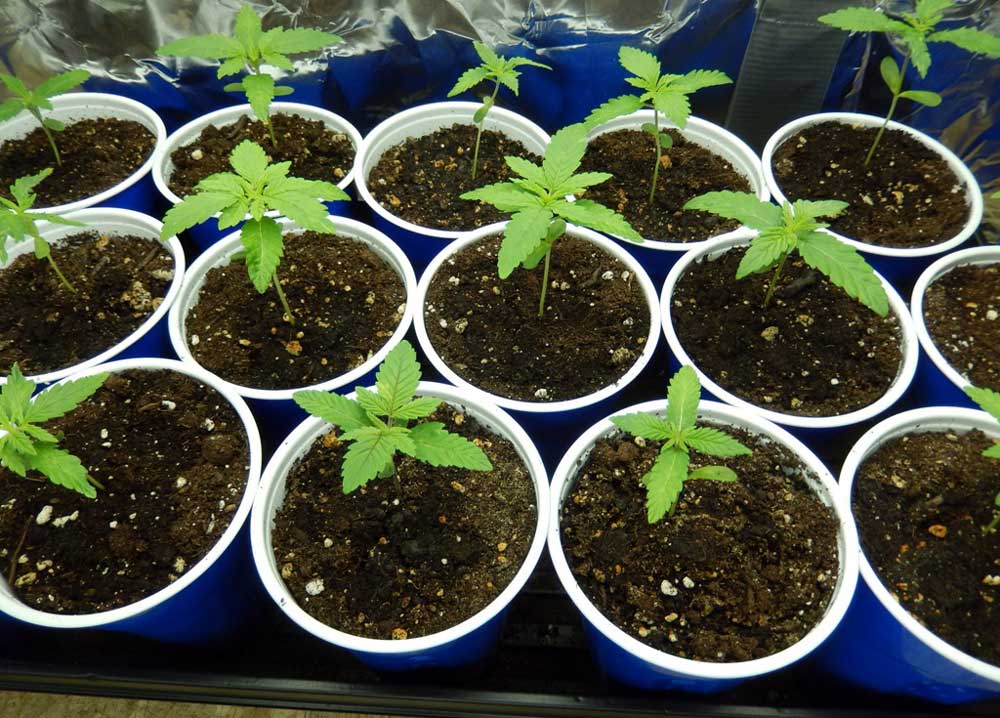
Once your seeds have germinated, gently plant seeds in a solo cup about an inch deep, roots down.
Make sure to cut plenty of holes in the bottom of the solo cup first, so water can drain out the bottom easily!
Add your potting mix to the solo cup. Dig a small hole about 1-2″ deep and gently place your sprouted seed, root down, into the hole you made. Lightly fill around and cover with soil. You’ll see a seedling emerge a day or two later!

Here’s a quick cheat sheet for the paper towel germination method!

2.) Allow leaves to grow to edges of the solo cup
Your seedlings will take off in a day or two, and soon it’ll seem like they’re growing more and more each day!
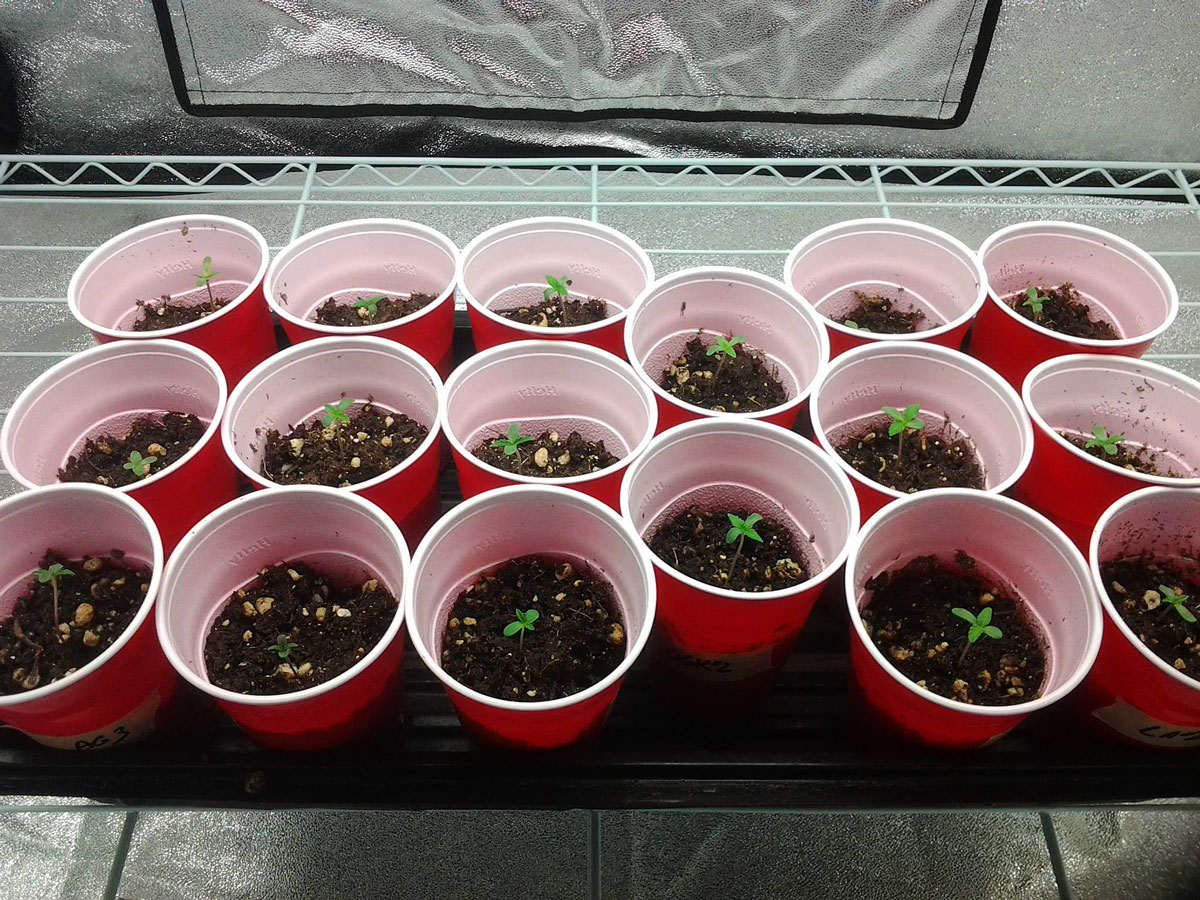
Once your seedlings have grown enough that their leaves have reached the edges of the solo cup, it’s time to transplant to a bigger container!
These seedlings are begging to be transplanted to bigger pots (especially that big one on the bottom!)
Transferring to a bigger container at this stage will prevent your seedling roots from becoming rootbound and “choking” themselves because they get all wrapped around the outside of the soil. The outside circling of the roots prevents the plant from using water and nutrients properly, so you often end up with droopy seedlings and hard-to-explain nutrient deficiencies.
3.) Transplant seedlings to a 1, 2 or 3-gallon pot (then to an even bigger final container if you desire)
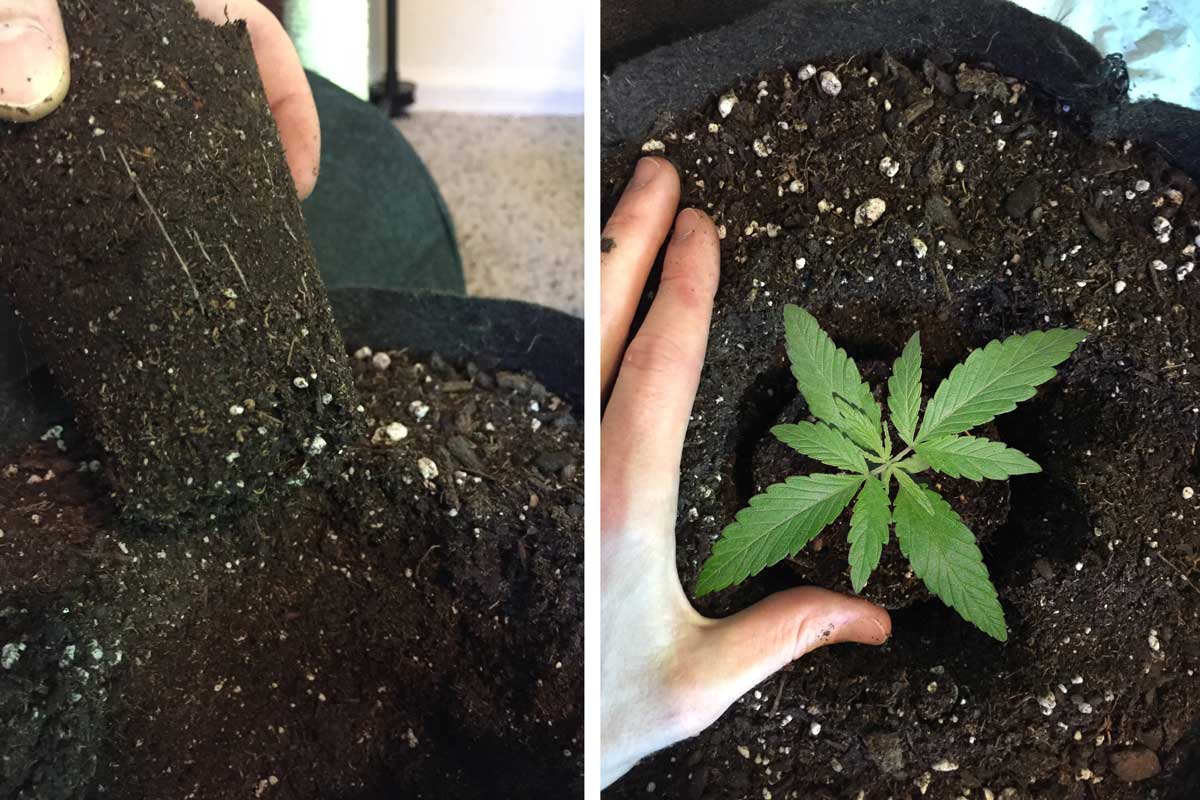
Instead of pulling the whole plant out of the container, sometimes you can just cut away the solo cup when you plan on transplanting. This is one of the advantages of starting in disposable cups – it makes transplanting easy and stress-free. You can also gently run a butter knife around the outside to help loosen the soil, turn it upside down and pat out the seedling, soil and all!
Transfer seedling into a new container by digging a hole the size of a solo cup, and gently placing your seedling in the new hole without disturbing the roots at all if possible, like this!
How to Avoid Transplant Shock
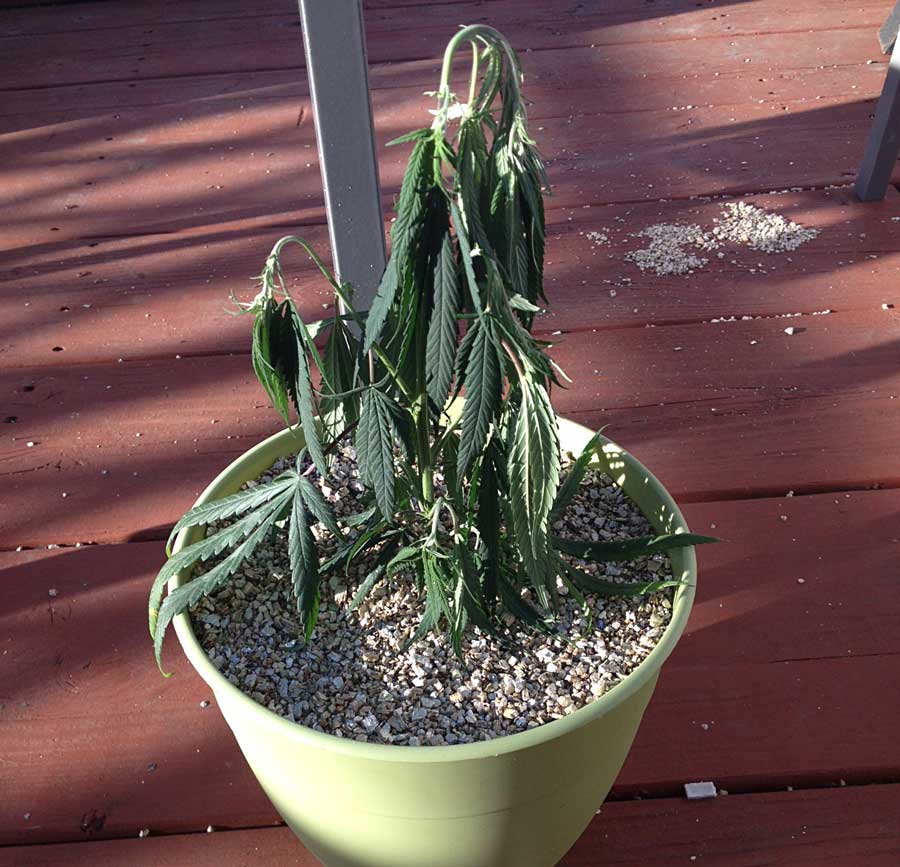
The process of transplanting from one container into a bigger one can shock your cannabis plants, especially if you wait too long to transplant.
You don’t want cannabis transplant shock!
You can help avoid causing your cannabis plants stress during transplant by following these principles:
 Transplant your cannabis plants after their roots have begun to fill container (to help hold all the growing medium together) but before the roots have started wrapping around the edges (plants have become rootbound).
- Water your cannabis plants 1-2 days before transplanting. This will help the growing medium stay together (since it’s moist), but still slide out easily (since it’s not soaking wet).
- It’s better to transfer too early than too late!
- If the roots haven’t grown all around the sides of the root ball (plant isn’t rootbound), avoid disturbing the roots if possible. There’s no need to shake out dirt, just carefully move entire root ball directly into the next pot.
- Make sure your plants are in their final container at least 1-2 weeks before you switch them over to the flowering stage, and avoid transplanting plants during the flowering/budding stage if you can since the stress may affect your final yields.
- If your cannabis plants seem like they are suffering from transplant shock (leaf symptoms, drooping, slowed growth), it can be helpful to use a seaweed kelp extract (often available as a liquid fertilizer) to help your cannabis recover more quickly.
 If transplanting seems scary, it’s okay to plant your seed or clone in its final destination right at the beginning, just be wary of overwatering until the plant has a few sets of leaves and is growing vigorously. You can increase the amount of oxygen available to your plants by adding extra perlite to loosen the soil and allow water to drain through more easily.
- Water your cannabis properly after they’ve been transplanted for the best results!
 Transplant your cannabis plants after their roots have begun to fill container (to help hold all the growing medium together) but before the roots have started wrapping around the edges (plants have become rootbound).
If you follow all these steps, you may notice that your plant doesn’t show any signs of stress at all!
Now you just allow plants to grow!
4.) Transplant to an even bigger container if desired
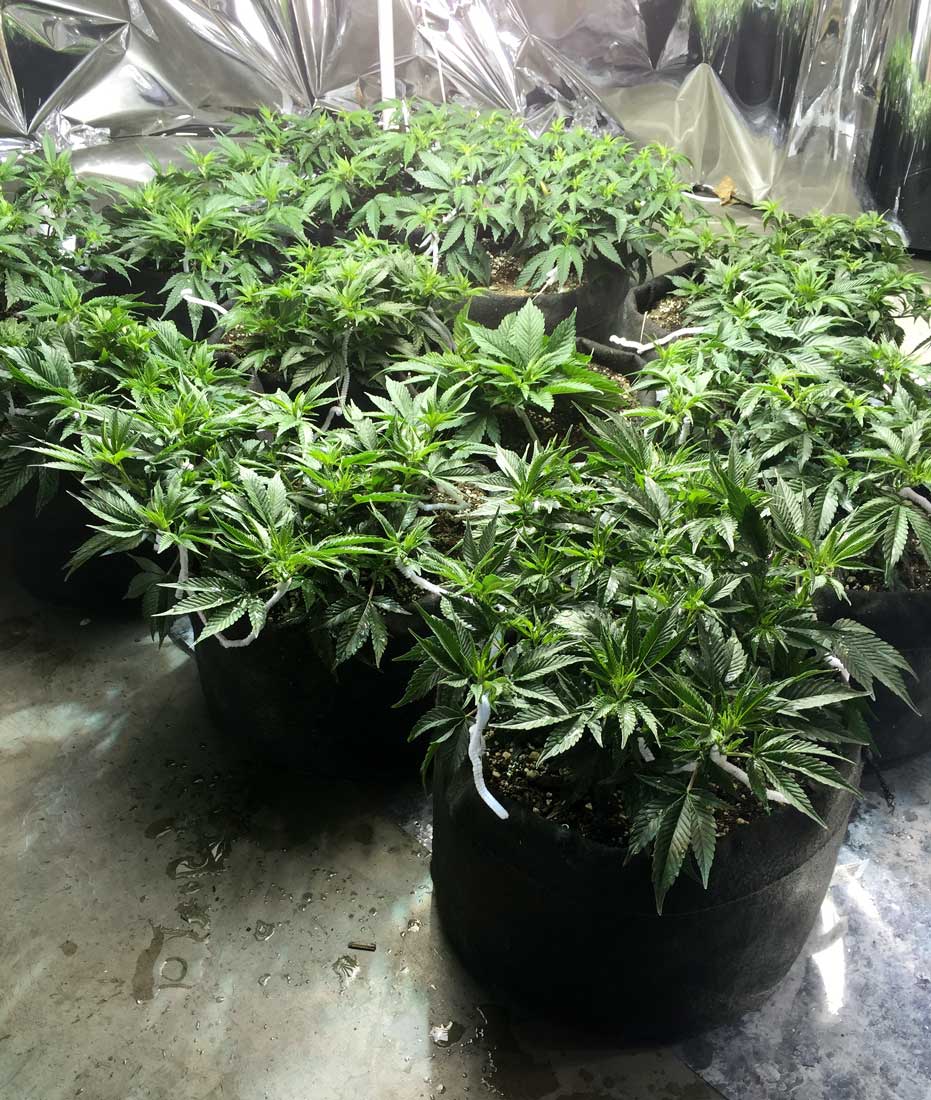 If your cannabis plants double in height while still in the vegetative stage, you may want to consider transplanting them into an even bigger container for the best results. The final size of your cannabis plant is constrained by the pot size. If you keep your plants in small pots, they simply won’t grow as big as they would in bigger pots.
If you’re trying to keep plants small, small containers can actually be a good thing. But if you want to grow bigger plants, you need to give their roots enough space to “spread out” 🙂
What Size Final Container?
A general guide is to have at least 2 gallons per 12″ of height. This isn’t perfect since plants often grow differently, and some plants are short and wide instead of tall, but this is a good starting rule of thumb.
So if your final (desired) plant size is…
12″ ~ 2-3 gallon container
24″ ~ 4-6 gallon container
36″ ~ 6-8 gallon container
48″ ~ 8-10 gallon container
60″ ~ 10+ gallon container
Go Bigger If You Need to Spend Time Away From Your Cannabis!
If you plan on being away from your plants for more than a day or two during the grow, it can’t hurt to go up a size or two. The bigger the container, the less often you need to water. So even if you get slightly slower growth in a too-big container, you will definitely be able to spend more time away from your plants without having to water them!
Learn more about containers for growing cannabis!
5.) You’re Done!
That’s it. You’re done transplanting your weed plants!
Now you just need to worry about taking care of your plants until you’re ready to start flowering/budding. Remember plants will usually double (or even triple) in size from when you first initiate the flowering stage!
How do I get my cannabis plants to start flowering?

Note: You can skip transplanting if it seems like too much work for you. Just make sure you’re careful not to overwater small plants in too-big containers. Once plants start growing vigorously, you don’t need to worry as much about overwatering. Learn more about common seedling problems.
Should I start in a solo cup or in a bigger pot?
I think it’s a matter of preference. Just as a quick summary: It’s easy to give too much or too little water to a very small seedling in a big pot. With a solo cup, you just soak the grow medium and the roots get a lot of both oxygen and water at all times because the medium dries out quickly. The downside is you have to transplant a seedling as soon as the leaves reach the edges of the cup, or its growth starts slowing down. Also, if you’re not careful you could possibly shock the plant during transplant.
Seedlings started in solo cups take less room in the grow space, and tend to grow a little faster! But if you’re careful about watering plant in a big container, you can get seedlings to grow almost as fast without having to worry about transplanting.
I’ve done it both ways and each method will serve you well. In the end, don’t stress too much. Your seedlings will come out fine as long as you pay attention to them 🙂
Learn how to help sick marijuana seedlings