by Nebula Haze
Table of Contents
- Choose an Easy Setup
- Get Gear to Make Things Easier
- Re-Arrange the Grow Space
- Grow a Time-Saving Strain
- Train Plants the Right Way
 Are you thinking about growing cannabis for the first time, but are afraid it will take too much time? Or maybe you have been growing for years, but feel like caring for your plants is too time-consuming.
Every single growing style has its pros and its cons. There are ways to grow cannabis that take a lot of time tending the plants, but there are setups that do a lot of the work for you so you don’t spend as much time on them day-to-day.
Even a few small adjustments can make a big difference!
As you go through this article you’ll realize that you can’t do all of these things at once, but this list will give you several ideas on how to shave off time depending on your personal grow style!
In addition to this article, you may also enjoy Sirius Fourside’s guide to saving time during your grow!

1.) Choose a Less Time-Consuming Setup
Your responsibilities as a grower change quite a bit depending on how you set up your garden in the beginning. I’ve included some info (and the pros and cons) for cannabis grow setups that tend to be the least time-intensive for growers.
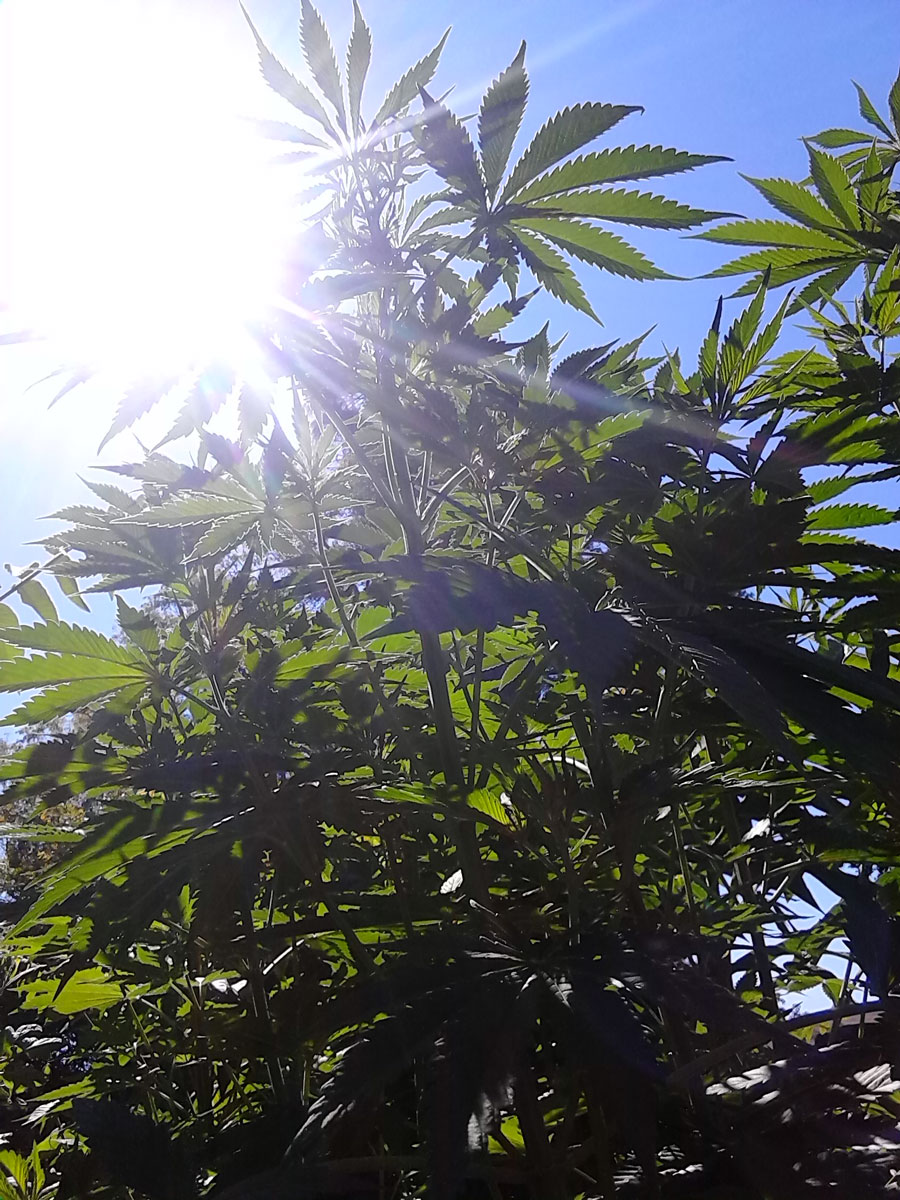 Growing outdoors is pretty much guaranteed to take less of your time each day than growing indoors. When you’re growing indoors, you take the place of mother nature, which means you have to maintain the perfect environment and tend to your plants regularly. No matter how efficiently you do it, maintaining a growing environment indoors is going to take more time than letting nature do it for you.
When growing outdoors you’ll still get the best yields and results by checking on your plants regularly, but once every week or two can be more than adequate for many outdoor growers. Some outdoor growers will spend weeks between visits to their grow sites.
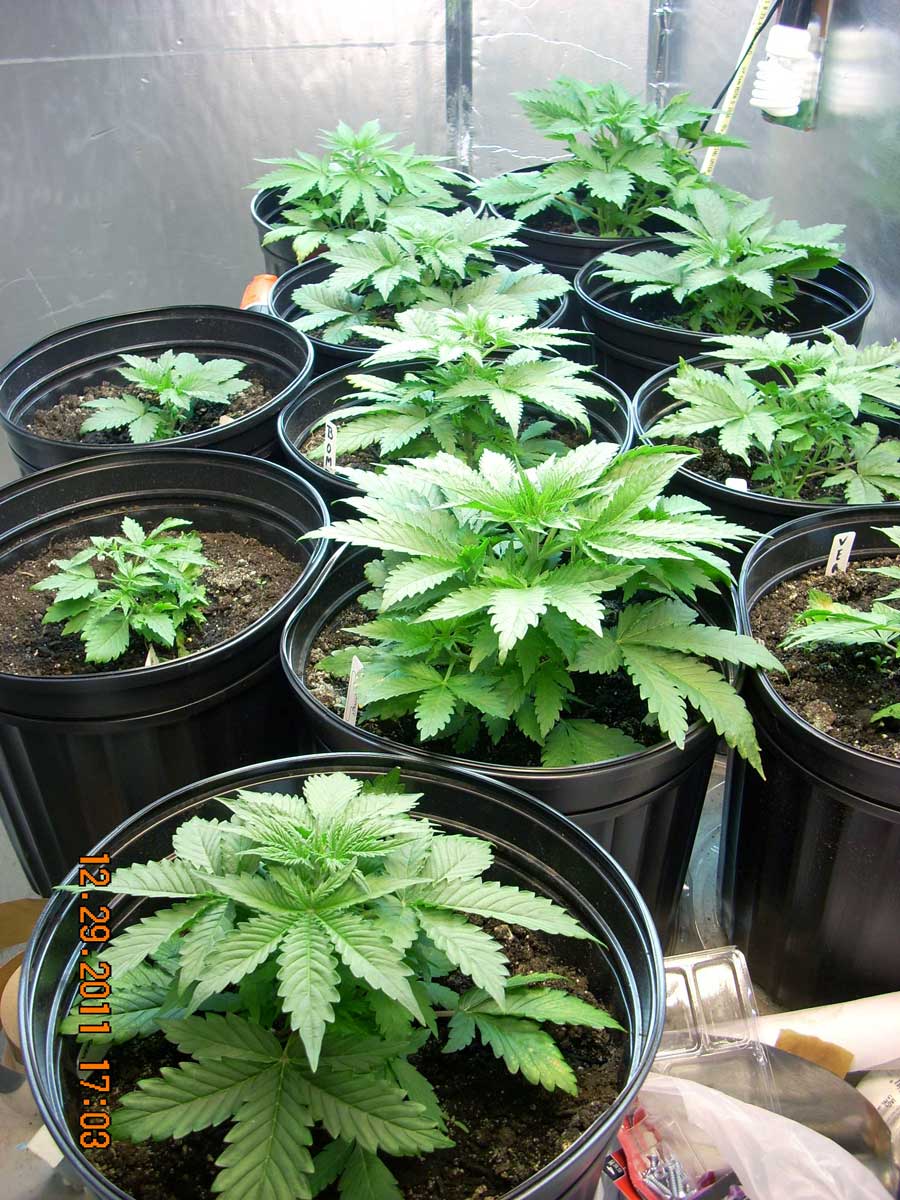
“Super soil” is a term sometimes used in the growing cannabis community to describe amended & composted soil. Super soil is formulated to give cannabis roots an environment where you don’t need to worry about pH or nutrients.
In a lot of ways, growing with super soil is what people “expect” growing cannabis in soil to be like. You put your seeds in a pot with the soil, and water your plants when they’re thirsty. Other than that the soil takes care of providing nutrients to the roots.
Why super soil? Cannabis plants have unique nutrient needs and use such high levels of nutrients that you will quickly start seeing nutrient deficiencies when using other growing mediums (like regular potting soil or coco coir) unless you provide nutrients with your water and regularly check the pH (which makes nutrients more available to your plant). Measuring out nutrients and checking the pH can take several minutes every time you mix up your water.
With super soil, instead of adding nutrients to your water, you pack the soil with natural sources of nutrients that slowly break down over the course of your grow, feeding even the voracious nutrient appetite of a cannabis plant. Instead of managing the pH so nutrients are able to be absorbed by your plant, the composting process enlists the help of microorganisms in the soil to do that work for you.
Learn more about growing with super soil
Super soil and hydroponics are very different from each other. In fact you could say they’re pretty much on complete opposite sides of the spectrum when it comes to grow styles. Yet they have one thing in common; they are both good at doing a lot of the work on their own so you don’t have to, even if they save time in completely opposite ways…
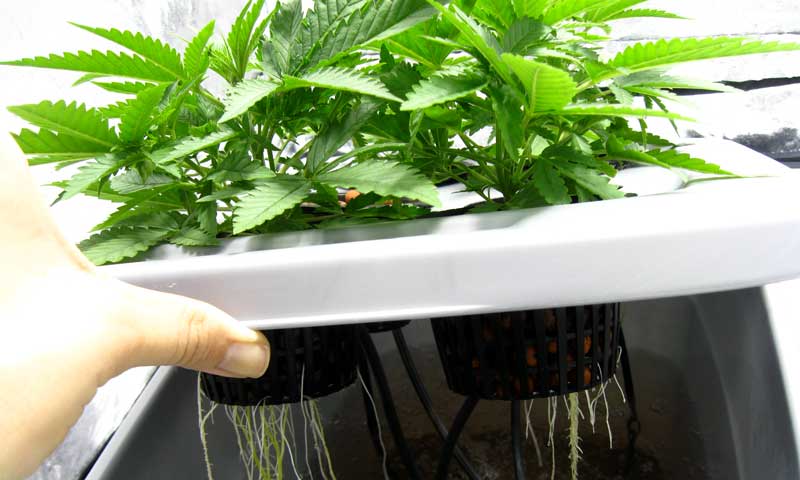
In hydro, the cannabis roots are grown directly in a reservoir of nutrient water
When growing in a container, even with super soil, your plant roots enjoy wet/dry spells, and do best being watered every few days. (Learn how to water your plants perfectly every time) Each time you water your plants, you ideally need to wait for extra runoff water to come out the bottom, then remove the runoff so your roots aren’t sitting in it. For me that can end up taking 10 minutes or more if I have a couple plants (I’ll share some tricks below on how to make that process go faster).
With a hydroponic setup your plant roots live in a water reservoir so you never have to worry about runoff water, and because a water reservoir can hold a lot of water at once it means you can go long periods of time without having to water your plants. There have been times in my life where I only tended to my hydro plants on the weekends (which I don’t recommend, but life happens!), which would be tough to do with a container-grown plant.
With hydro a large reservoir can hold enough water to last for days, or even weeks in the early stages of a plants life. Some days, all that’s needed is just a quick visual check-in if anything at all!

Additionally, if you make up big batches of water each time, you can often go a long time between having to mix batches. That way when your reservoir water does get low you can simply fill it up again with your “reserve” nutrient water. I’ll talk about this a little bit more below, but the type of non-organic nutrients that are used for hydroponics can be pre-mixed with water for several weeks without any problems. This lets you focus on caring for your plants and training them instead of worrying about mixing up new water all the time.
As a bonus, plant grow faster hydroponically than any other grow style, which means you spend less time waiting for harvest time!
Learn how to grow hydroponically
Get Nutrients That Let You Mix Water Ahead of Time
When you need to make nutrient water for your cannabis plants, it can take several minutes to make up a new batch every time you water.
Instead, as mentioned earlier you can make a lot at once and only use it as needed.
But how long can you store pre-mixed nutrient water?
Nearly all nutrients can last at least 1 week after being mixed with water without any negative effects on your plants
For nutrients comprised solely of inorganic ingredients, your pre-mixed nutrient water can last for 2-3+ weeks without a problem even if the nutrient water is just sitting in the container.
How do you know which is which? Look at the label of your nutrients where it says “Derived from”
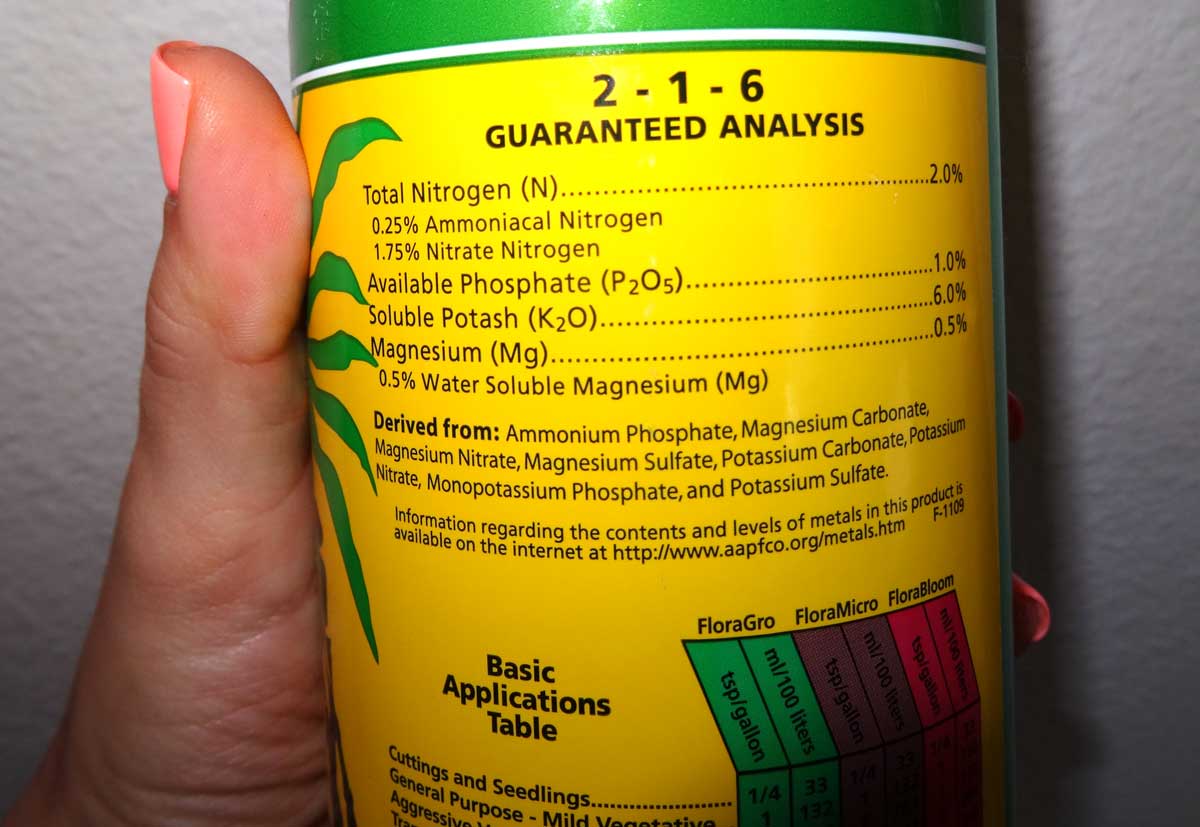
All the ingredients in the above picture are inorganic minerals and “chemical salts.” They all have “molecular” sounding names. When it comes to hydroponic nutrients, you will almost always see these types of ingredients specifically because they will not cause reactions or problems even when sitting in water for long periods of time.
But it’s not just hydro! Lots of soil and coco coir nutrients also use the same sources of nutrients because these specially derived mineral sources don’t need to be broken down and are available to your plant immediately.
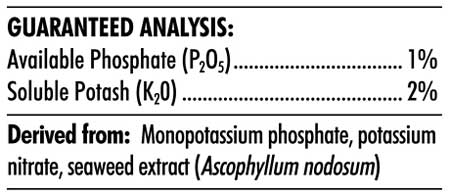
As long as you don’t see any organic ingredients on the label, you know your nutrient water can be premixed for 2-3+ weeks. If you do spot organic ingredients on the label (like “seaweed extract” in this next example) then you probably shouldn’t let your nutrient water sit as long because organic material tends to start up biological processes. Ultimately this could cause things to grow in your water, possibly altering the nutrient content or even introducing some nasty microorganisms to your plant roots.
If you see any organic ingredients listed, like “seaweed extract,” don’t let your mixed nutrient water sit for longer than a week.
Learn more about different types of cannabis nutrients
Note: No matter what nutrients you’re using, make sure any pre-mixed nutrient water gets stored in a cool, dark place!
When you choose the right gear it can help you save minutes here and there, which really starts to add up!
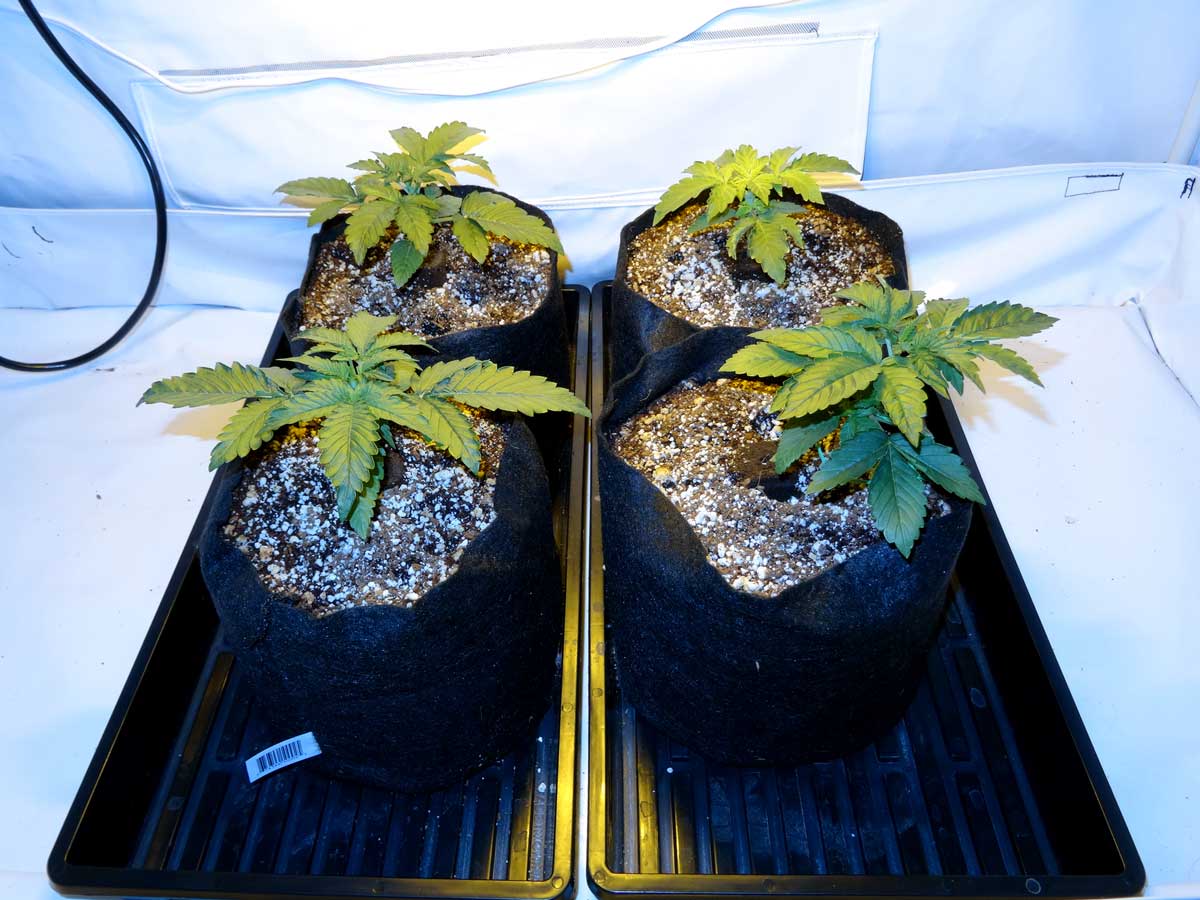
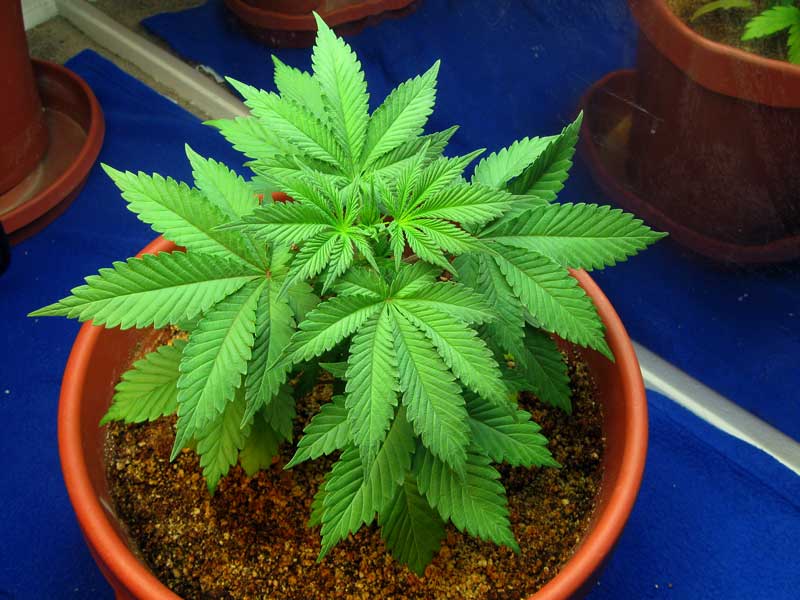
Get a Bigger Plant Container So You Water Less Often
One way to get away with watering your plants less often is to grow them in a bigger container. This is because your growing medium can hold more water at a time, so it takes longer for your plant to drink it all before needing to be watered again.

Some things to keep in mind: When growing in big containers, you’ll get the fastest growth by starting your plants in smaller ones first, then transplanting them to bigger ones as they grow. But that also takes time. It’s much easier to start your seeds directly in big containers from the beginning so you can skip transplanting altogether. The one downside to that is seedlings tend to start a little slower at first in big pots (why?), but once your plant gets going they grow just as fast as any other container-grown plant and you’ll still get the benefit of watering less often.
Read the full article about plant containers
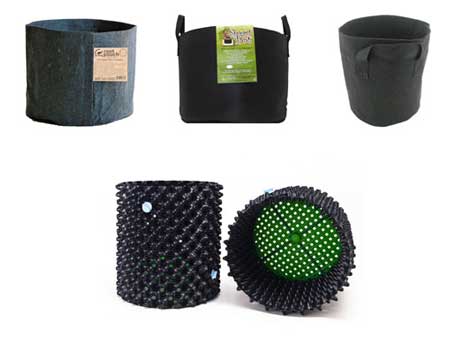
Avoid Smart Pots & Air Pots
If your goal is to water less often, avoid using a fabric pot (Smart Pot) or a container with holes on the sides (air pot). Although cannabis plants tend to grow faster in these types of containers, the pots dry out much more quickly since the soil is getting air from the sides. This means you end up needing to water them much more often than a similar sized “traditional” plant container.
Learn more about Smart Pots & Air Pots vs Regular Pots
Get the Right Grow Lights
If saving time is your main goal, you most likely want to go with an LED or MH/HPS grow light. These lights are powerful enough to grow your plant from seed to harvest with great yields, and don’t take a lot of adjustment on your part. You basically just hang the lights over your plants and forget about them, only needing to adjust the height of them a handful of times during your grow.
What you really want to avoid is time-consuming CFLs. CFL grow lights are actually a great choice for a lot of growers, for example if you’re growing in a really height-limited space, or if you want to get started growing as cheap as possible. That means for many growers they’re the perfect option for getting started growing, but they do end up taking more time and vigilance on your part compared to other grow lights. This is because CFLs need to be kept within just a few inches of the plants. As a result, you need to watch your plants closely and adjust your lights often to keep bulbs as close as possible while also preventing your plants from growing into the CFLs.
CFLs are great grow lights, but they are more time-consuming than HPS or LED grow lights. Even in a setup like the one below, a grower will still spend extra time making sure the bulbs are within the 4″ (10cm) range.
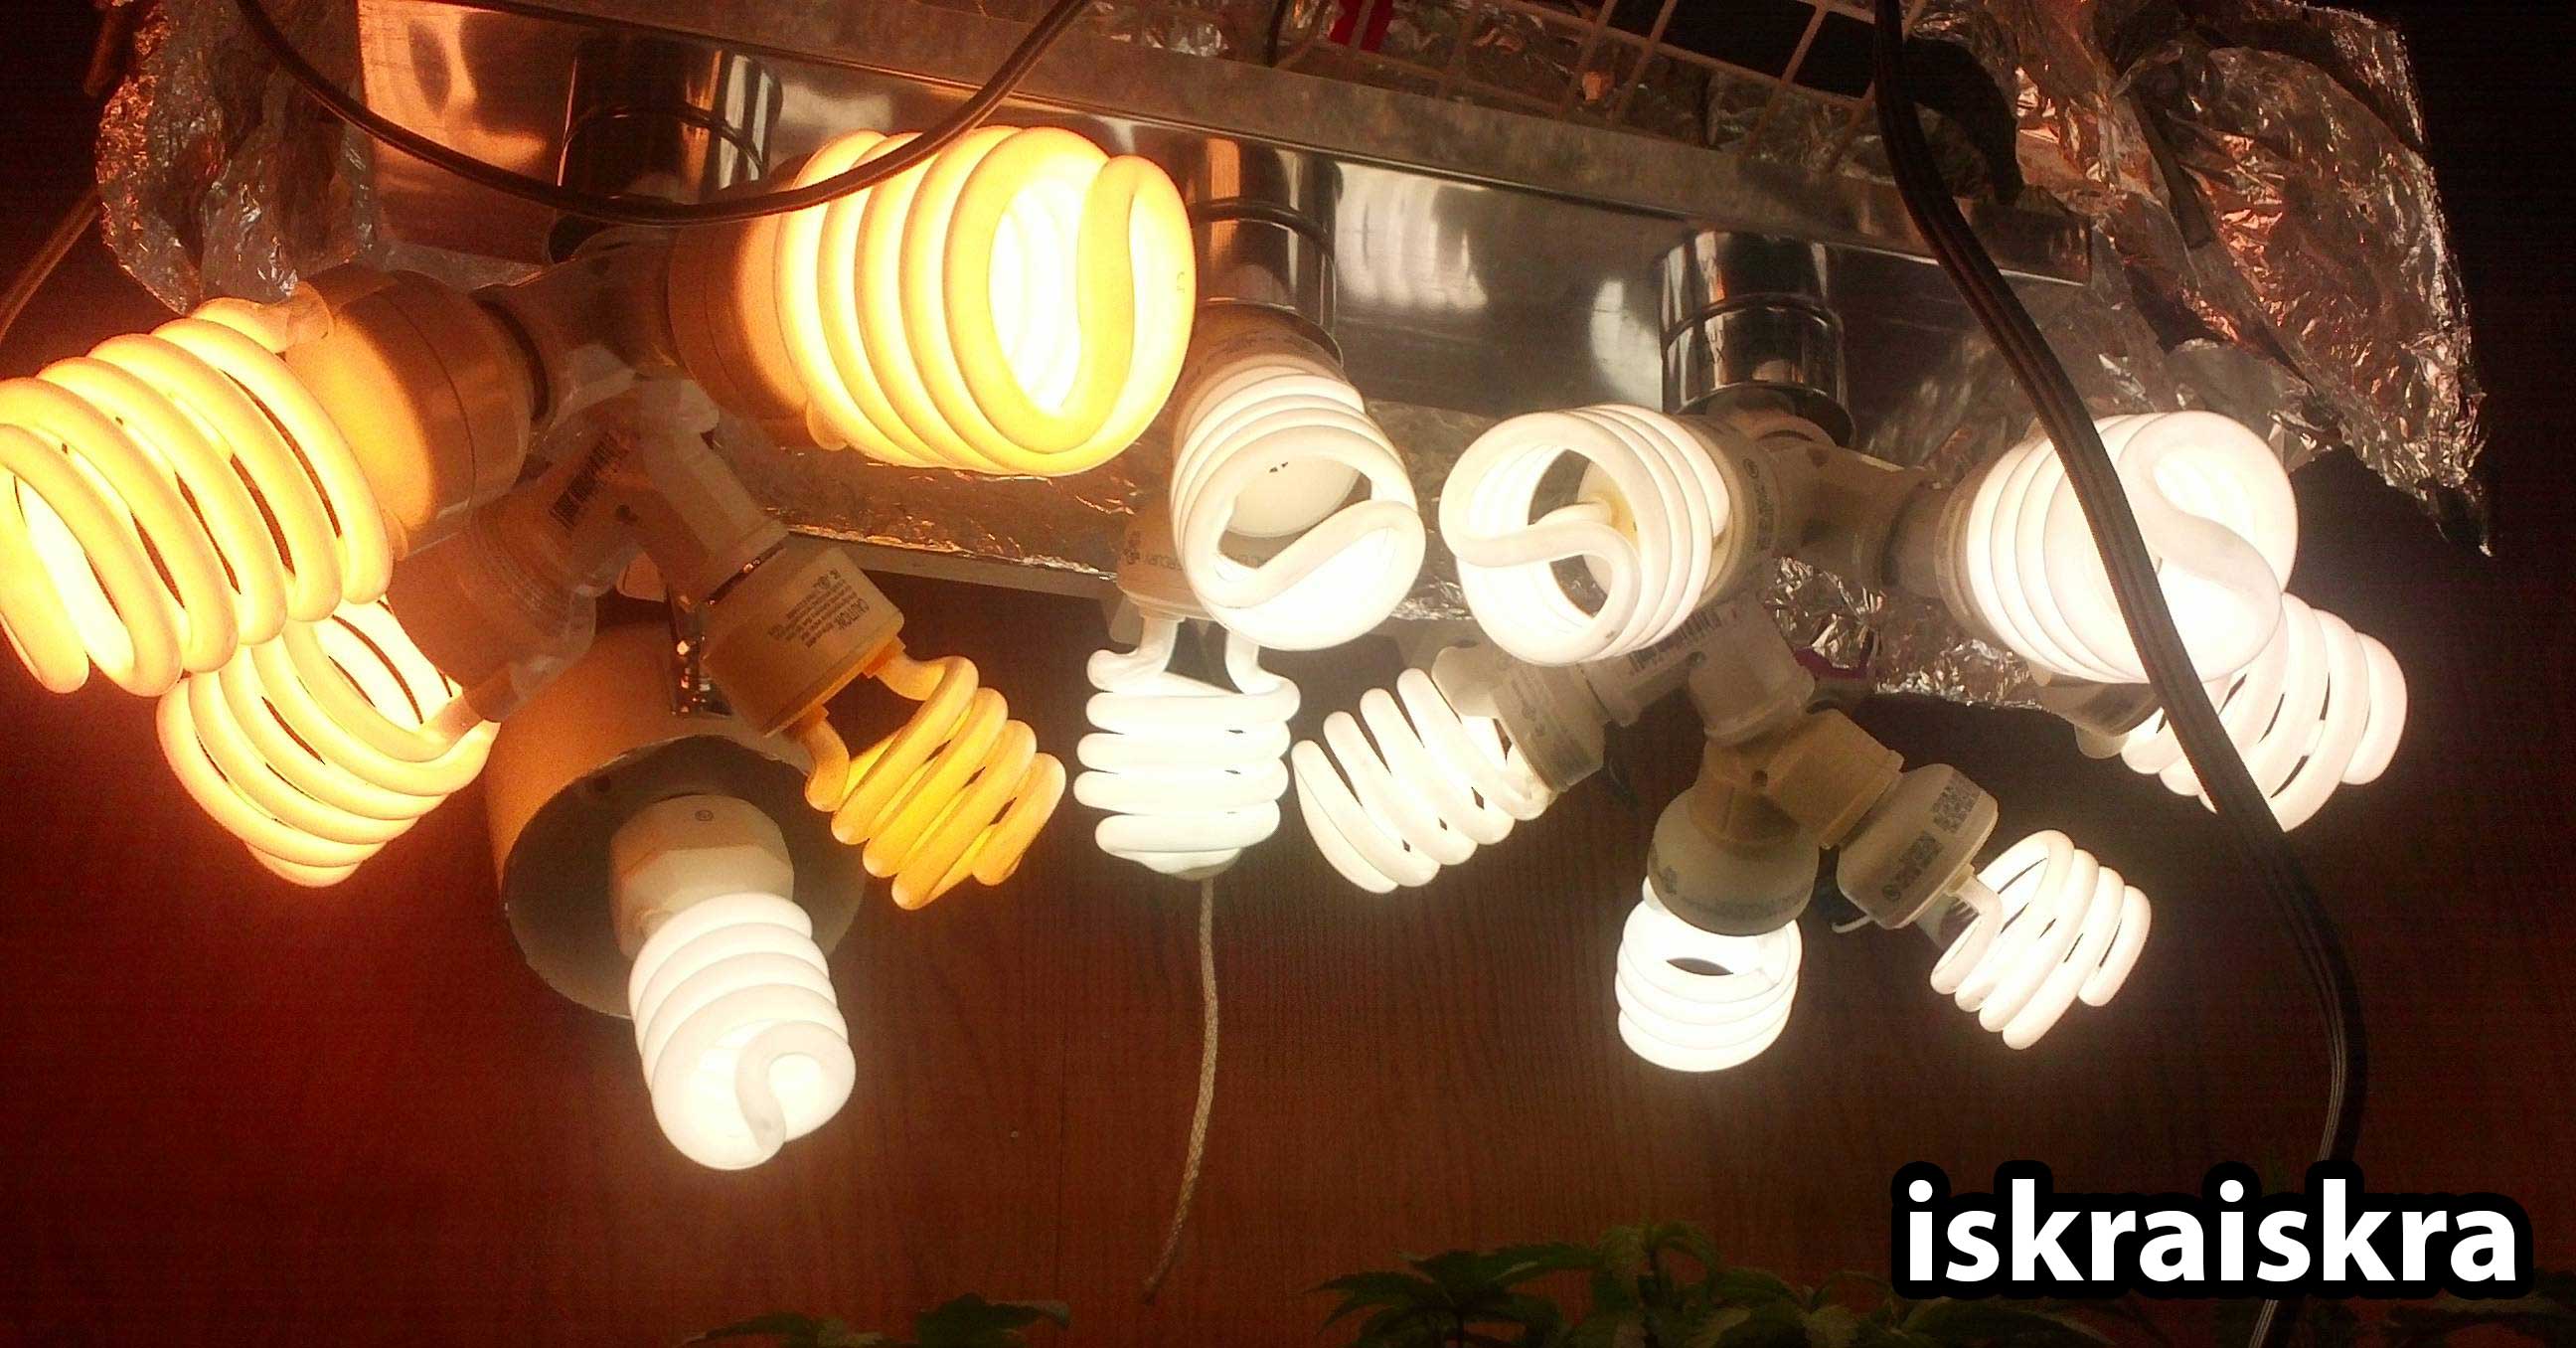
In comparison, LED or HPS grow lights are kept a foot away from your plants or more, which gives you a lot more wiggle room if you need to spend some time away from your plants.
Learn more about different types of grow lights
Don’t DIY Everything
Although doing things yourself can save you a lot of money, having to make your own tools for the job almost always ends up taking more time. It’s like if you decided to use a rock to drive nails into wood instead of a hammer. You wouldn’t have to invest money in a hammer, but using a rock is going to take you a heck of a lot longer and not do as good a job!
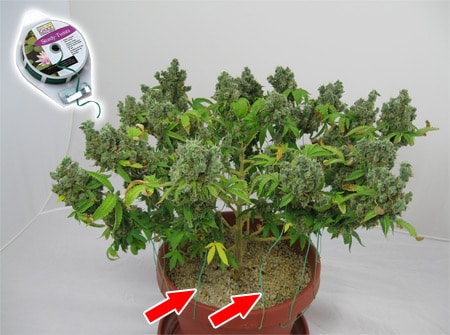
One simple example when it comes to growing marijuana is using plant ties, which are a tool specifically made for bending and securing stems for plant training. Plant twisty ties unwind from a spool and an attached cutter lets you easily cut each tie to the perfect length in seconds. They are made to be strong enough to hook onto your plants and secure stems where you want, but not strong enough to accidentally hurt them.
Save time by using specially made plant twisty tie to secure your stems, not some random item around the house like wire or pipe cleaners!
If you wanted to save some money, you could skip getting plant ties altogether and just find something from around the house to secure your stems, like pipe cleaners. They both accomplish the same thing in the end, but with pipe cleaners you would likely have to tie several of them together each time you need to secure a stem. An extra minute here and there starts to add up after a while!
In addition to the time savings, DIY stuff often doesn’t last as long or work as well as tools made for the job. For example plant twisty ties are made of smooth plastic that is unaffected by water, while pipe cleaners are “hairy” and can easily start molding or running into other problems from being exposed to moist conditions. Unexpected malfunctions with DIY stuff can cause problems that take time away from your busy life!
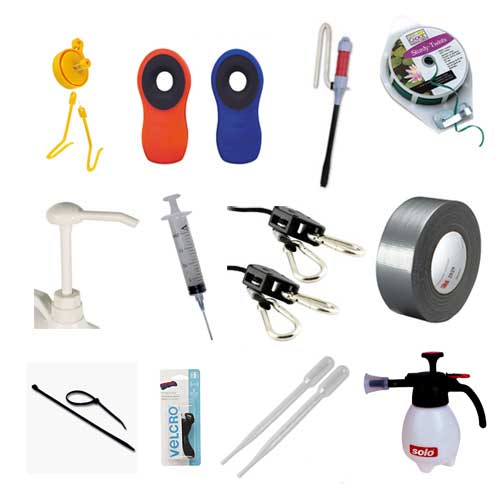
Other handy tools specifically made for growing purposes include plant yo-yos (for holding up falling plants), a convenient grow tent (easier than building a grow space from scratch), and rope ratchets (adjust lights up and down with a few clicks). Each of these grow room accessories are cheap but can shave off a few minutes when you’re tending to your plants!
More growing tools you might not know about
Some of these ideas are little things and may only take a few minutes to set up, but can end up saving you so much time and frustration during your grow!
Make Sure You Have an Easy Way to Get Water
When it’s hard to get water, not only are you just less likely to make up your water on time, it ends up taking more of your time.
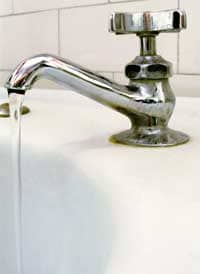
 Learn how to get water from a too-small sink. If your grow space is near a sink, but you can’t fit your water container under the faucet, you can install an easy-release adapter that lets you easily “snap” a hose onto your sink. In my house the only suitable place to fill up water is on a different floor as my grow space, but with this adapter I can just use the bathroom sink on the same floor so I never have to lug water up a flight of stairs.
Get a good size water container to mix up nutrient water. If you’re making up several 1-gallon containers of water at a time, consider getting a bigger container so you can make more at once.
Don’t try to carry too much water at once. This doesn’t necessarily save time, but will save a lot of effort. If you can’t use a hose to get water directly to your grow space, try to think about how much water you’re expecting yourself to carry on a regular basis. I used to use a single 5-gallon jug to make up water for my plants because I wanted to make a lot of water at a time. The problem was I had a hard time carrying a jug with 5 gallons of water in it. I switched to using two 3-gallon jugs because they’re easier to carry/handle than a single 5 gallon jug and that works a lot better for me!
 Learn how to get water from a too-small sink. If your grow space is near a sink, but you can’t fit your water container under the faucet, you can install an
 Make It Easy to Dispose of Water
When watering cannabis plants grown in containers, you want to give your plants enough water every time to get 20% extra runoff water out the bottom. Making sure to water your plants thoroughly each time means you have to water less often, and cannabis plants grow faster when they get wet/dry cycles.
But in order to prevent soggy roots and plant drooping, you also want to make sure to remove that runoff water right away so your plants aren’t sitting in it. Sometimes that’s easier said than done!
If you’re growing with containers and each one has their own saucer, you have to physically pick up the plants every time you want to empty the saucers of runoff water. If you only have one plant it’s not really a big deal but the more plants you’re growing at a time the bigger of a pain this is.
You don’t want to have to empty each saucer one at a time after you water your plants
One solution is to put all your plants on a tray that will catch water, and put something small like a block of wood under the tray opposite you to make an incline. This makes it so all the runoff water drains to the front of the tray.
These trays are on a slight incline so runoff water immediately pools to the front
At this point, you can take something like a wet vac (I like the Bucket Head attachment which hooks onto any 5-gallon bucket to make an ultra-cheap wet vacuum) to quickly suck up all the runoff water without having to move the plants at all.
Easy Access to Plants
This may seem simple but when it comes to making sure you pay enough attention to your plants without having to spend a lot of time on them, it’s super important to make sure you can easily access your plants. Every extra obstacle between you and them is going to take a little extra time. So whenever possible try to make sure you have a clear path to the grow space, and that you have an easy-to-open grow tent, closet or grow box.
The main idea is to make it so when you check on the plants it only takes a second. That being said, don’t make your grow area easy to access for other people!
Make Sure the Tools in Your Grow Space Are Easy to Reach
You might not realize you’ve been wasting time going across the room every time you need to get your nutrients or a pH pen. When possible, you want every tool you use (measuring spoons, nutrients, pH testers, eye protection, grow journal, camera, etc) to be within arm’s reach so you don’t have to get up or move while tending your plants.
Taking a little time on a lazy afternoon to really think this one through and set things up right will save you a surprising amount of time and effort in the long run!
Each strain grows and produces a little differently. Some strains may be better than others for your purposes!
Choose a Hardy Strain
Many strains have been specifically bred to be able to handle a wide range of conditions. These “easy to grow” strains can handle heat, cold, high humidity and watering problems better than other strains. When you start with a known hardy strain, you can provide less than ideal conditions and care, but still get really great results. I’m not recommending you don’t care for your plants properly, but a hardy strain will let you get away with more without suffering as many consequences!
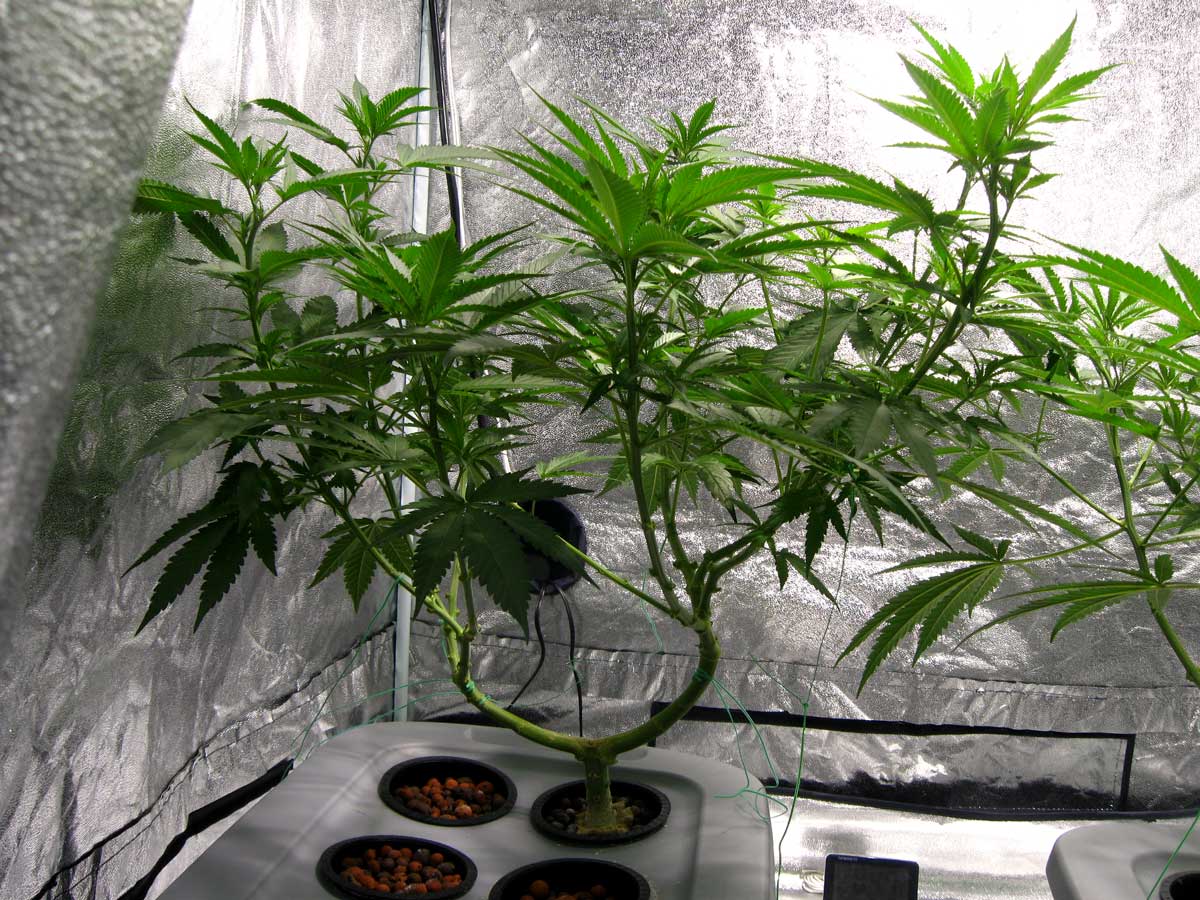
If you’re looking for suggestions, one highly recommended strain for first-time growers is Northern Light. It’s an award-winning strain that is easy to grow, potent, stays short, quick to harvest and mold-resistant. It’s the first strain I ever grew and those plants went through a lot but still made it to harvest!
I Put This Northen Light Plant Through a Lot But It Stayed Healthy!
That’s one popular example, but there are tons of strains that are great for this purpose. When researching strains, the breeder will usually mention in the strain description if a plant is particularly hardy.
Learn more about researching to find the right strain. Also here’s a few hand-picked heat-resistant strains and mold-resistant strains to help get your started.
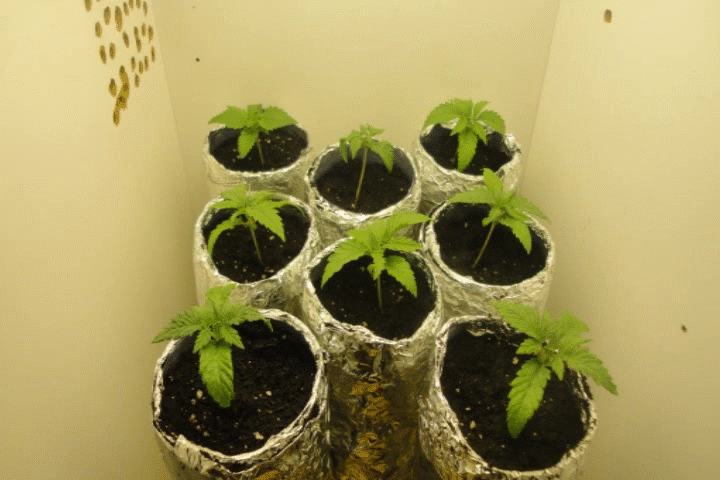
Consider Growing an Auto-Flowering Strain
 With auto-flowering plants, there is simply less for the grower to do. There’s little to no plant training (which can take quite a bit of time, more info on that below). There’s no light schedule to worry about and your buds will be ready to harvest in about 3 months without needing any special environmental conditions.
Another nice bonus is you have the ability to access your plants 24 hours a day (as opposed to flowering photoperiod plants that need 12 hours of complete darkness every day in order to make buds). This makes it so you can check on plants when it’s convenient instead of waiting for the lights to come on!
The one downside to auto-flowering plants is they can become stunted if they run into major problems during the first 3-4 weeks of life. So if you do go with an auto-flowering strain, you definitely want to try to make sure you keep a close eye on your plant until the first month is over. You may not have to do any extra work, but you still should be on the lookout for possible problems. If possible, choose an auto-flowering strain that is known to be hardy!
Learn more about auto-flowering vs photoperiod (“regular”) strains
Growers train their plants because it’s a free way to dramatically increase yields indoors, sometimes up to 40% or even more compared to untrained plants. But although training increases yields, it does take time.
In my opinion, the best way to train your plant to get the increased yields without wasting a lot of time is using a technique known as manifolding.
Note: Manifolding adds extra time onto the length of your grow, but will minimize the amount of time and effort spent training your plants (while still ensuring exceptional results).
Example of a “Manifolded” Cannabis Plant With a Wide, Flat Shape & Many Colas
Why Manifolding?
All types of indoor cannabis plant training have the same goal – to create a wide and flat plant, with an even canopy like a table. This helps the plant get the most possible amount of light from the grow light. But there are many ways to accomplish this table-top shape, from simply bending stems (Low Stress Training) to using screens (ScrOG).
Manifolding is one way to accomplish the table shape, and there are a couple reasons I think it’s the best way to train your plants without needing a lot of time:
There’s less guesswork on your part compared to many other training techniques. You just follow the instructions exactly and it’s very clear without you having to think about anything.
It only takes two sessions to make your manifold, which takes just a few snips of the scissors.
After that you’re pretty much done. As the plant grows, your only job is to arrange colas to make sure they all stay exposed to the light and none of them gets taller than the others.
Read the full manifolding tutorial
Note: Manifolding can only be done with photoperiod plants, not auto-flowering strains (why not?).
Or don’t train at all…
You might consider just skipping training altogether because you can still get great yields with untrained plants if you do it right.
Some growers use a technique called SoG (Sea of Green) to get the biggest yields without doing any training. Basically the idea is to just grow one or many untrained plants, and get them to make buds right away so you get a “sea” of plants with one main bud each. This can be a good choice for both photoperiod and auto-flowering strains, and in addition to taking no time training, harvest time comes quick!
SoG in action – This technique uses many small plants to create that flat shape with many colas, but without any training at all
One last tip…
Research before you start growing!
You can just put a cannabis seed in regular potting mix and deal with problems as you go along, and honestly that’s how a lot of people start growing, including me! But doing it that way definitely ends up taking more time (and often money) because you end up running into problems or realizing along the way that you need to change up your setup.
I know this may be easier said than done, but if your goal is to grow cannabis without needing to spend much time each day caring for your plants each day, the best thing you can do is take the time to research before you even get your seeds!
Here’s a list of research topics to help you get started!

Jump to…
Growing Cannabis with Super Soil
How to Use Coco Coir as a Growing Medium
Top-Fed DWC (Bubbleponics) Tutorial
How do I produce top-shelf buds every time?