by Nebula Haze
I love growing tiny cannabis plants in a mini tent! It’s a fun way to grow some extra weed with barely any effort. This short tutorial will show you how to copy these results for yourself! These tents are great for nurturing seedlings and clones, but this tutorial focuses moe on how to grow a few small cannabis plants from seed to harvest.
First, get a small-but-powerful LED grow light made for cannabis plants such as an HLG 100 Quantum Board (100W LED grow light). This is the LED grow light I used for most pictures in this tutorial.
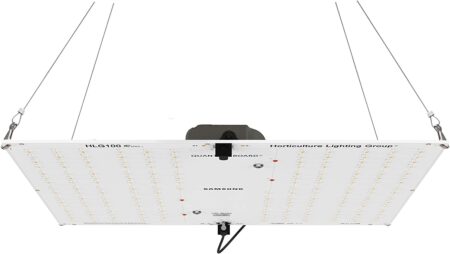
A cheaper alternative that works just as well for growing cannabis is the Spider Farmer SF1000D LED (only $70!).
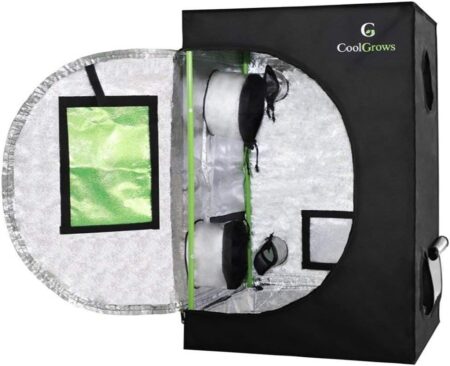
Of course, you can grow cannabis plants in a closet, but a grow tent has reflective walls to bounce extra light back at your plants, helps contain smells, and is waterproof to protect your floors. Like a pop-up mini plant paradise.
I’m using the 2’x2’x3′ Grow Tent by CoolGrows. I’ve tried a few different grow tents in this size and any similar tent works great.
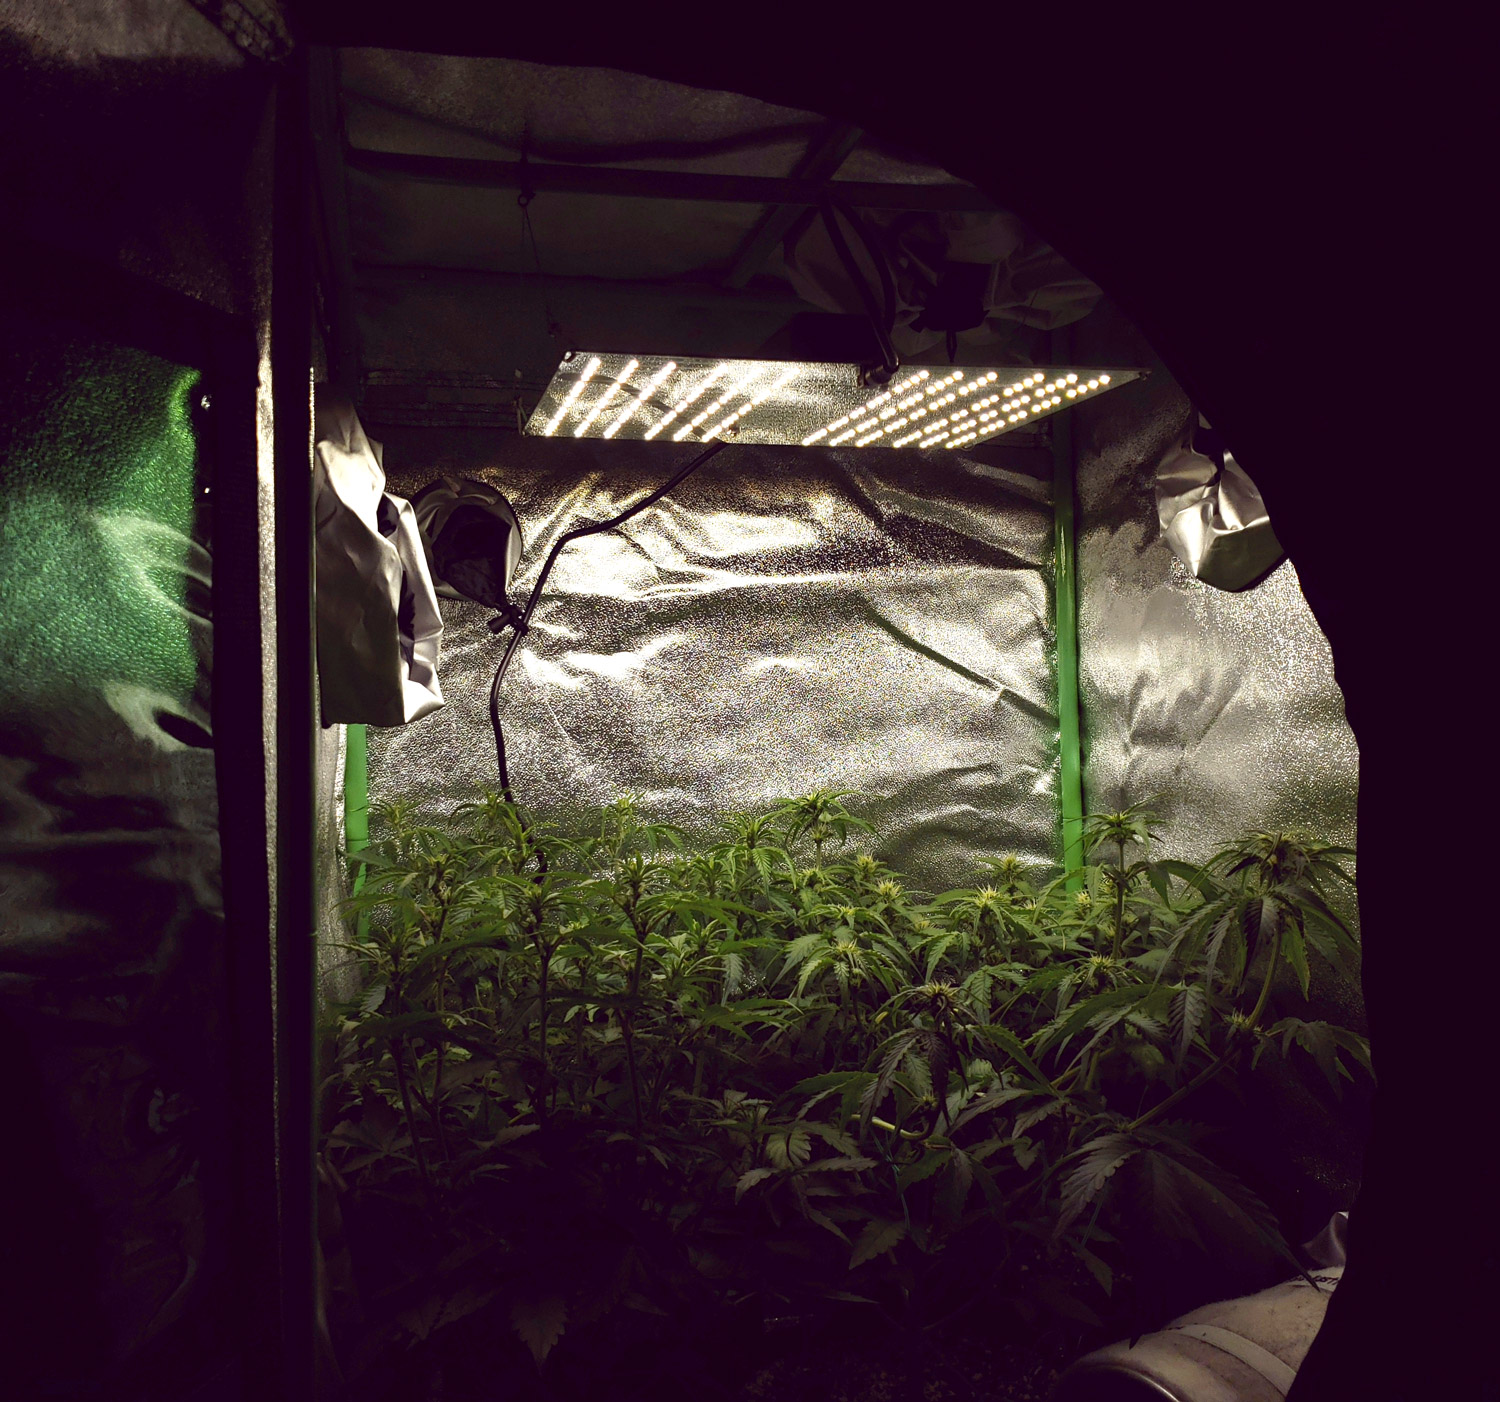
Here are some of the cannabis plants I’ve grown in this tent so far:
Here are the cannabis plants at 38 days old from germination under the HLG 100 LED grow light. These were autoflowering strains so they automatically start making bud on their own.
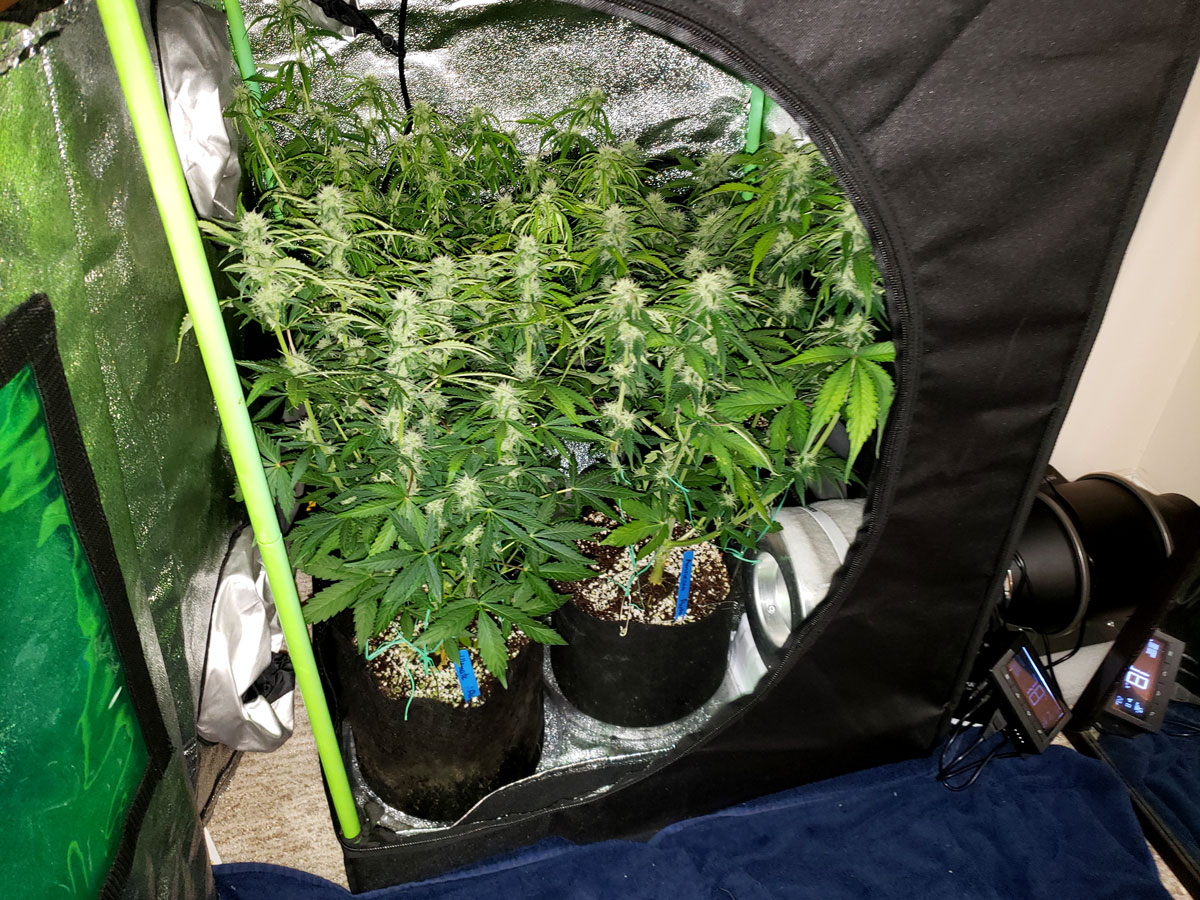
Just before harvest at 82 days old.
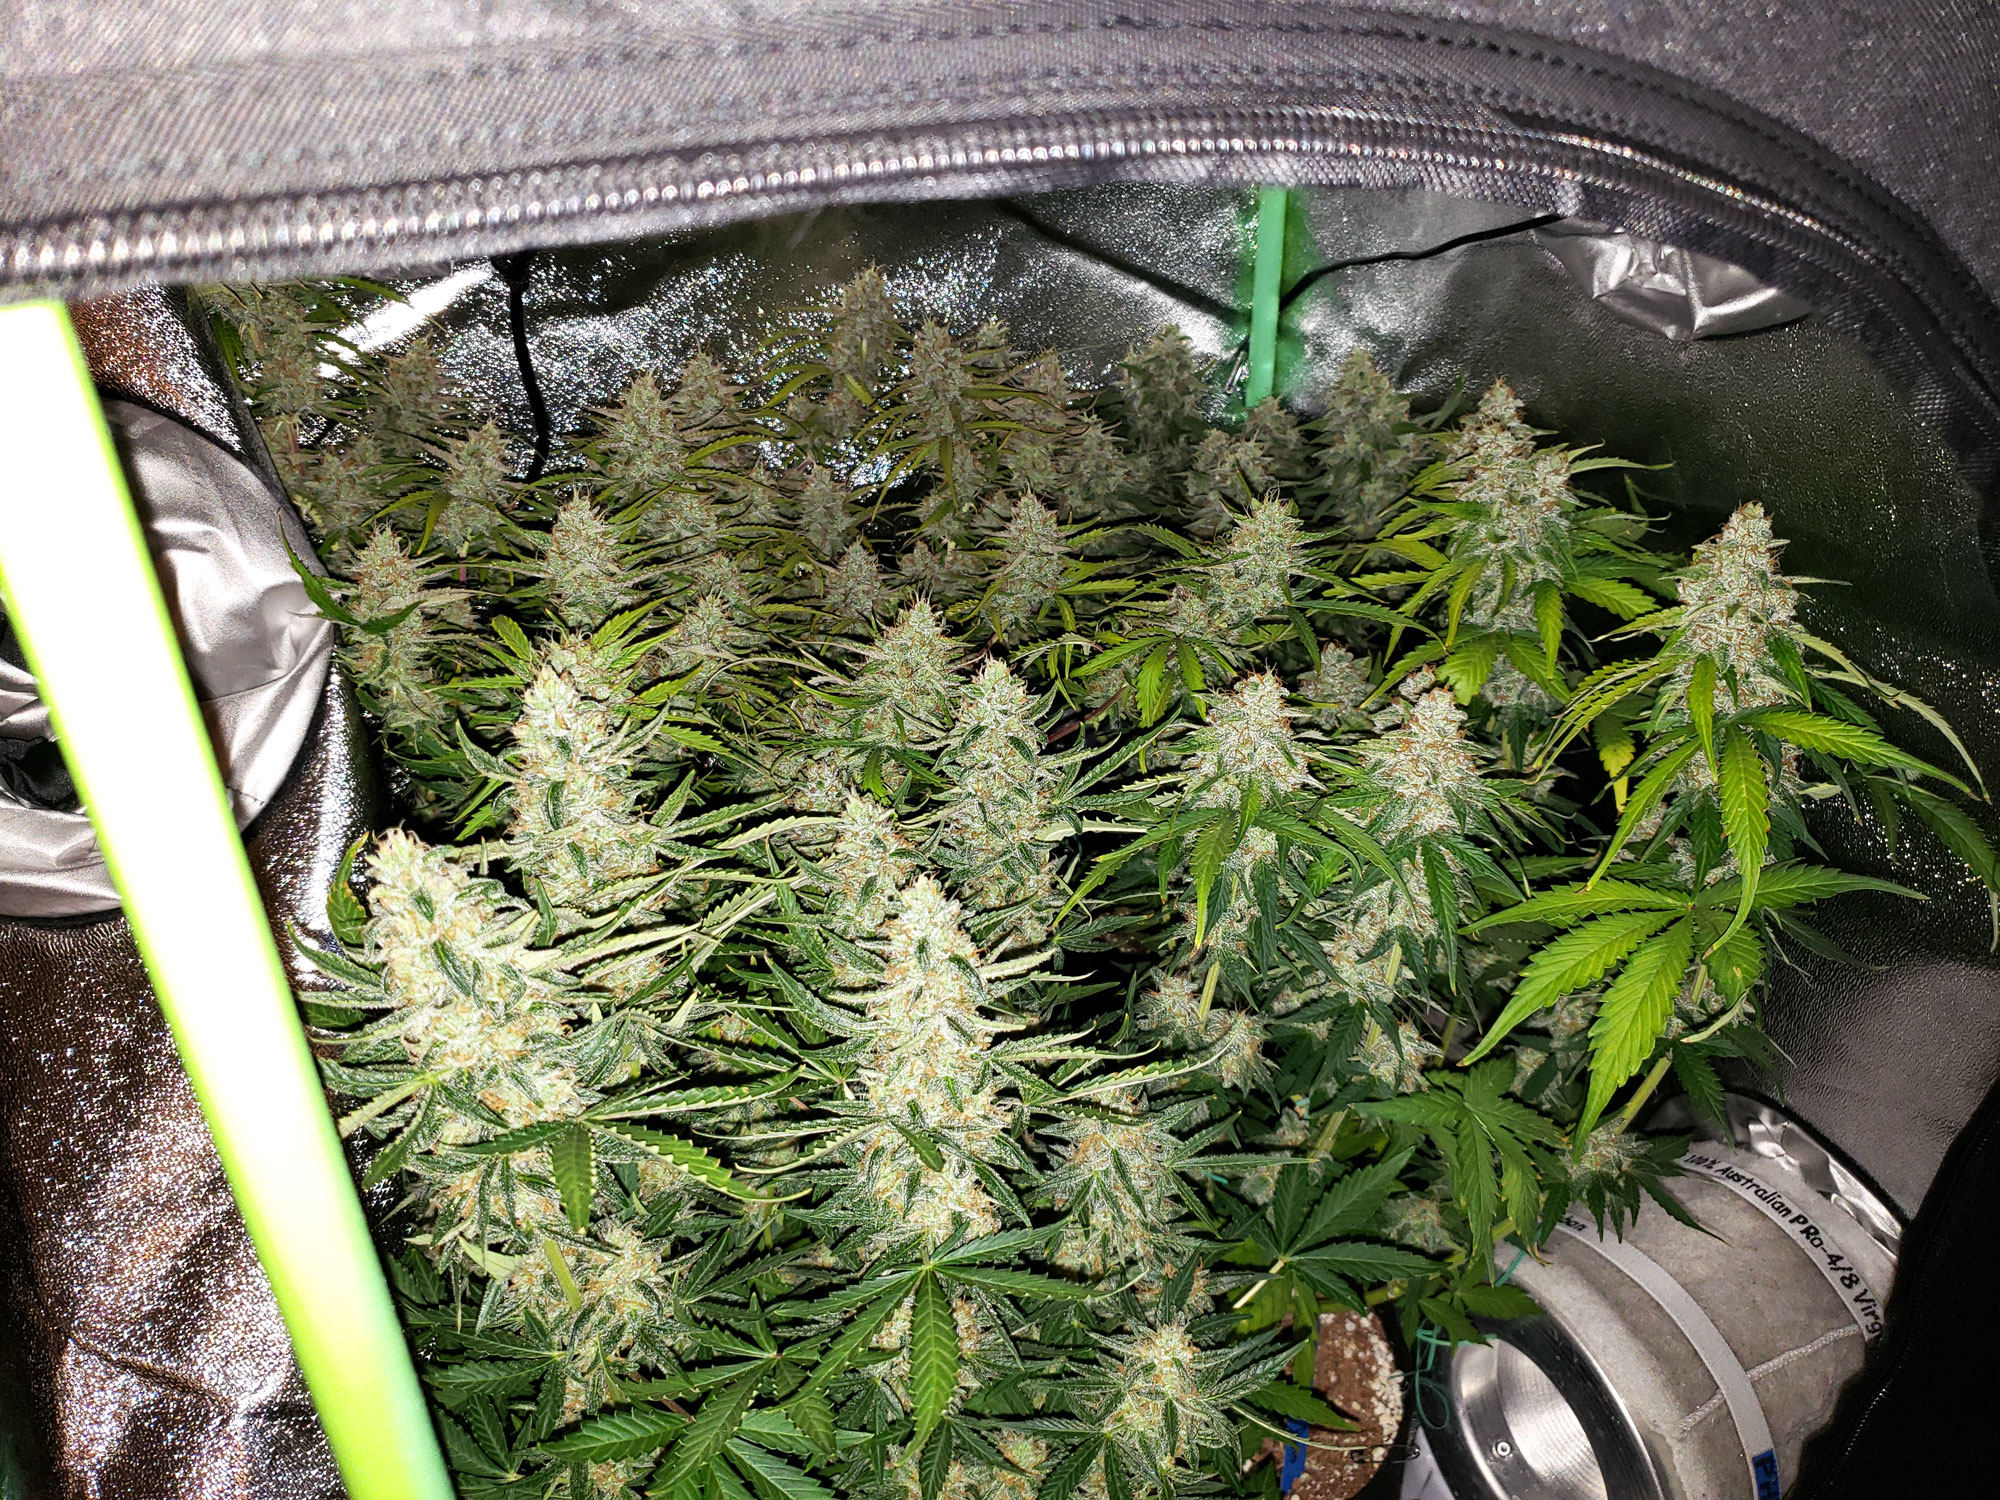
Total yield: 156g or 5.5 oz (under a 100W light, which is 1.56g/watt!)
Here is an example of the buds produced! (This was Auto Amnesia Haze by MSNL)

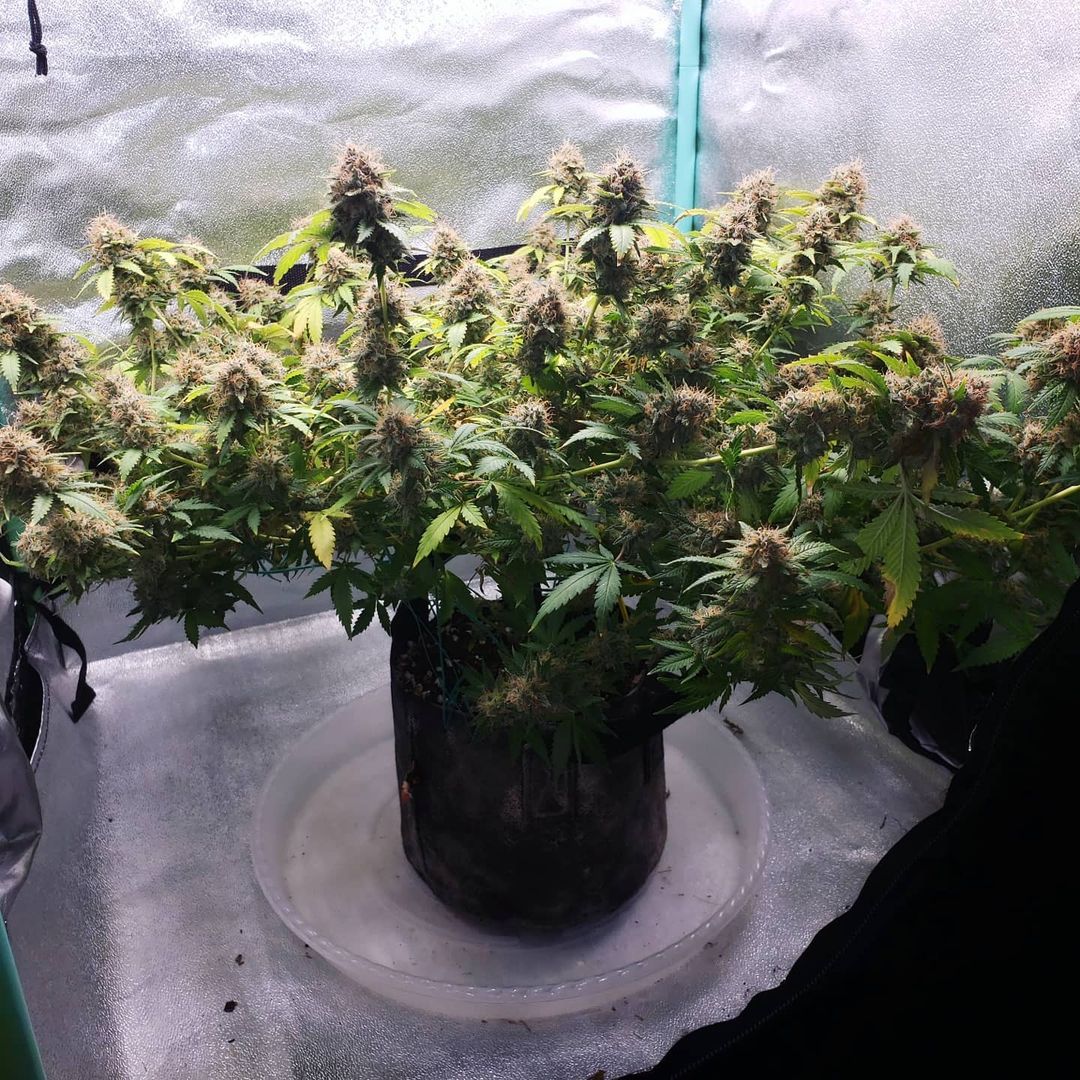
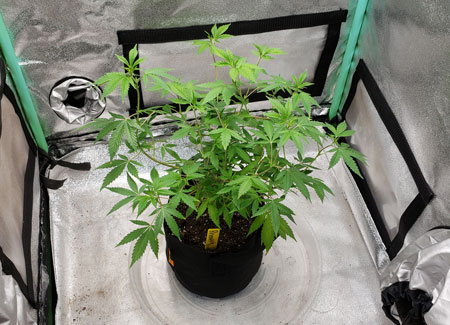
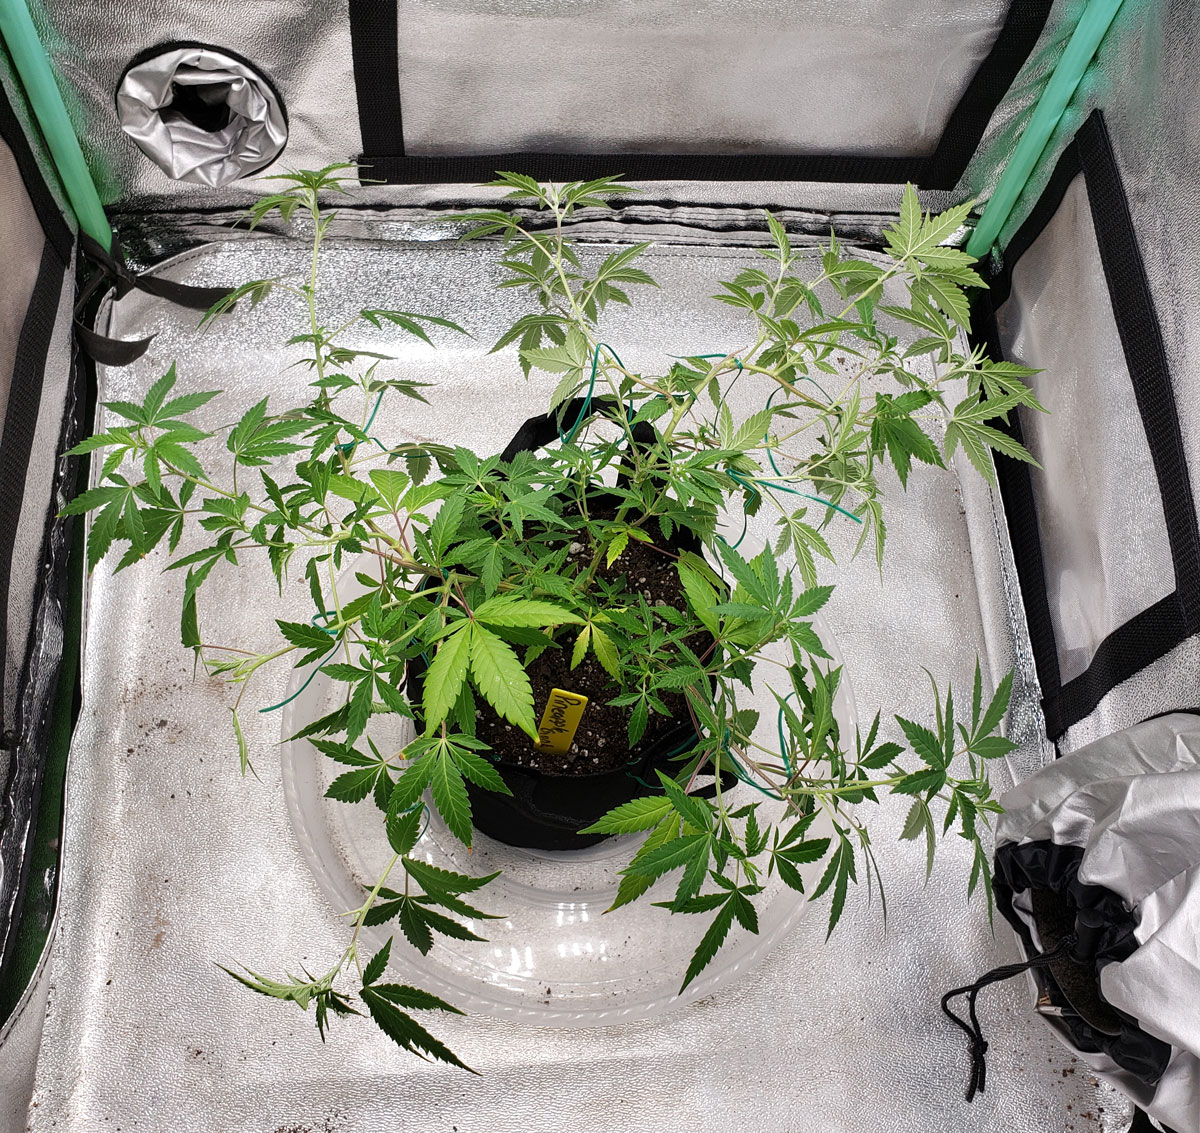
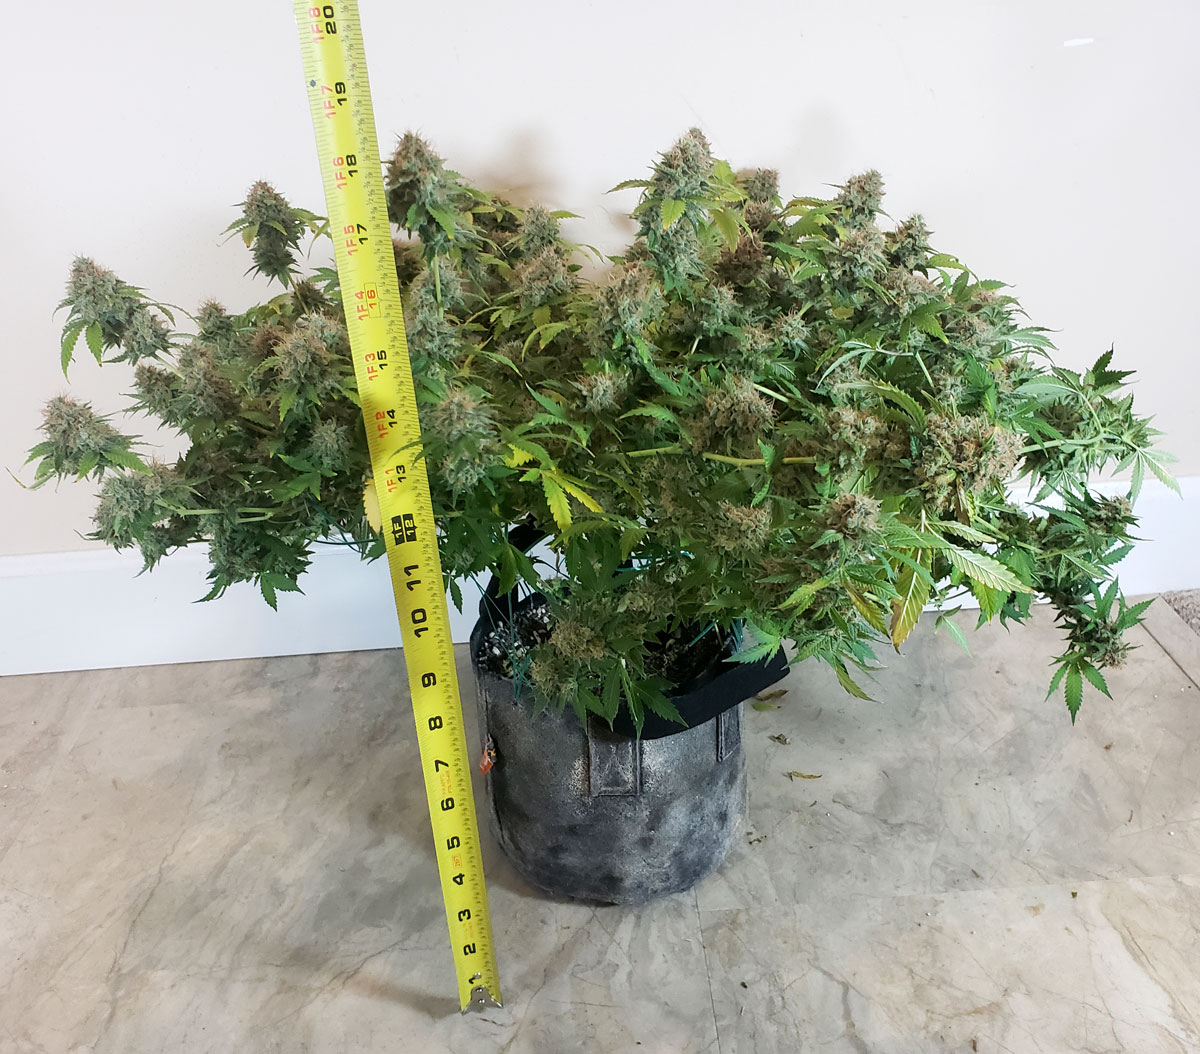
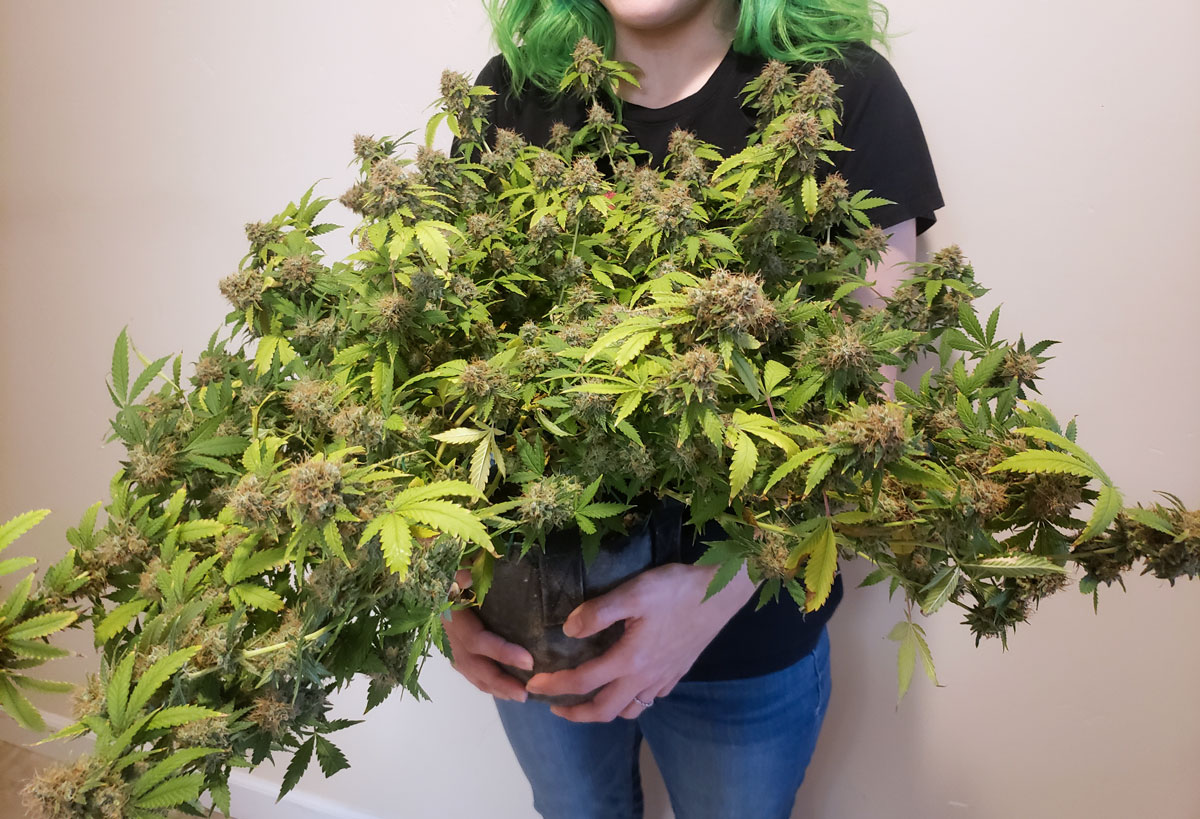
Growing a single Pineapple Chunk plant (instructions below to copy this shape).
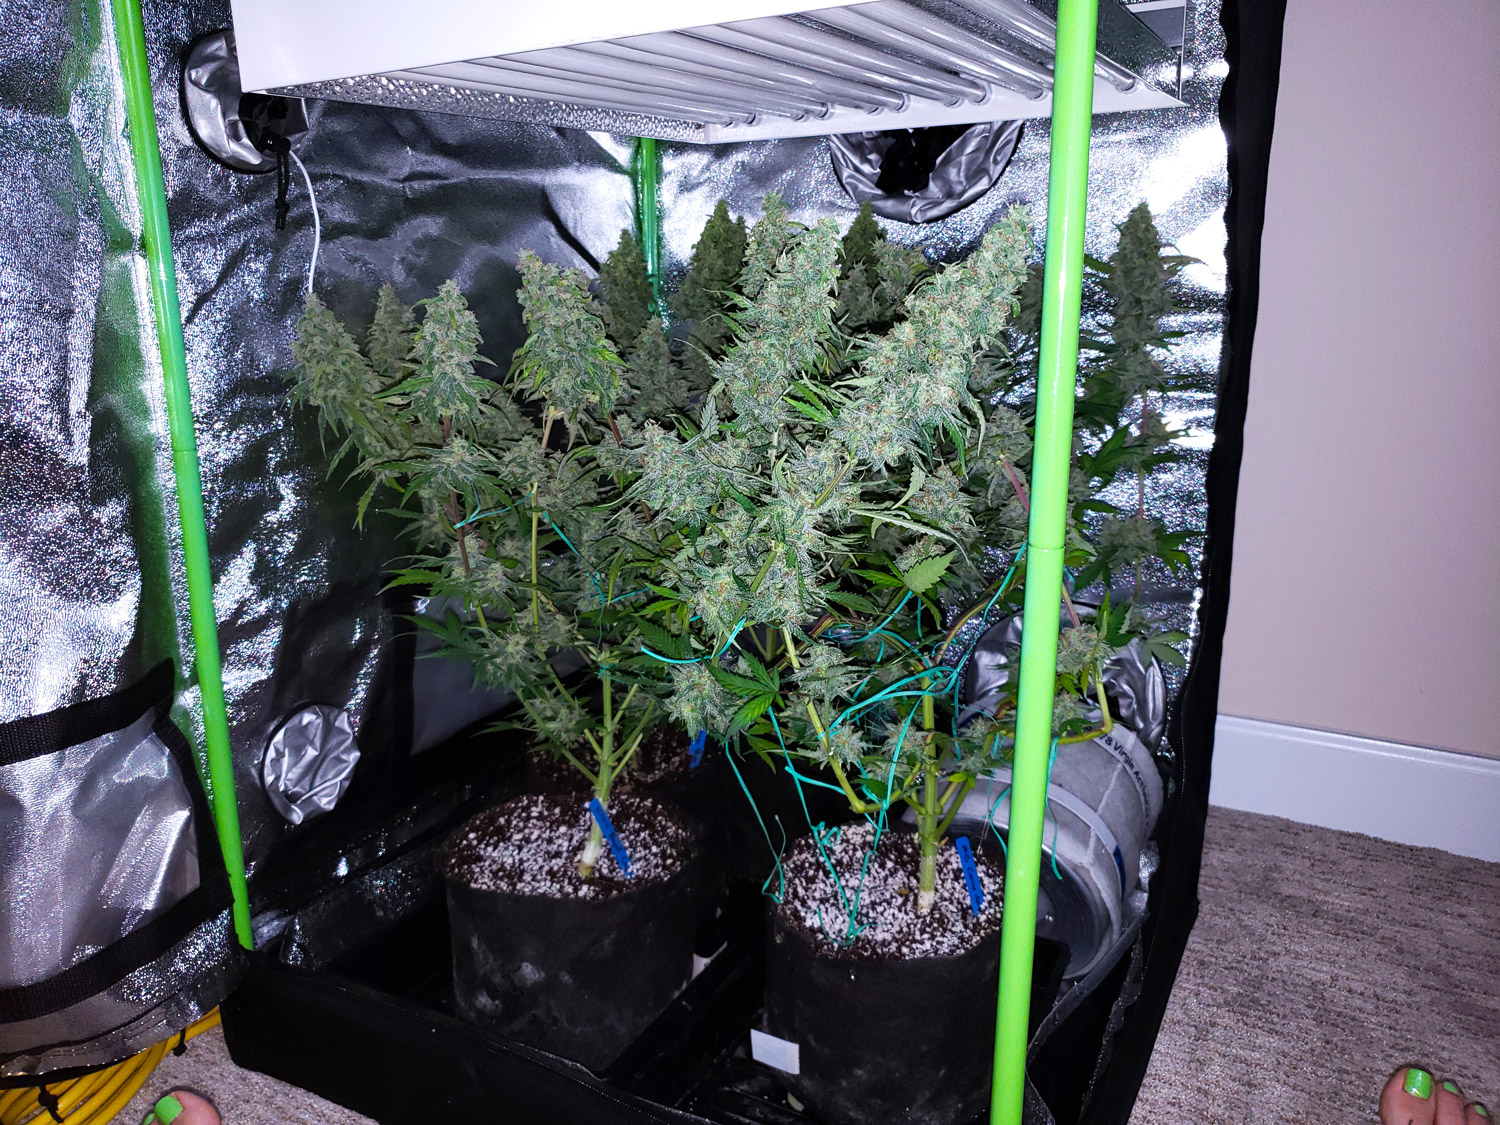
We’ve even grown in the 4′ tall tent with a mini DWC/hydro system! A tight fit but doable. (This example used a Spider Farmer SF1000D LED grow light)

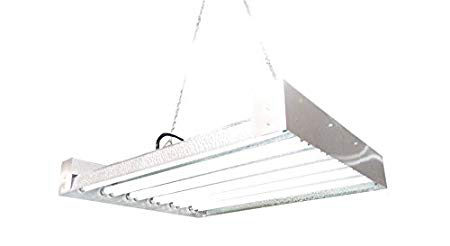
Here is an example of a different grow under a 288W T5 Fluorescent Grow Light. I don’t recommend using fluorescent grow lights to grow weed because they get very hot and produce low yields for the amount of electricity and heat, but I thought I’d share because it was a fun and still productive grow.
This is what the four plants looked like before harvest
Total yield: 166.78g or 5.88 oz

Learn how to set up your own mini tent!
Here are step-by-step instructions on how to train your cannabis plants to stay short and manageable in a small grow space.
How to Make Cannabis Plants Stay Small and Still Produce a Lot of Weed
Main Idea: Train plants to grow flat and wide like a table in the vegetative stage.
Tips
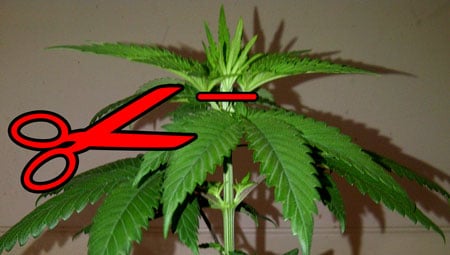
- Cut off the top of young plants – Cut off the top of young plants in the vegetative stage. Cutting off the top of a plant is often called “topping” in the cannabis growing world. Topping splits any stem into two, and a plant with two tops is easier to spread out to create flat plants than a plant with one main top
- Beginner tip: Wait until the seedling has grown 6 sets of leaves. Cut off the top through the main stem above the 5th set of leaves (pictures below). Easy and simple, yet won’t stress plants. After being topped, your plant is easier to spread out and naturally grows more bushy and wide.
- Tall stems should also be “topped” – Cut off the ends of any stem that’s growing much faster than the rest. Each new pair of stems grows slower than the original one. Topping is a great tool to curb fast-growing stems in the vegetative stage.
- Spread out – As the plant grows, spread out the stems by bending them down and away from the center of the plant. Don’t forget to tie branches down with something like plant twist tie or they’ll spring right back up the next day!
- Supercrop (if necessary) – Cannabis stems get hard and woody as time goes on. If you find you need to bend a stem that’s already stiff, use the supercropping technique to bend even the toughest stems at any angle. This is a bit advanced because you can accidentally split stems. But don’t worry if you do. Simply tape broken stems back together like a cast and the plant can heal. One of the things I love about cannabis plants is it can recover if you make big mistakes in the vegetative stage.
Here’s an example of training plants to grow wide and flat for more bud sites and bigger yields.
Cut off the top of a young plant right above the 5th set of leaves (“top” the seedling above the 5th node)
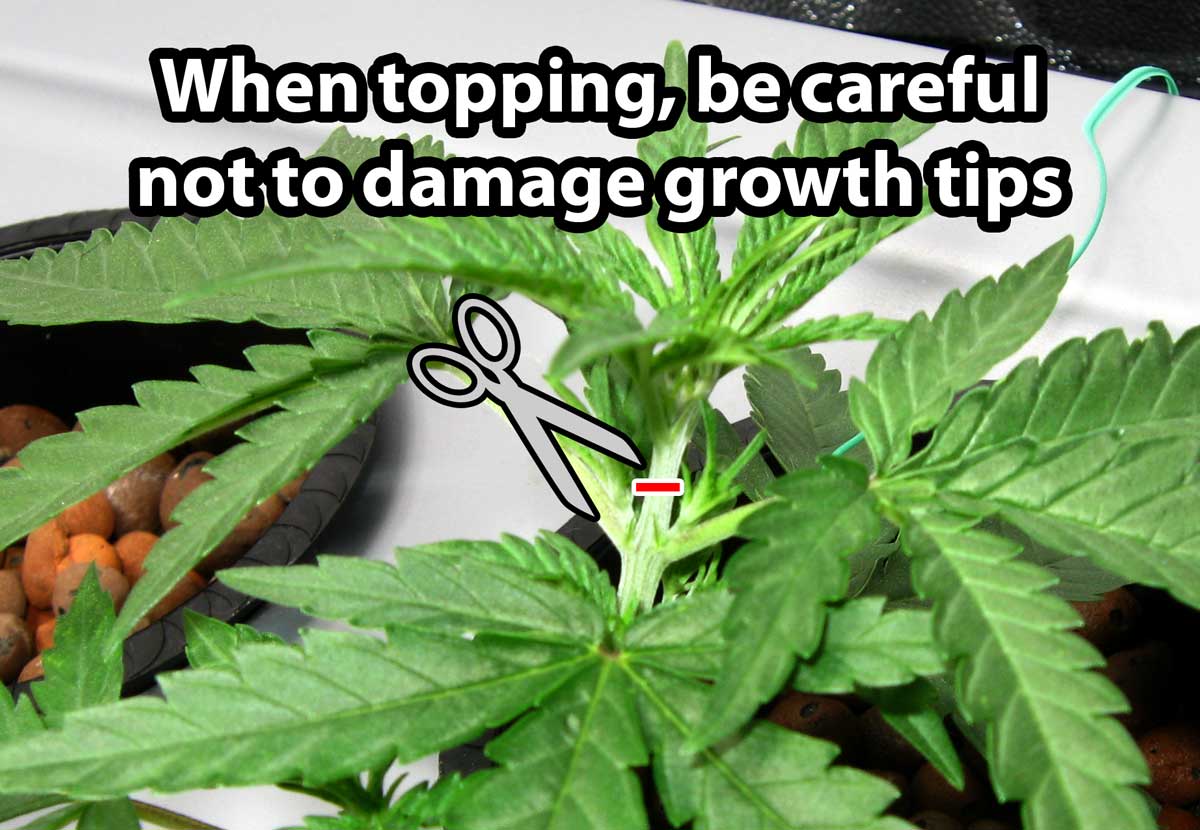
When cutting through a stem, be careful not to damage the growing tips at the base of each leaf. These will become your two new stems.
Topping splits the main stem into two. You can see the two new “main stems” on each side of the cut.
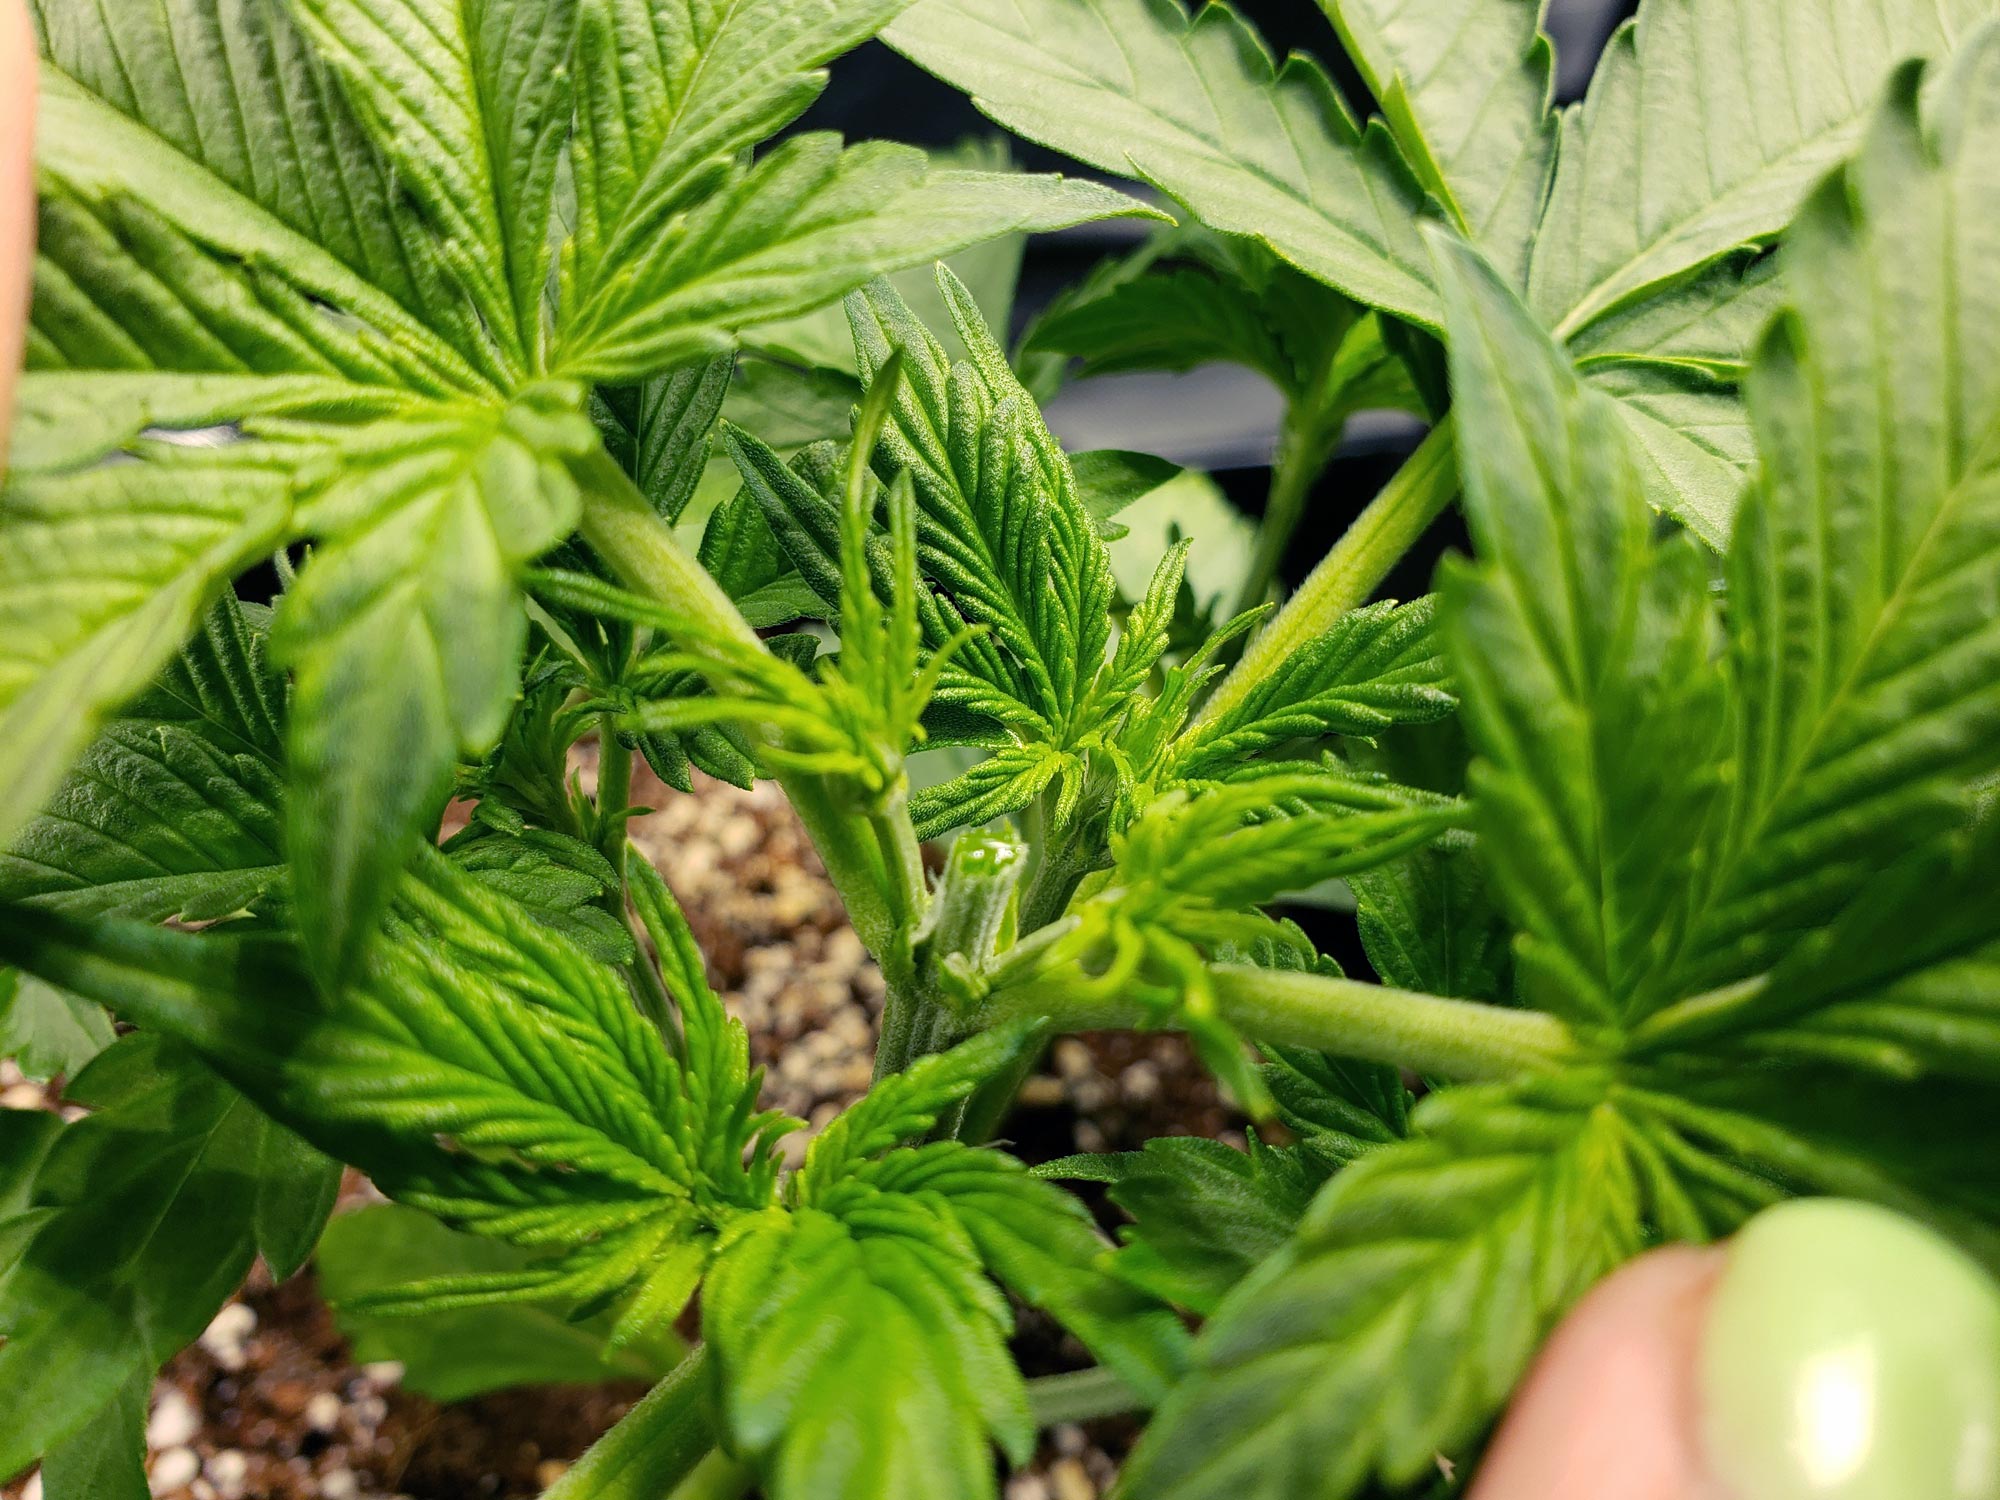
Since you waited until the plant had several sets of leaves before cutting a small piece off the top, it will continue growing as if nothing happened.
As the plant grows, spread out the branches and cut off the top of any stem that’s getting bigger than the others. You don’t want your plant putting too much energy into any one branch.
The plant was transplanted to a mini grow tent under an HLG 65 4000k LED grow light and given a week to adjust to the new environment.
Training time!
Bend over all the stems down and away from the center until it looks flat from the side
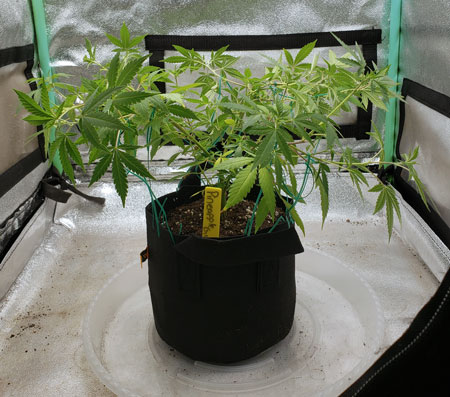
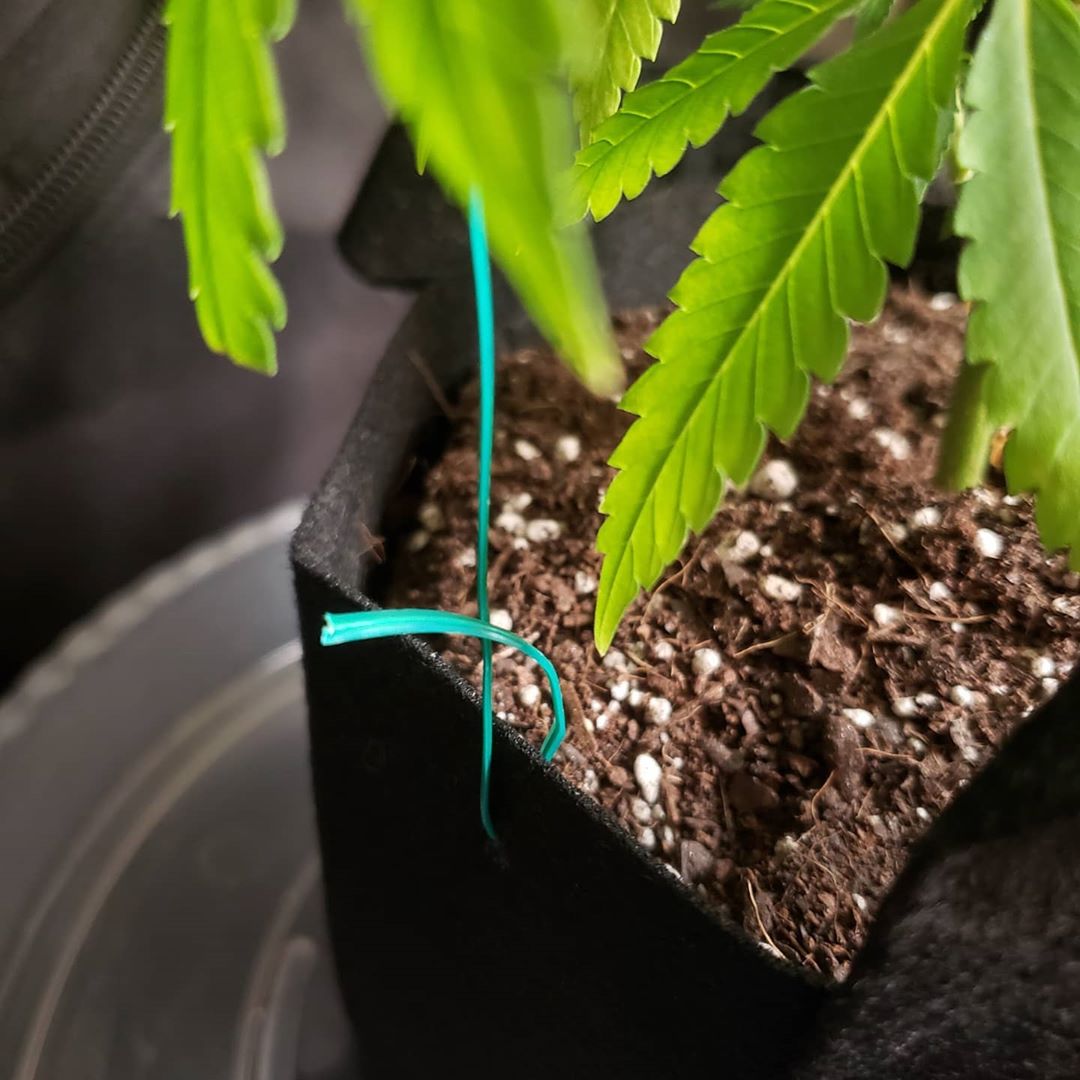
I used plant twist tie to hook on to each branch and tie it down where I wanted. I attached the other end to the fabric pot.
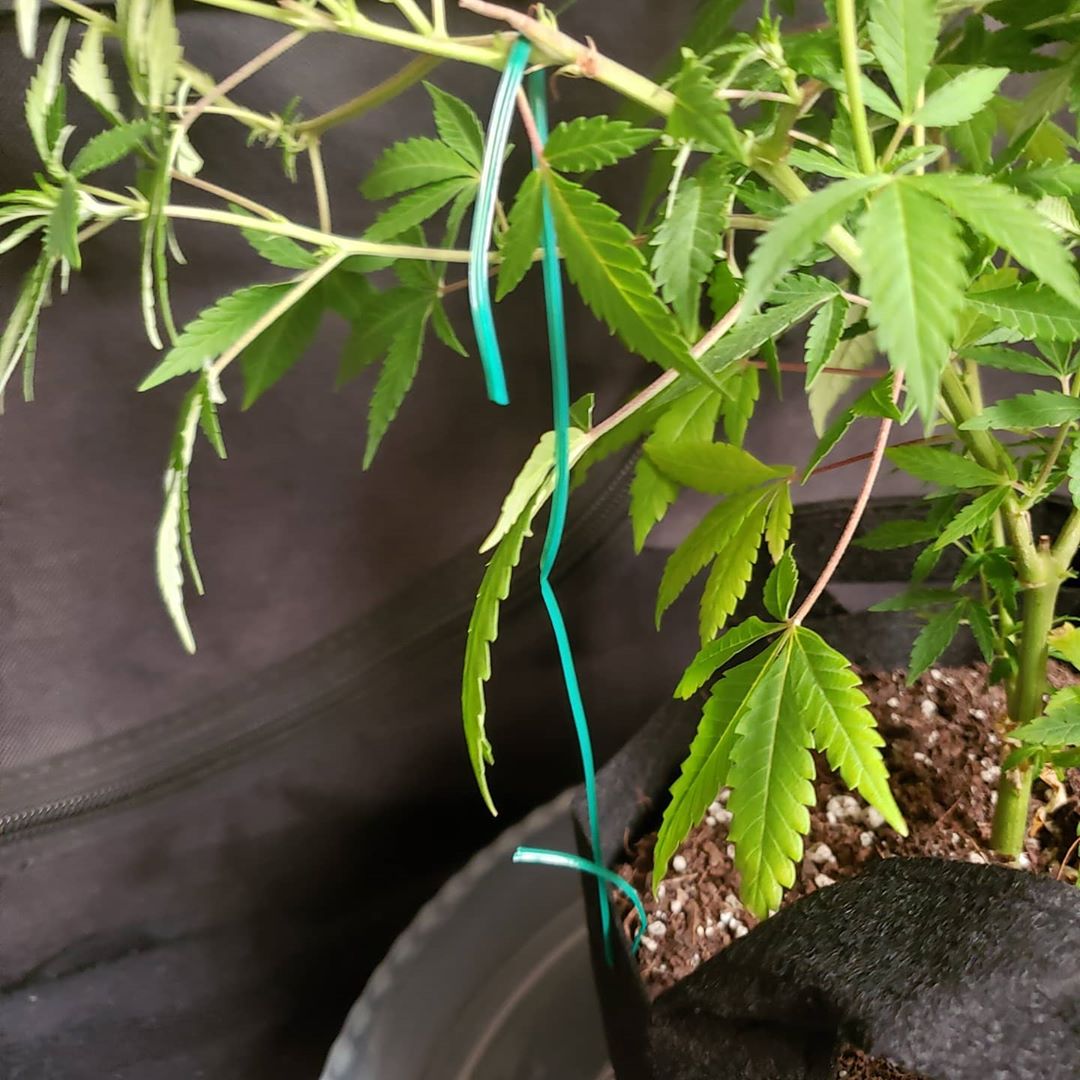
How to attach to the pot? You can use safety pins or binder clips but I think this is easier. Poke holes in the fabric using sharp pointy Fiskars pruning scissors and thread the twist tie through.
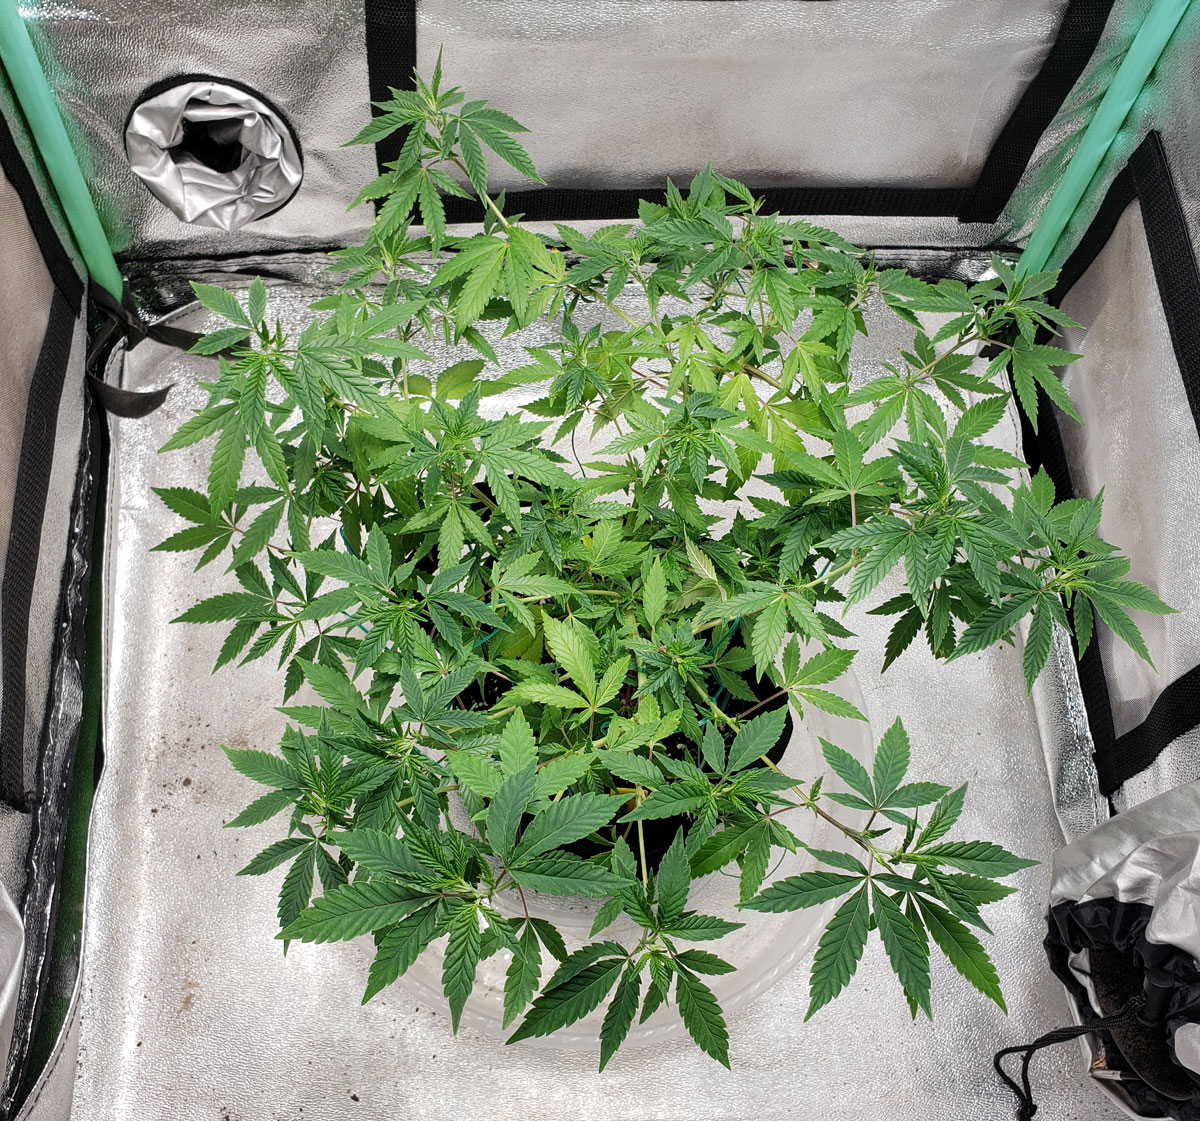
Back to training. Here’s a top view. We’re trying to fill the entire tent with this plant.
A few days later the plant has filled in nicely. Repeat the steps until you’ve filled your entire grow space.
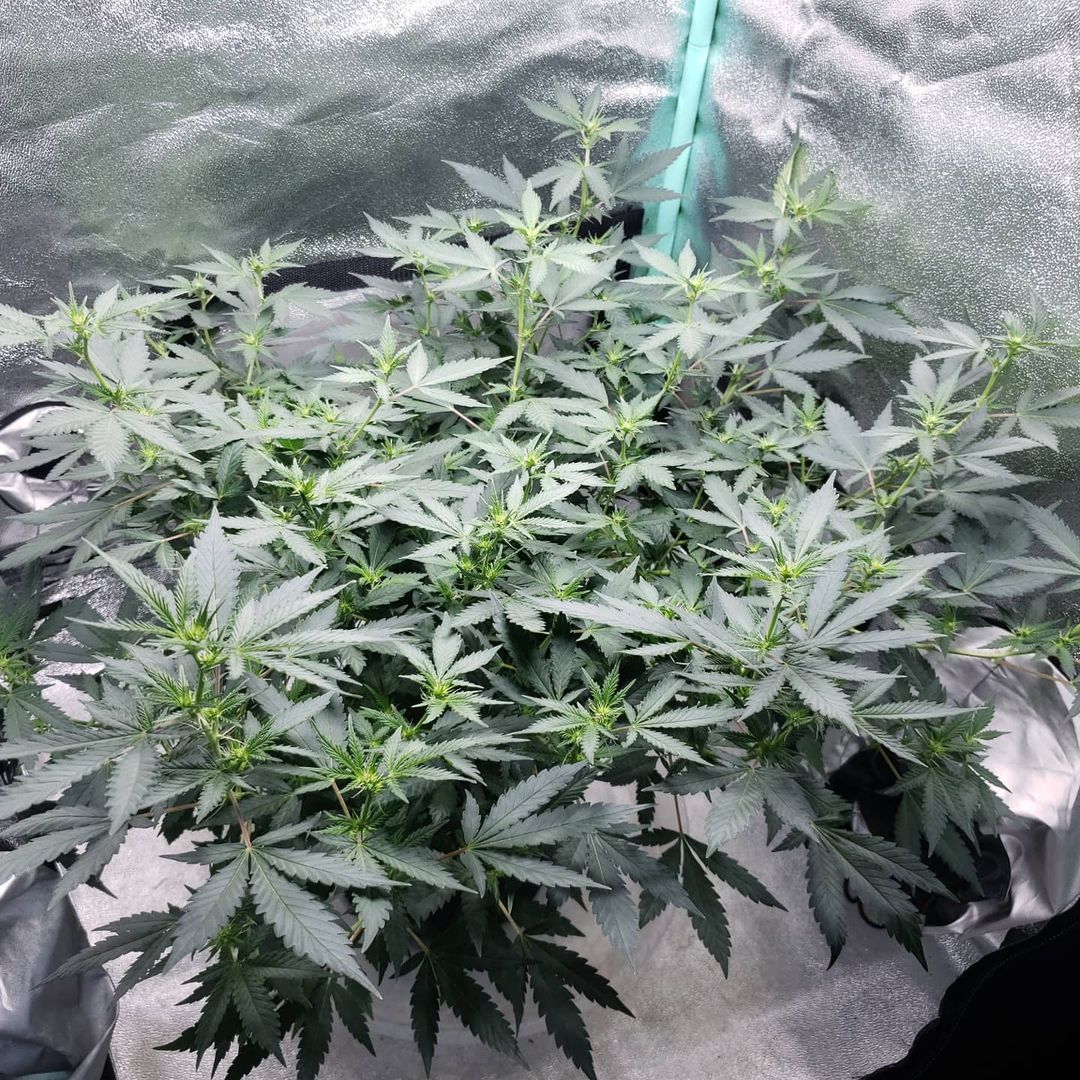
Initiate 12/12 when plants have complete coverage at the height you want. Look at all the bud sites on this 1 plant right as it starts flowering
Here’s a side view. At this point, the only thing to do is water the plant and give it nutrients until harvest.
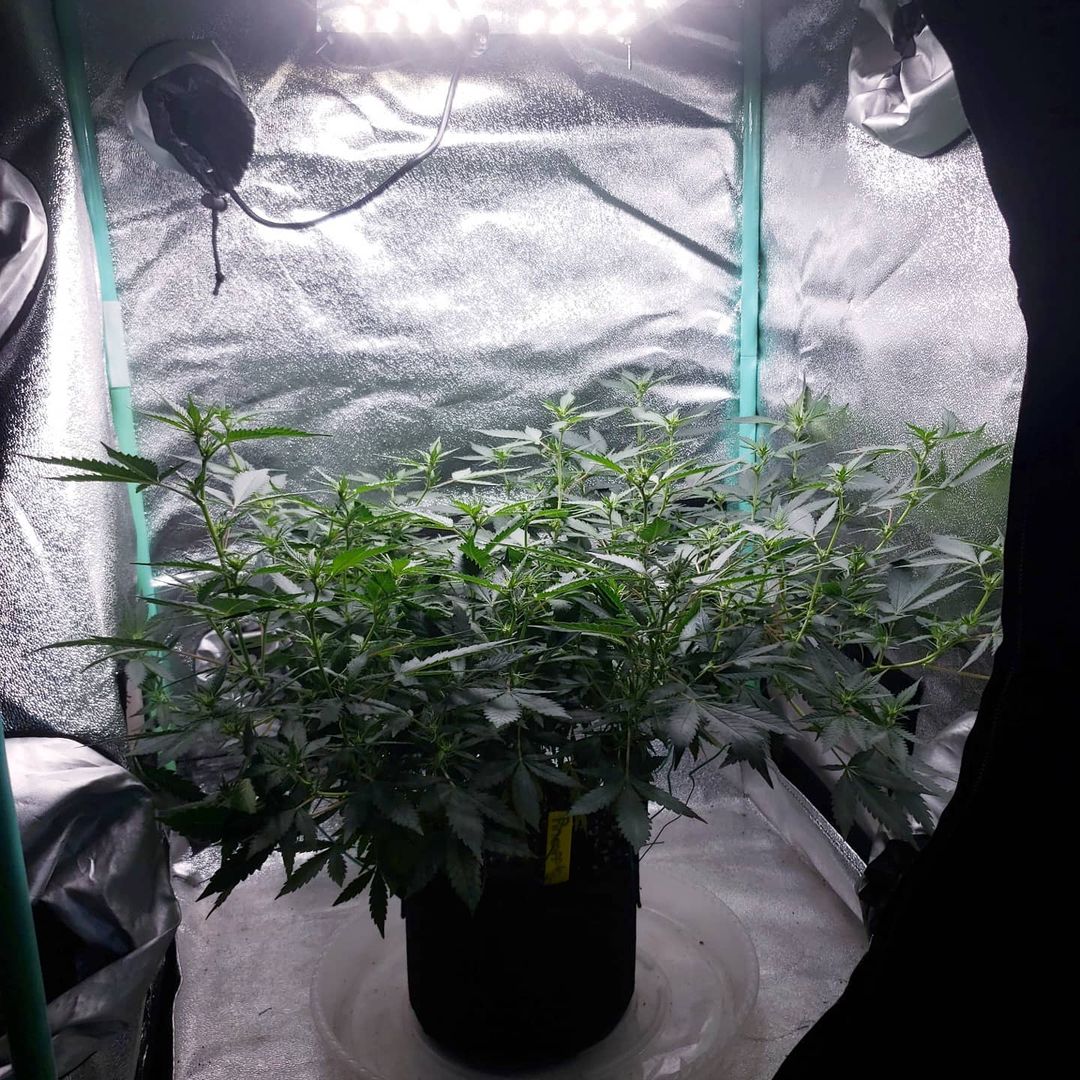
At harvest, this plant was just over 18″ (46 cm) tall, yet yielded several ounces because it was trained to grow wide and flat. Talk about making the most out of one small plant!
Learn more about growing plants to be wide and flat.