by Nebula Haze
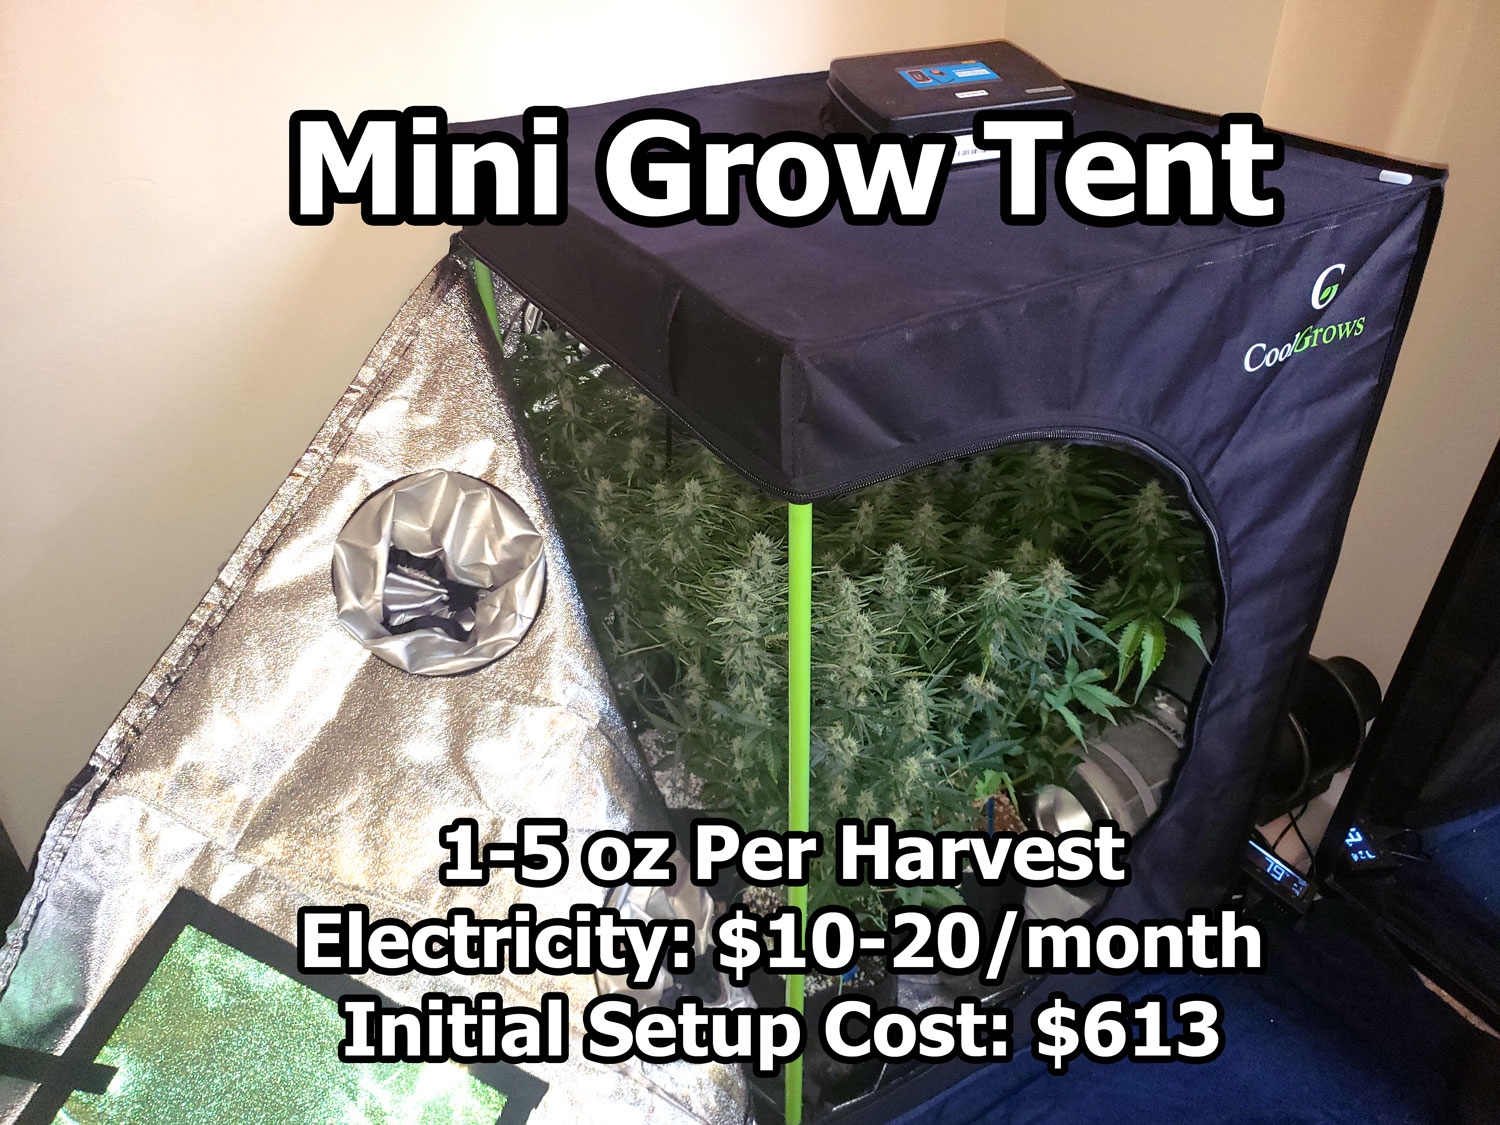
Mini Grow Tent Setup (For Stealth)
- Average Yields: 1-5 ounces
- Recommended 1-3 plants
- Grow space is 2’x2’x3’ or larger (more height is easier but potentially less stealthy)
About This Setup
For a microgrower, it’s all about getting the best yields in the smallest and stealthiest way possible. This mini-tent setup has been designed to produce several ounces of high-quality bud in a space as small as 2’x2’x3′ without any sounds or smells to give it away. If you get a 2’x2’x4′ grow tent (with an extra foot of height), you will make it so that you don’t have to worry so much about plants getting tall, and you’ll just have extra room in general.
- Best suited to autoflowering strains because they tend to stay smaller
- Choose strains that are ready to harvest 10 weeks from germination or sooner (these strains tend to stay smaller than longer-flowering strains)
- You should top your plants (cut off the top tip) while they’re young or it will be difficult to spread the plants out and keep them the correct height. I recommend removing the top above the 5th node when the plants are about 3 weeks old. However, don’t top a plant that’s already started flowering or you may stunt it! (unless you’re trying to stunt the plant…)
- Plants tend to stay smaller if they’re kept in smaller pots. Use a 2-gallon pot or smaller to help plants stay small enough for this setup.
- You may need to familiarize yourself with supercropping to forcefully bend tall branches if you have any stretchy plants that start getting too tall
- Only use a grow light that can be kept within a few inches of your plants because of the limited height. Besides the HLG 100 (which is featured in this list), I’ve also grown in this tent using a 2-foot T5HO fluorescent light, and that also worked great.
Cost Estimates
- Total Setup Cost: $613
- Estimated Monthly Electricity Cost: $10-20/month (based on $0.12/kWH to $0.25/kWh – see breakdown)
- Total Cost for Entire First 4-Month Grow (Setup + Electricity): $693 ($138-693/ounce)
- Total Cost for Second Grow (Nutrients + Electricity): $110 ($22-110/ounce)
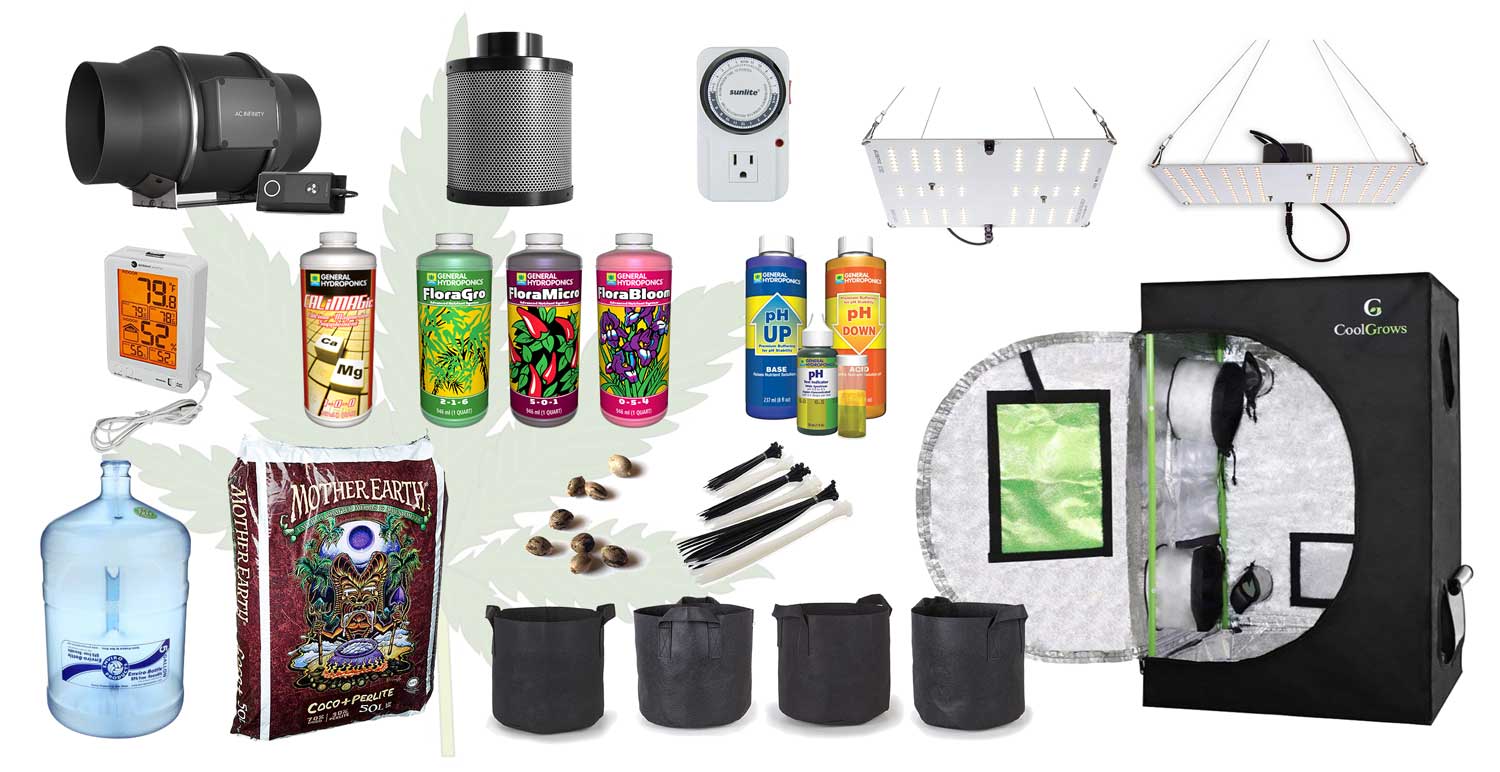
Summary of what you need for this Mini Tent grow setup
Mini Tent Grow Examples
Here are some examples of plants I’ve grown in this setup
- Using a T5 fluorescent grow light (This T5 HO Grow Light 2 FT 12 Lamp fixture is the light I used; it can be turned down to 1/3 and 2/3 power which is really handy)
- This exact setup using the HLG 100 LED Quantum Board
Complete Grow Supply List
This cannabis mini grow tent setup list includes all the supplies you need to get to harvest.
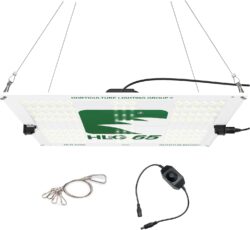
HLG Quantum Board LED Grow Lights
- HLG 65 V2 (4000k color, for the vegetative stage)
- Start out in the vegetative stage with the HLG 65 (4000k color)
- Keep about 10″ away to start. If plants start getting tall/stretchy, move the light closer
- Cost: $100
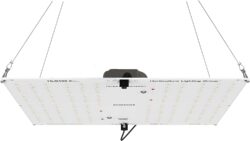
- HLG 100 V2 (R-Spec color, for the flowering stage)
- In the flowering stage, you’ll want to switch to the “R-Spec” colored HLG 100. This provides light in a color spectrum that’s been designed to support flowering
- If you’re only going to get one lamp, get just this one, but get both if possible for the best results 🙂
- Keep about 8-10″ from the tops of plants, and move further if you notice signs of stress on the upper leaves (edges tipping up, early yellowing, etc)
- Cost: $150
Grow Space
- Grow Tent Recommended Sizes
- 2’x2’x3′ (true microgrow) – an example is this tent by CoolGrows (this is the one I use)
- 2’x2’x4′ (more height makes this a slightly more flexible option) – CoolGrows offers one in the 2x2x4 size, too.
- Learn more about grow tents
- Cost: ~$50
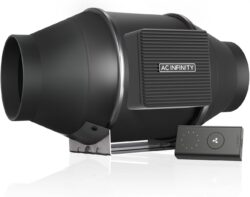
- Exhaust Fan
- If you plan on filling your tent with plants like the pictures, you absolutely need a good exhaust fan to ensure that the humidity from all the plants doesn’t build up too much.
- Learn more about choosing and setting up an exhaust fan.
- Recommended: 4″ AC Infinity CLOUDLINE series of inline exhaust fans. These run quiet and have the ability to turn the speed way down if necessary.
- S4 is the cheaper, simpler version which works well and gives you basic fan speed controls
- The programmable T4 version has handy extras like a Temperature/Humidity Probe and Display Screen
- Budget choice: Vivosun 4″ Fan – 203 CFM (good cheap fan but runs loud)
- Cost: ~$55-120
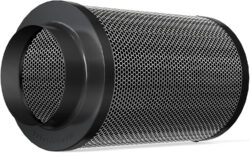
- Carbon Scrubber
- If you don’t hook up a scrubber to your exhaust fan, your tent will rapidly fill the surrounding area with a pungent weed smell! Normally it wouldn’t be such a big deal with such a small tent like this, but you are going to be growing a surprising amount of weed in here.
- Recommended: 4-inch Carbon Filter
- Cost: ~$30
Plant Pots
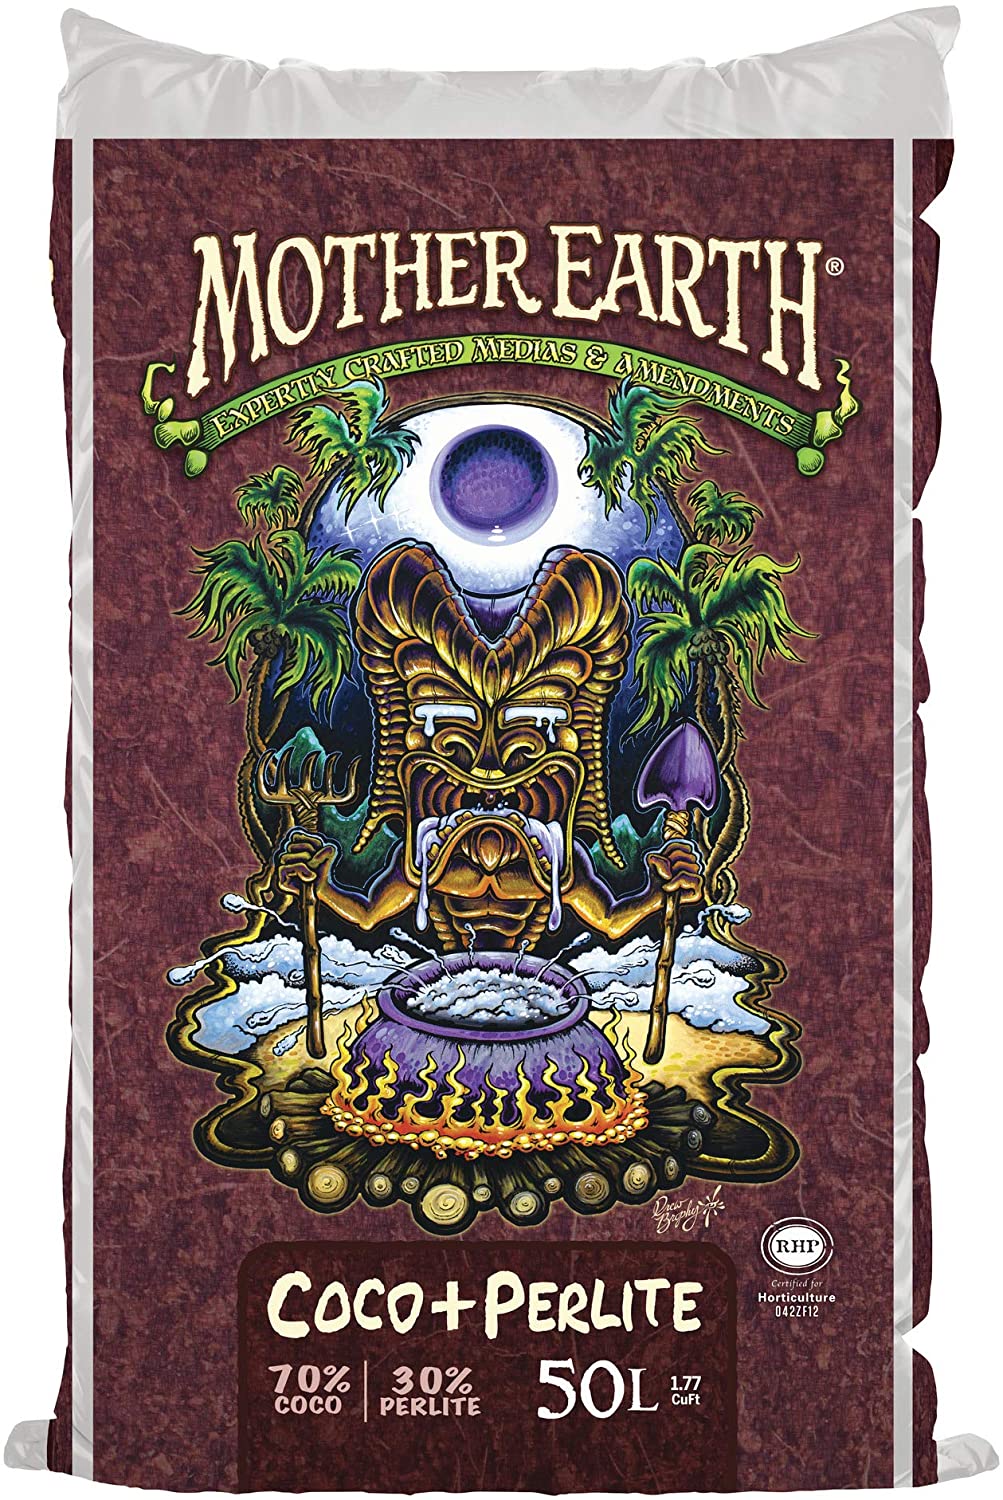
- Growing medium: Coco coir or soil (hydroponics can be more difficult to fit, but we’ve done it before in the 4′ tall tent with a mini DWC system)
- Containers: Smart pots or Air Pots that are 1 or 2 gallons in size. Growing with 1-gallon fabric pots helps keep cannabis plants small, but plants need to be watered daily after they get bigger. When I use 2-gallon pots, the plants needed to be watered less often because there is twice as much soil to hold water, but the plants tend to get a little bigger.
- Recommended: One bag of Mother Earth coco potting mix with perlite. This will be enough to fill 16 gallons worth of smart pots with a little left over. You’ll have enough to last a few grows, but luckily coco stores really well.
- Cost: ~$65

Nutrients
- Most nutrient systems will come with at least one bottle for vegetative and one for bloom. Many nutrient lines carry 3 bottles or even more!
- Whether it’s on the bottle or online, most nutrient lines come with a schedule. Use the schedule at half-strength in the beginning as the recommended strength is typically too high for cannabis.
- Learn about different nutrient lines we recommend
- Recommended Base Nutrients: General Hydroponics Flora trio (use at half strength)
- (Optional) Cal-Mag Supplement – CaliMagic (use at full strength) – use this to add extra minerals if you have very soft water, or are using filtered water
- Cost: $50-100
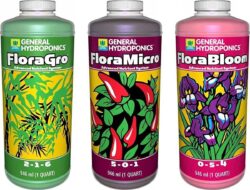

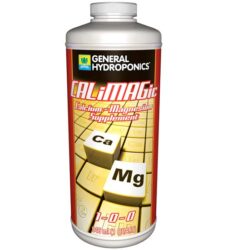
General Hydroponics Flora Trio and (Optional) CaliMagic
Other Supplementary Items
- Get your seeds – $5-12/seed (on average, can be more or less depending on the breeder)
- 24-Hour Timer (to put your grow lights on a timer so the plants get a day and night period on a schedule). Why do cannabis plants need to be on a day/night schedule? What about autoflowering light schedules? – $10
- Water containers (I personally use a 3-gallon or 5-gallon water jug to mix up nutrients, but anything can work) – Much cheaper at Wal-Mart ($5-15) than online!
- 4″ Ducting and Ducting Clamps – to connect your fan and carbon filter together securely – $8
- Zip ties – the hanging apparatus that comes with many grow lights add several inches of height for no real reason. They just aren’t designed for height-limited growing. In a mini tent like this, height is at a premium and a few inches can make a big difference. When you need to get your light all the way to the top of your tent, nothing seems to work better than industrial zip ties! Once you start using zip ties you end up using them for everything. They’re weirdly permanent and strong for something so disposable – $10
- Thermometer/Humidity Monitor with a probe so you can keep track of the temperature inside the tent (unless you got the really fancy Cloudline exhaust fan with a temperature and humidity probe built-in) – $15
- PH Test Kit – Prevent potential nutrient deficiencies by testing the water pH: https://www.growweedeasy.com/ph – $15
- Measuring spoons for measuring out your nutrients (many people already have these) – $10
- Learn about other cool growing tools
Estimated Cost for EVERYTHING: $613 plus the cost of seeds
Check Out Different Grow Setups!
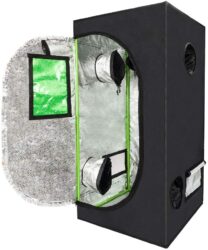
Carbon filter and fan (how to cool tent, remove humidity, and stop smells)
Notice the configuration of the carbon filter and fan. Even though this is a very small carbon filter, just 10″ long, there’s not a lot of extra room at the top of the tent. The configuration below seems to be the only way I can find to fit the carbon filter inside while still allowing the grow light to get to the top of the tent. This is not as effective as exhausting from the top of the tent, but it will work in this small tent.
Your other option is to put both the fan and carbon filter sitting on top of the tent, exiting from the top port. In that cause, you’d want the carbon filter to be the last thing before air escapes (carbon filters should always be at the ends of an exhaust system, either inside the tent at the beginning, or at the end on the outside).
You have to get creative to fit a carbon filter in this tiny tent
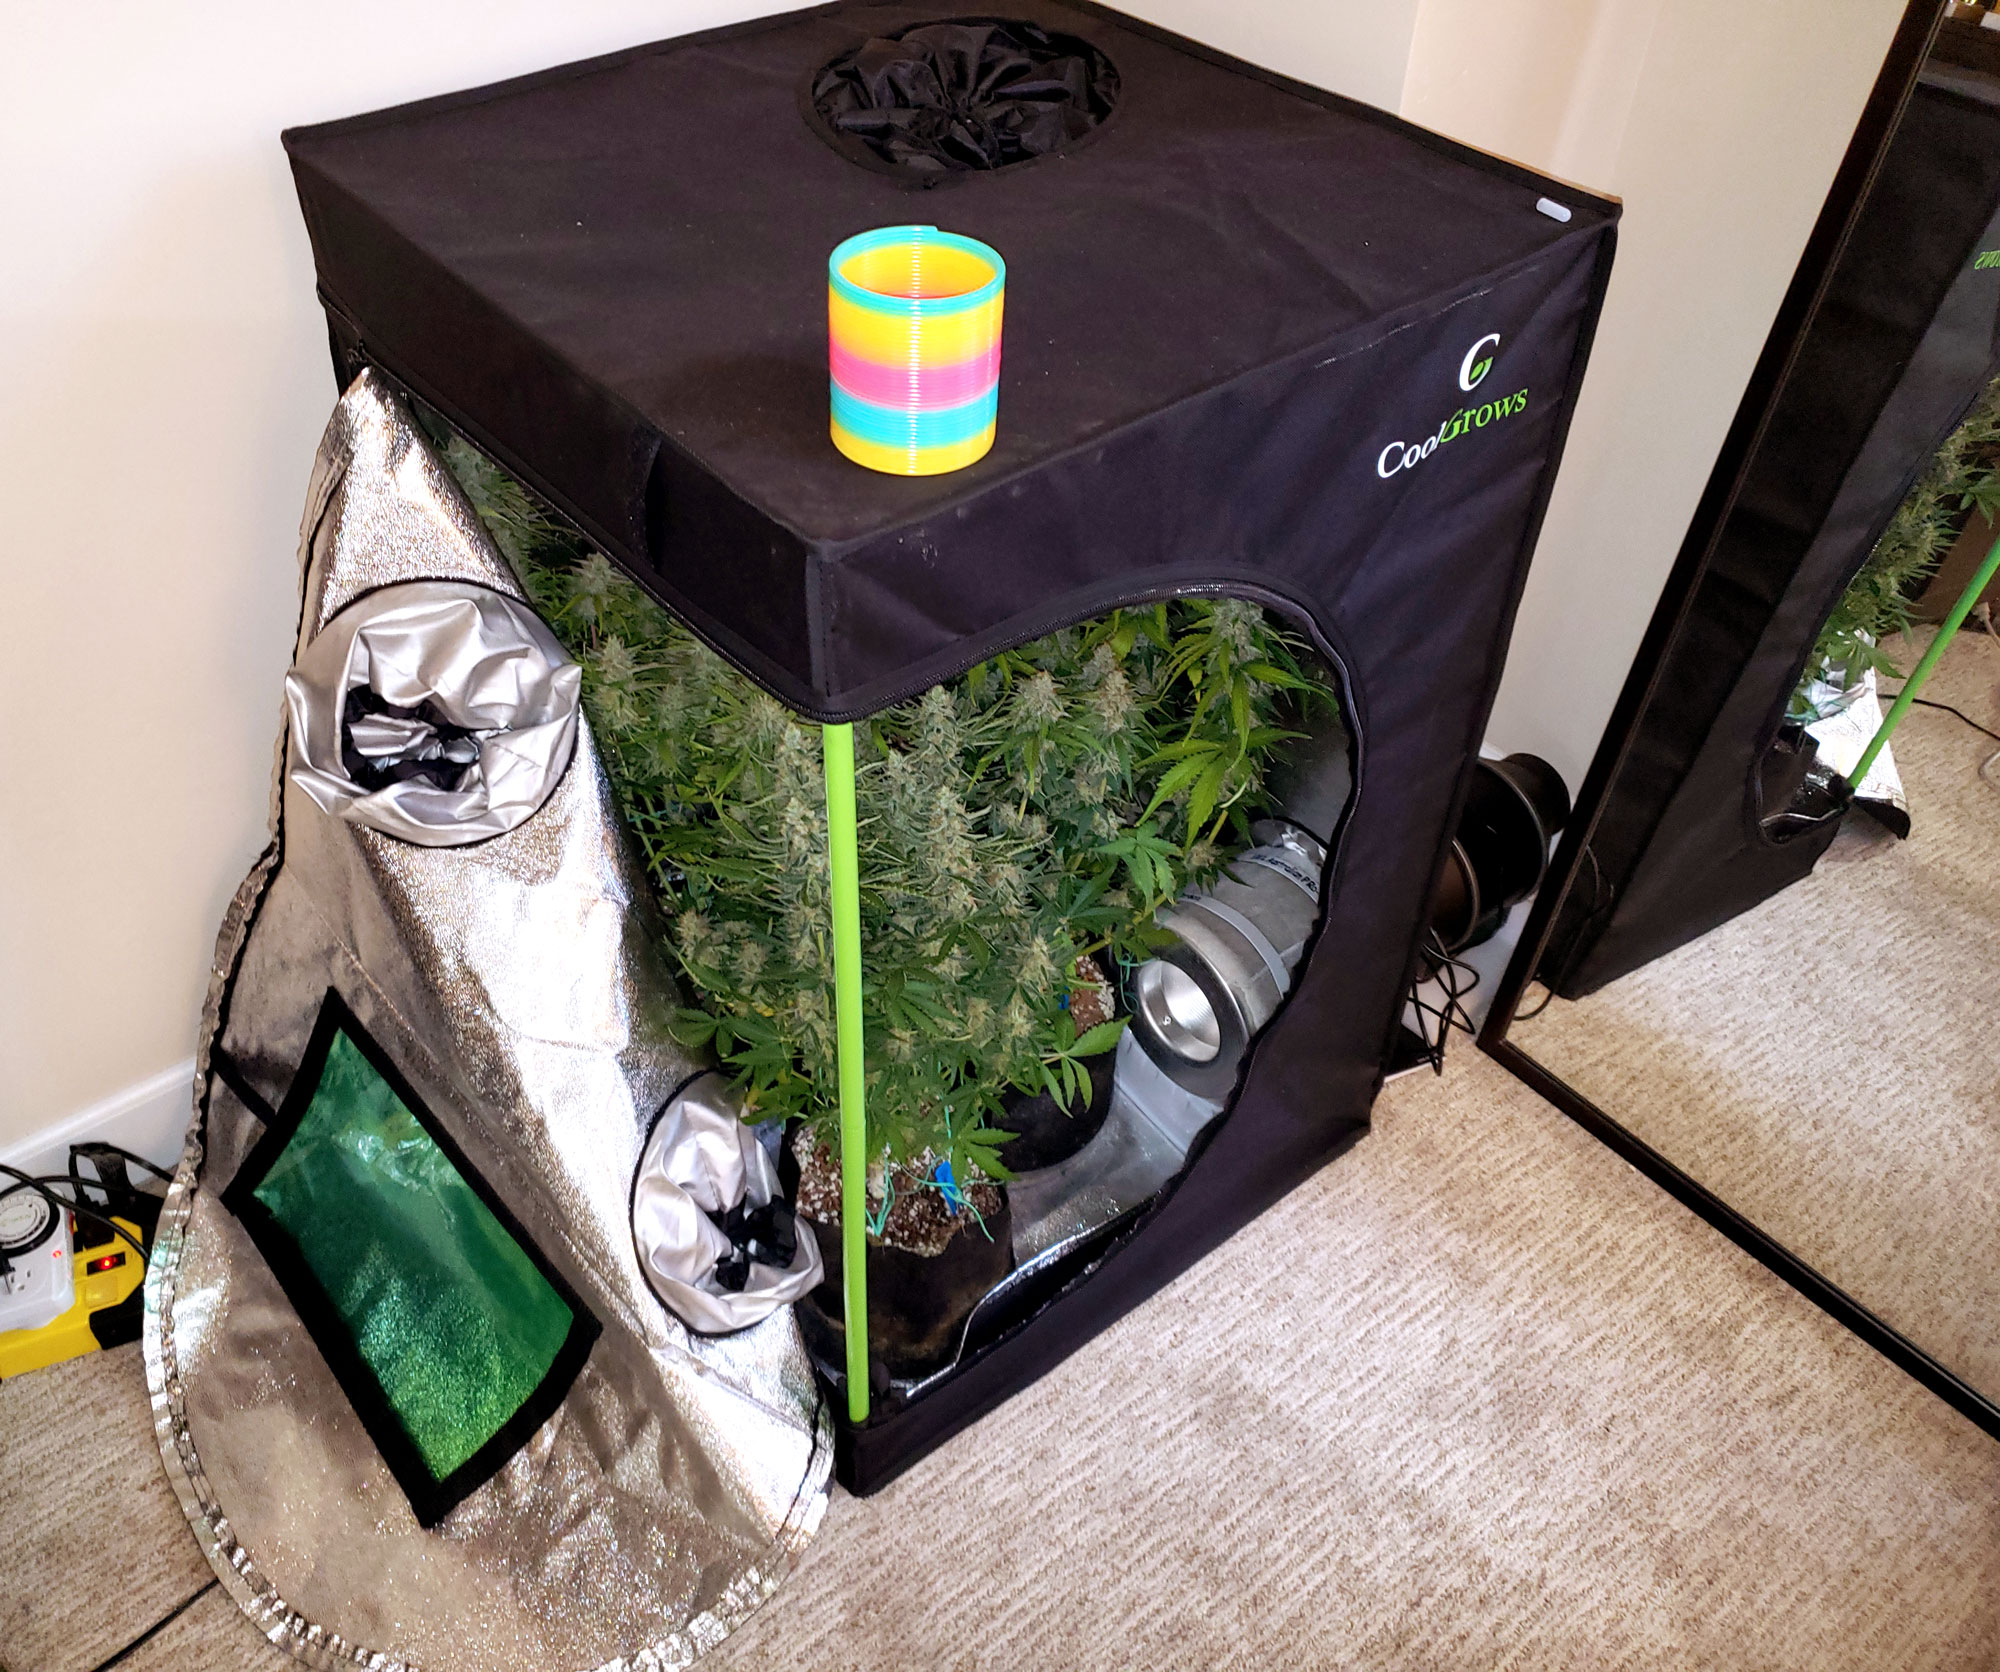
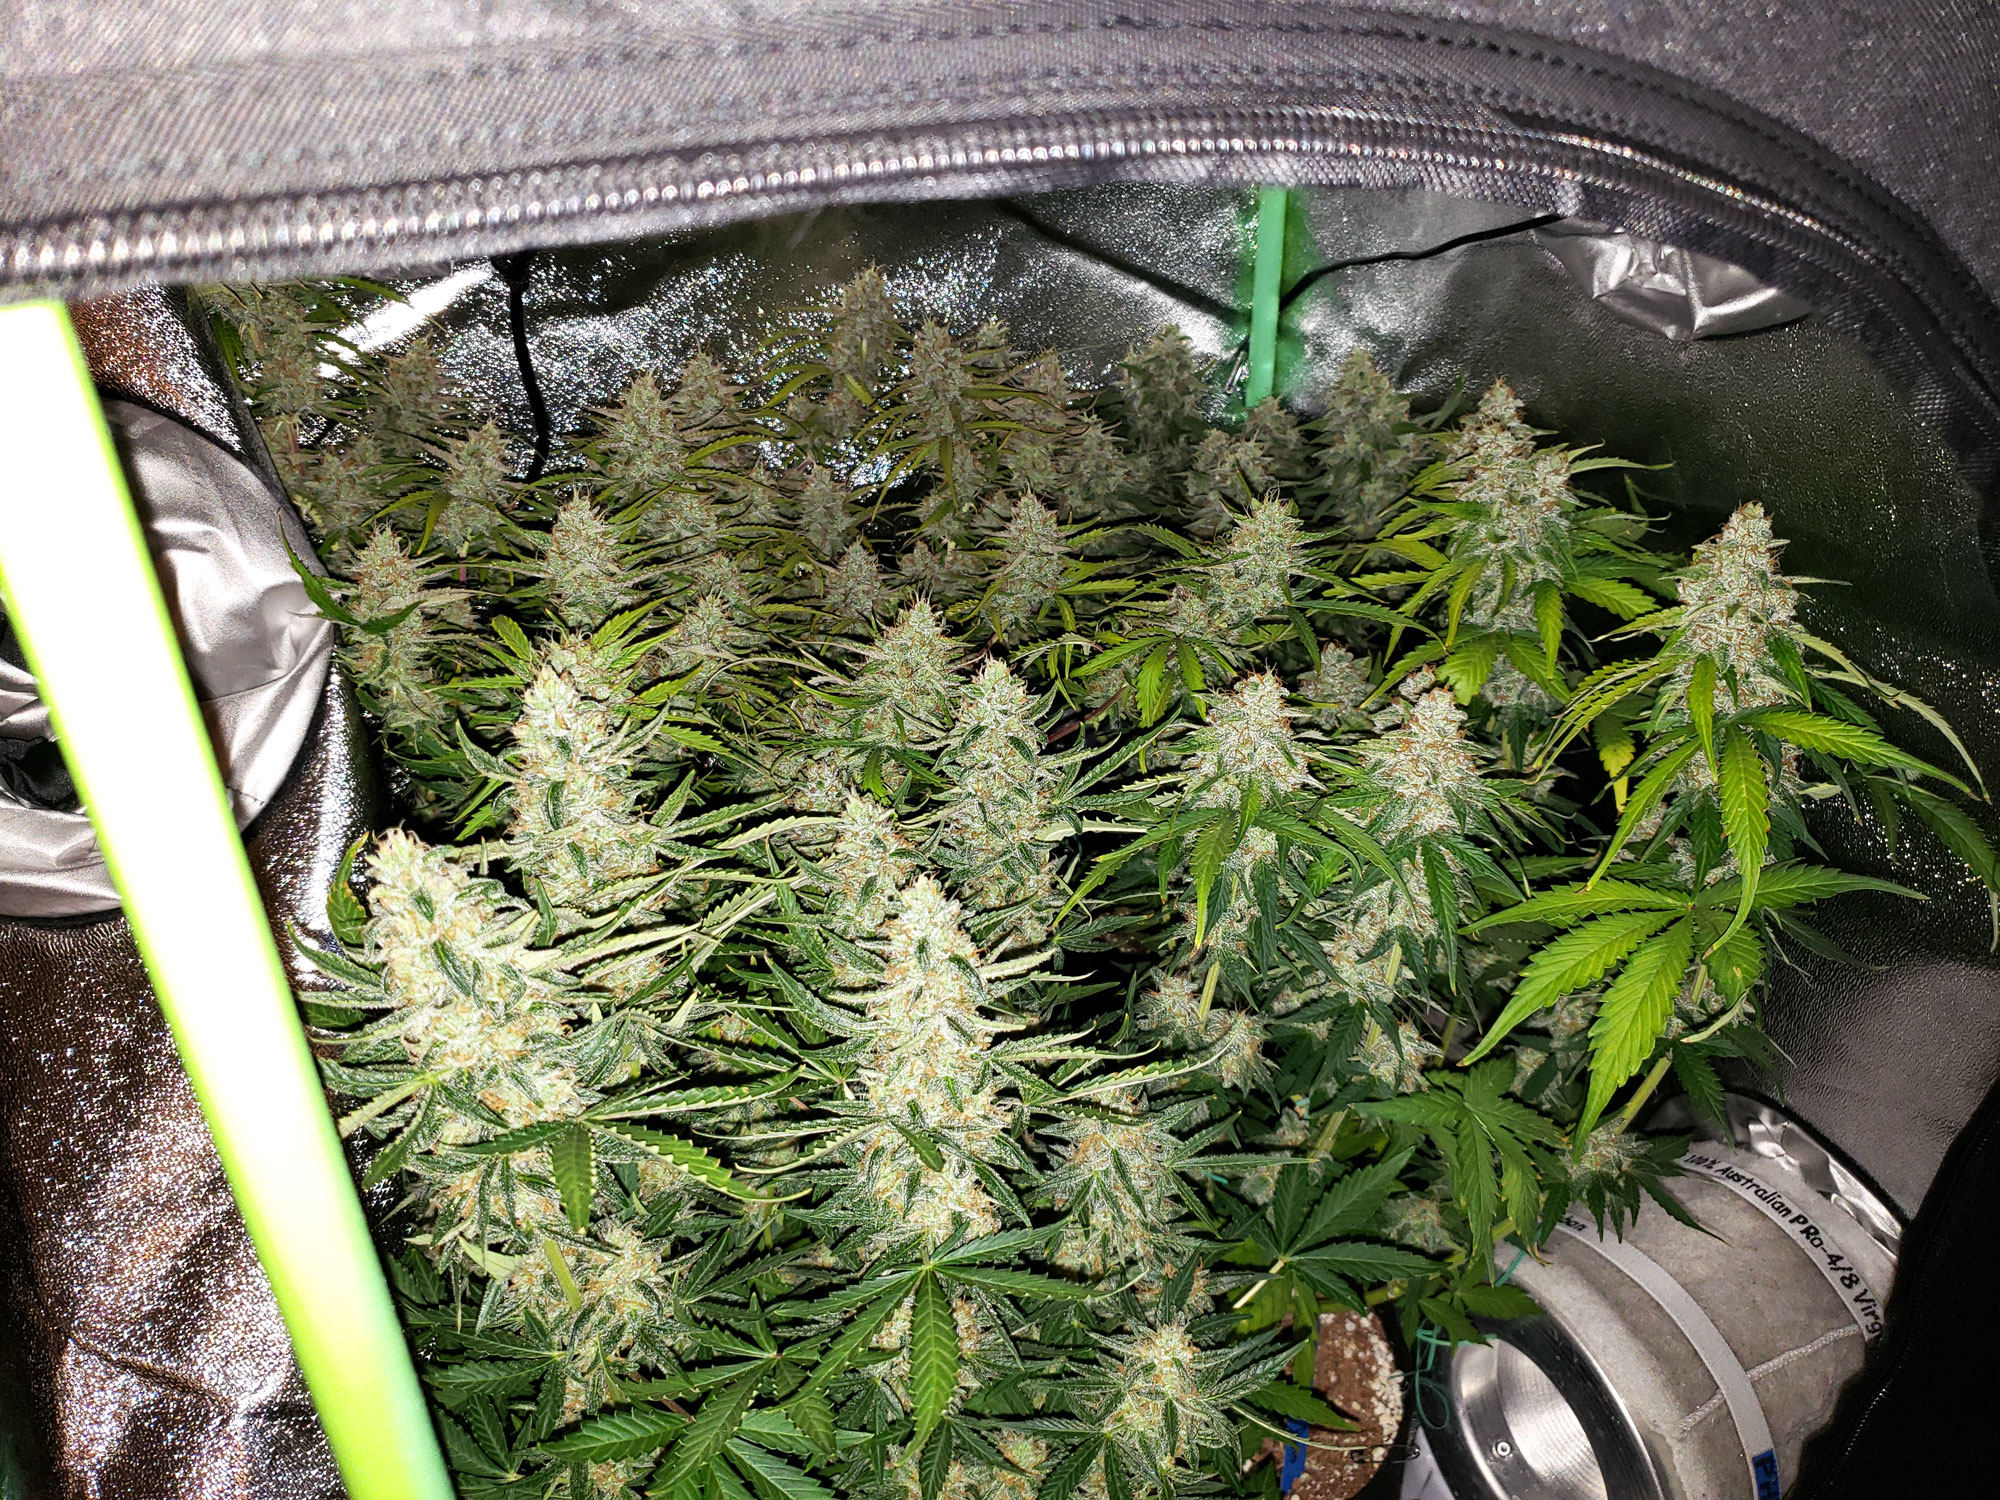
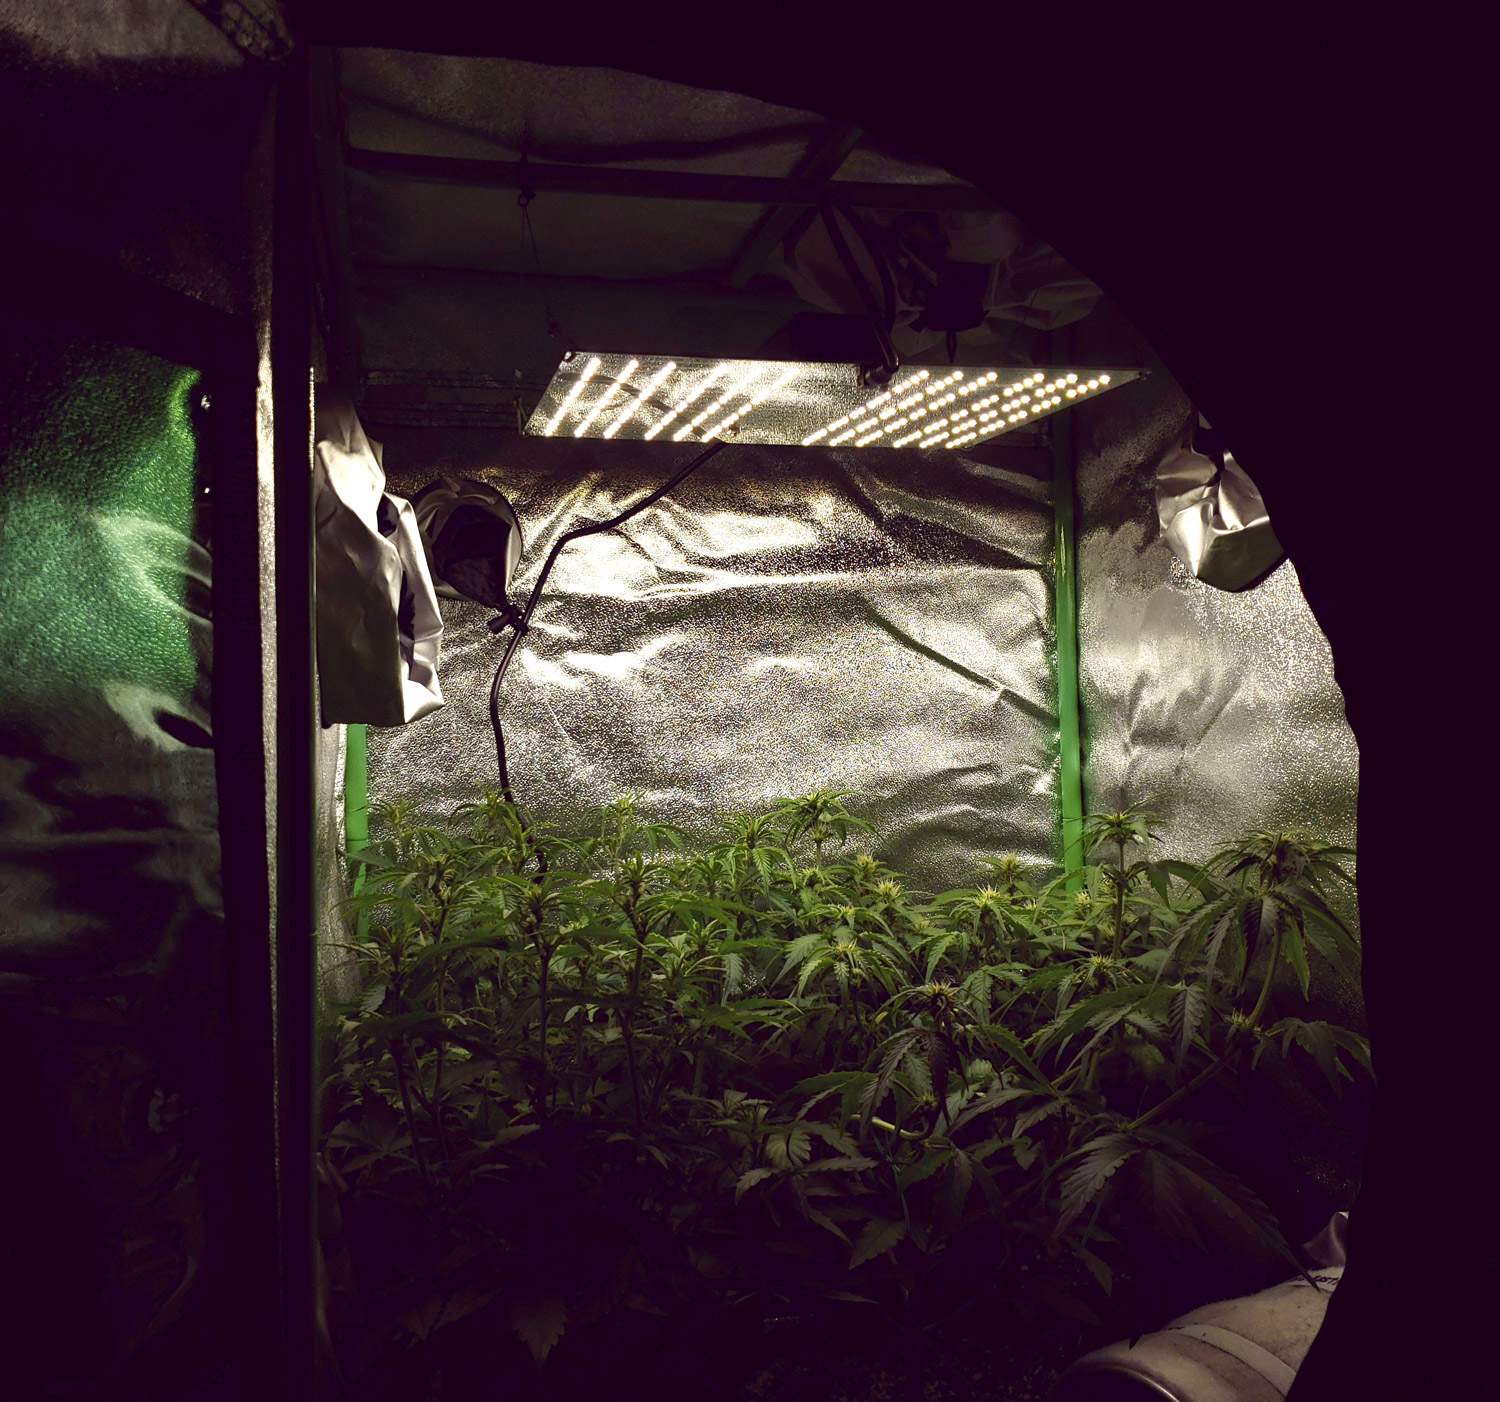
When set up right, you can produce a surprising amount of bud in a tiny space!
 But not much room at the top
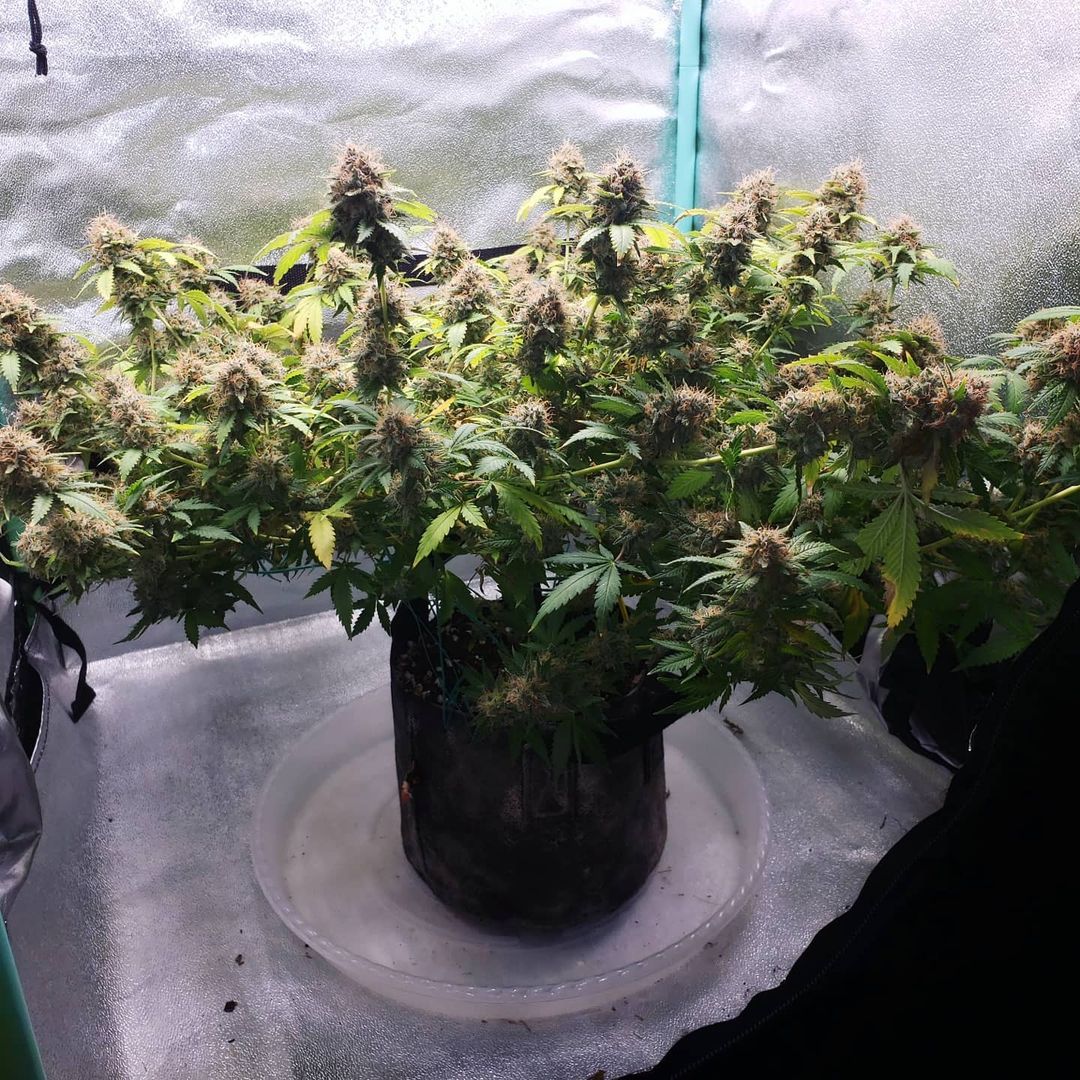
Growing a single Pineapple Chunk plant in the 3′ tall tent
We’ve even grown in the 4′ tall tent with a mini DWC/hydro system! A tight fit but doable.
