by Nebula Haze & Sirius Fourside
Table of Contents
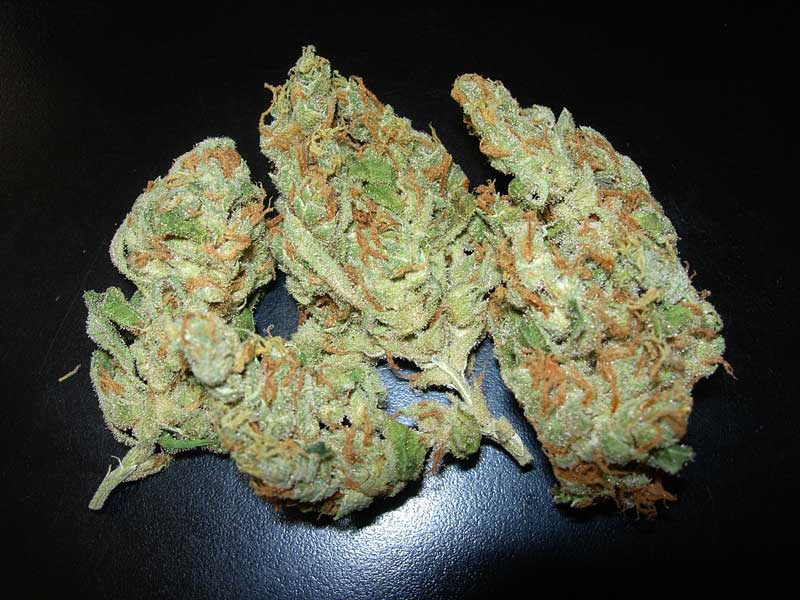
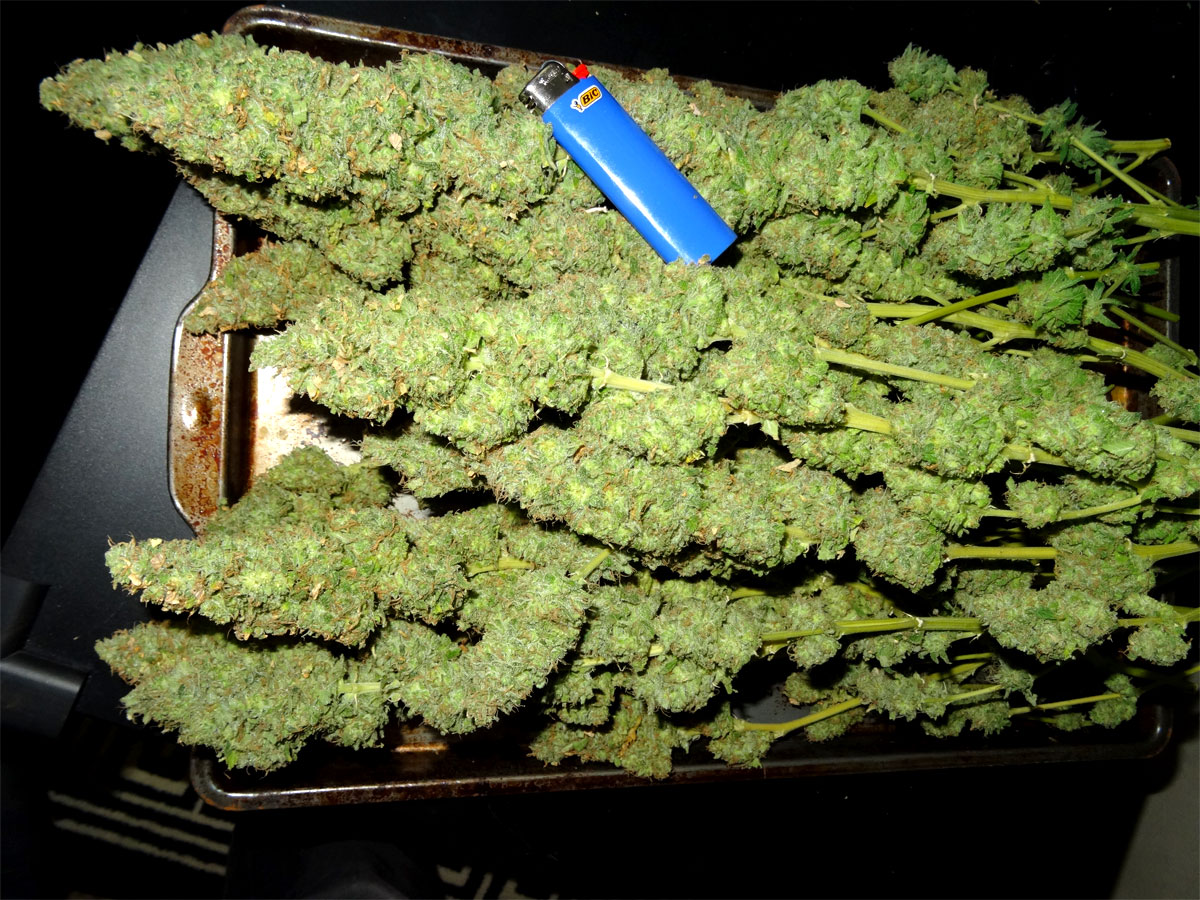
Introduction to Cannabis Bud Quality
- Start with Top-Shelf Genetics – Get the effects and appearance you want. Your grow skill makes a huge difference, but a plant can’t overcome its genes! If you want buds that are potent, dense, sparkly or purple/pink, you need the right genetics.
- Give Your Cannabis Lots of Light! – This increases overall bud yields, density, and potency
- Nutrients & Supplements – Learn about smell enhancers, bloom boosters, and bulk builders.
- Better Taste, Better Smell – Learn other techniques to increase terpene content so buds taste and smell better
- Manipulate Temperature & Humidity in the flowering stage to increase resin production (“glitter” and stickiness), bring out colors like pink or purple & prevent smells from burning away
- Great Air Flow Around Every Bud – You can gain surprising increases in the size and density of your buds by making sure that every cola gets lots of direct light and good air flow from the beginning to the end of the flowering stage. Cannabis is wind-pollinated in the wild and so more energy is put into buds that have been exposed to a breeze from when they first started forming.
- Master the Basics of Growing – especially harvesting, trimming, and drying/curing. Although a lot of growers don’t pay as much attention to what happens to plants after harvest as during the grow itself, these 3 post-harvest factors determine almost 50% of your final bud appearance. Properly drying/curing also intensifies smell and increases bud potency.
Bonus: Is CO2 Worth the Trouble?
Have you ever had weed that knocks your socks off? The kind of cannabis buds that people brag/warn their friends about?
I’m talking about the really really good stuff.
The truth is, you can successfully grow cannabis with very little effort, make a ton of mistakes, and still harvest buds that will do the job.
But have you ever wondered how people grow truly top-shelf buds? The kind of bud that beats the marijuana you get in a dispensary?
If so, you’re in luck, because today I’m going to teach you 7 tips to consistently growing top-tier quality cannabis buds with effects that will stick in your memory for years to come. Plus, I’ll teach you how to make your cannabis look pretty.
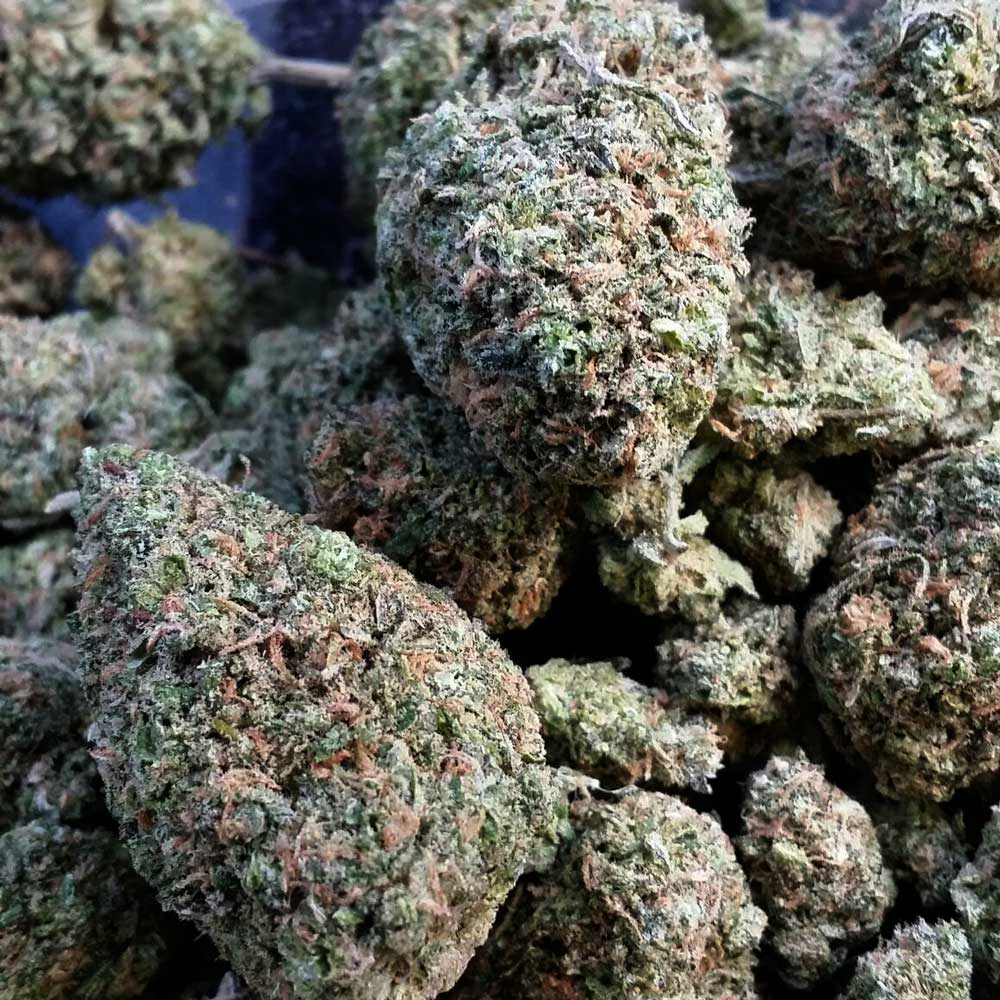
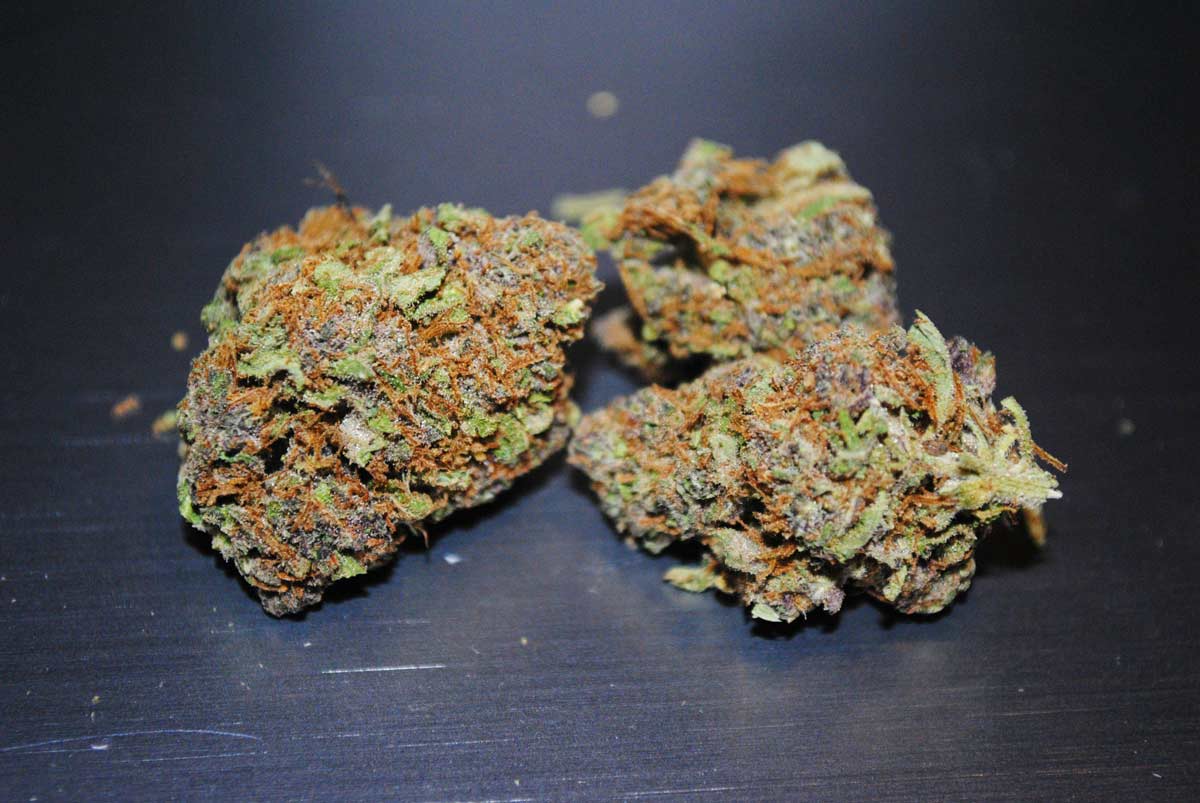
1.) Start with Top-Shelf Genetics
It’s really tough to get truly top-shelf buds if you start with mid-grade seeds, clones, or the dreaded bagseed; you’re giving yourself a much higher chance of disappointment because no growing method can overcome genetics.
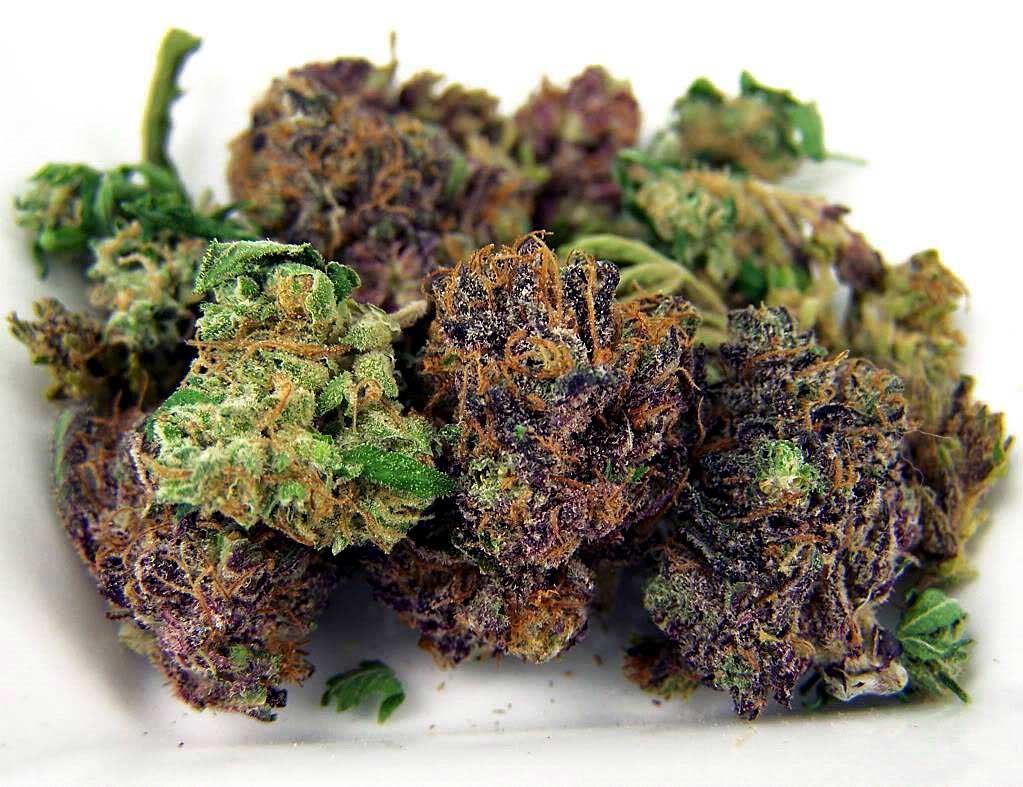
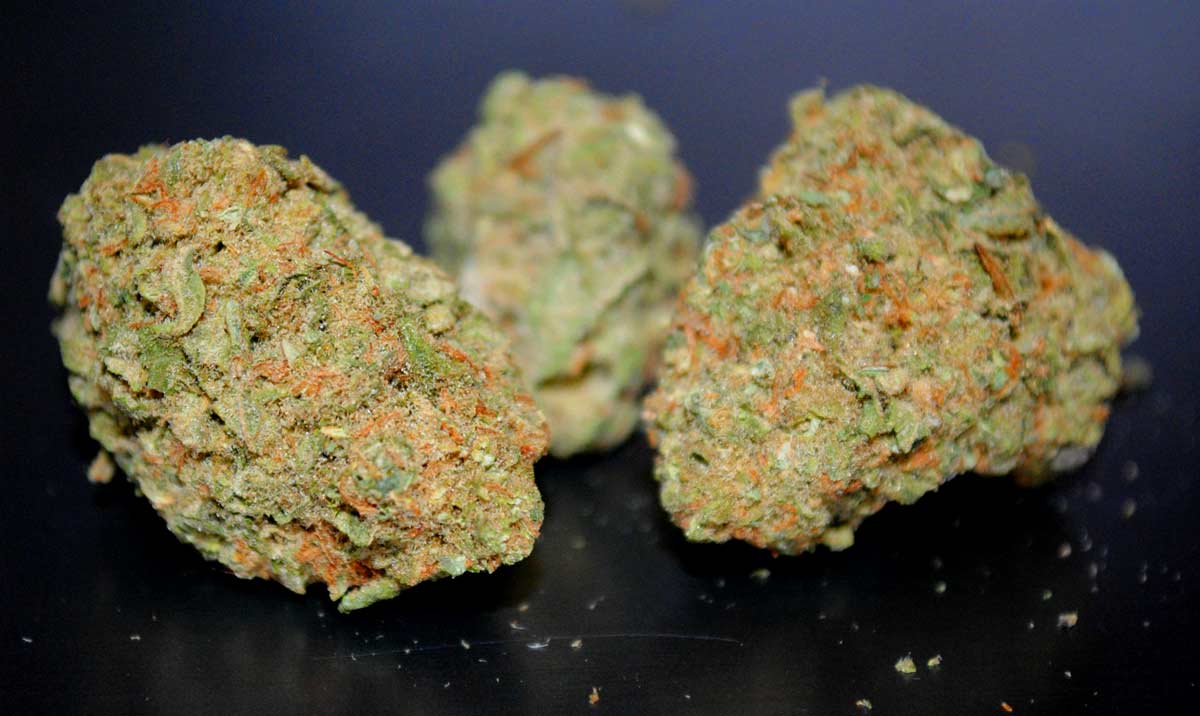
These buds were both grown in the exact same setup at the same time, but have different genetics. Look how differently the buds turned out. Choosing the right strain lets you choose the looks (and effects) you want.
When I first started growing, I would grow any seeds I could find. These would usually grow pretty well but the resulting weed never ended up being as good as the buds I found them in. And sometimes the buds would be airy and not-that-potent.
After a few attempts at growing bagseed, I tried buying marijuana clones from the local dispensary with crazy strain names like “Super Grand Daddy Purple” and “Grapefruit Bubblegum Kush,” but my yields and results still left a lot to be desired. It’s not that there’s any inherent problem with clones – clones are awesome – but I got a feeling these plants weren’t really the strains the dispensary claimed them to be. I didn’t have any grower friends at the time and I thought bag seed and local clones were my best choices.
Until I discovered online cannabis seed banks.
Ever since I started buying seeds from a reputable cannabis seed bank and getting my chosen strains shipped to me, I have been able to consistently produce high-quality buds.
Getting your genetics from a reputable breeder is key to producing gorgeous and potent buds.
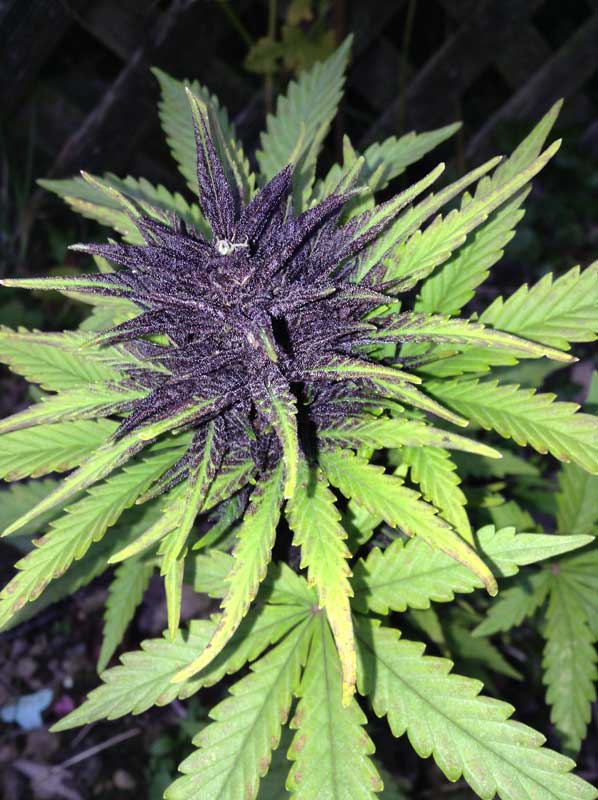
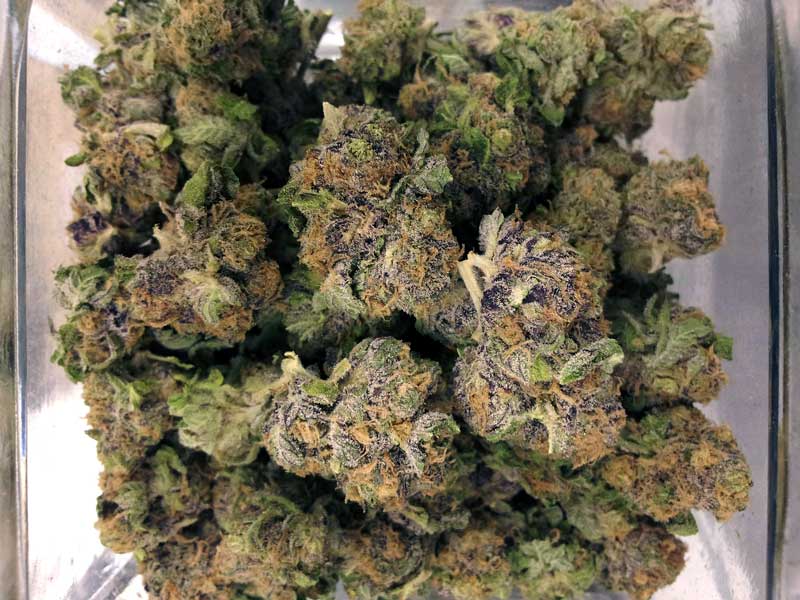
If you want to grow buds that are pink or purple, you must choose the right genetics.
Just switching to better seed stock caused a dramatic increase in my yields without any other changes. But even more importantly, the quality of my harvests drastically improved. Not to mention the freedom of being able to choose which strain you want to grow instead of hoping to find a good seed in your buds.
Clones are still a great way to start a grow with good genetics, but you have to make sure you always get clones from a trustworthy source.
If you want to take your quality to the next level, don’t start with just any clones or seeds. Search for the right, true quality genetics, and don’t be afraid to research to make sure you’re getting exactly what you want. Good seeds cost more than bagseed, but the money you pay for quality is worth it, especially when you consider what you’re getting in return.
Where can I buy top-shelf genetics?
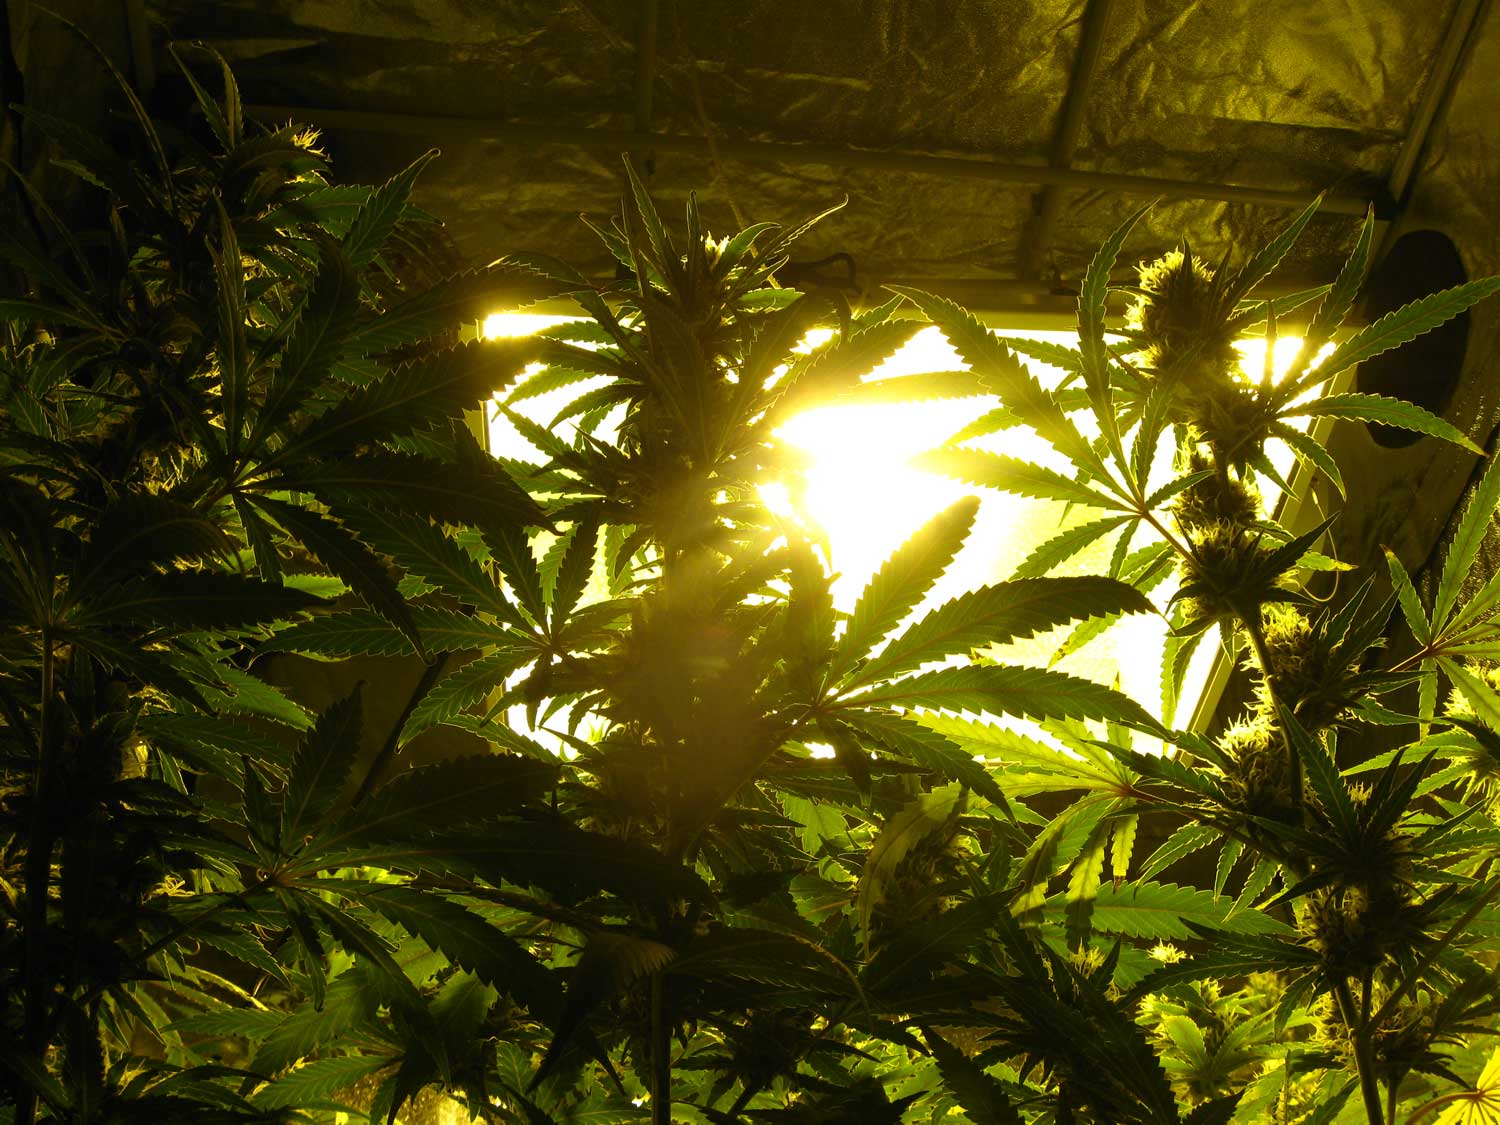
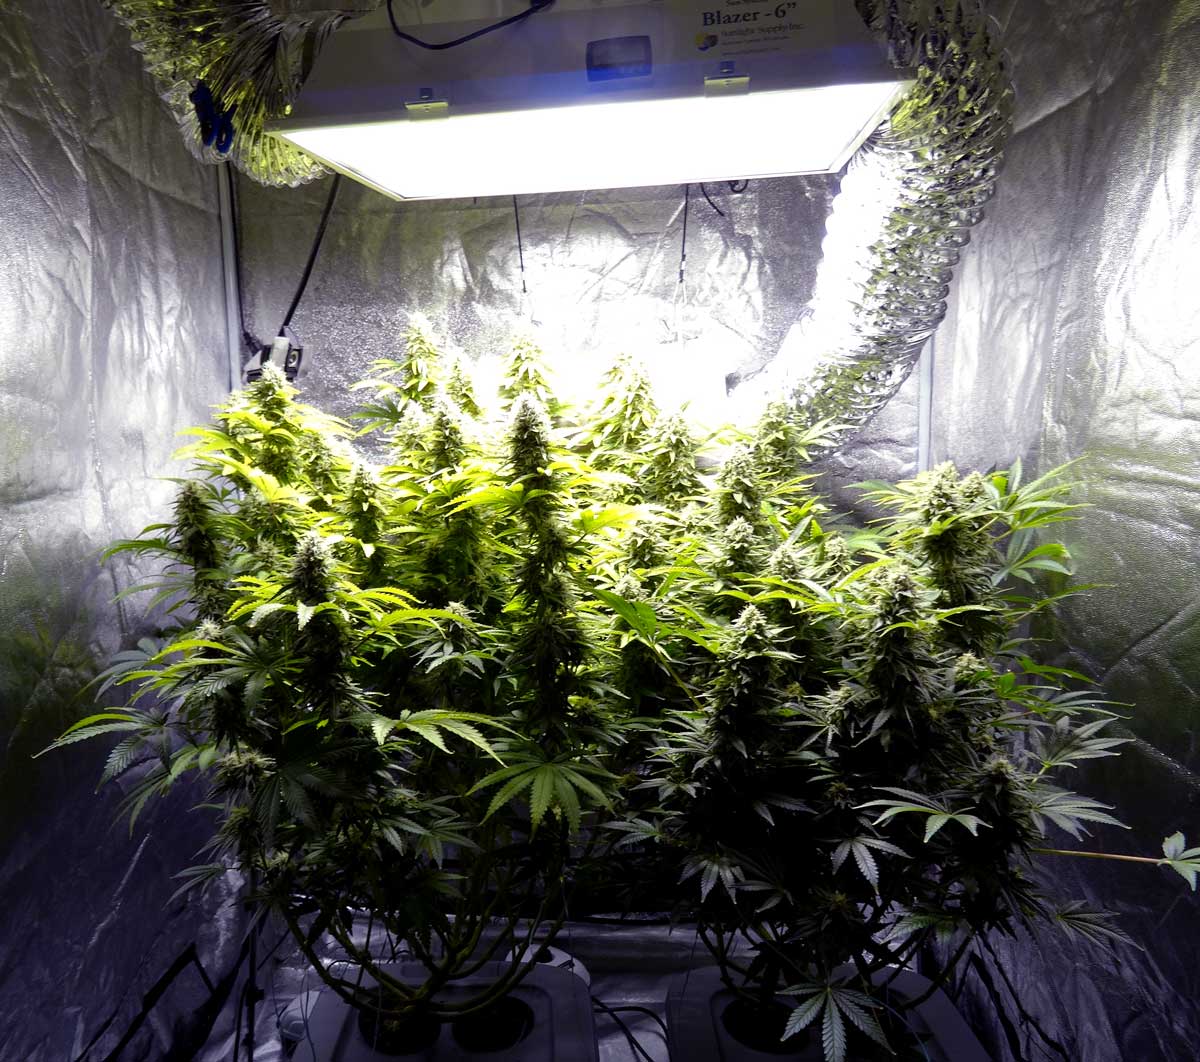
2.) Give Your Cannabis Lots of Light!
If you want great bud, you have to provide plenty of light.
When you start a grow with good genetics – from good seeds or clones – your plant has the potential for a high level of quality (yields, potency, resilience). However, it’s nearly impossible to get your buds to reach that potential if you use lights that are underpowered.
Powerful grow lights like HPS, LECs or LEDs produce the biggest and most dense buds
For example, there’s no amount of plant training or growing skill that can make up for the amount of light produced by an incandescent bulb; the bulb simply doesn’t have what it takes to do the job.
Similarly, growers can have the same problem when they try to grow a larger plant with a few small CFLs or T5s. Although CFLs and T5s make great growing lights and produce a high-quality product, it’s important to pick the right tool for the job. These two types of lights are better at stealth, discretion, and smaller grows than producing lots of super potent bud.
Strong, bright light is what powers the growth of buds in the flowering stage – light is like “food” for your plants.

When it comes to indoor cannabis gardening, more light is better…to an extent. If you give your flowering cannabis plants all the light they can handle without giving them too much, it increases your potency, density and yields.
Strong, bright light is a crucial part of reaching a strain’s full potential.
Strong light is incredibly important for the highest bud density, potency, and yields.

Learn more about different marijuana grow lights
3.) Nutrients & Supplements to Increase Bud Quality
First, before adding any special supplements, you need to make sure you’re giving your plant the correct base nutrients in the flowering stage.
Base Nutrients in the Flowering Stage
- Low Nitrogen (N) – Give your plant relatively low levels of Nitrogen, especially in the second half of the flowering stage when the plant has stopped growing vegetatively and buds are fattening up. The plant needs a lot of Nitrogen for vegetative growth but doesn’t need nearly as much for making buds. In fact, too much nitrogen in the ripening stage can discourage bud production and hurt your yields.
- Plenty of Phosphorus (P) – Phosphorus is incredibly important to flower production and giving plants plenty of Phosphorus in the flowering stage will help increase the total number of flowers
- Potassium (K) – Potassium is often overlooked compared to Phosphorus (which is often considered a bud booster) but Potassium may actually be even more important. Providing a good source of Potassium increases the size and density of each individual flower.
In general, when it comes to feeding nutrients in the second half of the flowering stage, less is more. Keeping nutrient levels low can also improve the taste of your final buds because high nutrient levels are associated with a chemical taste to the buds.
Giving cannabis the right ratio of nutrients during the flowering stage will greatly increase the quality of your bud.
Supplements in the Flowering Stage
Supplements in the flowering stage come in many different flavors, and they have different goals or purposes
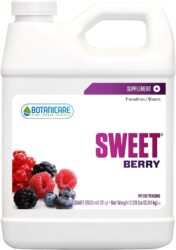
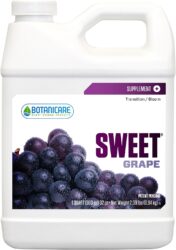
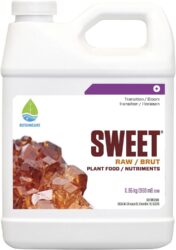
- Sugar or carbohydrates – improve taste/smell and increase bulk. Some of these, like the Botanicare Sweet Carbo Line, not only include sugar, but also certain terpenes and esters that are stored unchanged in plant buds, giving your buds unique subtle flavors like grape, citrus, berry, and “raw” (which is just a generally sweet smell).
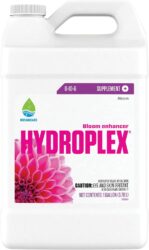
- “Bloom Enhancers” – These offer a variety of non-nutrient ingredients that may help the plant grow better or more efficiently in some way by improving processes or providing the plant with amino acids and humic acids, so the plant doesn’t have to make everything itself.
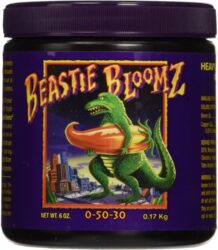
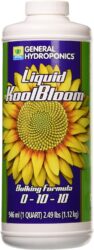
- PK Boosters & “Shooting Powders” – With this type of supplement, the main ingredients are just Phosphorus and Potassium because they are important for flowering. These also sometimes contain some amount of sulfur. In general, use these sparingly as they’re usually very potent. And don’t forget that every quality base Bloom nutrient should already contain plenty of P and K. These types of products often contain naturally occurring plant hormones to help stimulate flowering which are not listed on the label. The downside is these hormones can sometimes cause plants to herm or grow male flowers (which can result in seedy buds), though typically that only happens with strains that are already prone to herming.
Often, bloom supplements will include a mix of some or even all of these types of ingredients. It can definitely get a little confusing so I’ll try to break it down a little 🙂
A cheap alternative to expensive sugar-based bloom-boosting supplements is blackstrap molasses. Giving this to your plants for the last few weeks before harvest can help them get bigger and smell/taste better. It’s not specially made for plants; it’s the regular stuff you’ll find in your kitchen or at the grocery store. Blackstrap molasses adds sugars, amino acids, and trace minerals. Unfortunately for hydro growers, anything organic like molasses is not suitable for a hydroponic reservoir. But molasses works great for soil and coco growers 🙂
For the last 2-3 weeks before harvest, give 1/2 tsp of Blackstrap Molasses per gallon when watering (for soil or coco coir).

For those who prefer something in a bottle, I’m really intrigued by Botanicare’s Sweet Carbo line. According to Botanicare:
The natural esters in Sweet are easily absorbed by the plant, but are not broken down further once deposited within the plant tissue. This means that as new flowers develop they will contain small amounts of these natural esters which contribute to the overall flavor and aroma of the finished product.
They offer citrus, berry, grape, and “raw” (which is just a generally sweet smell). These should be used throughout the flowering stage to help build smell/flavor in the buds as they mature. However, since these contain a small but significant amount of magnesium, they should not be used while flushing during the last 2-3 weeks before harvest. At this point, the smells have already been deposited into the buds. Another cool thing about these supplements is they contain amino acids and some other enhancers, so it’s kind of like getting a lot of different products at once.
The Botanicare Sweet Carbo line offers cannabis supplements to make buds smell like berry, grape, or “raw” sugar (a generally sweet smell)
Other growers who’ve tried the “raw” version have said they can definitely notice an increase in the amount of “sweet” smell in their buds.
Bloom Enhancers
The jury is still out and which is the most effective supplement, but many growers are happy with bloom-promoting supplements that include sources of…
- amino acids
- humic acids
- vitamins
- trace minerals
- often contain unlisted ingredients (including plant hormones)
I personally don’t use this type of supplement so I can’t recommend a particular one, but some of the most popular cannabis supplements based on this type of formula include…
Note: When possible, try to get all your nutrients and supplements from the same company. This greatly reduces the chance of getting unexpected reactions between the different products. Some companies don’t “play well” together.
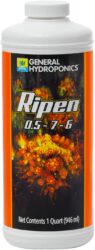
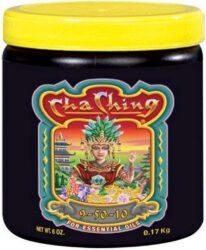
Bud Supplements (PK Boosters, Bulking Formulas, Shooting Powders, etc.)
The supplements listed above use ingredients that add only tiny amounts of base nutrients (NPK). This means that they have less of a chance of overwhelming your plant with too high levels of nutrients (which can be easy to do if you’re adding a lot of supplements).
However, this last set of nutrients directly adds P and K. If you’re using a regular Bloom nutrient already, this can make it really easy to go overboard with P and K.
If you’re not giving your plants specially made flowering nutrients, they often need another source of extra P and K while budding. So for example, if you are growing in soil and haven’t been adding extra nutrients in the water, a PK booster may be perfect in the flowering stage to make up for what the plant has used up in the soil.
Whenever using this type of nutrient, a tiny amount goes a long way. Whenever possible, try to choose a supplement by the same company as your base nutrients – this will help prevent negative interactions between the nutrients and the supplements. In general…
These types of products often contain naturally occurring plant hormones to help stimulate flowering, but those ingredients are not listed on the label. The downside is these hormones can sometimes cause plants to herm or grow male flowers (which can result in seedy buds), though typically that only happens when a strain is already prone to herming. Make sure to avoid synthetic plant growth hormones!
PK Boosters, Bulking Formulas, and Shooting Powders, Oh my!

4.) Better Taste, Better Smell – Increase Terpene Content
The smell and scent of cannabis buds are produced by plant chemicals known as “terpenes” (also “terpenoids”, which are a class of terpenes).
Terpenes contribute to the flavors of many household spices (like cinnamon, rosemary, cloves, and ginger) and help create the scent of most flowers.
The unique combination of terpenes and terpenoids produced in cannabis flowers (buds) causes most of their taste and smell as well.
There are a variety of ways to increase the terpene content of your buds so you produce cannabis that tastes and smells great, and there are also a couple of common mistakes you should know about that can actually ruin the taste and smell of your buds.
Learn how to increase terpene content so buds smell amazing.
5.) Maintain Proper Temperature and Humidity
Temperature
Maintain daytime temperatures around 65-80°F (18-26°C) in the flowering stage unless you’re using CO2 which does best at around 80-90°F (26°-32°C). However, even if you’re using CO2, most growers recommend you back off and bring the temps down to 65-80°F for the last two weeks before harvest.
Night temperatures should be kept around 68-75°F (20°-24°C) for most strains. Too-cool temps increase the chances of bud rot, which thrives in the 60°F (15°C) range, and freezing temperatures can actually damage or even kill your plants.
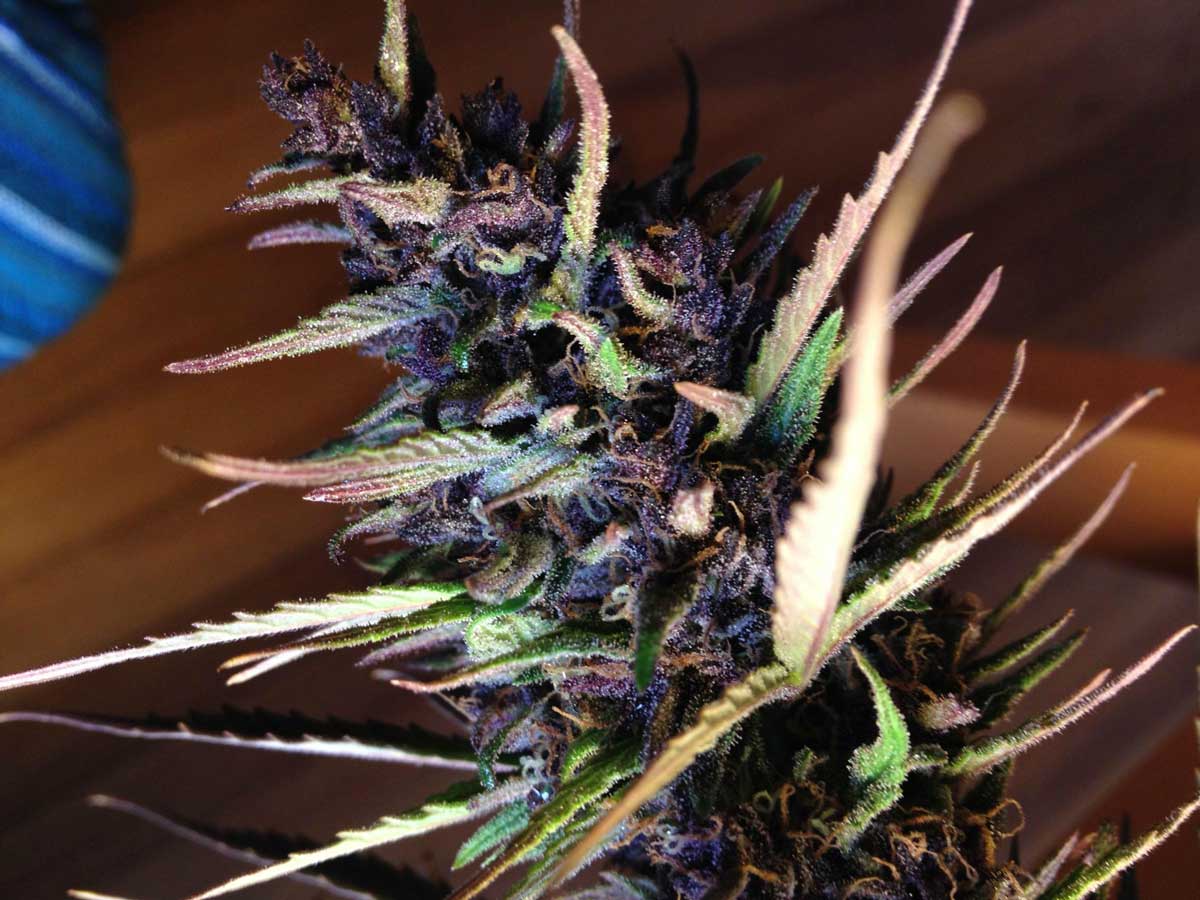
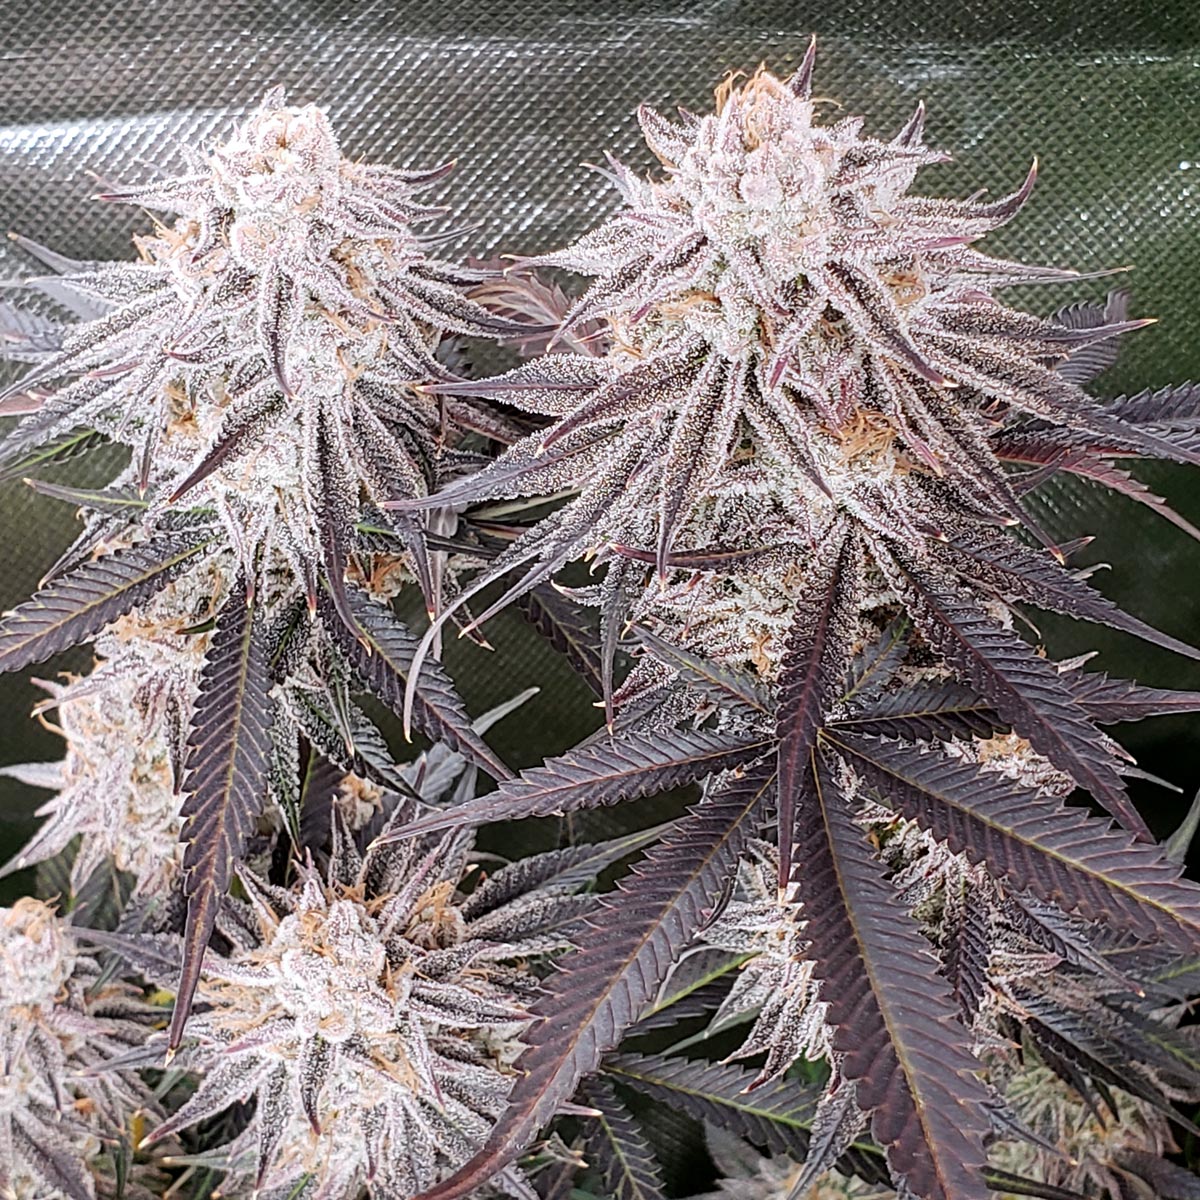
However, if you’re growing a strain that turns color, keep in mind that some of these strains will only show their color when night temperatures are at least a few degrees cooler than during the day in the flowering stage.
Some strains need slightly cooler night temperatures before their buds will turn colors. For example, the buds of this Auto Frisian Dew turned bright purple after it started getting below 70°F (21°C) temperatures at night.
Learn How to Control Temperature
Humidity
Humidity stumps a lot of new growers and causes several unexpected problems.
Maintaining higher humidity during the vegetative stage will reduce salt levels within the plant while encouraging healthy and lush growth.
During the vegetative stage, if humidity drops below 40%, especially anywhere below 25%, it can cause problems that look like nutrient deficiencies or light/heat stress.
But in these cases, just adding a little moisture to the air does wonders, even if you don’t change anything else.
During the flowering stage, your cannabis plants actually prefer less humidity.
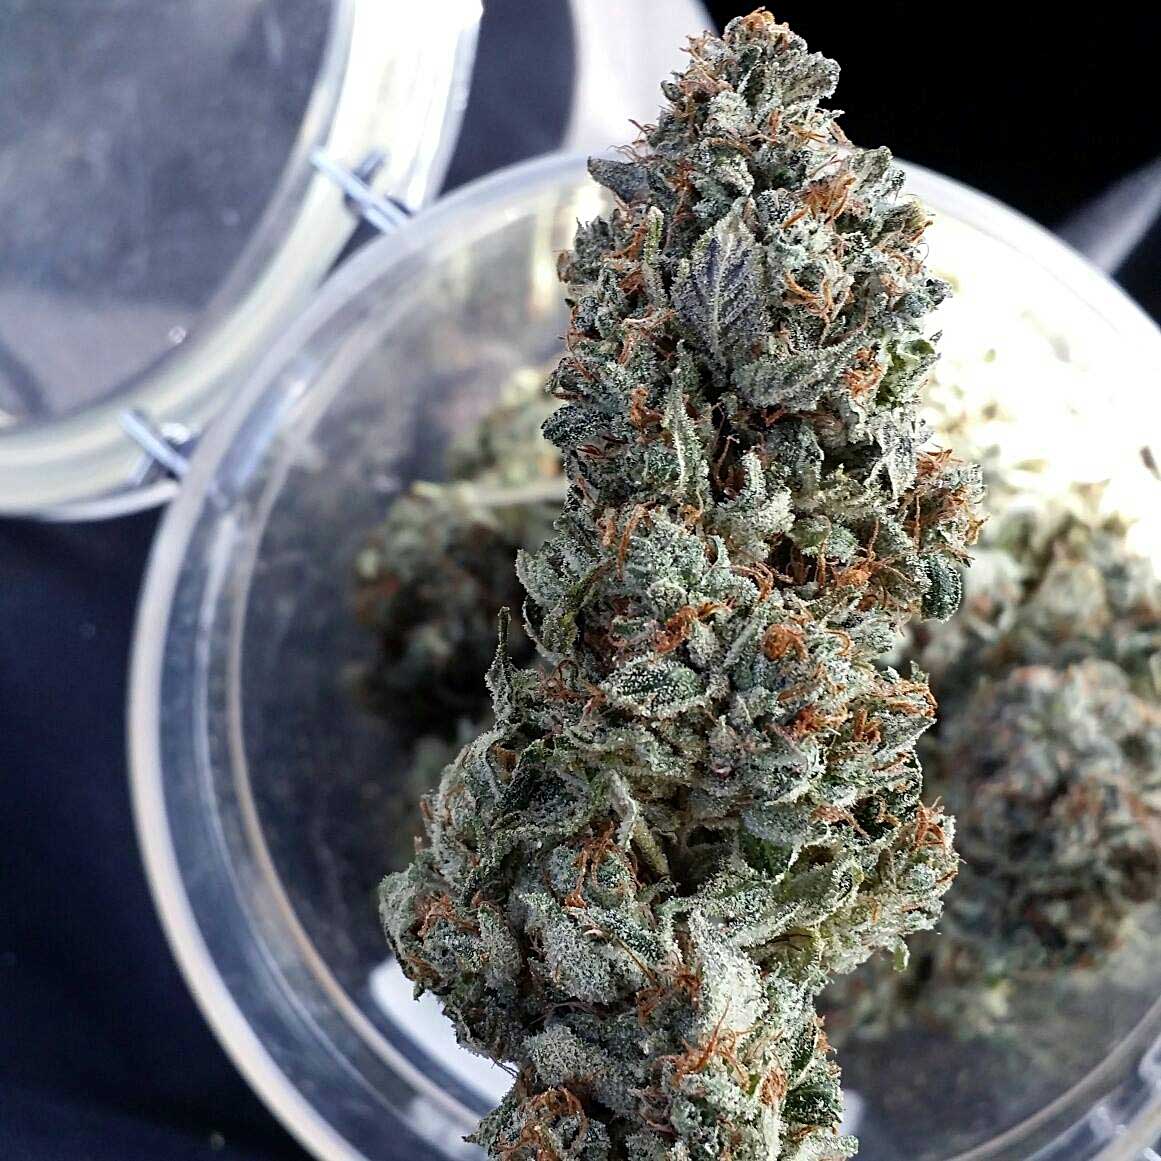
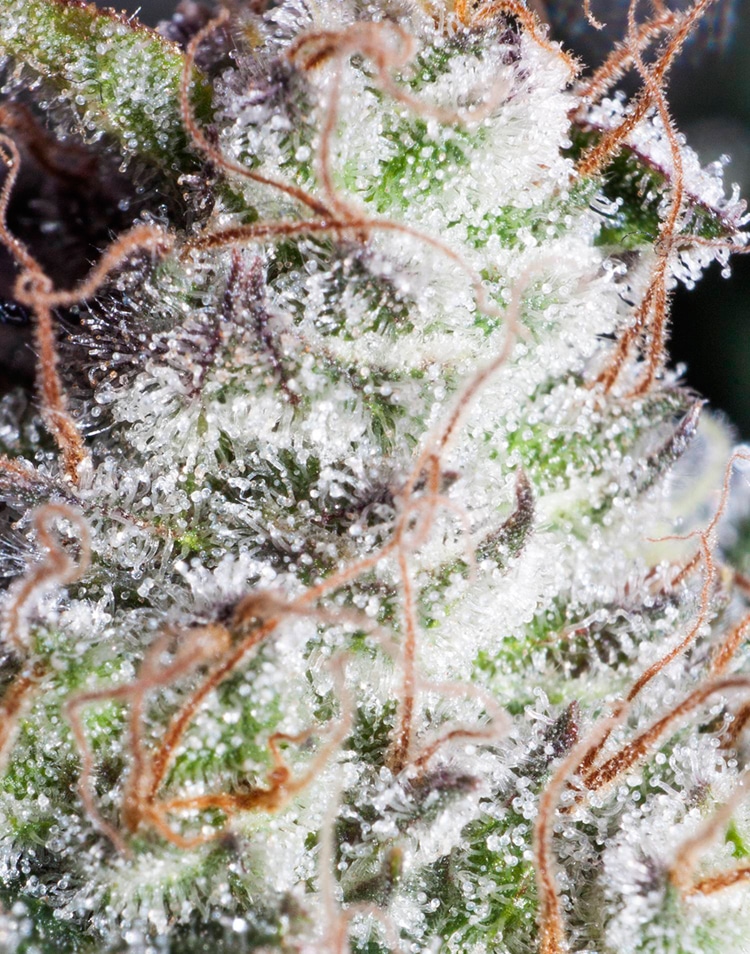
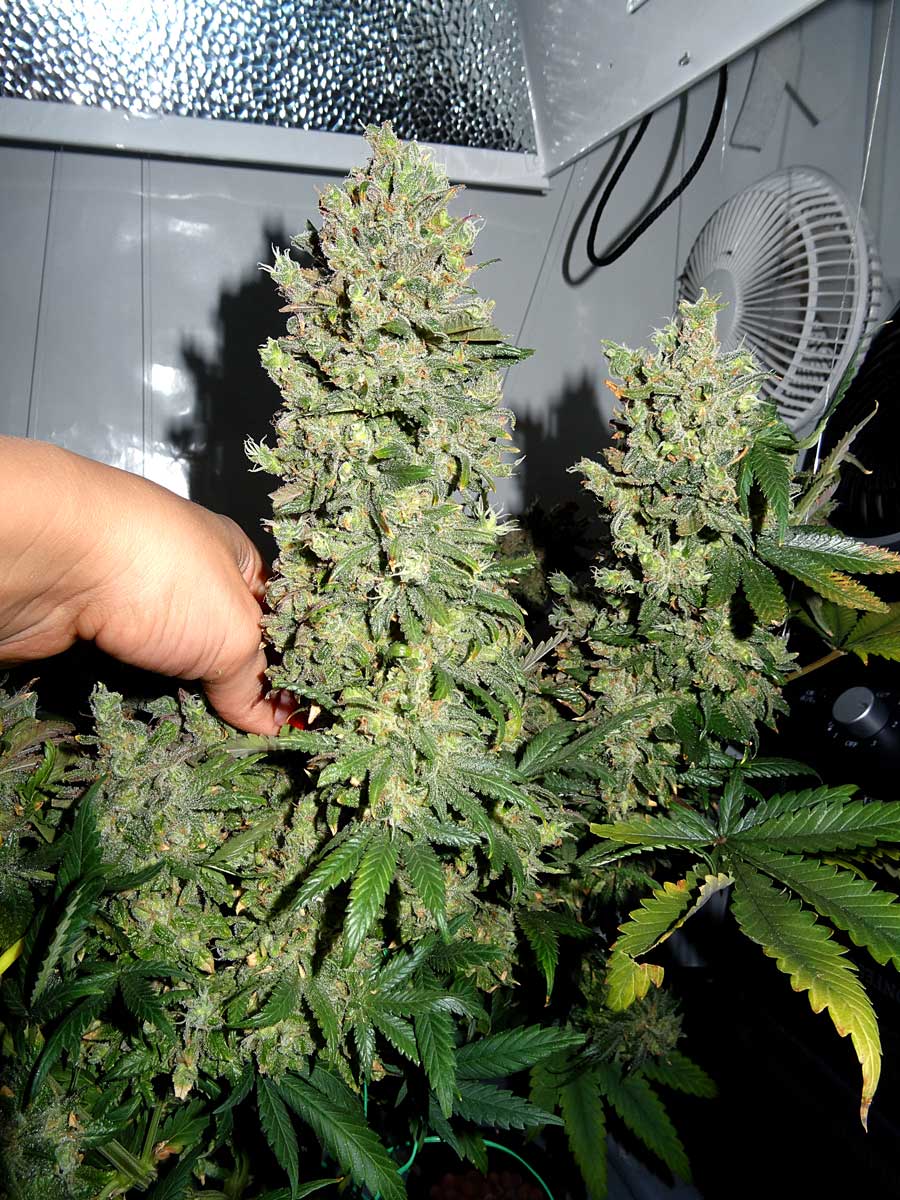
Decreasing moisture in the air (lowering the humidity) during the flowering stage helps prevent mold and actually may increase trichome production in your buds. For best results, keep humidity at 40-50% during the flowering stage.
Lower humidity levels in the flowering stage can help promote trichome production, which increases the amount of “glitter” you see on cannabis buds.
“But I’ve never worried about humidity and my plants are fine…”
The truth is, you can successfully grow your marijuana plants in high or low humidity, even if growth isn’t perfect. This is the primary reason why many growers – especially new ones – forget about humidity altogether.
New growers also tend to hastily spend money on CO2, supplements or expensive nutrients when controlling the humidity in their setup could make a much bigger difference in their final product.
So if you’ve realized that your humidity is far higher or lower than what’s recommended, you may be able to make a simple, relatively cheap change to dramatically improve the vibrancy of your plants.
For growers in really dry or humid areas, it can make a big difference to buy a humidifier/dehumidifier and make sure they’re always providing the optimum humidity levels.
Learn how to master your humidity levels like a Pro.

And there’s one more insider trick you need to know about humidity: You know you need to keep humidity in the 40-50%RH range for the flowering stage, but there is one extra trick… Use a dehumidifier to drop the humidity down as low as you possibly can for the last 1-2 weeks of flowering.
This extreme dryness will encourage the buds to seal and protect themselves with additional resin (in other words, a sparkling outer layer of THC-heavy trichomes).
As an added bonus, this trick also gets your buds prepped for a successful, mold-free drying process because your buds have already given up some of their moisture.
6.) Make Sure the Grow Room has Strong Air Flow & Good Ventilation
This is yet another factor having to do with air quality (we already listed temperature and humidity).
Over time, any grower (especially indoor growers) will see that great air quality is a big contributor to star-quality buds. Air flow and ventilation are essential if you want to create perfect air quality.
For 1-3 plants smaller to mid-sized plants, you’ll probably be fine with an oscillating fan or two. With a big grow and hot lights, you’ll need a better exhaust system to ensure proper airflow, but it can be easy to set up.
Learn how to set up a professional exhaust system

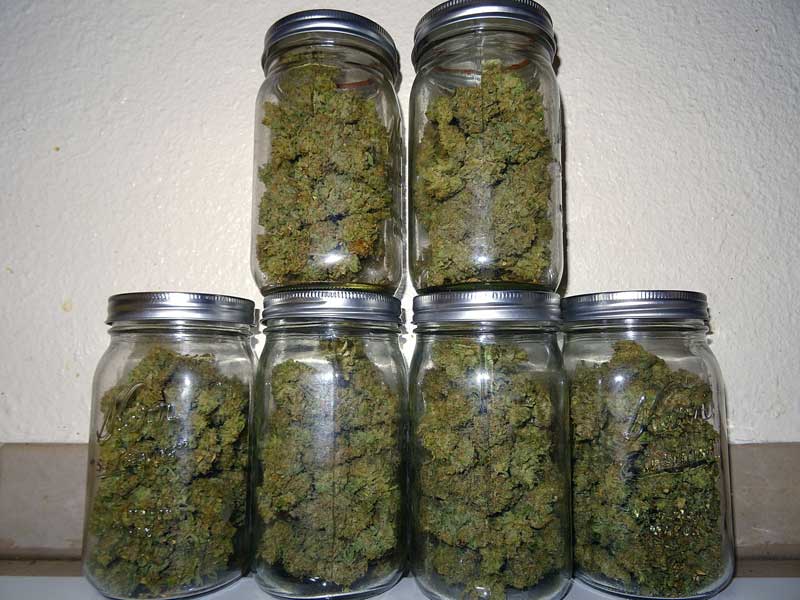
7.) Master the Basics – Especially Drying & Curing
You probably know that in order to get the best results, your plants need to make it through the majority of their lifecycle without major problems.
 But although your growing methods are incredibly important, one of the most important things to focus on is when you harvest, as well as the process of drying/curing your buds after harvest.
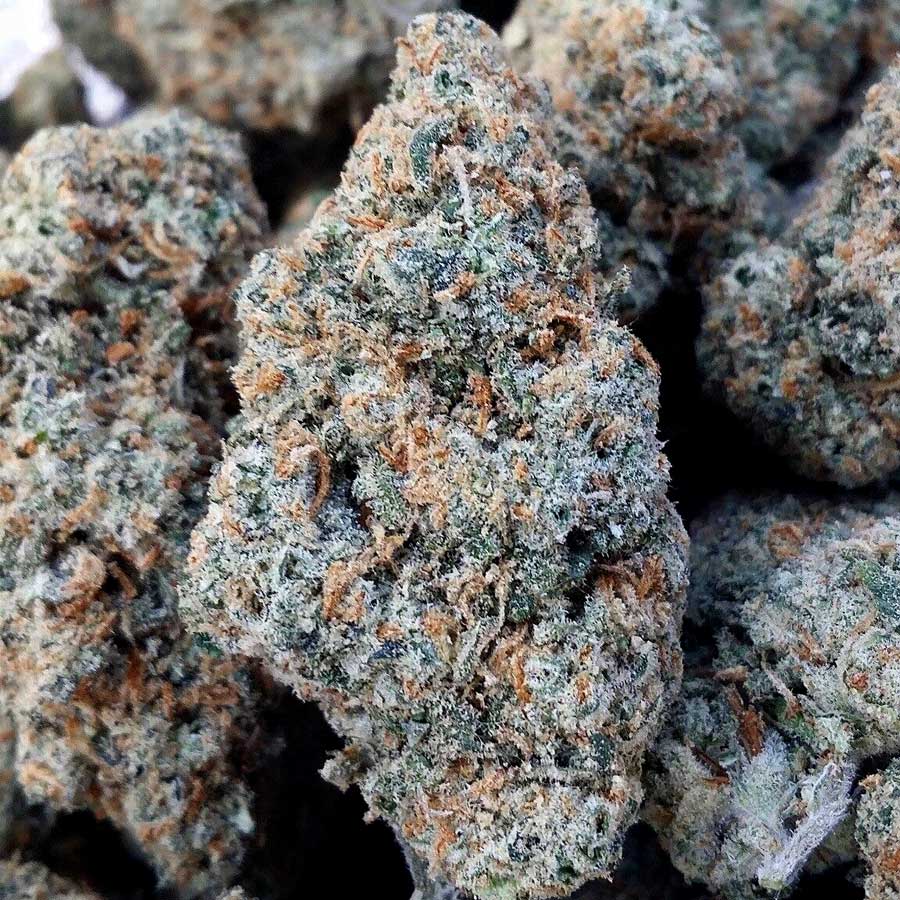
In fact, the things you do during and after harvest, including drying/curing, makes up almost 50% of your final bud appearance.
Drying/curing the right way will make buds smell better, look better, be more dense, and buds will actually feel more potent.
If you haven’t really been paying attention during the drying/curing part of your grow, you should focus here for the greatest gains in quality.
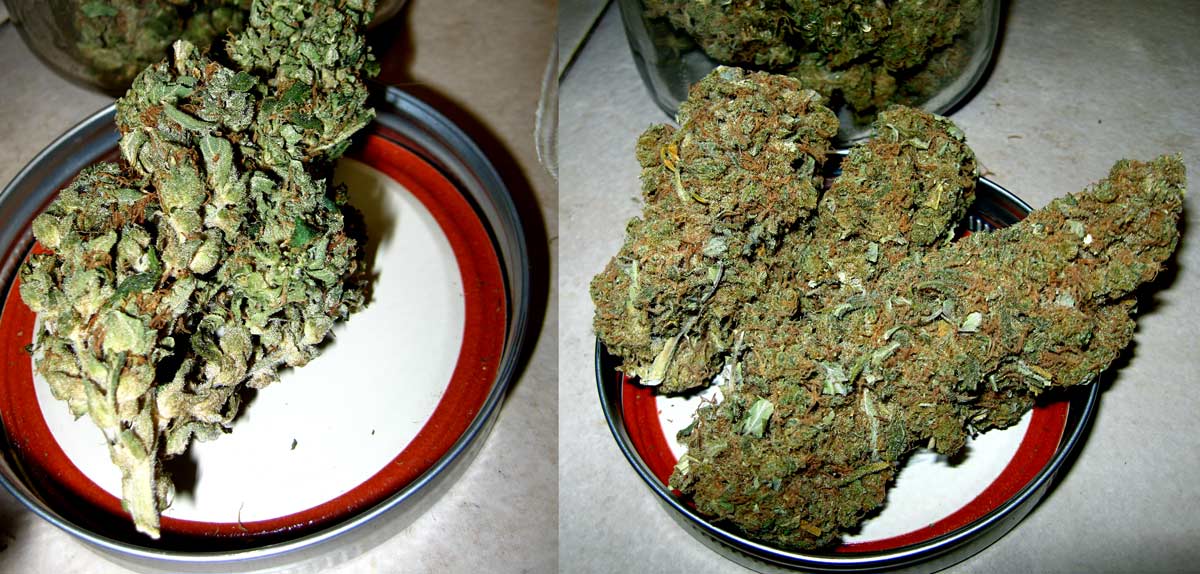
Drying buds slowly and then curing them in glass mason jars for 2-4+ weeks helps “tighten up” buds so they are more dense. Curing also intensifies smell and increases potency.
What else to pay attention to during the grow?
A lot of mistakes that won’t kill your plant (like nutrient burn, nutrient deficiencies, and heat stress) can often still damage the overall appearance of your buds, especially big problems that happen after the beginning of the flowering stage while buds are in the process of forming.
More importantly, too many problems during the flowering stage can reduce the maximum potency your plant can achieve.
So in order to get the best yields along with beautiful buds that sparkle in the light, you need to gain a complete understanding of the basics of growing. It’s also important to provide your plants with a good growing environment.
But if you were to focus on just ONE thing to improve with your grow, the factor that makes the biggest difference to your quality (besides the strain) is the drying and curing process.
Learn everything you can, start with good genetics, and create the perfect growing environment to produce the best buds!
Jump to…
Easy Tutorial: How to Grow Cannabis
5 Ways to Increase Yields (with any strain)
Is it safe to buy marijuana seeds online?
Indoor Training Tactics for Bigger Yields
Wait! What about Carbon Dioxide (CO2) – Is It Worth It?
A lot of people write in to ask if adding CO2 to their grow area will increase the quality of your buds, so today I want to clear things up. CO2 is something you can add to the air of your grow room to increase yields, not quality.
Adding CO2 is most effective when you are using bright, high-powered lights (such as a 1000W HPS) that give off more light than your plants can naturally use.

This is because adding more light will increase your yields up to a certain point, but eventually your plant just stops responding to more light. At this point, no matter how much light you add, your yields stay the same (or possibly even get worse due to light burn or heat stress).
Because of a unique plant process, adding CO2 to the air makes it so that your plants can use more of the light, which can increase your overall yields.
Another advantage is that marijuana plants will thrive at higher temps when there’s lots of CO2 in the air.
However, in my experience buying CO2 is not the cheapest way to increase your yields unless you have already invested in a powerful light system. In short, you should have every other part of your grow maxed out before CO2 seems like an option. That’s why for many small-scale growers, adding CO2 can be a waste of money that could be better used in other ways.
My advice: Make sure you’re comfortable running a grow with at least a 600W or 1000W HPS/LED and take care of the more basic stuff (the other items on this list) before you think about adding CO2…otherwise it might not even be worth the money you put in.
Ready? Learn how to Master CO2 Levels in Your Grow Room