by Nebula Haze
NOTE: As an Amazon Associate, GrowWeedEasy.com earns a commission from qualifying purchases on Amazon. You support our website when you visit Amazon through the links below.
Harvest time is here (or almost here), and you must be ready. A prepared cannabis grower maximizes their yields and bud quality while reducing the chance of running into challenges.
What do you need to ensure a great cannabis harvest? Find out now!
Before Harvest Day
Stay vigilant in caring for your maturing buds until it’s time to harvest. Here are some tools to help you keep a close eye on your cannabis buds during the final weeks.
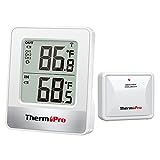
Thermometer / Hygrometer to monitor temperature and humidity
Monitor conditions to make sure it doesn’t get too hot/cold or too humid. Buds develop best when it’s slightly cool and not too humid. Good conditions help prevent bud rot and improve overall bud development.
If growing outdoors, you don’t have a lot of control over the environment, but it’s still good to monitor the humidity so you aren’t surprised when the weather starts getting bad. Indoors you actually have a lot of control to change your environment. Learn more about changing your indoor environment.
This thermometer lets you monitor the conditions remotely, whether your plants are outside or in a grow tent.
Extra tips:
- Weather stations and thermometers help you monitor environmental conditions, so you can take action if necessary.
- Consider defoliating a super leafy plant especially if you see leaves lying over each other and making wet spots. Extra moisture leads to mold.
- It’s better to harvest a little earlier than to harvest after you’ve already started seeing mold or bud rot.
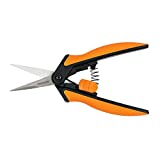
Fiskar micro-tip snips are useful to remove leaves or prune plants easily and cleanly.
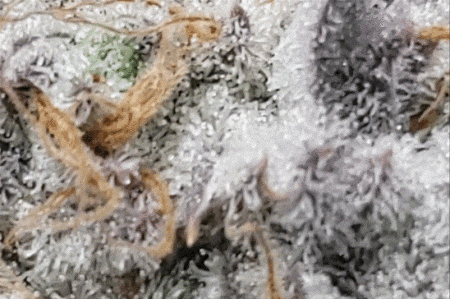
Magnifiers (to Inspect Color of Trichomes)
- If it fits your camera, get a Spider Farmer phone microscope (what I use)
- To use with a laptop or newer smartphone: USB Microscope
- Low-tech option: Jeweler’s Loupe
Learn everything you need to know to check your trichome color with a magnifier.
Harvest Day
Here are the supplies a cannabis grower needs for harvest day.
Use shears to cut the big, thick branches
Big shears – to cut through thick stems.
- I like this heavy-duty pair of pruning shears by Fiskars when I have to cut through a really thick branch that regular scissors can’t deal with.

Plant scissors to cleanly cut stems
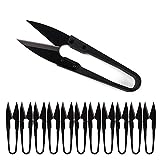
Fiskar micro-tip snips are one of my favorite and most used tools around harvest time (before, during, and after).
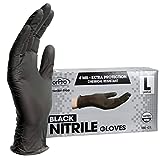
Protective gear
- Gloves – protect your hands from all the sticky weed, and help keep everything clean.
- If growing outdoors, wear your gardening apparel (hat, hardy clothes, etc.)
I think black disposable gloves look the coolest 🙂
After Harvest
Drying
Cannabis buds need to be dried before they can be used. There are many ways to dry weed, and here are the most common:
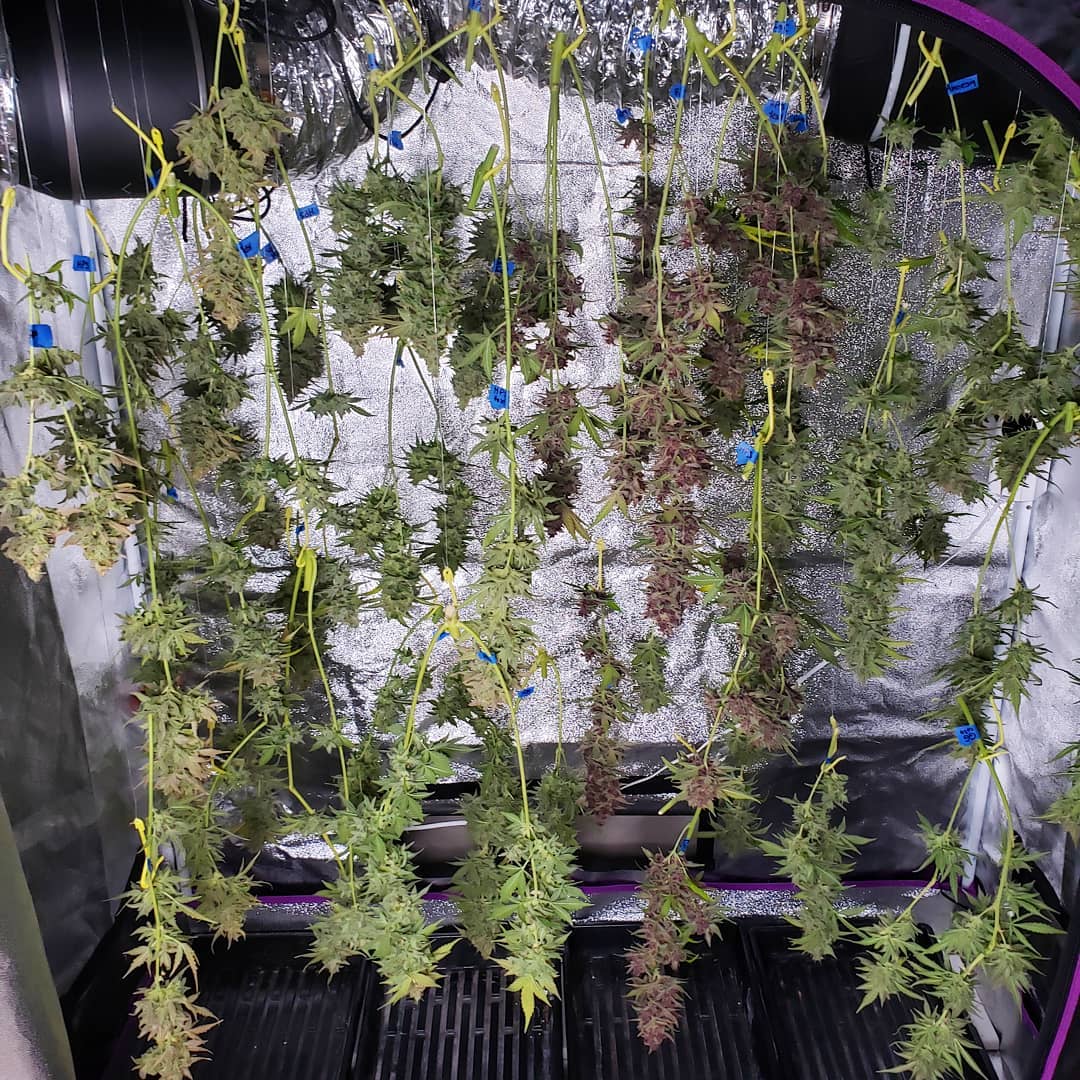
- Air drying – Hang individual branches upside down to dry. For the best result, buds should be dried in a cool spot with slight air circulation and humidity in the 50-60% RH range.
- Drying racks, nets, or lines – Various ways to hang harvested buds. Typically it’s better to hang each branch upside down, but drying racks and nets can be useful if you have to dry a lot of bud close together in a small area.
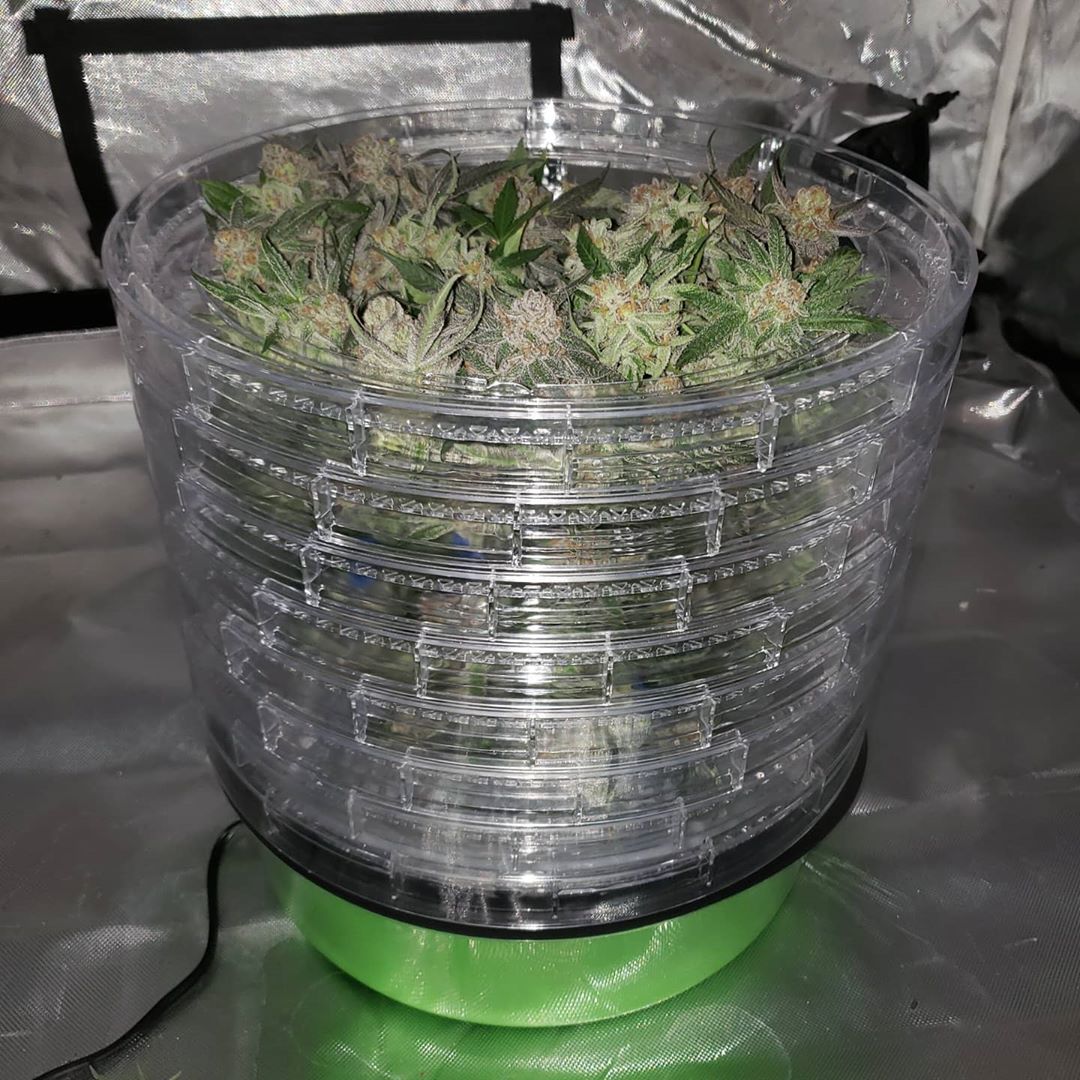
- Cannabis-specific bud dryers – These are a good choice if you don’t have a great drying environment. Air-drying in a cool spot gives the most consistent results and is difficult to mess up, but if your drying spot is warm or humid it may cause mold to grow on your buds. If that’s a concern, you can use something like the HerbsNow or other cannabis-specific dryers to dry your buds with strong airflow under low heat. However, with these dryers it’s super easy to overdry your buds, which reduces their quality and potency, so when using any dryer it’s crucially important to monitor your buds closely and stop drying them as soon as they’re dry enough (the small stems snap instead of bend). Read my review of the HerbsNow.
Learn how to dry cannabis buds perfectly.
If your space has a good drying environment (doesn’t get hot or overly humid), hang your branches upside down to dry. I typically dry my buds inside the same tent I grew them in.
If your drying space gets warm and/or humid, you might want to consider using a specialty cannabis dryer. Check out my HerbsNow review for one example.
Trimming
Spring-Loaded Scissors
You want trimmers or scissors designed for harvesting cannabis. Regular scissors are unwieldy and typically aren’t strong or sharp enough to harvest cannabis plants. The scissors listed here are designed particularly for cutting through plants.
When trimming away extra leaves from your buds, it’s best to get a pair of scissors that is “spring-loaded” which means it will automatically open on its own between each snip. This ends up saving your hands half the work since they only need to work to close the scissors and never to open them.
Examples of good cannabis-trimming scissors – The thin blades of these scissors make it easy to cut accurately.
- The 6″ Fiskars micro-tip pruning snips are my personal favorite.
- I also love these disposable bonsai pruning shears.
What are the “best” scissors for cannabis? Everyone has different preferences so I recommend getting a few different kinds and trying them out. Whatever scissors you like best is the best option for you.
Storage and Curing
“Curing” is the process where you store your cannabis buds in an airtight container and let them continue to age like fine wine, occasionally “burping” the container (letting in air) to help the curing process. Cannabis buds typically improve in perceived quality and potency for the first 2+ weeks of curing.
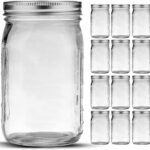
- Airtight container – Quart-size wide-mouth glass mason jars (most common), curing-specific jars, etc. These are excellent for curing and long-term storage of cannabis buds.
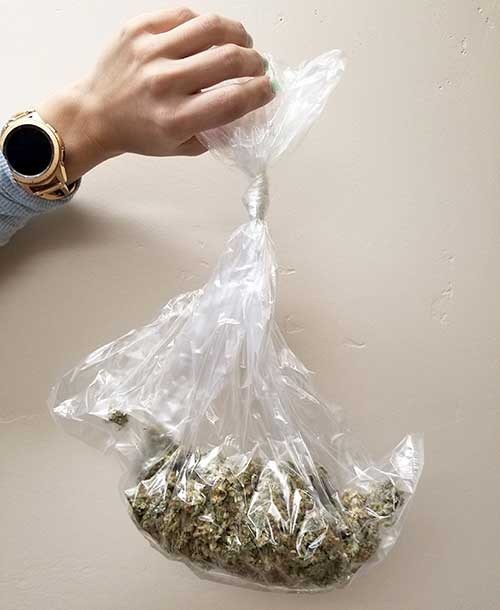
- Oven bags – For short-term storage and curing, you can put buds in turkey oven bags (Like what you’d use to cook a turkey in the oven). These are not fully airtight, but that’s okay for the beginning of the curing process since you have to burp the air regularly. Some growers will cure their buds in bags for 1-2 weeks, then transfer to jars or other air-tight container after that. If you’ve got a big harvest, this can be easier than burping 20 jars every day. But oven bags are not sealed and therefore not good for long-term storage.
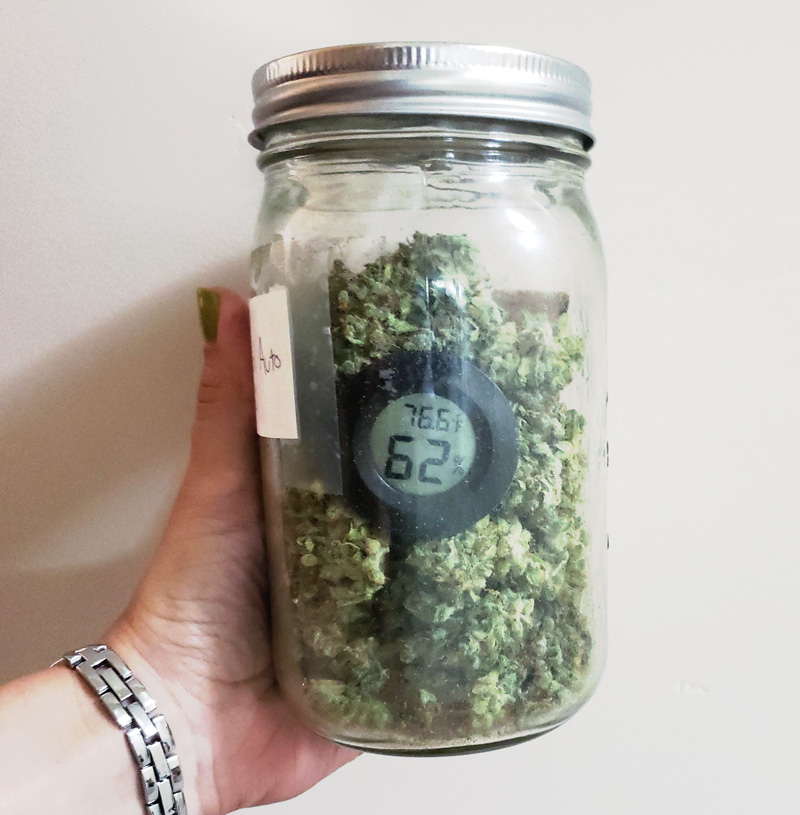
- Hygrometers – They sell packs of small hygrometers that fit in most curing containers. These make it easy to monitor the humidity in the airtight container. Ideally, it should stay between 55-62% RH to ensure proper curing.
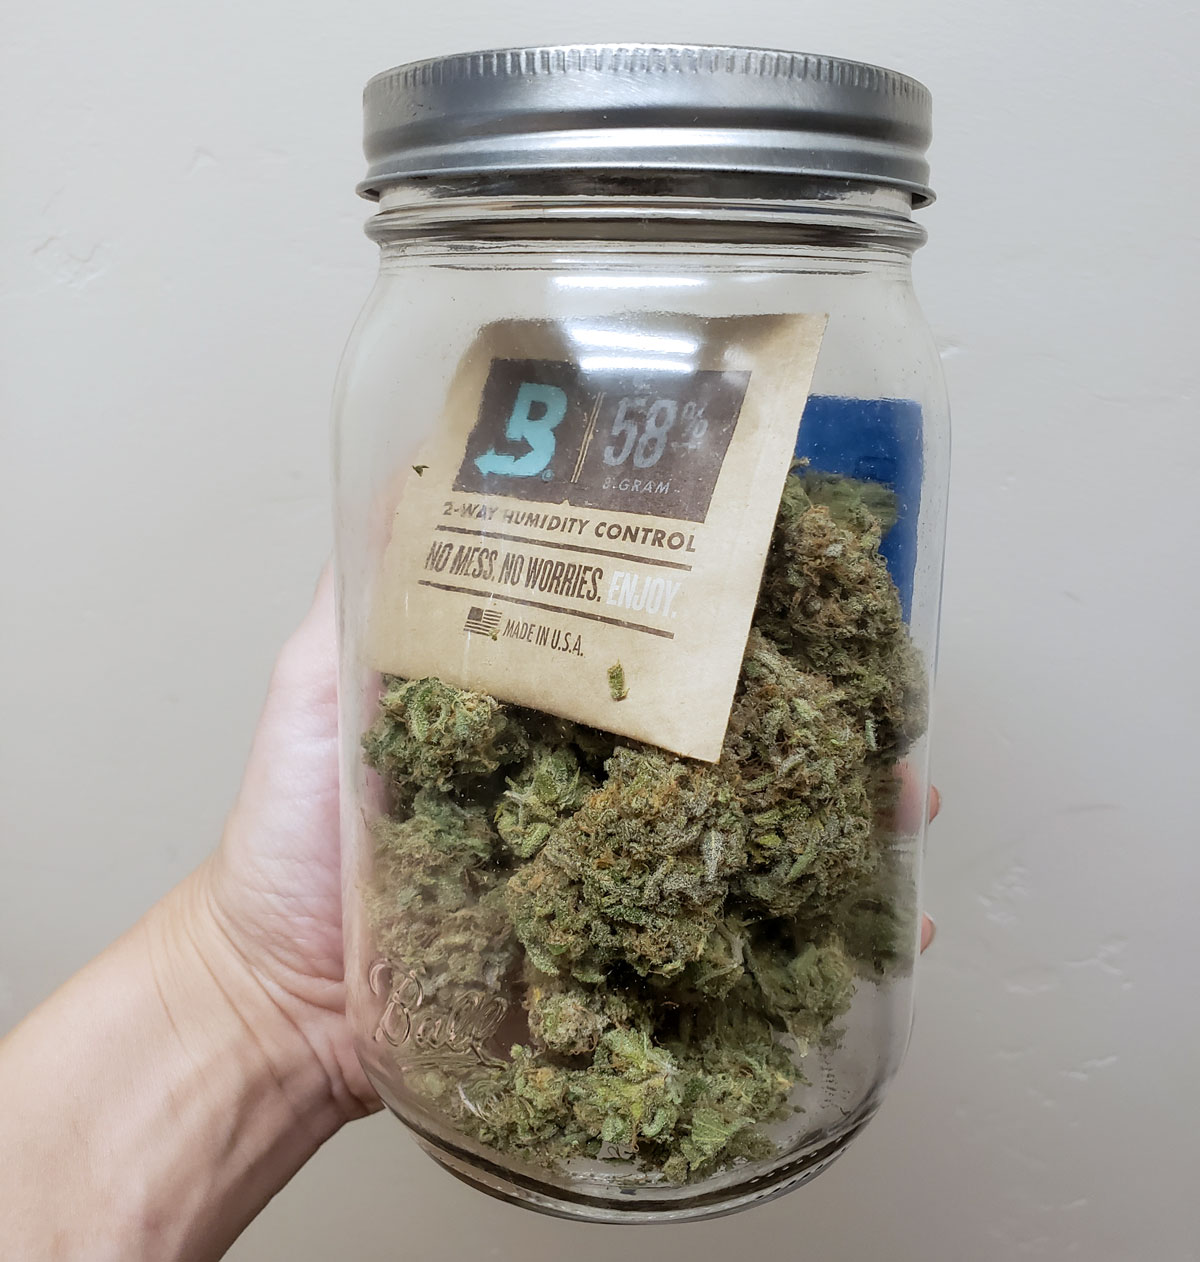
- Humidipaks – Boveda and Boost offer specialty humidity-regulating packs that will automatically maintain the humidity at a specific reading. I use the Boveda 58% RH packs. Each of the “Size 8” packs is enough to maintain the humidity in a quart-size jar (about 1 ounce of weed).
Quart-size wide-mouth glass mason jars are the most common container to cure and store weed. You can often find these cheaper at Walmart, the grocery store, home improvement stores like Home Depot, and craft stores.
Turkey oven bags can be a convenient choice for the first 2 weeks of curing, but aren’t suitable for long-term storage since they’re not totally airtight.
Small hygrometers can be placed with your buds during curing and allow you to monitor the humidity.
Boveda “Size 8” Humidity packs are one great option for automatically maintaining the humidity in a quart-sized jar. I like the 58% RH packs because I like how the bud tends to burn smoothly at that level.
You now have all the gear you need for an epic marijuana harvest!
Looking for more harvesting resources? You might like these articles…
Complete Tutorial: When Do I Harvest Weed?
Outdoor Harvest Tutorial: When to harvest cannabis outdoors
How to Trim Your Cannabis Buds
Complete Drying and Cannabis Curing Tutorial