by Nebula Haze
As a cannabis grower, you inevitably pick up “microskills” along the way, making it easier and easier to prevent problems and maximize harvests in the future.
But you can gain the power of experience without learning the hard way. You just need to learn from other home growers who already walked the path.
Plants grow more and better weed if you give them what they want.
Today I wanted to share 5 crucial microskills that help your plants grow faster and produce more weed with surprisingly little effort.
The first four microskills are about preventing and fixing problems, the last one is about locking in the best bud quality.
5 Microskills Every Grower Eventually Learns
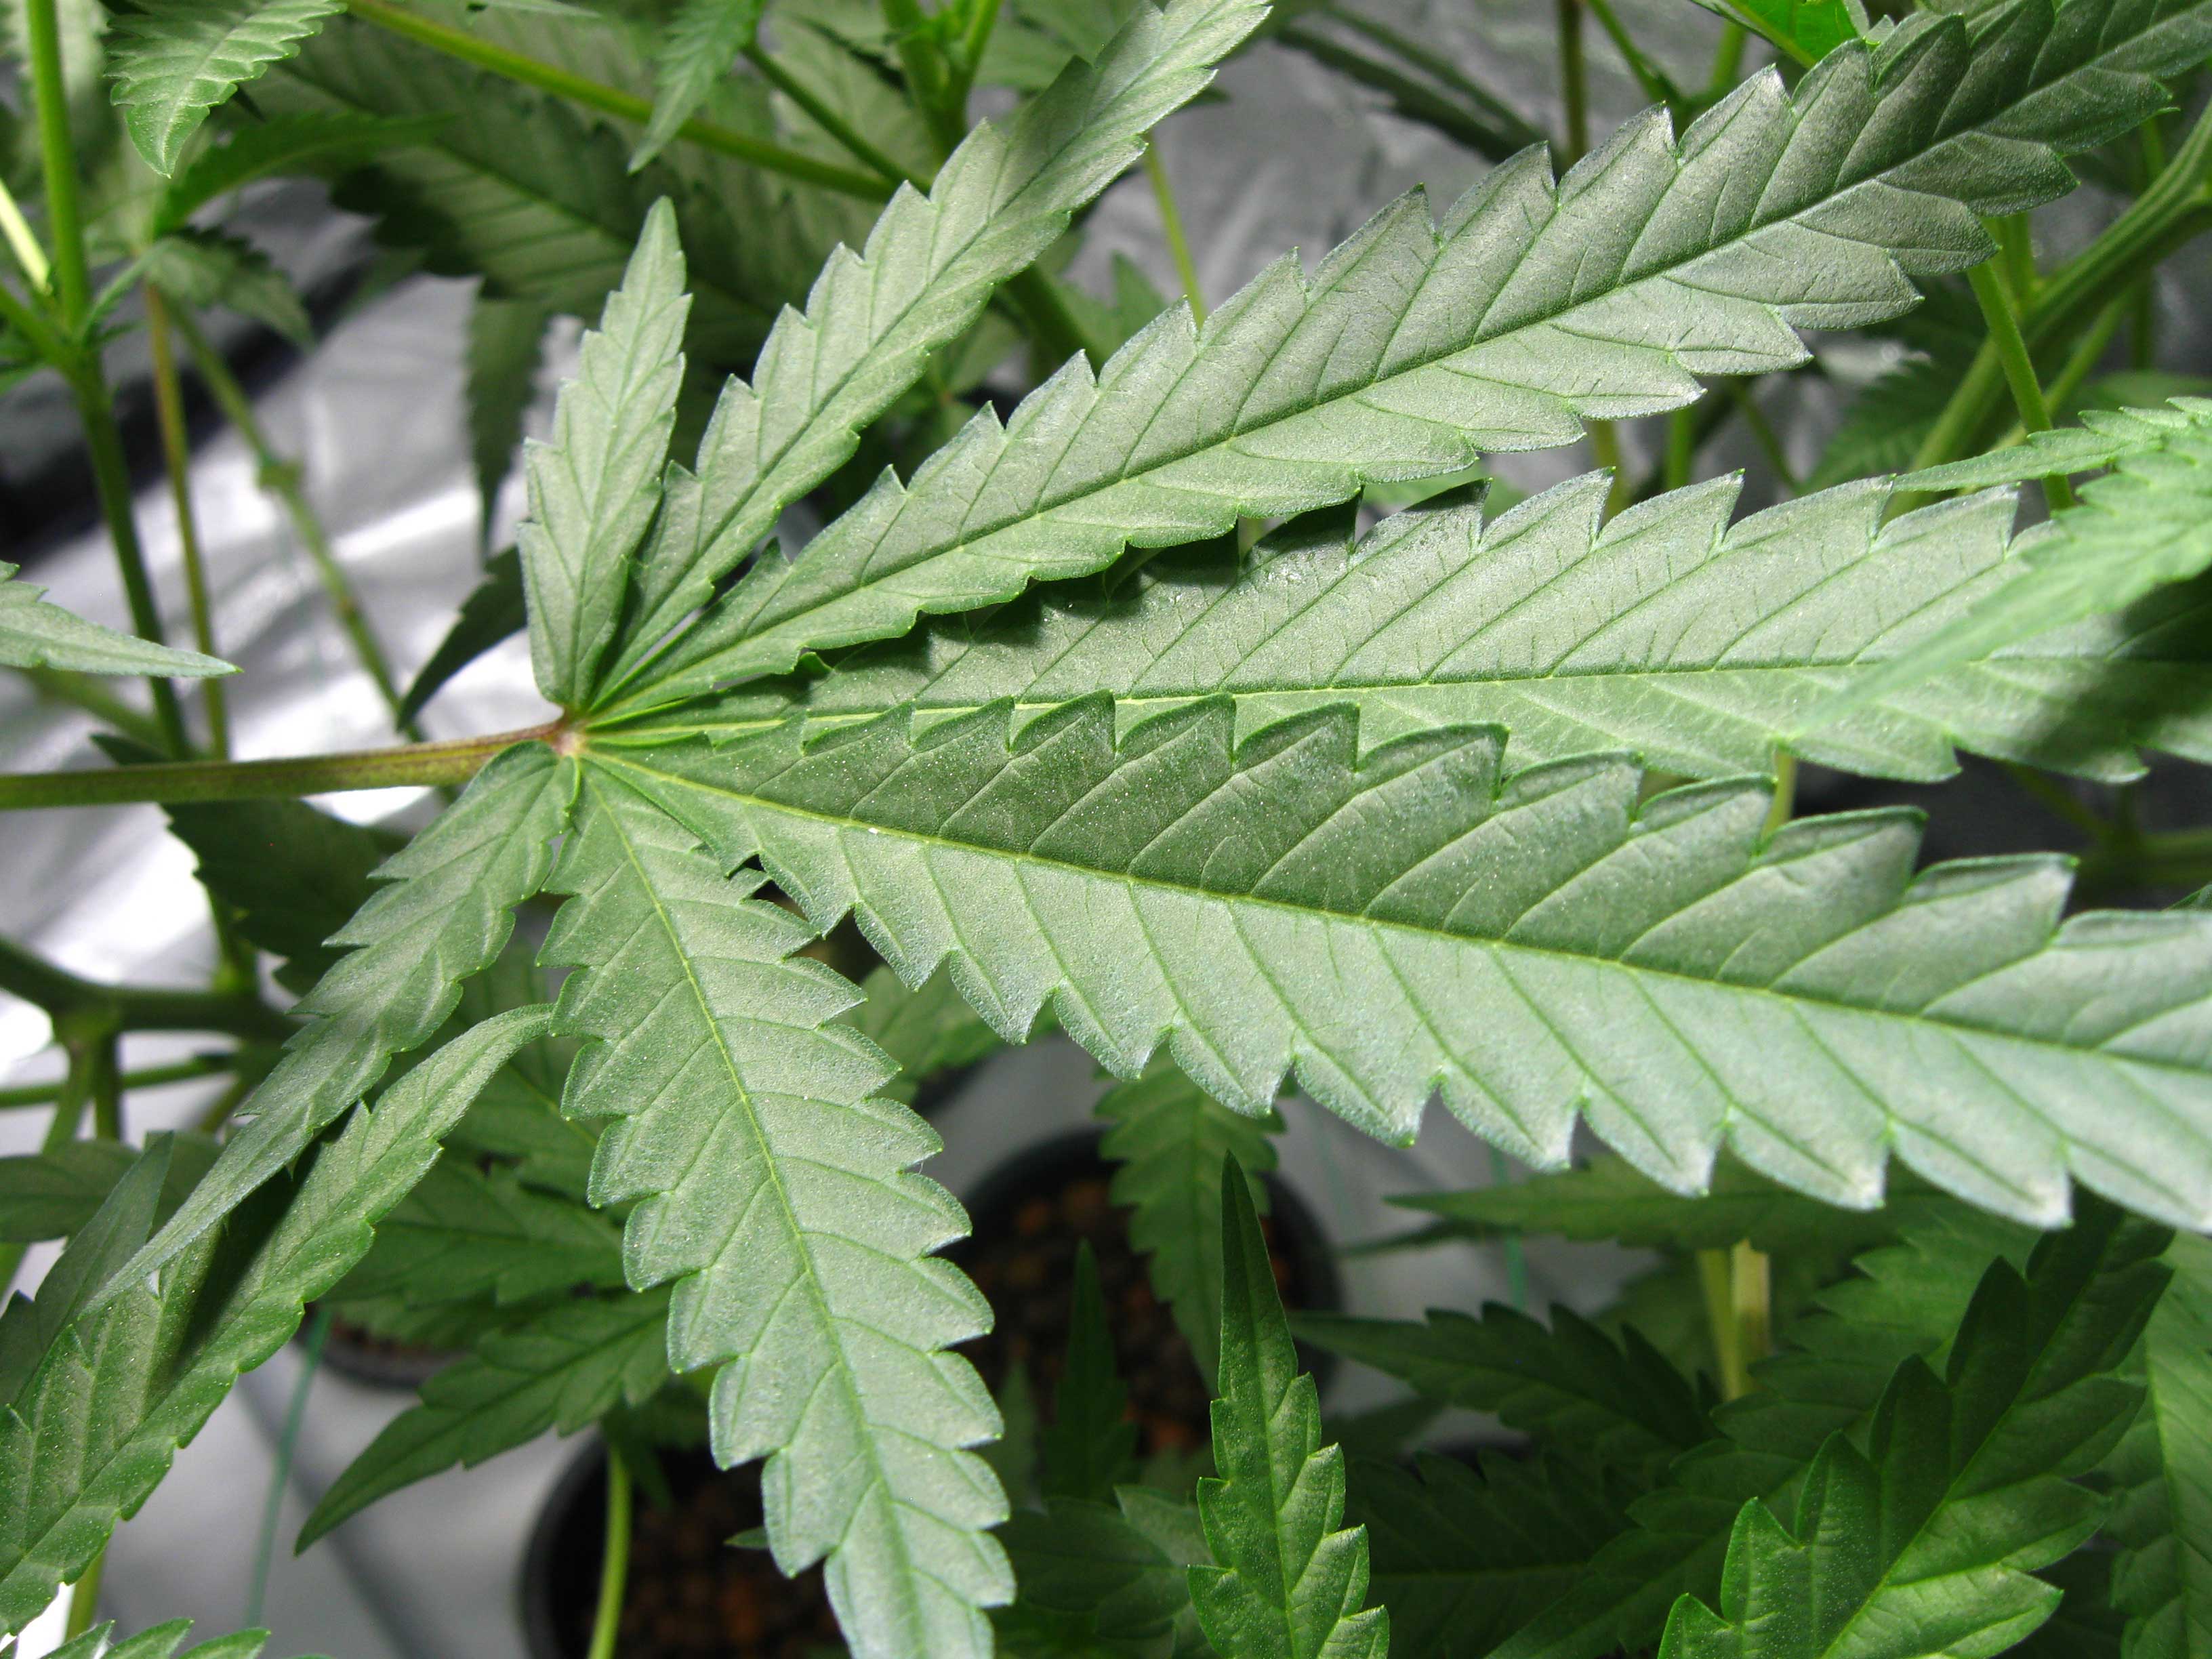
1.) Read leaf symptoms
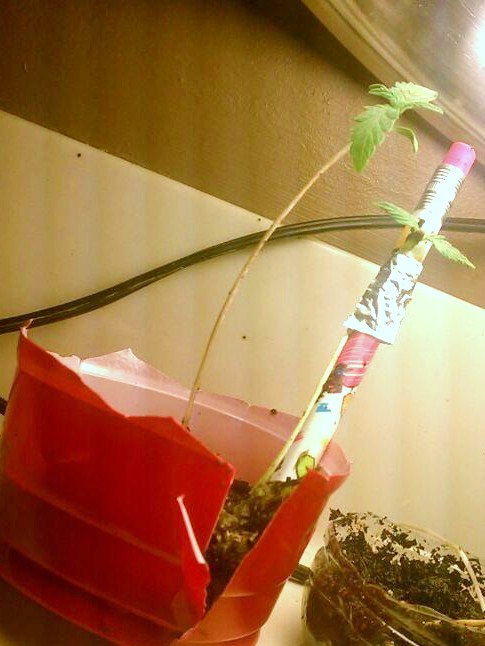
Let me start with the most common symptom new growers see: overwatering (especially young plants).
Example: Overwatering causes droopy leaves
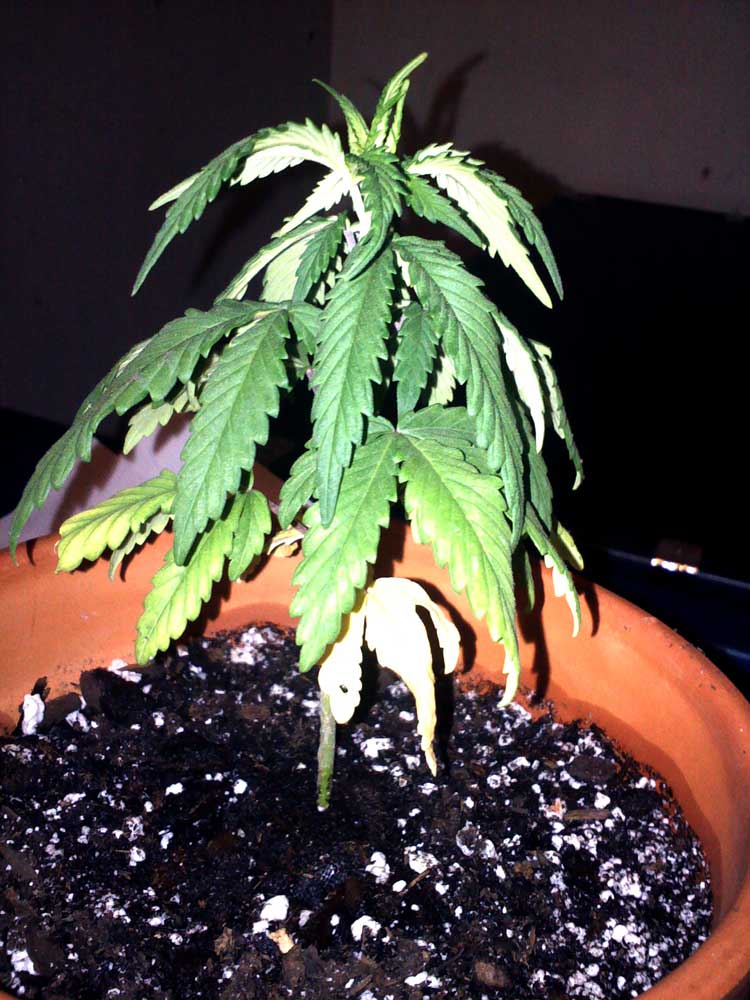
Overwatered seedlings often get “deficiencies” like yellowing or spots on the leaves.
For example, this seedling has yellow leaves, but it has nothing to do with nutrients. Notice how wet this soil is for this tiny cannabis seedling. That’s a clue that the yellow leaves on this seedling is caused by overwatering. The roots can’t “breath”.

Get your leaf symptoms diagnosed with our free plant doctor.
2.) Match light intensity to plant needs
Cannabis plants need more light than most houseplants. Outdoors, plants thrive in direct sunlight for 8+ hours a day.
Indoors, plants need a grow light. But unlike the sun, you can keep your grow light too close or too far away from your plants.
If you remember that food is light for plants, it makes sense that giving too much (light too close) or not enough (light too far) would cause problems.
Luckily you have a few effective ways to ensure your grow lights are the right distance away:
Follow the manufacturer’s recommended light distance from plants (to start)
Measure light levels with a PAR light meter or PPFD app on your phone
- Seedlings – 100–300 µmol/m²/s
- Vegetative – 300–600 µmol/m²/s
- Flowering – 600–1000 µmol/m²/s (700 is average)
Pay attention to plants (most important)
- Move lights further away if you notice symptoms on the on the leaves closest to the light (“light stress”)
- Move lights closer if plants are growing “tall” with a lot of space between sets of leaves
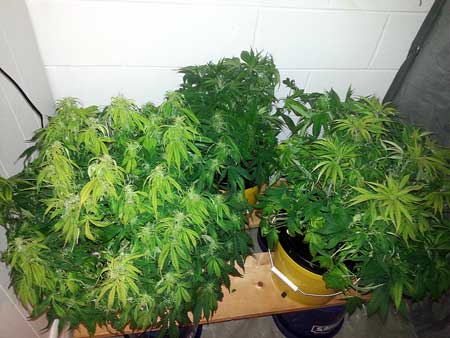
Example: Tall seedlings need more light
For these next plants, the leaves close to light look pale and stressed because they were experiencing too-high light levels (light stress). The plants recovered quickly after the LED grow light was moved further away.
Bonus tip: Raise your grow light before dimming it, especially in a grow tent. As long as you can control heat, a full-power light often increases yields compared to dimming.
Why? Dimming reduces the total number of photons, while a raised light produces the same amount of photons. Although some light gets lost to the walls when the grow light is further away, a grow tent reflects a lot of that “lost” light back towards the plant (without PPFD spikes).
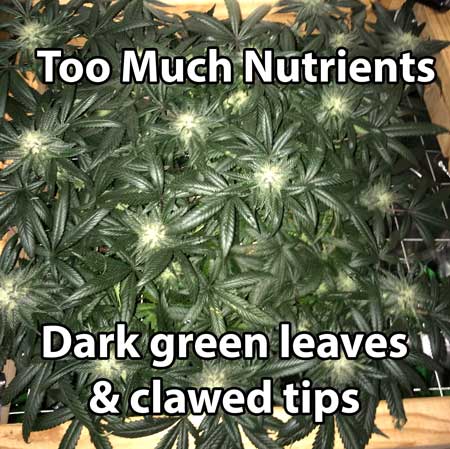
3.) Give nutrients based on plant response
Watch your plant for signs of too much or not enough nutrients.
This pale cannabis plant needs more nutrients, vs the healthy green cannabis plants which is getting the perfect amount of nutrients.
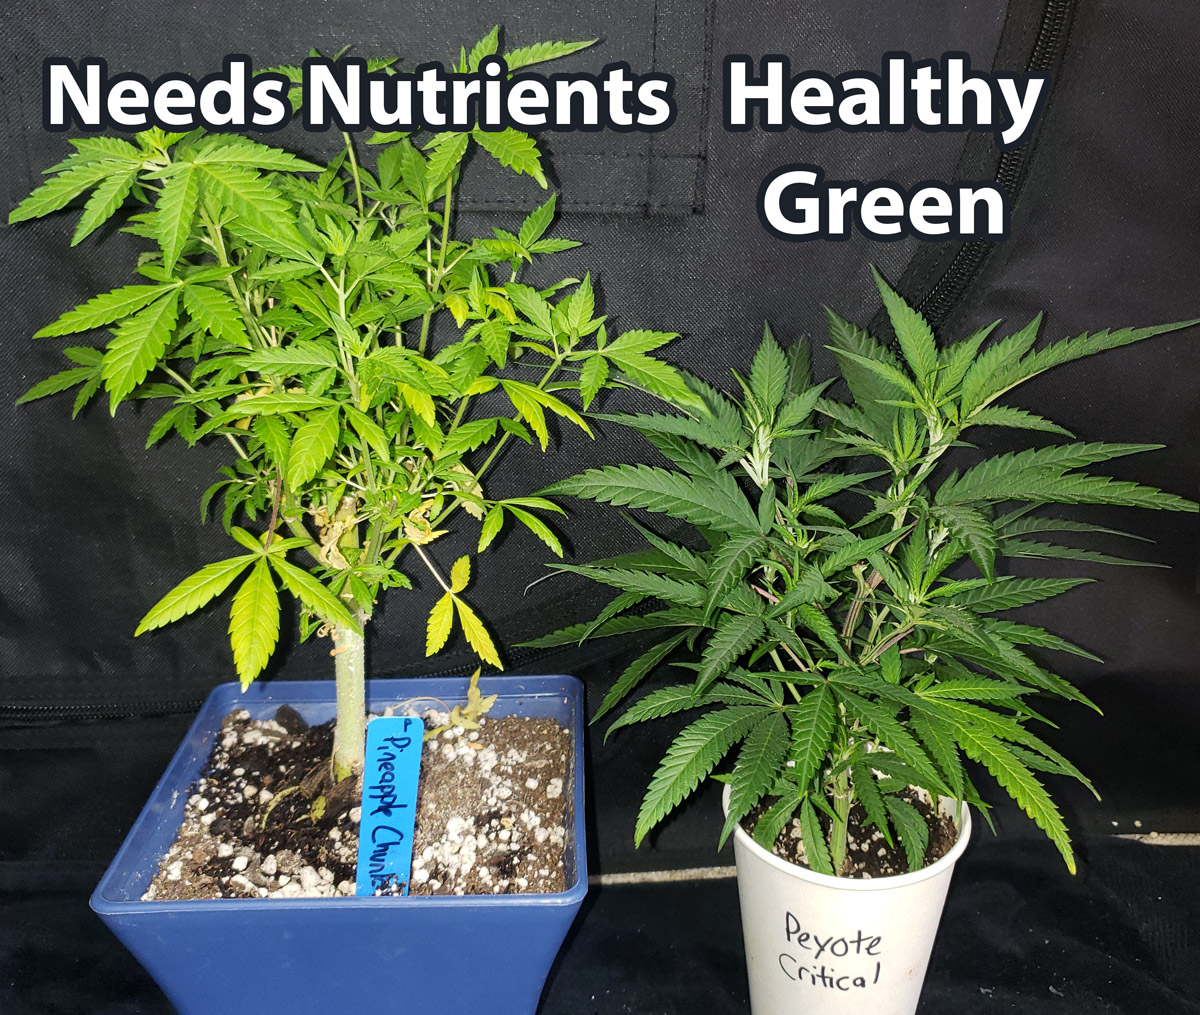
Leaves get dark green if the plant gets too much nutrients over time.
If you’re using a good nutrient system, and following the above stems, any other deficiencies that pop up are likely a pH problem.
4.) Calibrate a PH pen
It’s not glamorous, but it helps to think of this like the ULTIMATE supplement. Imagine if there was a supplement that you could give your plants that just made them grow faster and healthier. Getting a pH pen to test and adjust pH is like that supplement.
Did you know? PH is the #1 cause of mystery problems for home growers. Accurate pH at the roots is key to preventing nutrient deficiencies, but if you don’t realize that, the symptoms can be difficult to diagnose.
But why does pH matter? Nutrient compounds take a different chemical form depending on the pH, and some forms are easier for roots to absorb than others.
See what nutrient problems are caused by pH (picture guide).
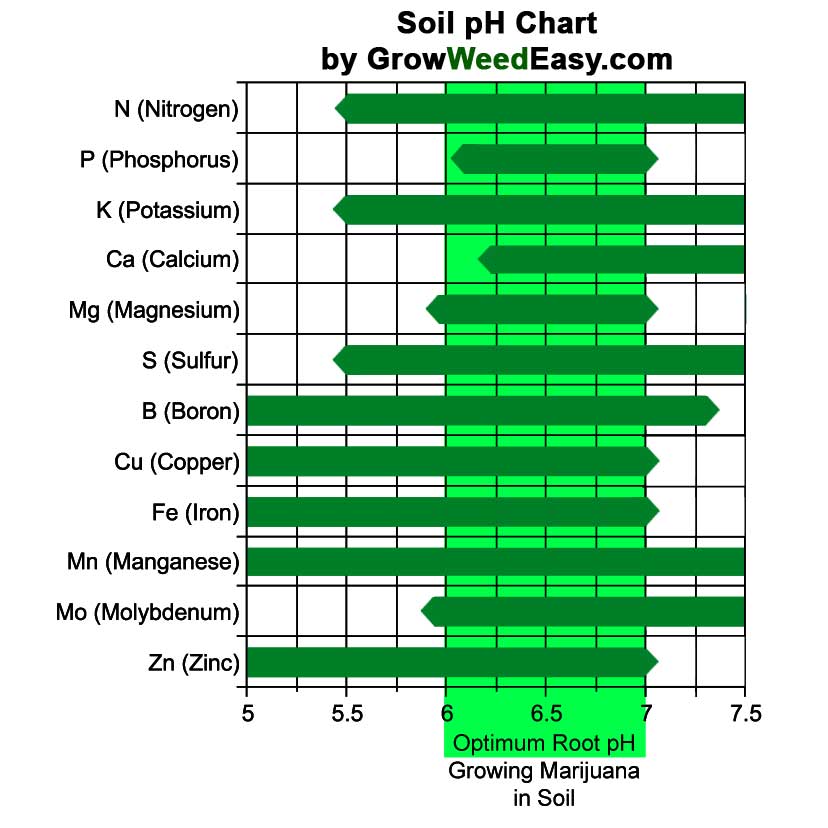
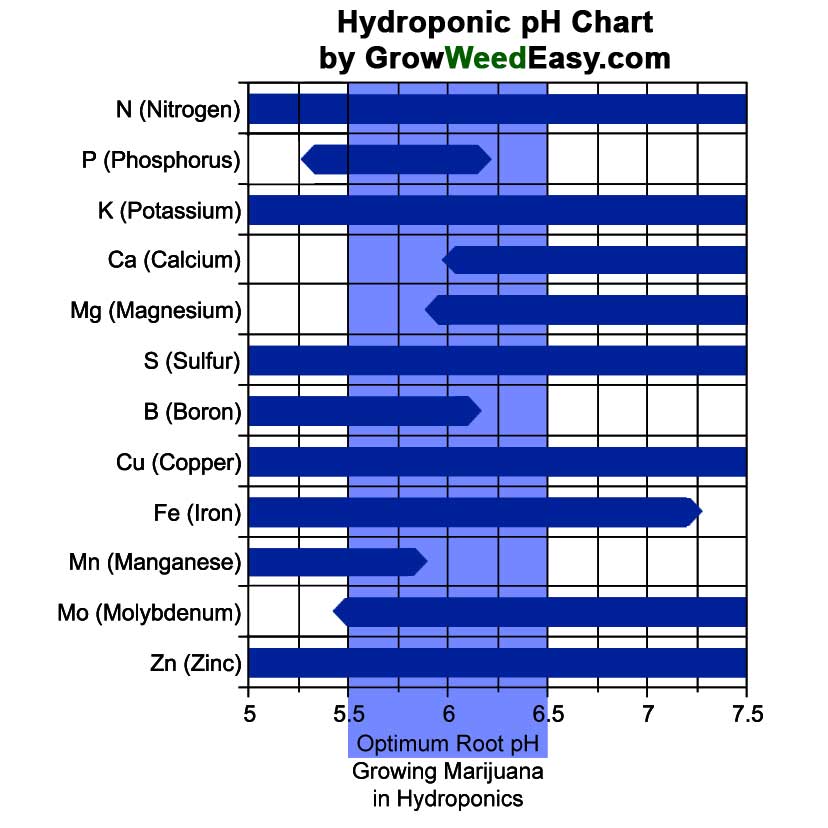
What that means: If your plant is experiencing deficiencies and you aren’t testing the pH, that is one of the first things to check.
Basically, get a PH pen, calibrate it so it’s accurate, and test the pH of your water.
- Soil: 6-7 pH
- Coco/Hydro: 5.5-6.5 pH
If your pH comes out the right range, awesome! If not, add a tiny amount of PH DOWN or PH UP liquid to the water, shake, and then measure again until the water comes out in the right range.
So what is “calibration”? Basically you stick the pen in calibration fluid and click a button. It’s easy and quick after you do it once.
Which pH pen? I love this Apera PH Pen, which is fast and accurate. I’ve found it keeps calibration for months. But any pH pen works great. Even a really cheap pH pen is usually okay right after your calibrate it.
Learn all about pH pens for growing weed.
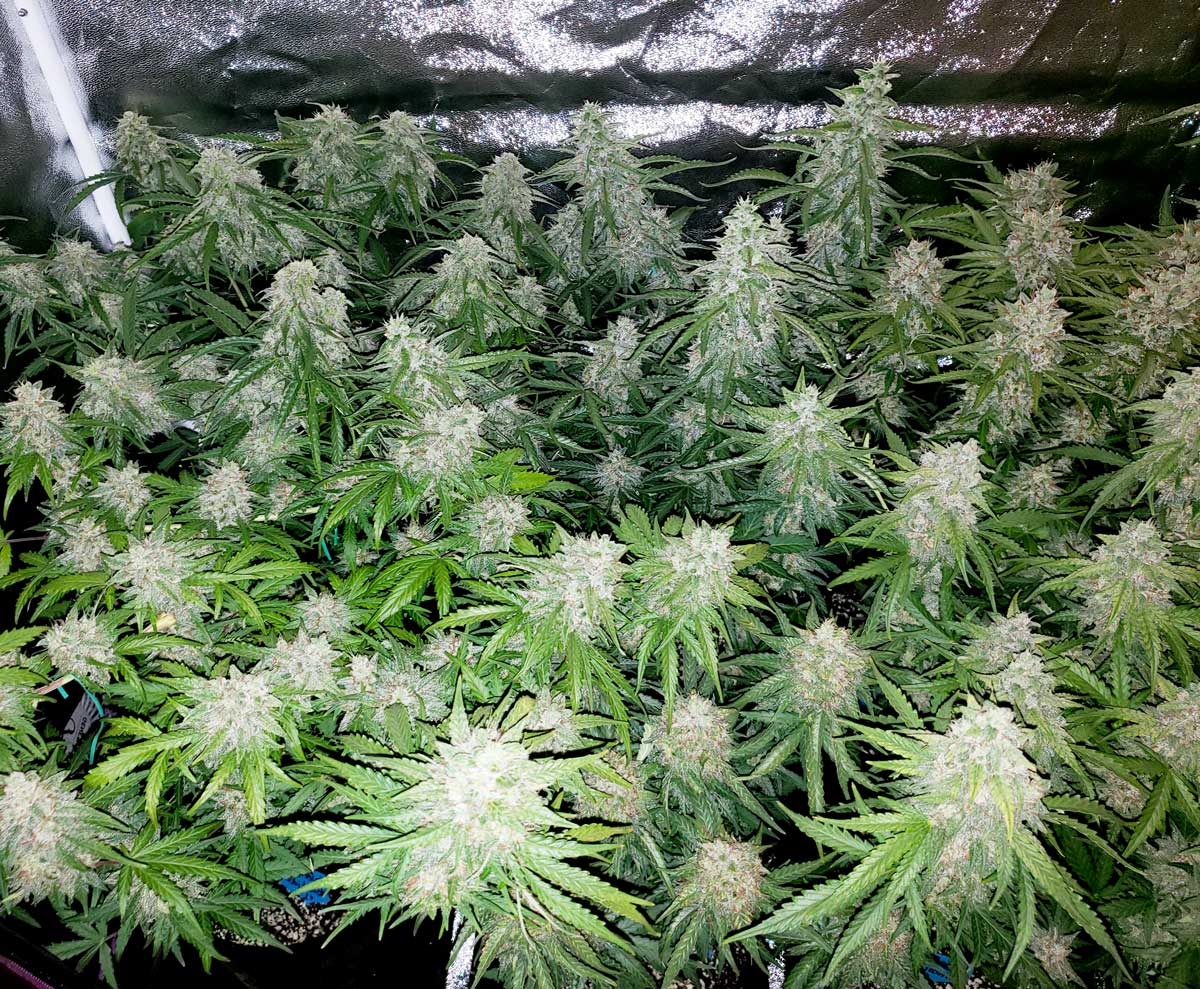
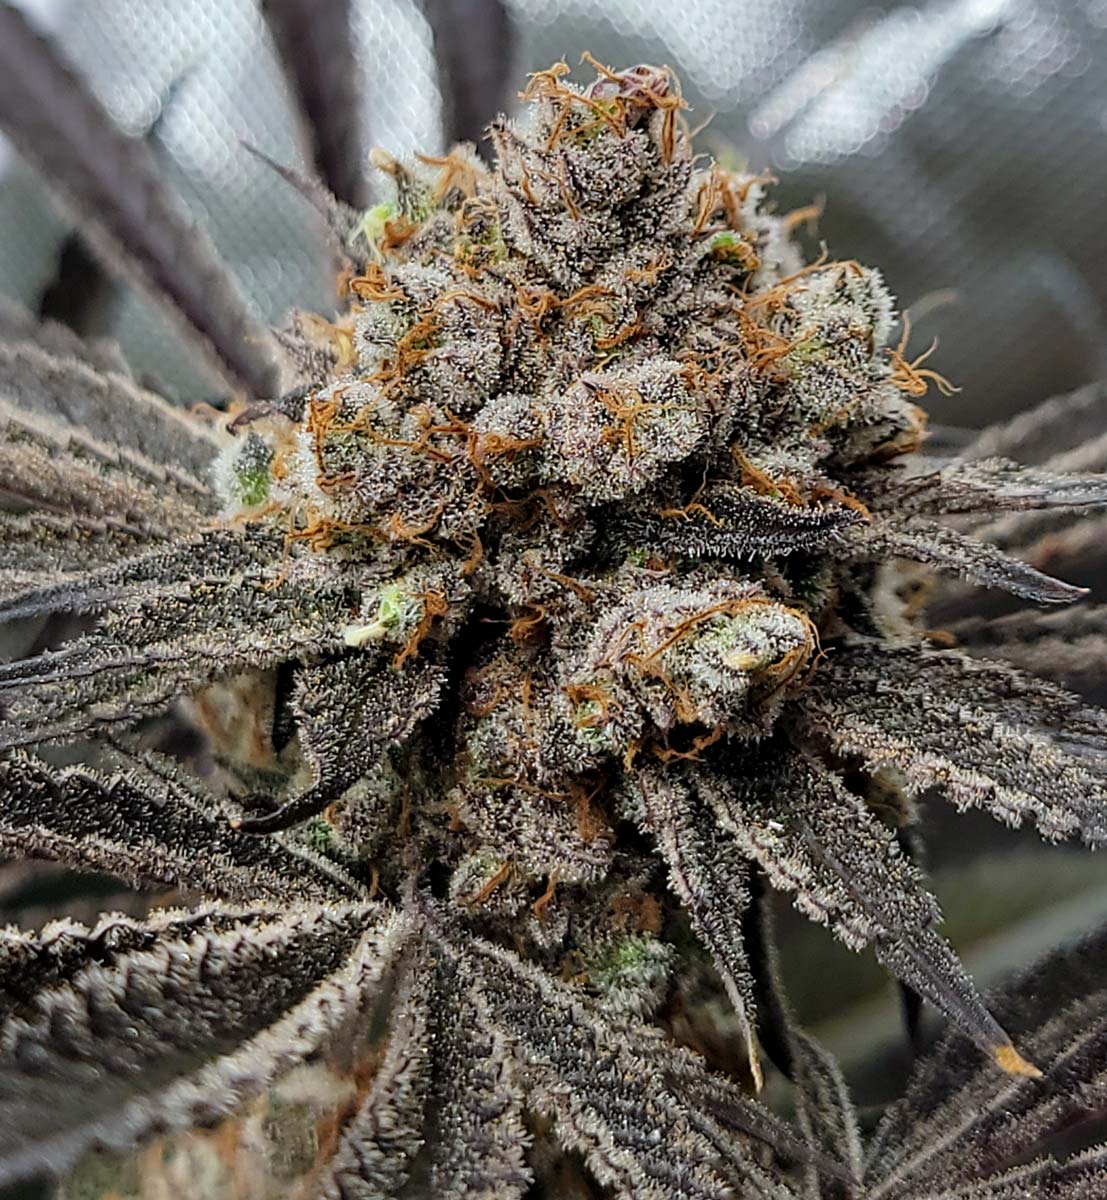
5.) Know when to harvest
This is one of the most powerful skills you can have as a grower. Being able to harvest your buds at the right time is key to getting the best yields, density, and potency. Many growers unintentionally harvest at the wrong time, and lose out on potency, density, or yields.
Main idea: Most strains are ready to harvest when most of the hairs on the buds have darkened and curled in.
Zkittlez Auto bud ready to harvest. All the hairs have darkened and curled in.

Candy Games #38 bud ready for harvest
See more pictures of Ready to Harvest cannabis buds here.
Looking for a complete guide to harvest with everything laid out step-by-step? Get our proven book for a smooth productive harvest, every harvest.