by Nebula Haze
Cloning with an aerocloner is a way to quickly create a bunch of “free” cannabis plants.
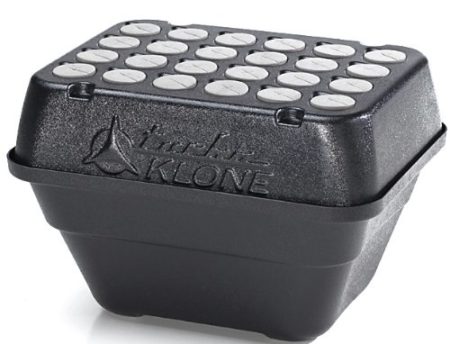
We used the TurboKlone Aero Cloner for this cloning tutorial, but the same instructions should work for just about all aerocloners (like the HORTIPOTS Aeroponic Cloner Machine 24 Site)
The aerocloner makes cannabis clones. A “clone” is when a piece of a plant grows its own roots. The new plant is a small but otherwise identical copy of the parent plant.
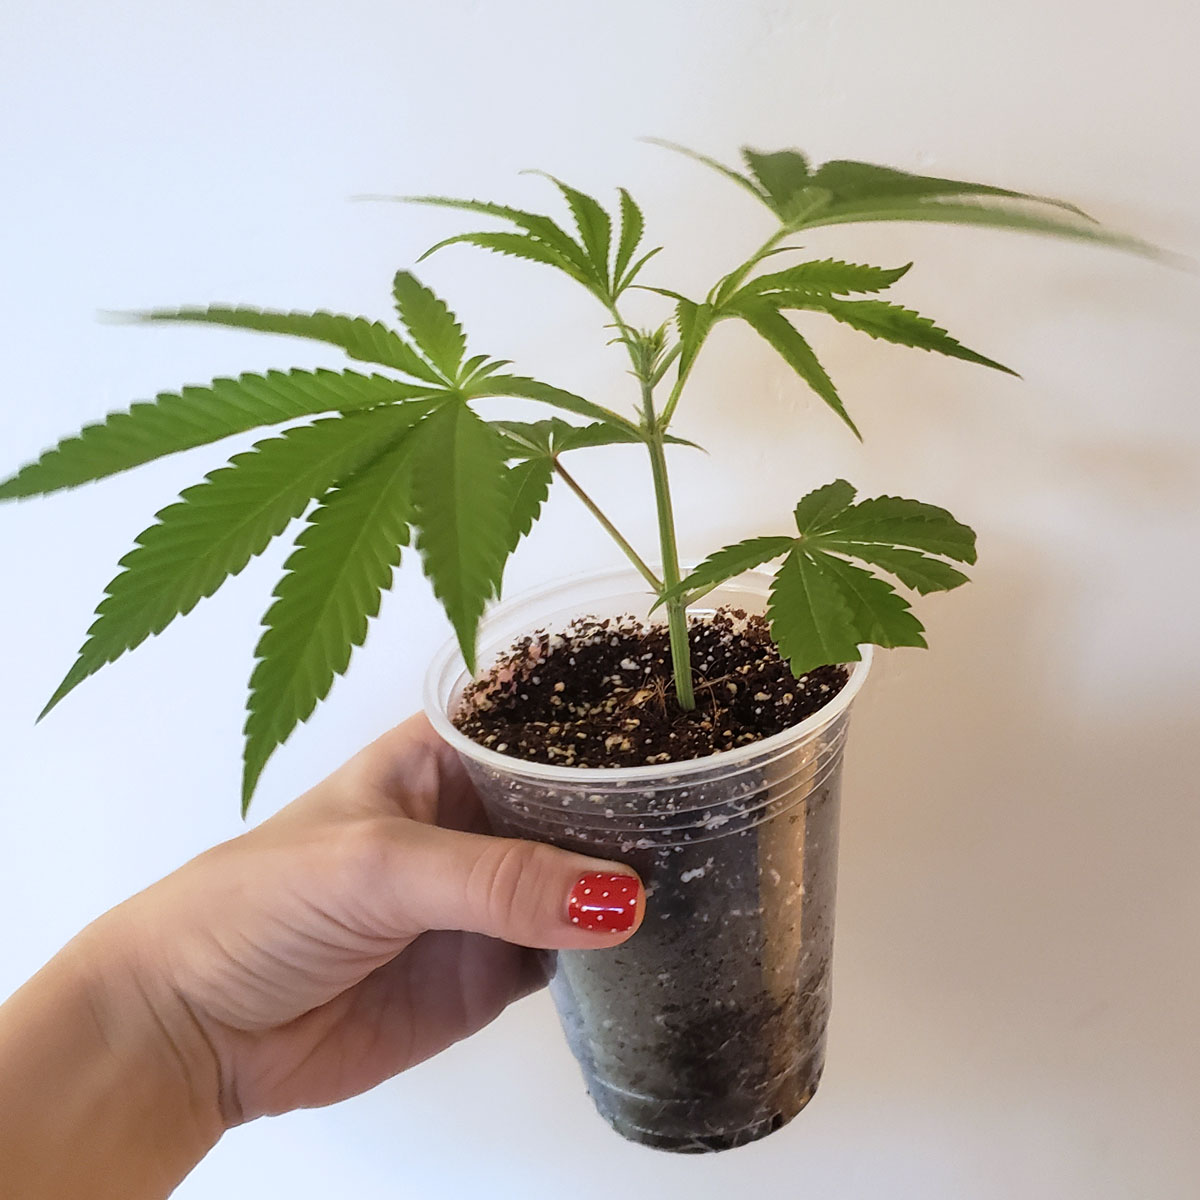
Once you have roots, plant in a container and start growing. Clones tend to grow faster than a seedling of similar size.
The main idea behind cloning is to cut off a piece of a specific plant then force that piece or “cutting” to grow roots. At that point, you have a new cannabis plant that’s essentially an identical copy of the “mother” plant. That means that clones will have similar growth patterns, bud appearance, yield potential, THC levels, etc. at the plant they were cut from. If you’ve got a great plant or outstanding genetics, take clones to capture that magic for your next grow.
The simplest way to create cannabis clones is to cut off the end of a branch about 7″ long and stick the cutting in a glass of water until it grows roots. The downside to this method is that clones take up to 6 weeks before they grow roots (each cutting is different).
So what’s the fastest way to make a bunch of clones that are all ready at the same time? In many cases, the answer may be an aeroponic cloner.
Cannabis cuttings in a hydroponic system known as an aeroponic cloner (“aero cloner” or “aerocloner”) typically create roots within 14 days

Here’s a look under the hood. An aero cloner sprays mist around the bottom stem of cuttings. This stimulates roots to grow faster than the cup cloning method.
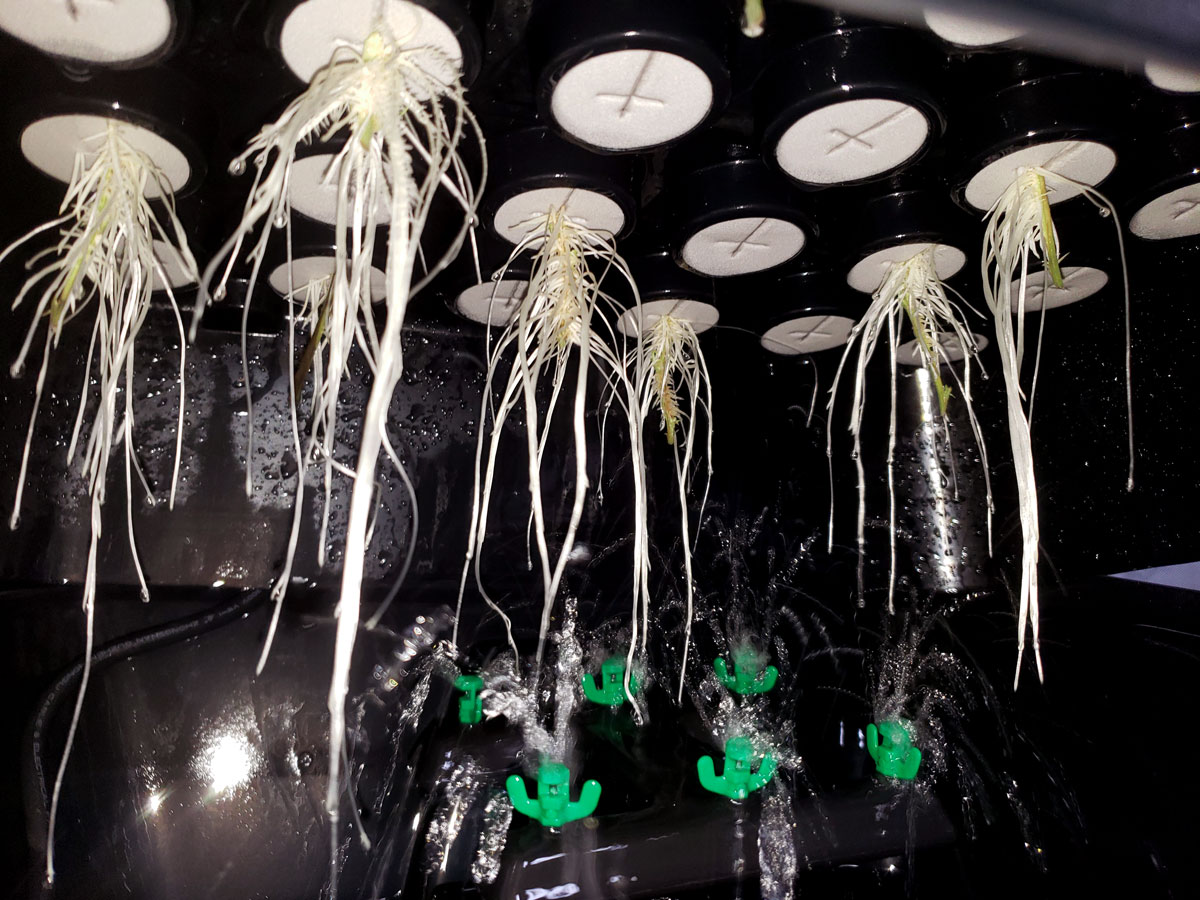
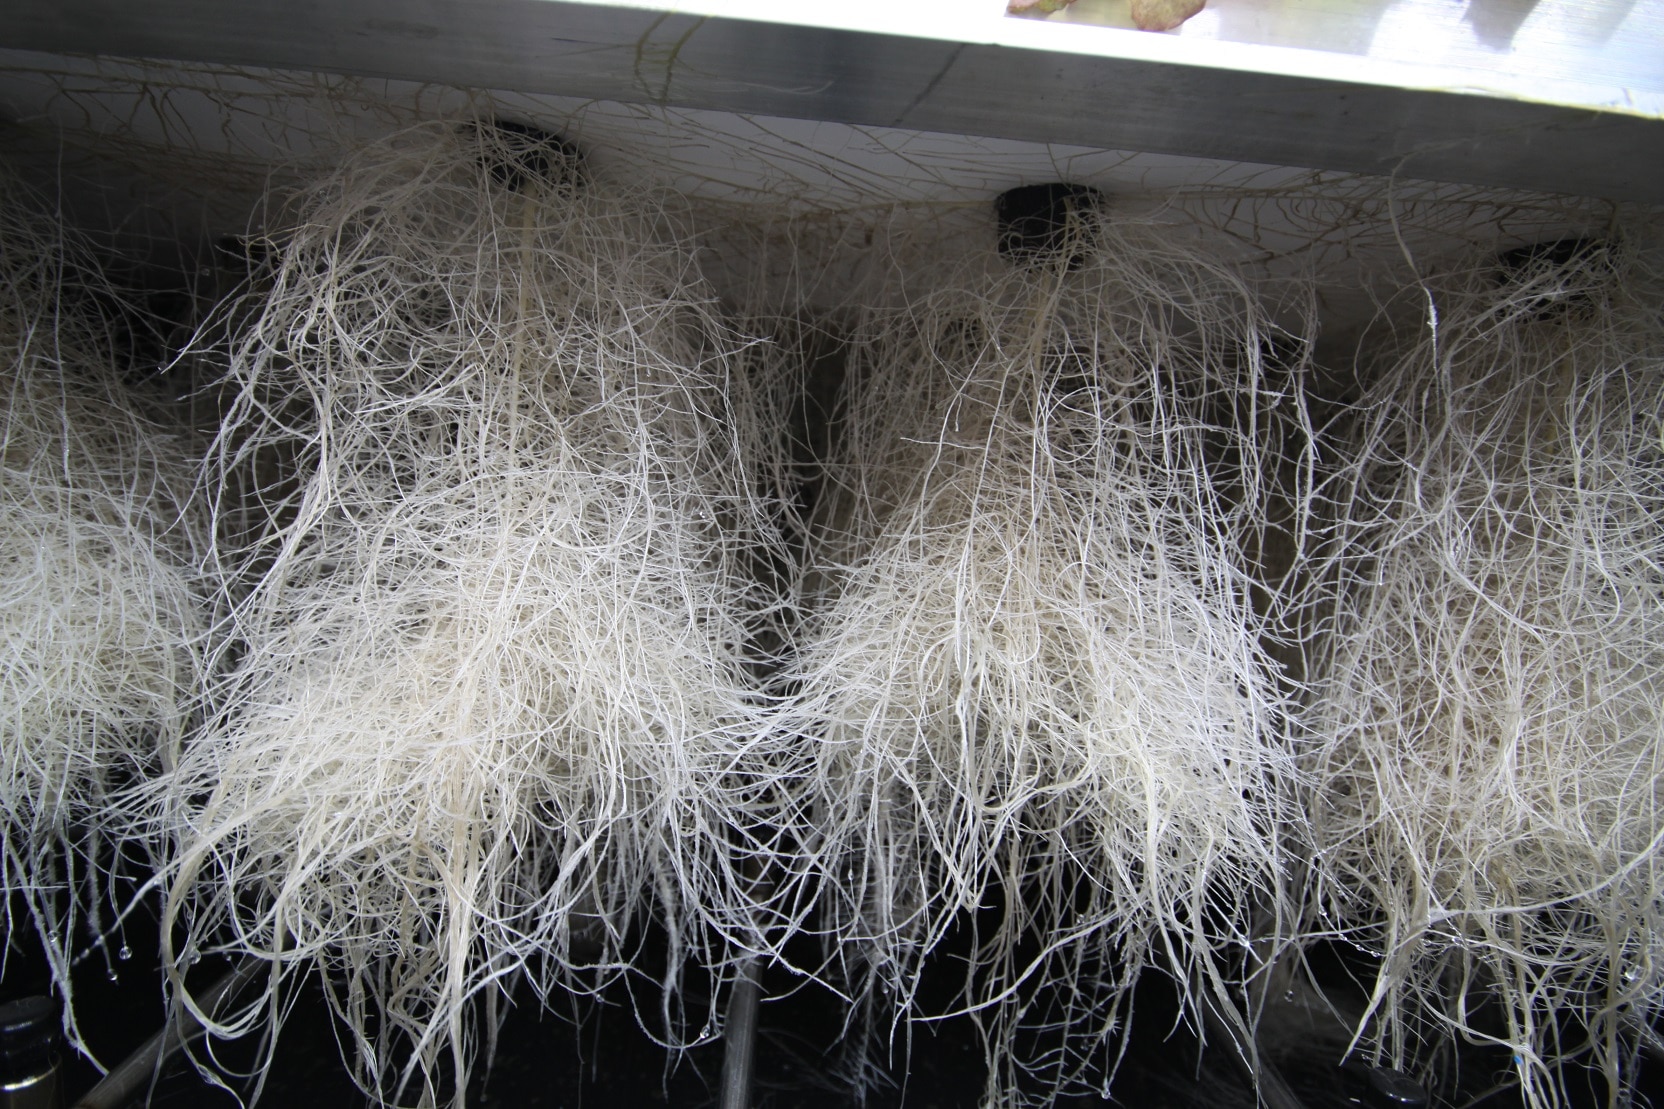
If you don’t move plants to their own containers, the roots can go crazy in a system like this.
Ready to get started? Today’s tutorial will show you how to get roots quickly in an aero cloner!
How to Make Cannabis Clones in an Aero Cloner
Supplies Needed
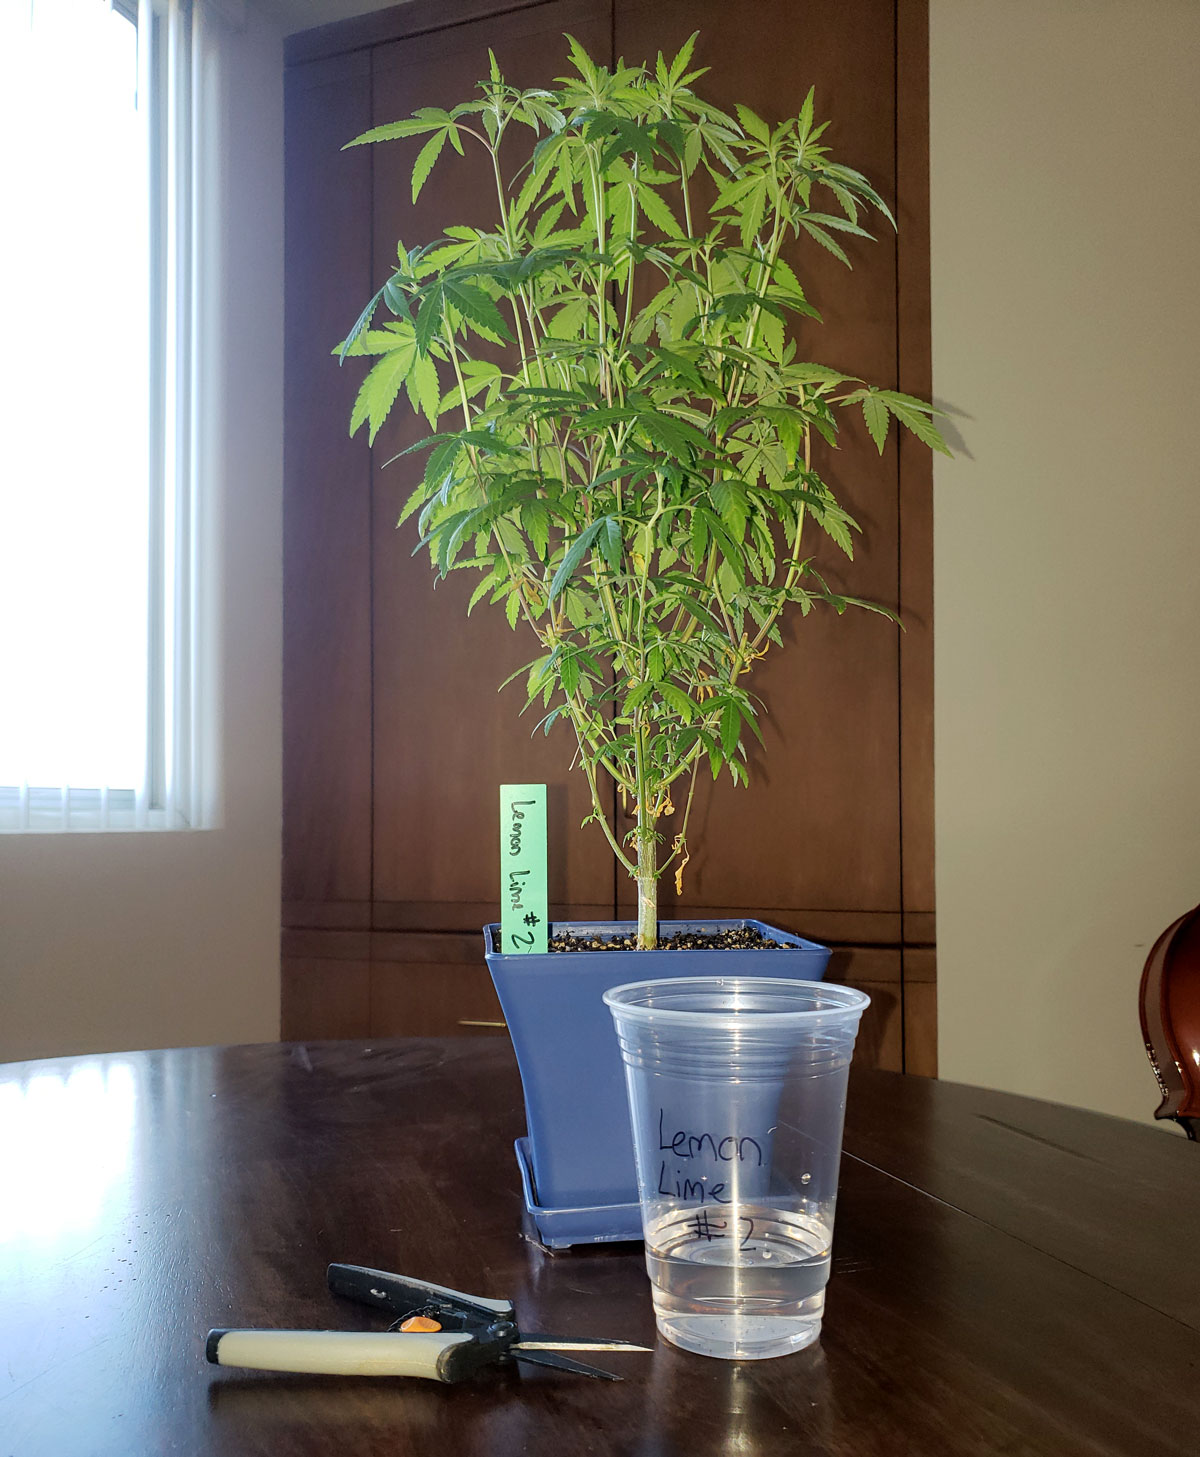
- Mother plant with stems at least 7″ long
- Scissors
- Aero Cloner (either pre-made or DIY)
- Cup of water (to hold cuttings before being put in the cloner)
- (Optional) Cloning Powder and/or Cloning Gel
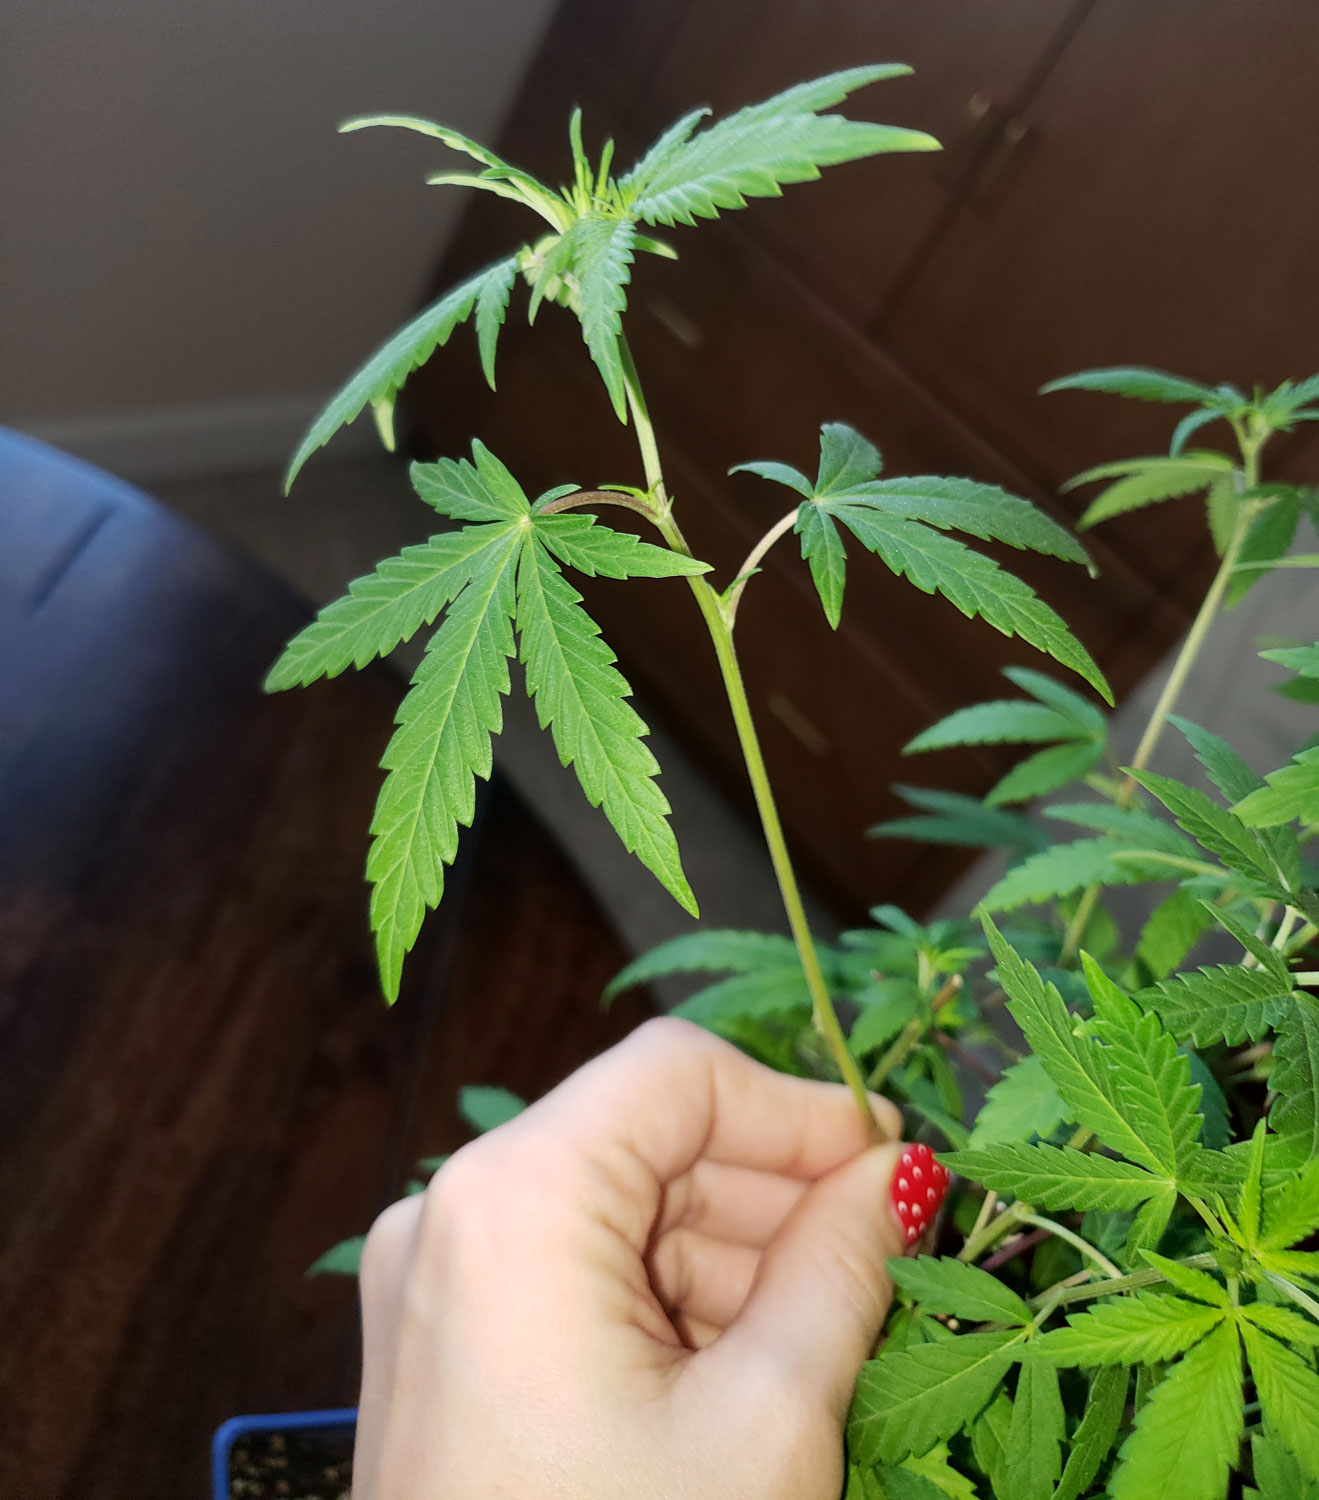
Mother plant with at least 7″ long stems, scissors, and a cup of water
TurboKlone Aero Cloner (this is the one used in this tutorial, but most aero cloners are used similarly)
Step 1: Set up the aero cloner
Follow the instructions that come with the cloner. Typically this involves filling all the holes with inserts, putting the pump/mister inside as directed, and filling with water.
Make sure to add water all the way to the indicated waterline. I’ve found that clones are more likely to wilt if the water gets low.
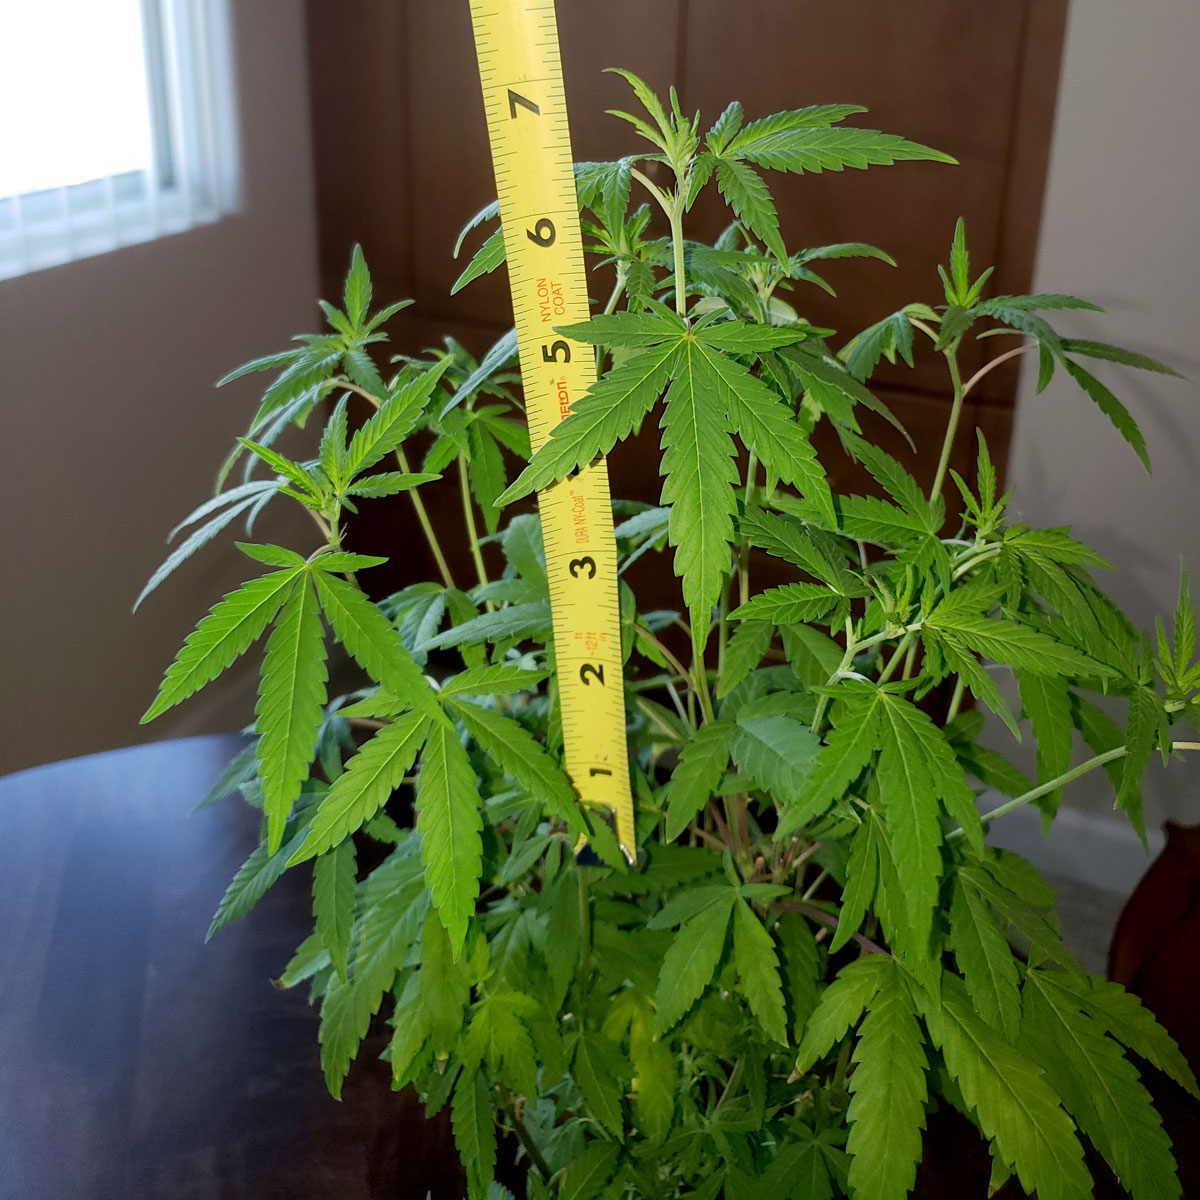
Step 2: Cut off 7-9″ long pieces of stem and immediately put in a cup of water
Each of these pieces will become a new plant. If stems are too short, give plant some time for stems to lengthen. Too-short cuttings take much longer to root and are more likely to wilt.
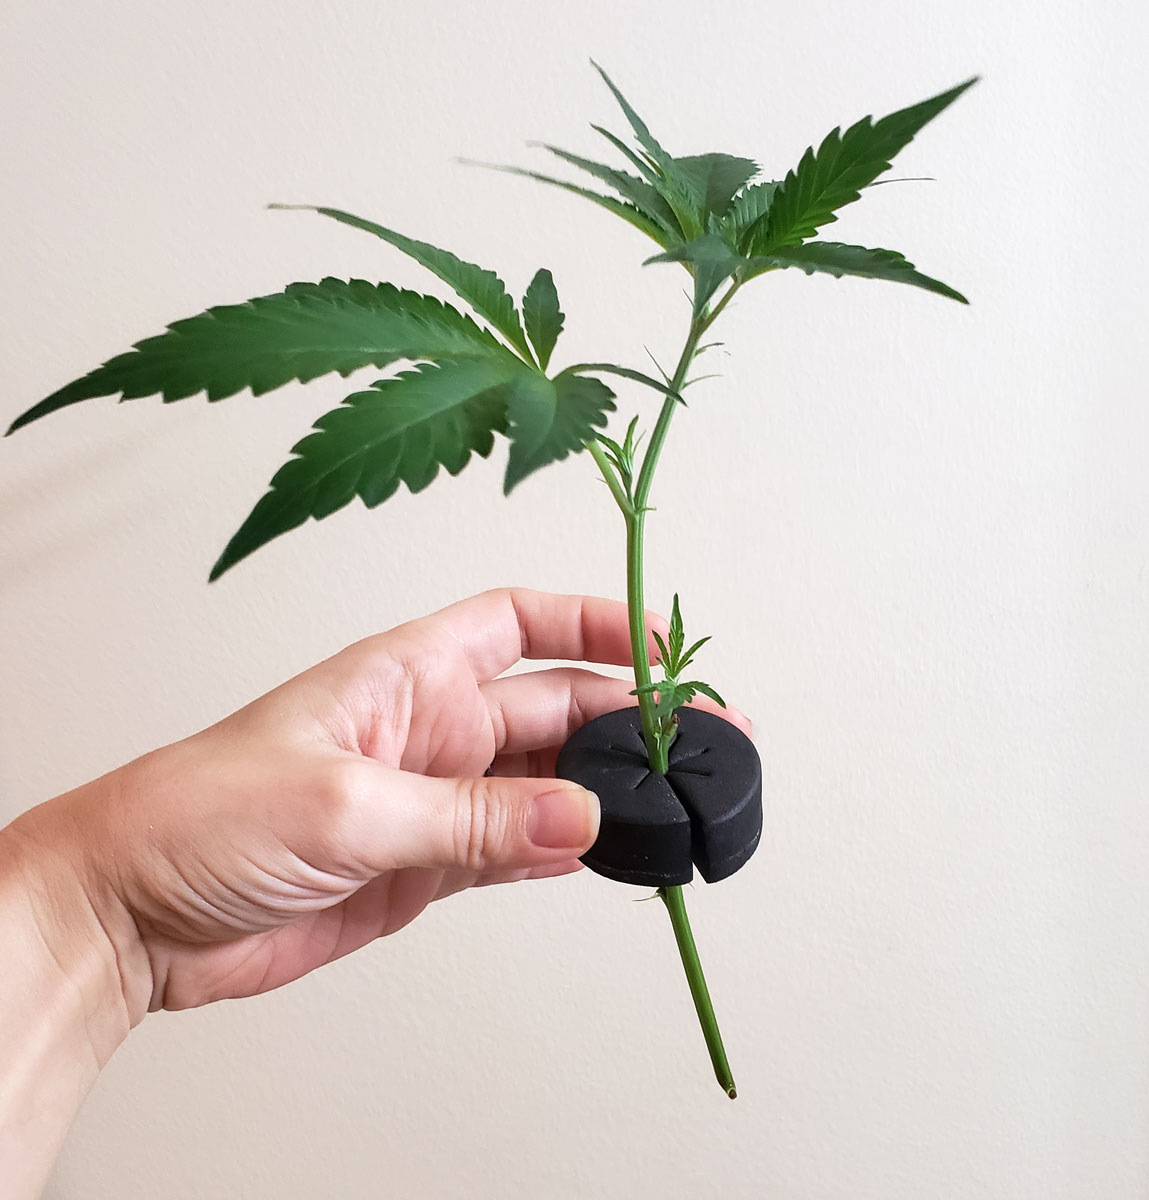
This stem is 7″ long. Perfect!
Example of a suitable cutting. Clean the bottom of the stem so it has no leaves, but make sure to leave a few at the top.
Immediately put each cutting in a cup of water to reduce the chance of a clone wilting. If you were doing the clone-in-a-cup method, you could actually stop right here!
Clones are more likely to wilt like this if you don’t put the cutting in water for a few minutes before adding to the cloner
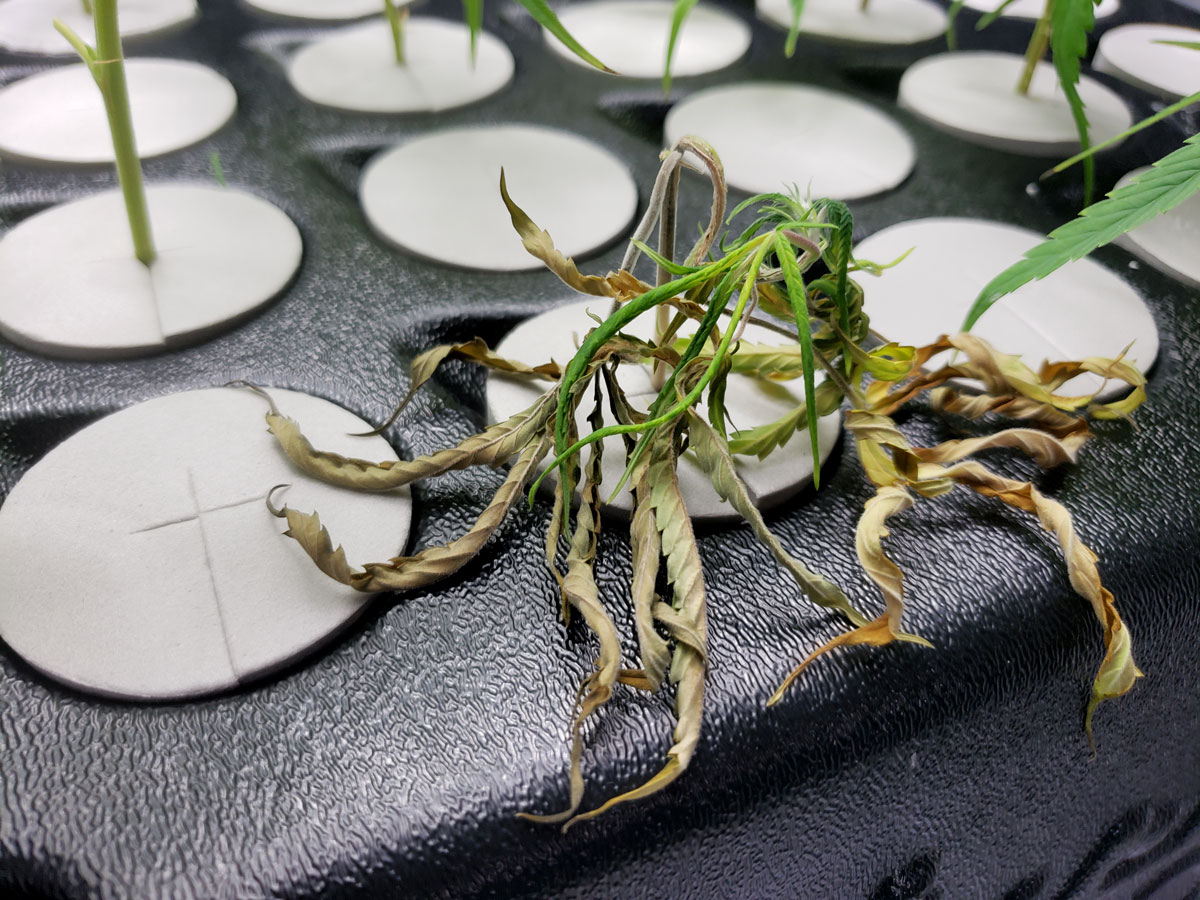
Why? If oxygen gets into the base of the stem, the cutting wilts due to an oxygen embolism. However, after spending a few minutes in the water the plant produces a protective layer that stops air from entering the plant. At that point, it is much less likely to wilt after being put in the cloner.
Step 3: Add cuttings to aero cloner
This step is surprisingly easy. Just put the included plugs or inserts to wrap around the base of each cutting. Make sure to leave several inches of stem below the bottom of the insert. This will help prevent any clones from drying out and tends to make them root faster than shorter stems.
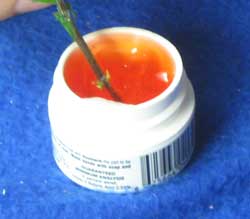
If you are going to use the optional cloning powder or cloning gel (this method works great without either, but these products may help plants develop roots quicker), now is the time. Dip the end of your stem right before putting it into the cloner. If you are going to use both kinds, dip in gel first then powder so it sticks on better.
Note: The clones pictured in this tutorial did not receive cloning powder or cloning gel. They only got plain water 🙂
Put each cutting in an included insert and then place it into one of the empty ports. Make sure to trim off all leaves below the bottom of the insert. You only want bare stems in the mist.
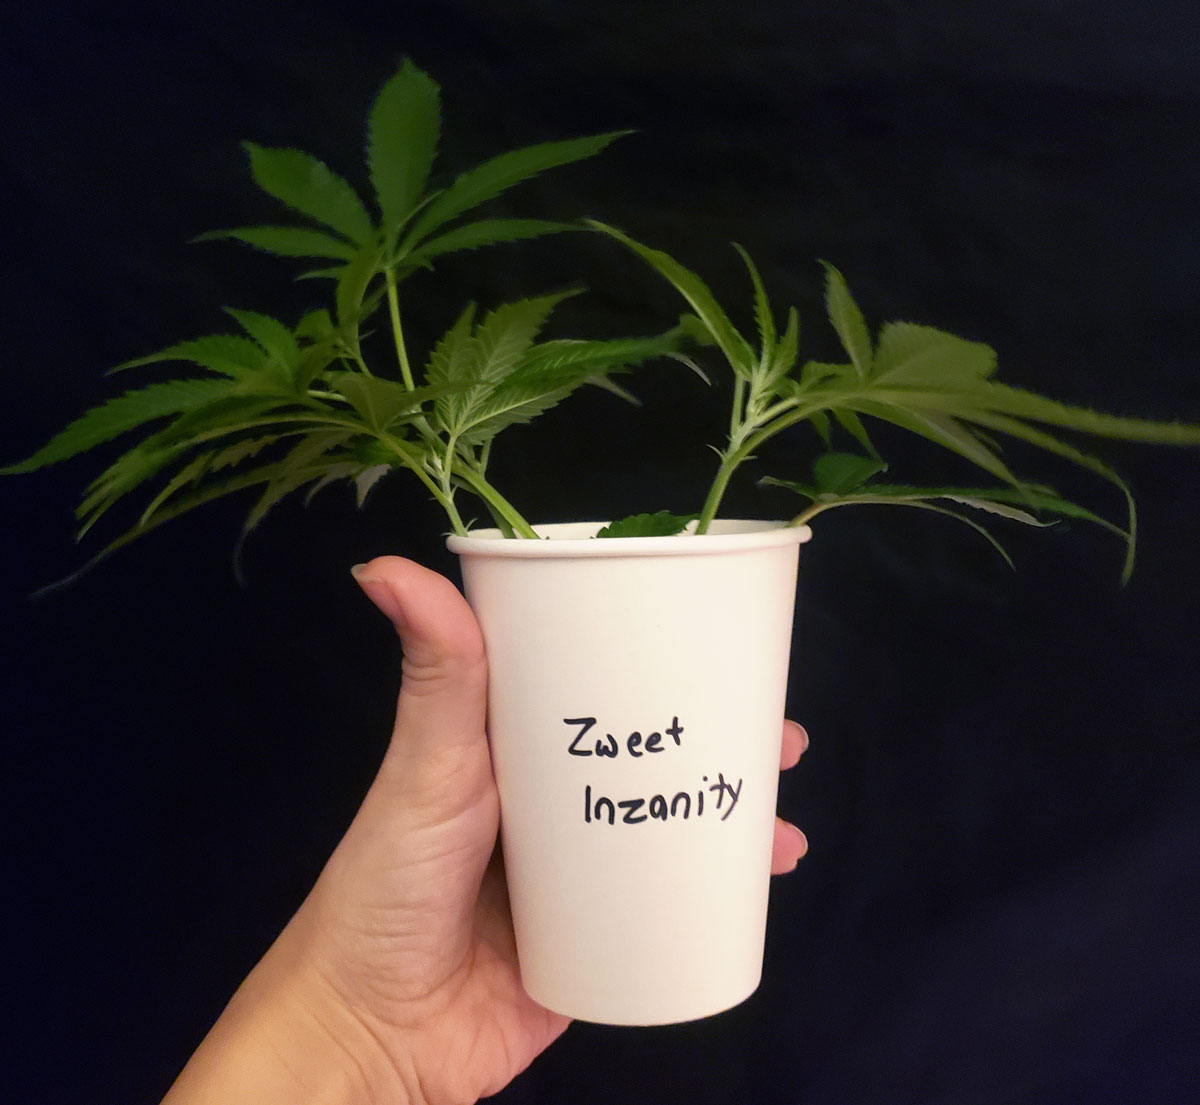
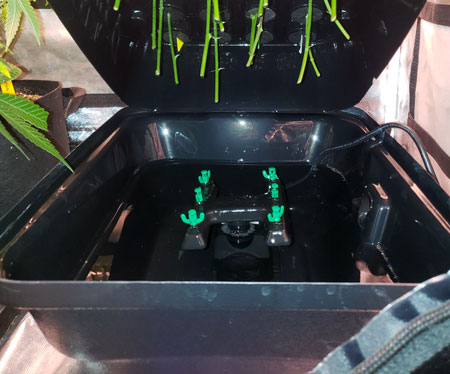
This is what it will look like once they’re all in there. Don’t forget to add labels if you’re cloning more than one strain at a time! I’ve found cuttings seem to root faster with relatively longer stems inside (at least a few inches long), but it still works when they’re shorter.

Soon you’ll have rows of cuttings

I recommend not to use the cover included with many aero cloners. I find that these cause clones to droop more, not less. I’ve heard that they do help in extremely low humidity, but I have humidity around 35% RH, which is pretty low, and I definitely get better and faster rooting when I leave cuttings exposed to the air.

Step 4: Refill water as cuttings drink it
Letting the water level too low can stress cuttings and make them take longer to start rooting. Make sure to refill the reservoir every few days.
If the water starts getting low, refill with more plain water. Don’t forget to turn the misters back on!
Once you put the cover back and turn on the misters, take a second to make sure the lid is fully on. There have been multiple times I left the cover slightly ajar and ended up spraying water all over my tent 🙂
Step 5: Once you see roots, it’s time to plant your rooted clones
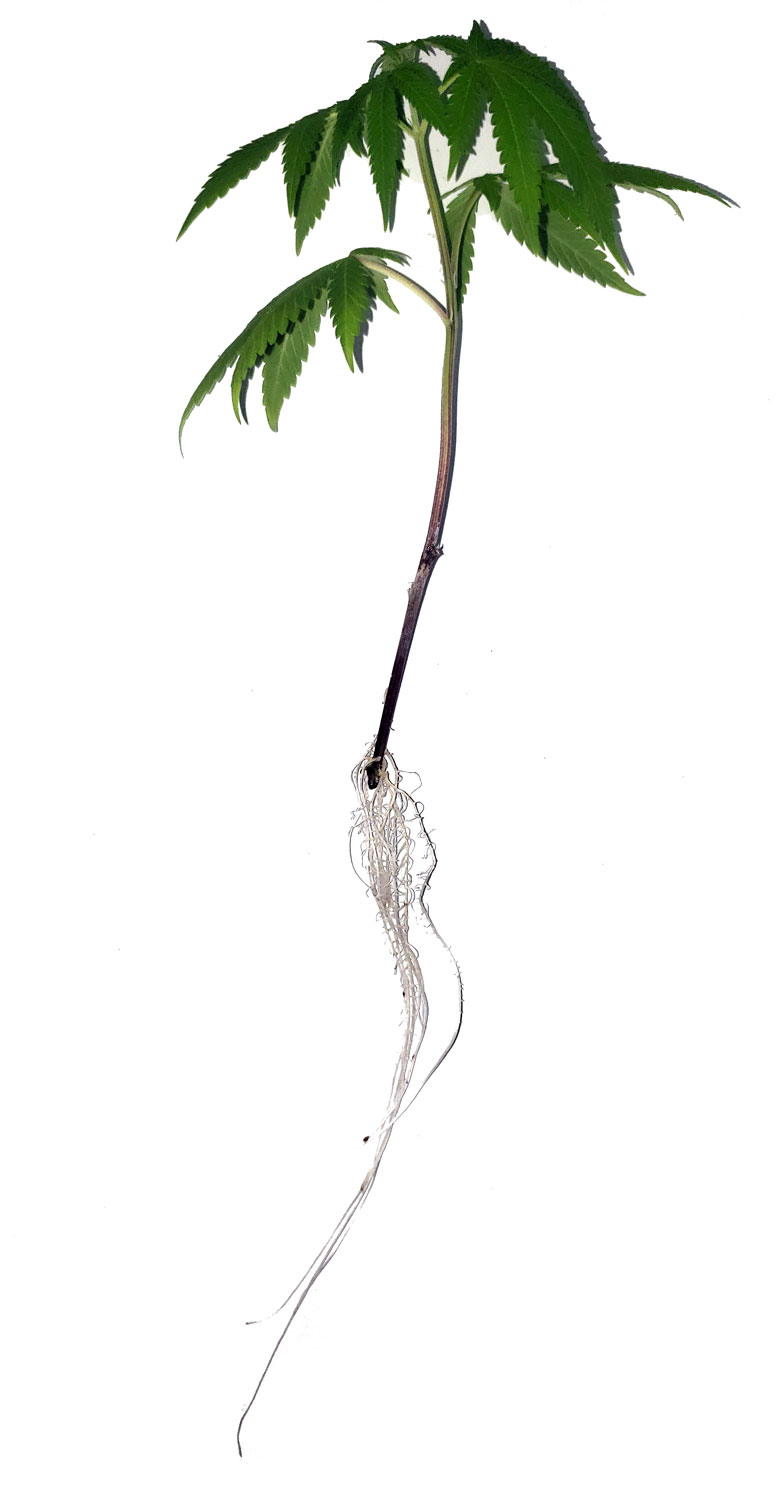
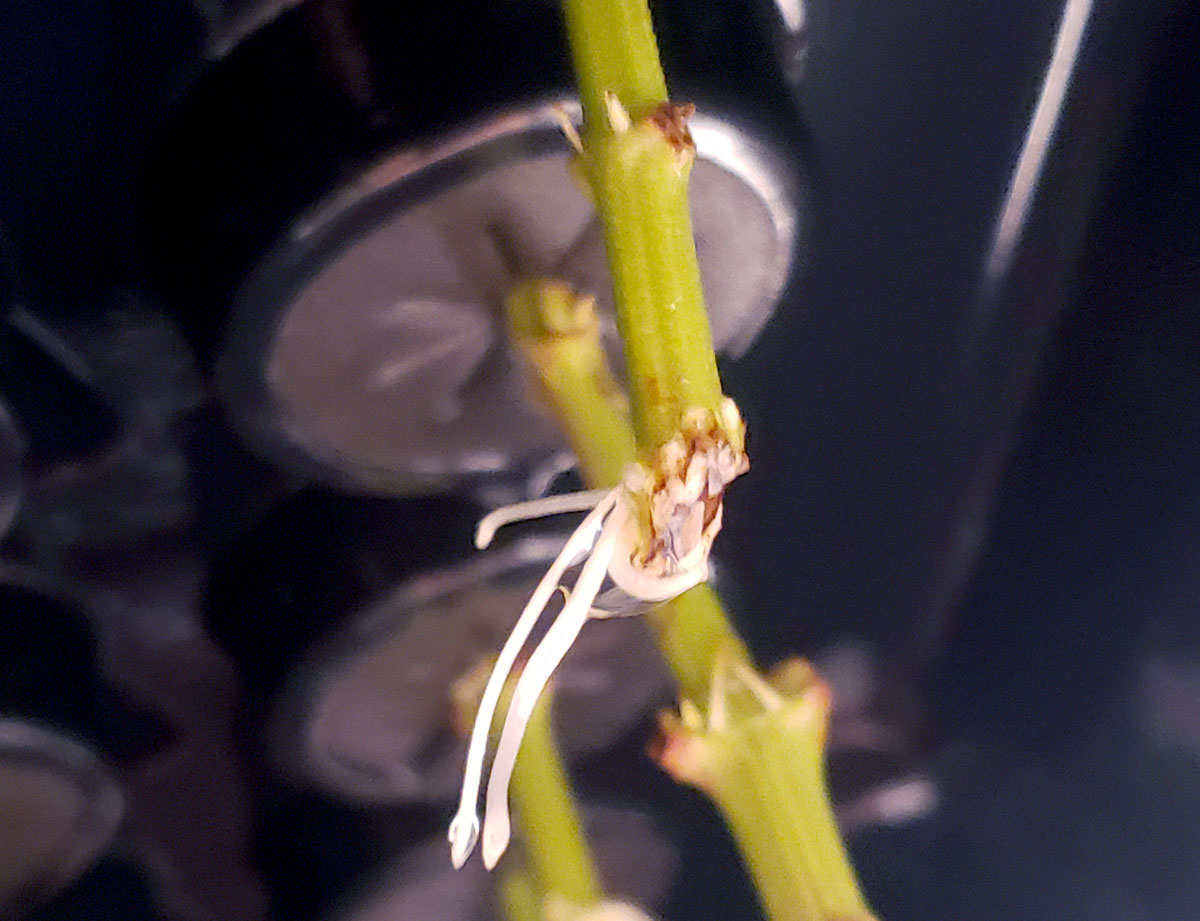
Roots usually appear in 10-14 days. This is my favorite part 🙂
Yay, success! Within 10 days, many of the stems already have the beginning of roots. You can plant them now, or wait for the roots to develop further.
A week later
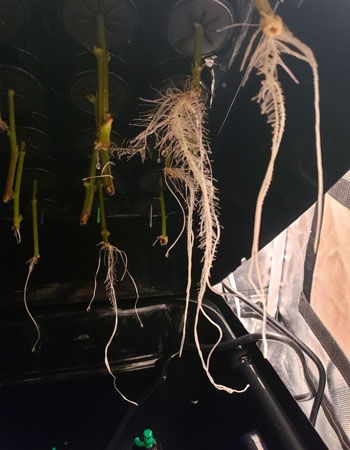
How long before roots? All cuttings usually have roots within about 2 weeks. However, each cutting is a little different so it’s difficult to give an exact timeline. Some cuttings may take 3 weeks before they’re ready to plant. If you’re cloning multiple strains at the same time, you may notice that some strains make roots quicker than others. Genetics plays a surprisingly big role in how well a particular plant reacts to cloning.
The next section shows you how to plant your newly rooted clones in soil or coco, then I’ll show you how to add your clones to a hydroponic tub or setup.
Keep reading to learn how to plant your newly rooted clone
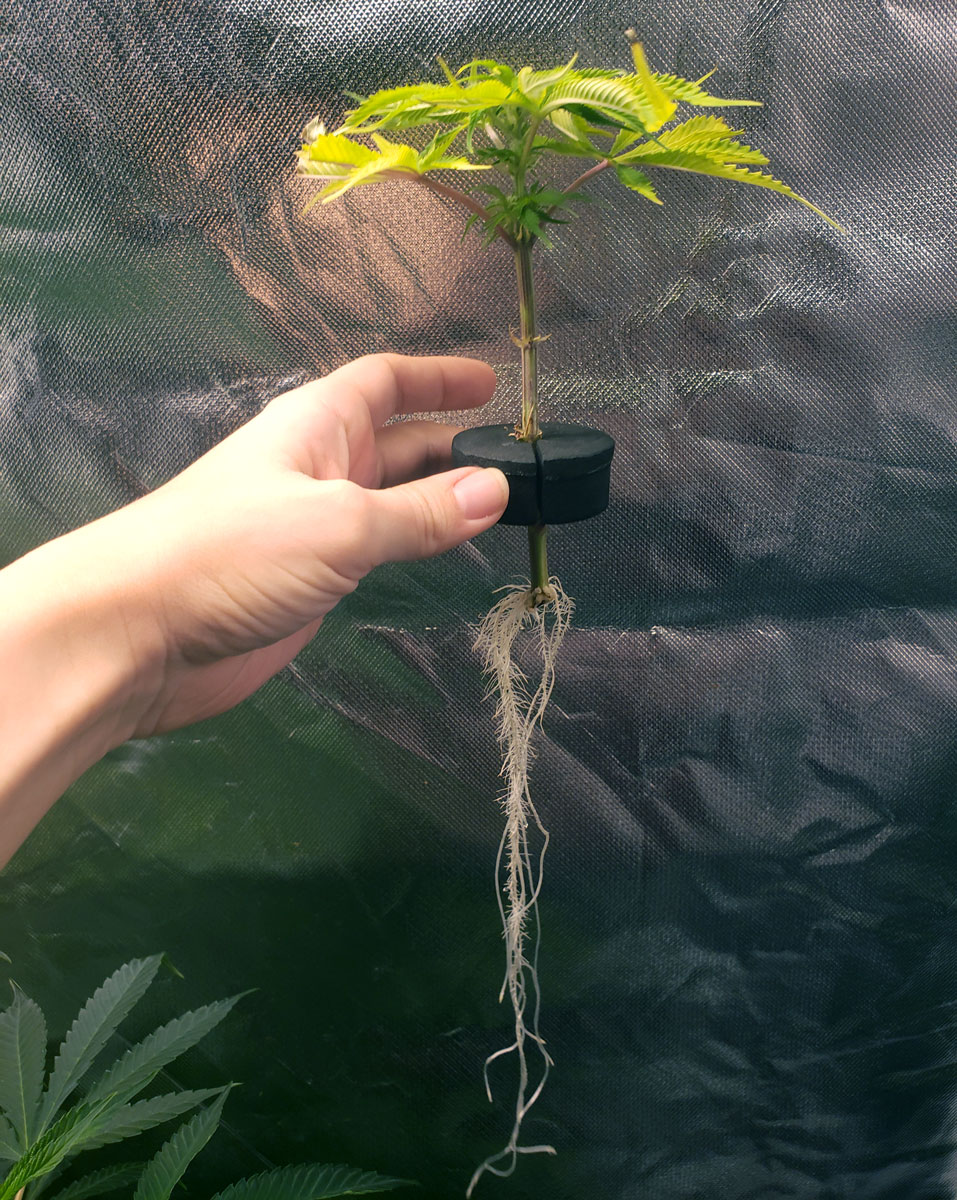
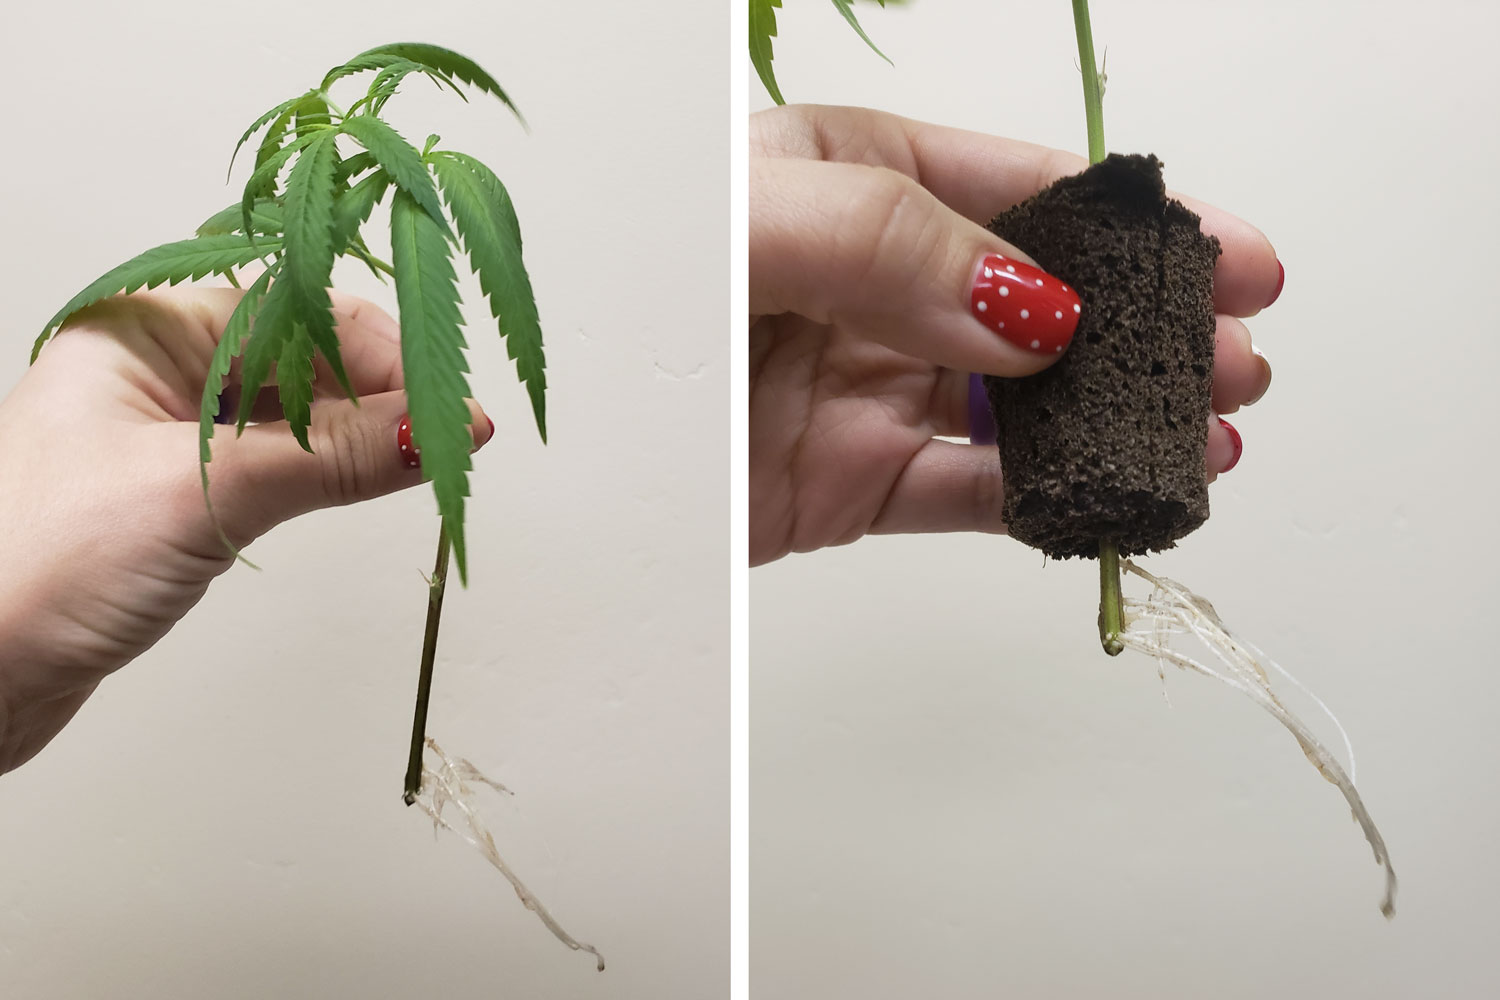
Note: As long as your cutting has at least a few roots, you’re good to plant it. You don’t necessarily need to wait until you have long roots like the one above.
How to Plant Your Rooted Clones in Soil or Coco
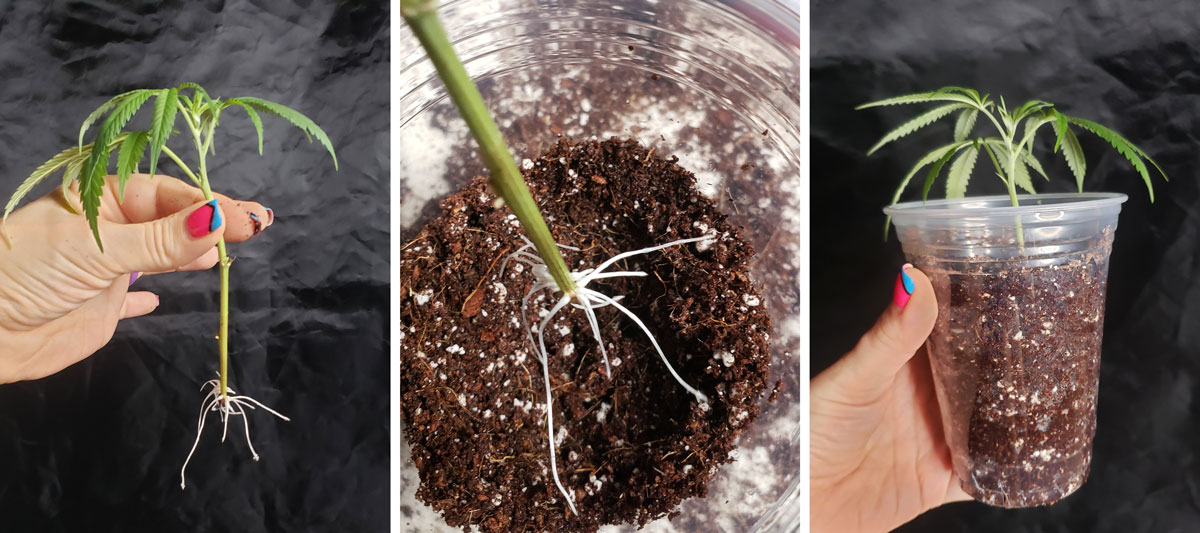
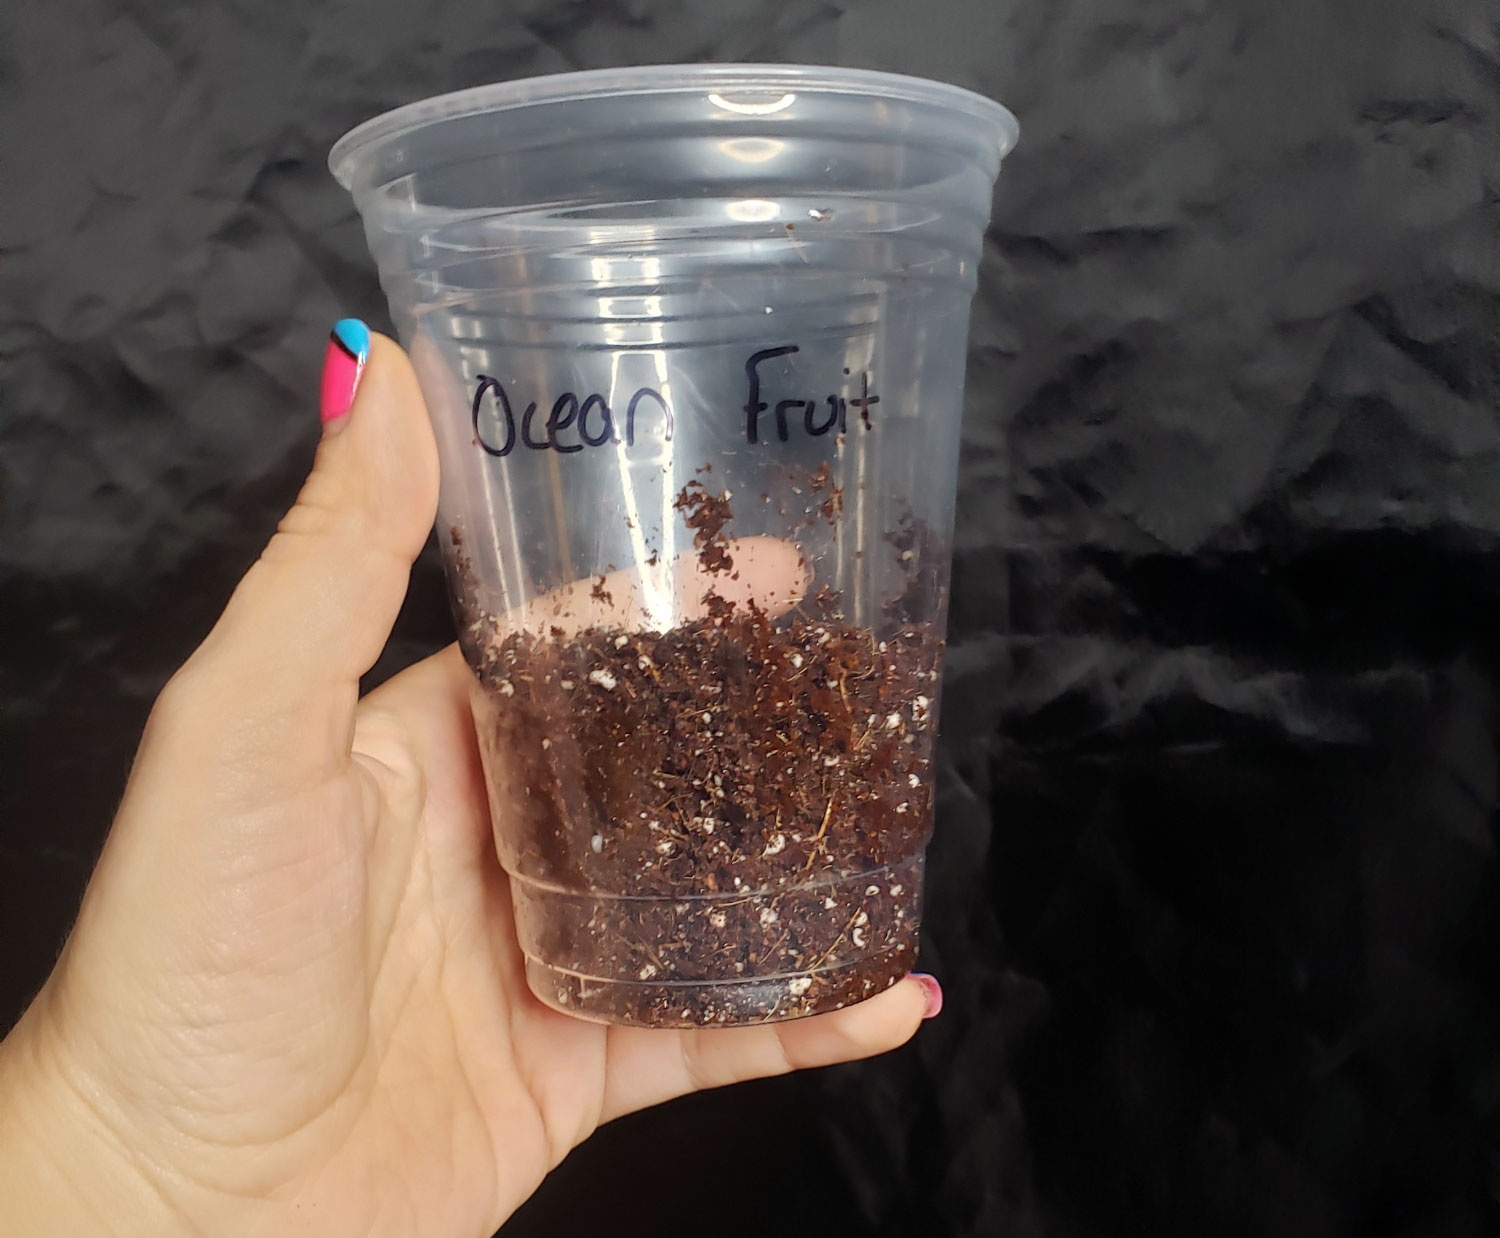
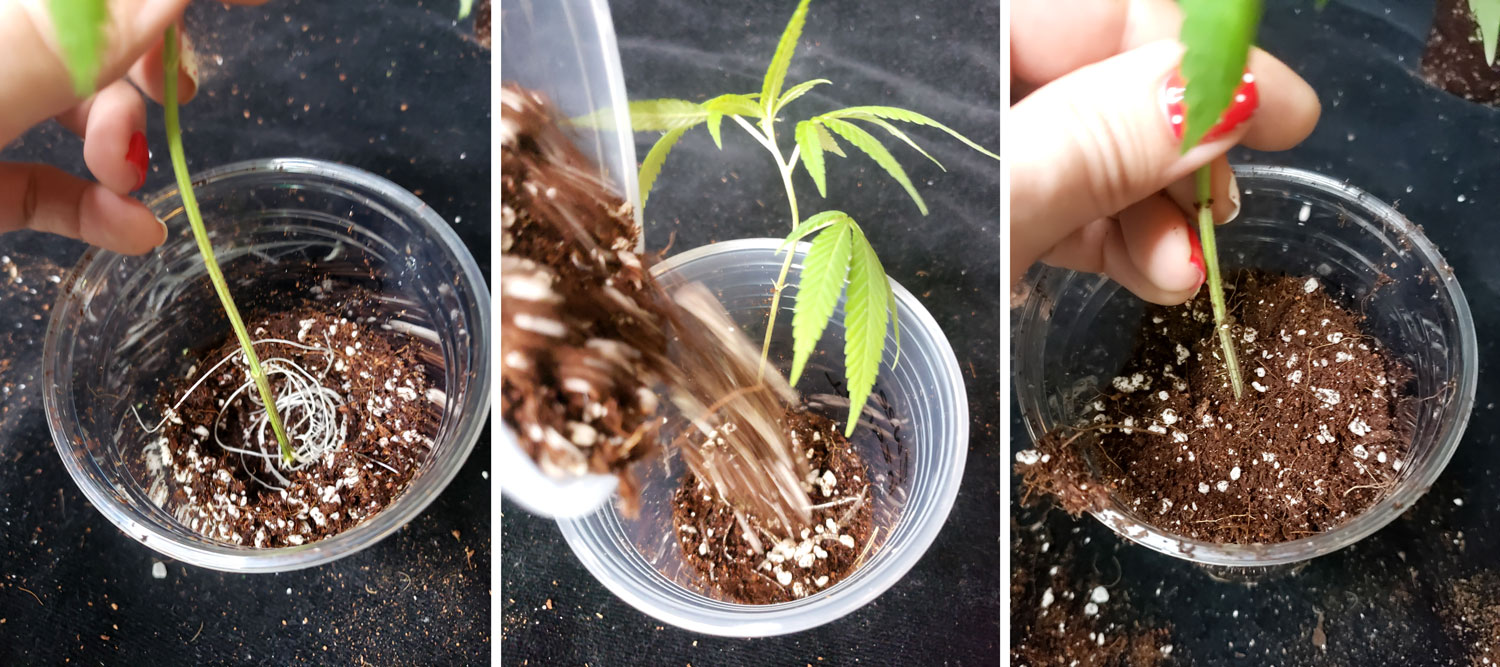
1.) Fill your cup half full (or make a 4-5″ deep hole wherever you plan to plant your clone)
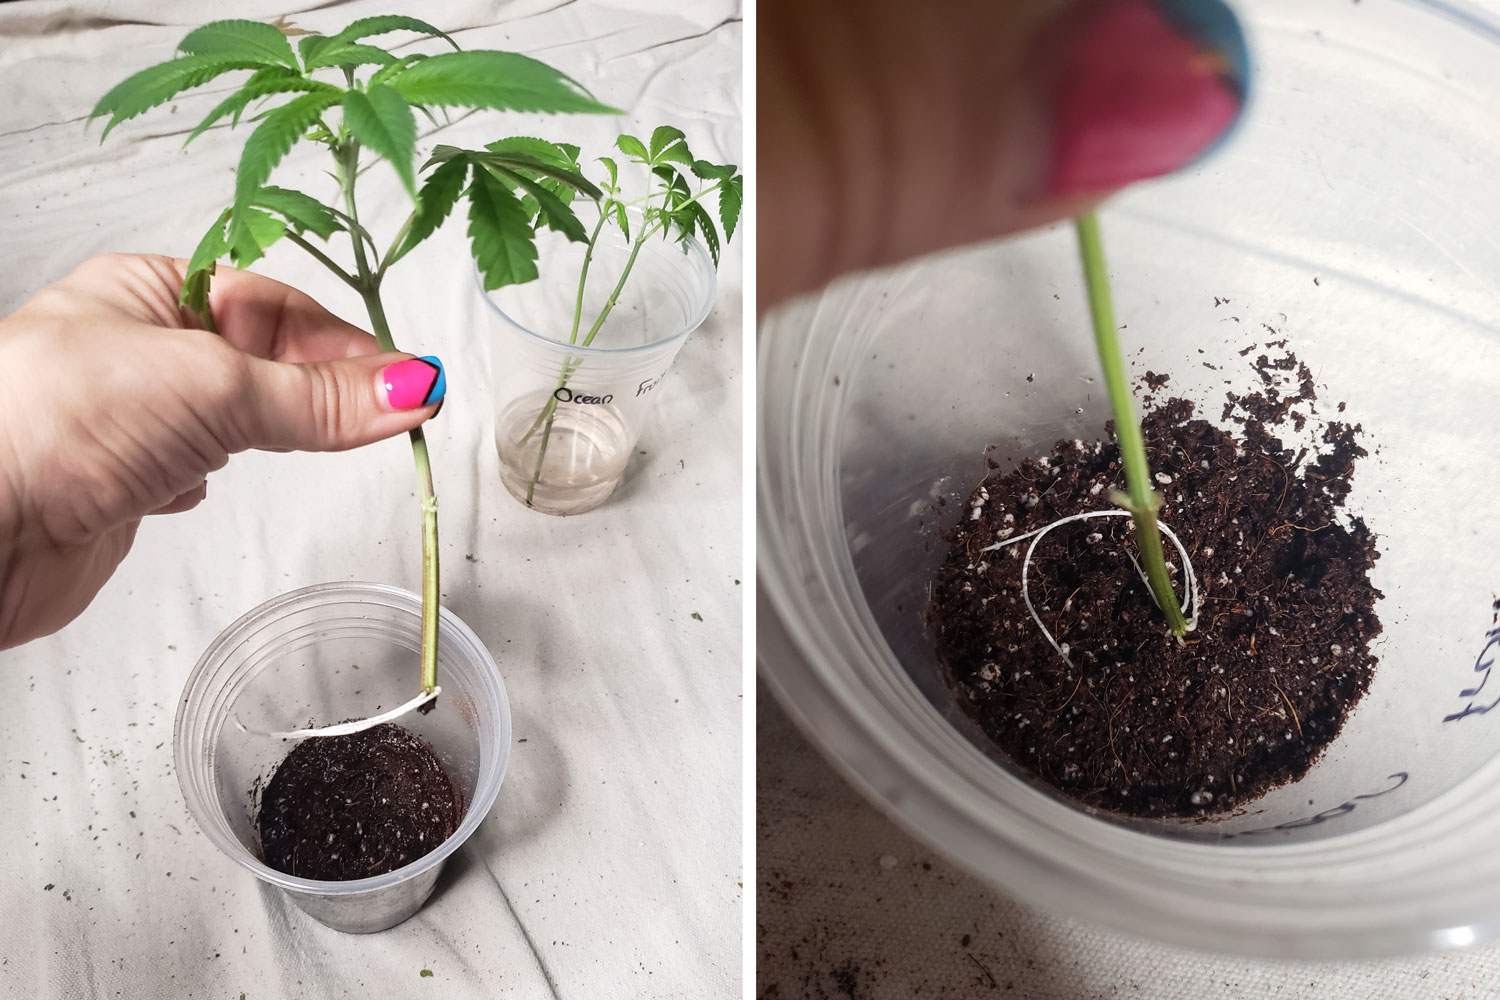
2.) Add a little water to the grow medium until it is wet but not soaking, then press down slightly to make a small divet or hole for your roots to fit inside.
3.) Gently place your root into the indent you created. If the root is long, you may need to wrap it around in a circle. Avoid using any force, but the roots are pretty flexible.
Having an indent will help keep your roots from touching the sides by giving you an outside “edge” to wrap your roots inside.
 If the root is very long, you may need to wrap the root a lot or get creative. Just try to do your best! Once they already have a lot of roots, clones are surprisingly resilient.
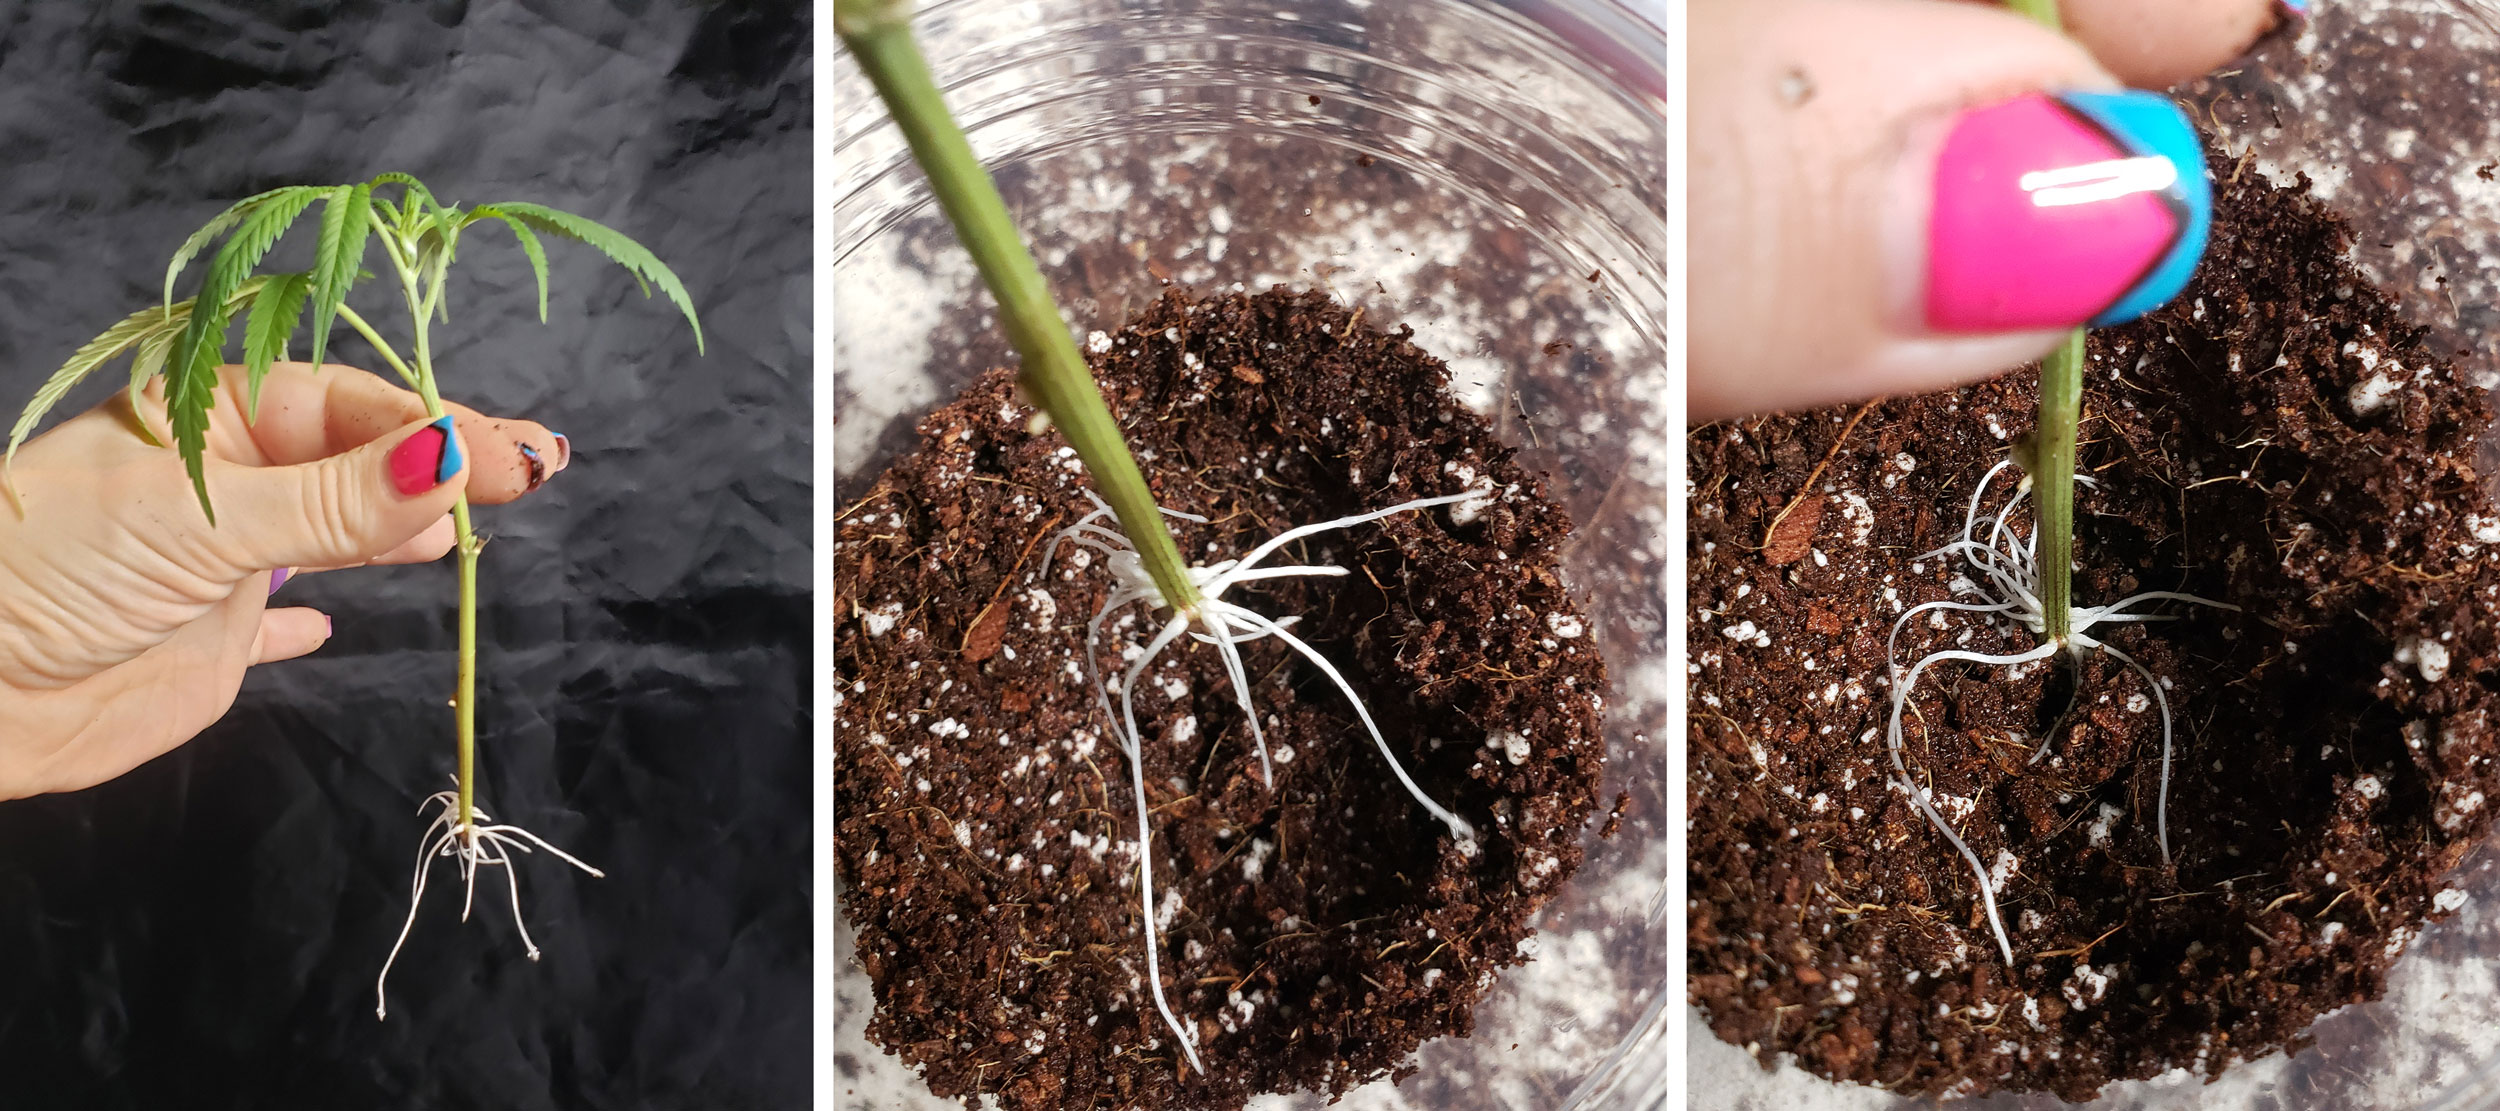 If you’re worried about breaking the root, add extra water to the grow medium to make it softer.
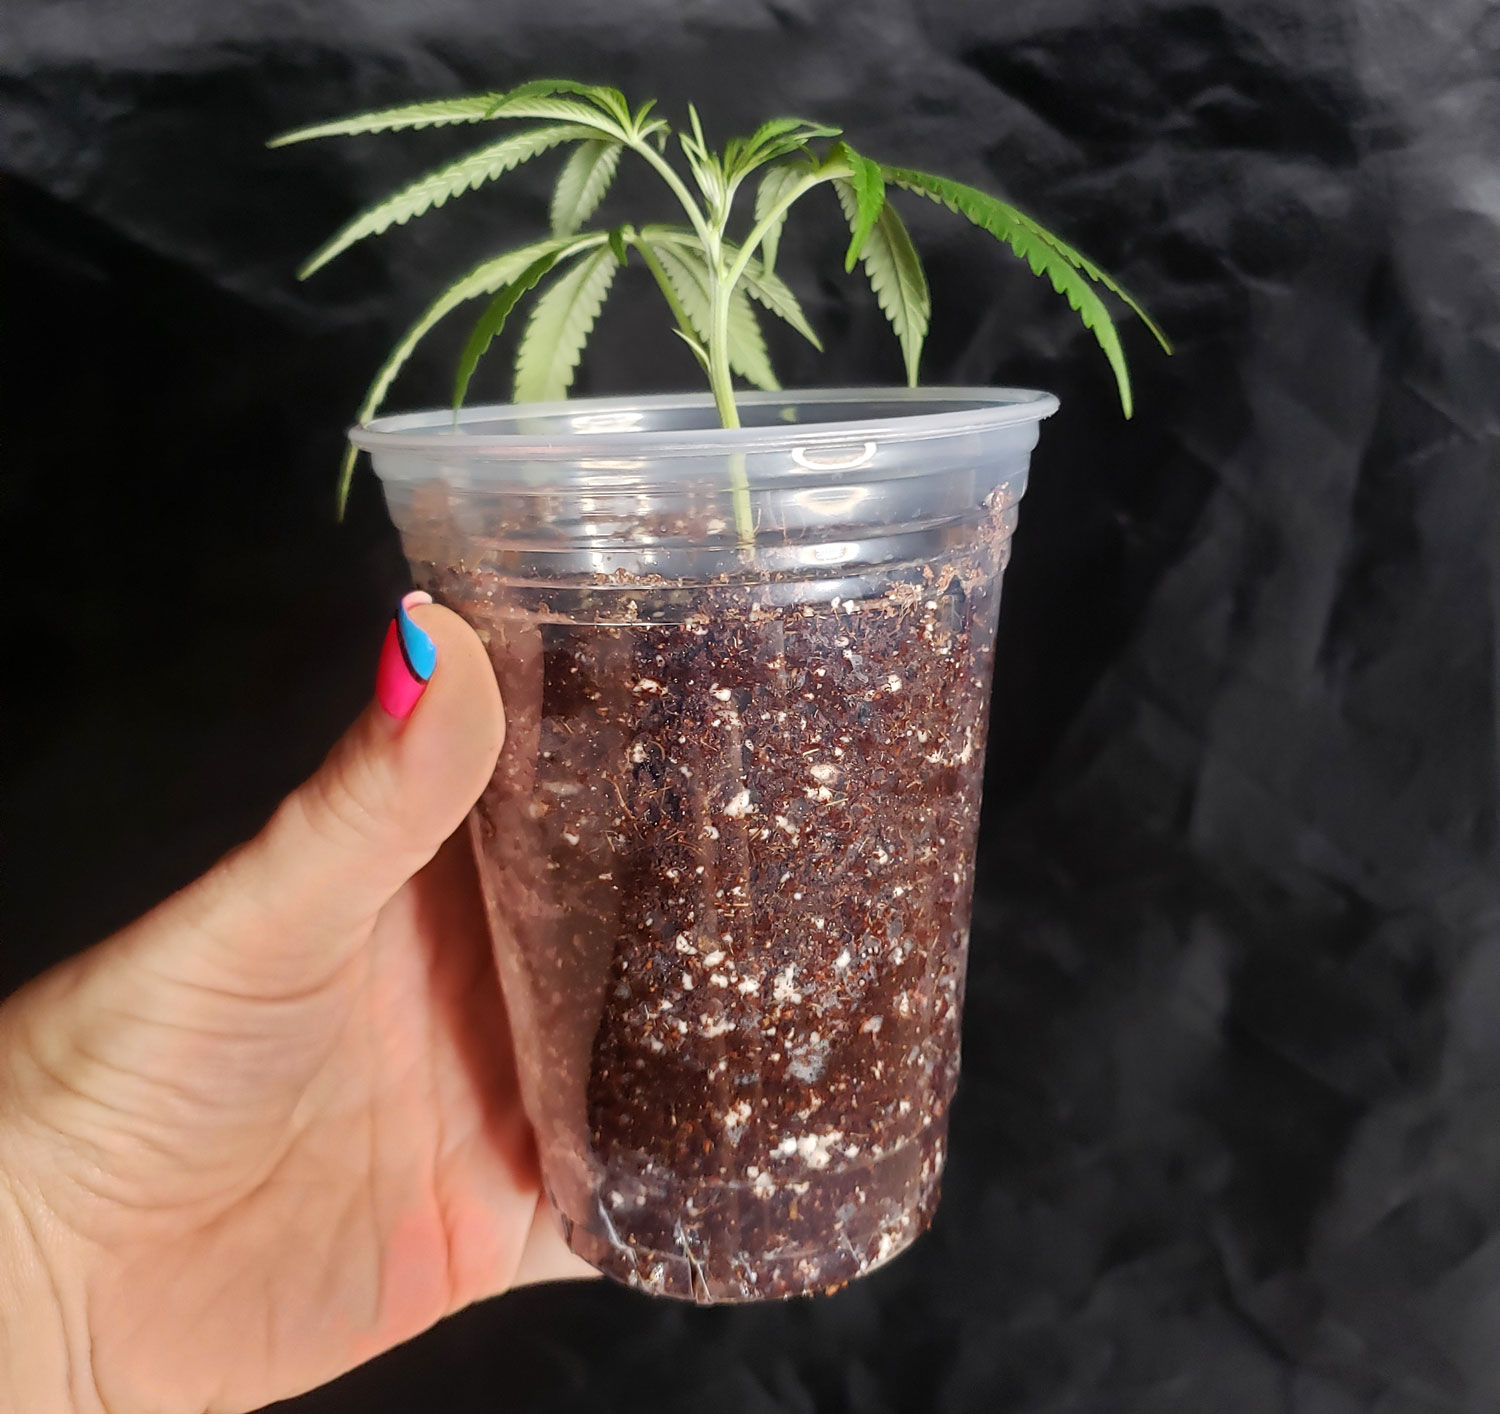
4.) Fill the rest of the cup with soil and give a thorough watering.
Try to keep the clone in the middle and upright, but if it’s a little crooked it’s okay. Once the plant is a bit bigger you likely won’t be able to notice.
Try to hold the stem steady in the middle as you fill the cup with soil or coco
Fill to almost the top of the cup with potting mix and then add more water until moist all the way through
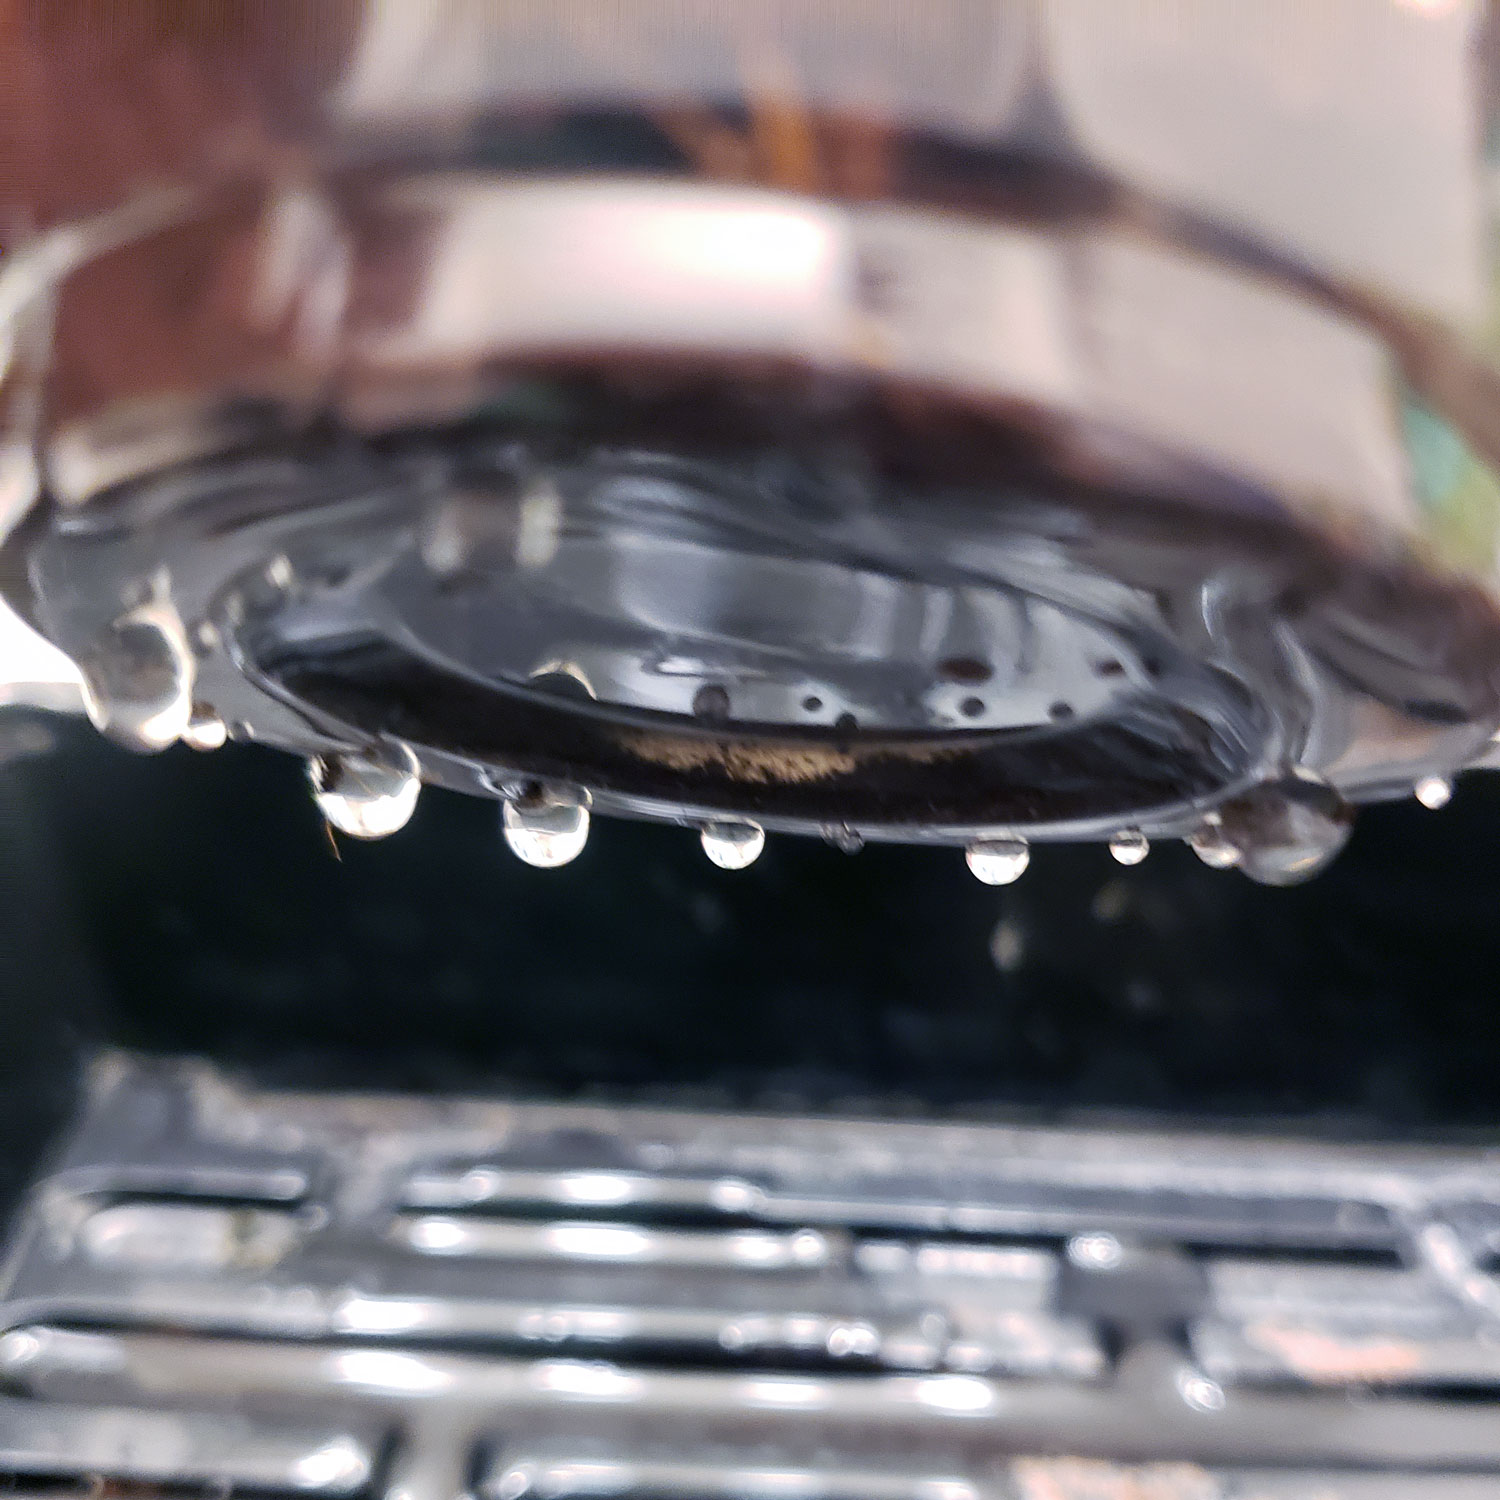
5.) Make sure extra water can drain out (plants love good drainage!)
Don’t forget to cut holes out of the bottom so any extra water can drain out. Roots like it wet but not soaking.
I used scissors to cut slits around the edges of the bottom of this cup in order to let any excess water drain out
6.) Give gentle light at first. I leave them in the filtered light of a west-facing window. If you put them under direct light immediately, they can droop or wilt. Once they’ve acclimated to their new home for a day or two and still look happy and healthy, you should be able to start giving them direct light. Within a week it should be growing fast and happy.
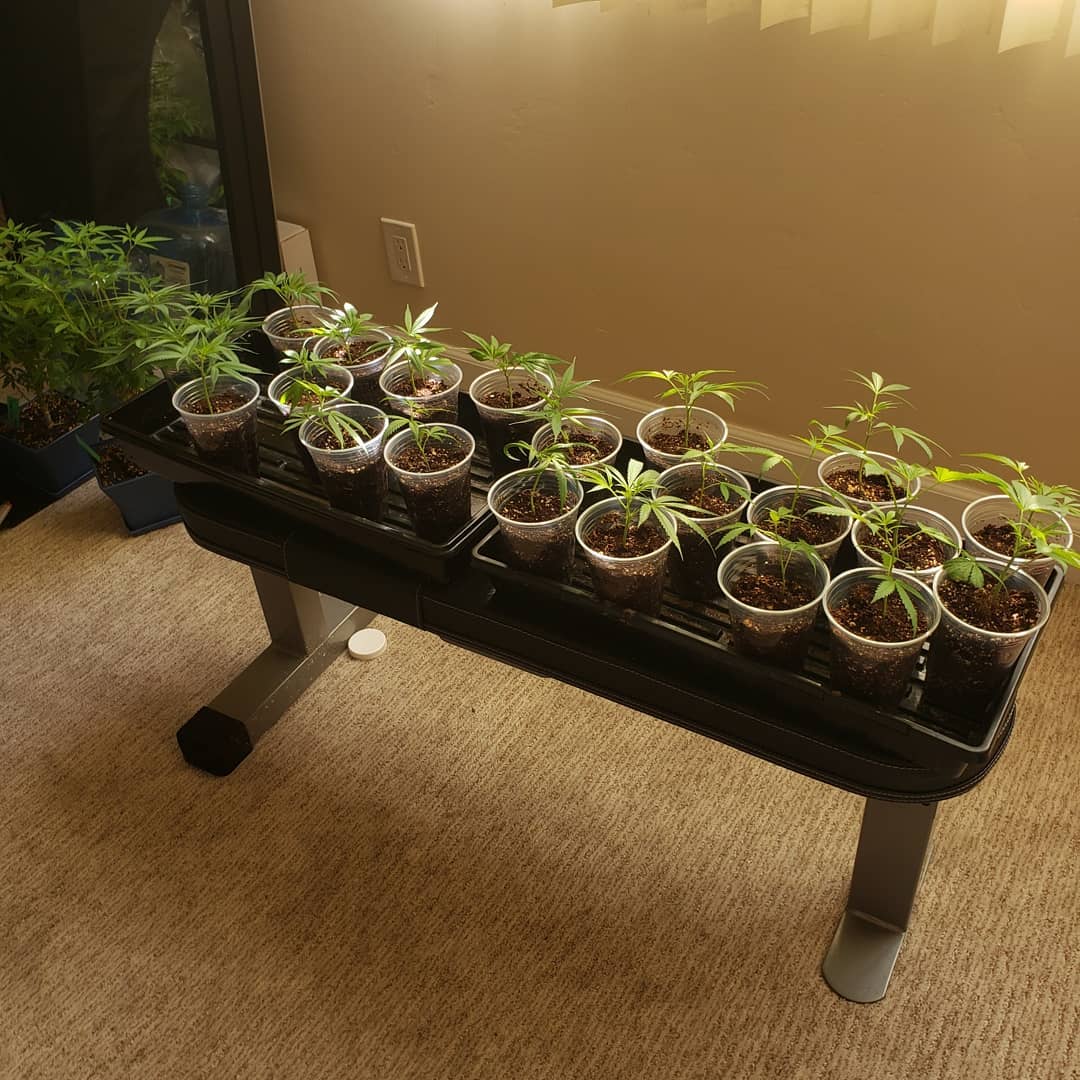
7.) Enjoy your new plants!
How to Plant Your Rooted Clones in Hydroponics
Placing these rooted clones in hydroponics is simple and quick. You could plant your clone directly in the clay pebbles, but the following system makes it a bit easier. You probably already have seedling plugs in your grow room if you’re growing with hydroponics.
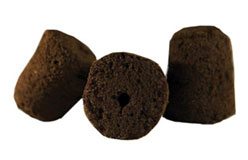
1.) Get a seedling plug such as Rapid Rooters (or whatever plugs you typically use with your system).
This will be used to hold your clone and keep it anchored where you want.
Any seedling plugs will work to install your clone, but I personally like Rapid Rooters for hydroponic setups
2.) Cut the plug open lengthwise
Take your seedling plug and cut it open lengthwise.
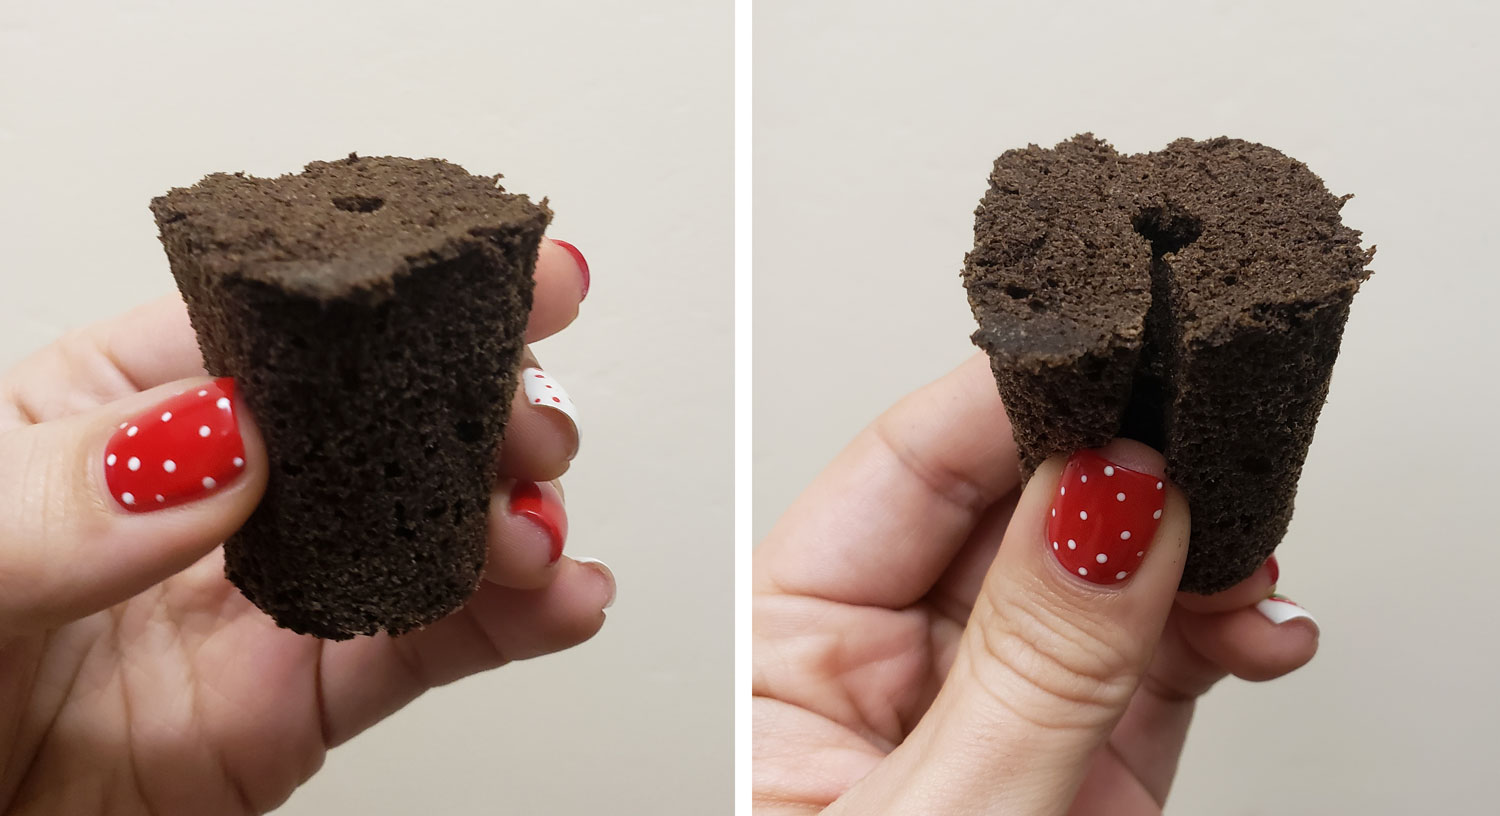
3.) Wrap the plug around the stem of your rooted clone.
Wrap the plug around the stem. This supports the stem so it’s stable and easier to install into a hydroponic system
4.) Install the plug into your hydroponic system just like you normally would. Thread the roots through the bottom holes of your net pot (or cut a hole in your net pot for the roots if they’re too big) and fill in the rest of the way with hydroton to hold seedling in place.
Make sure there is at least an inch of air underneath the very bottom of the stem. You don’t want the water level coming up to the actual stem or it tends to get mushy and hurt the plant (same with seed-grown plants). Whenever growing cannabis in hydro, always give roots some air to breathe before they touch the water. Oxygen makes the plants grow faster and helps prevent root problems. As long as you have lots of bubbles in your reservoir, you should have enough water splashing up on the roots that they stay moist even though they’re above the water line. The roots will grow longer until they’re actually dangling in the water, and that’s when clones really take off!
Learn more about growing in hydroponics
Once the roots hit the reservoir your plants will take off!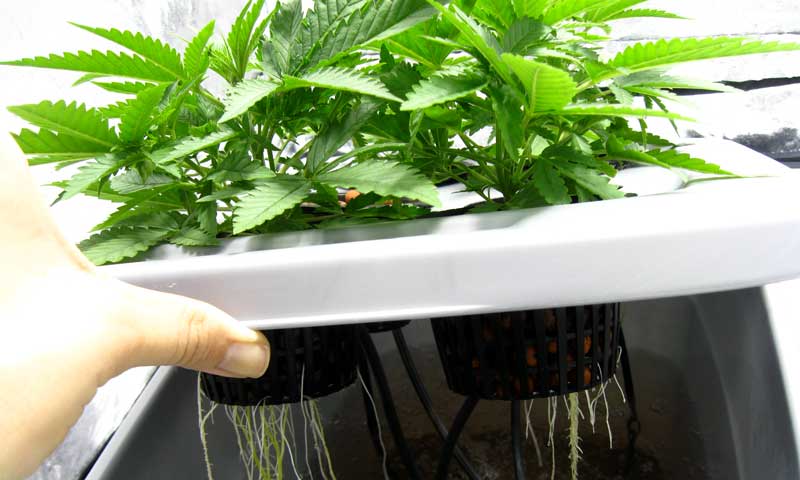
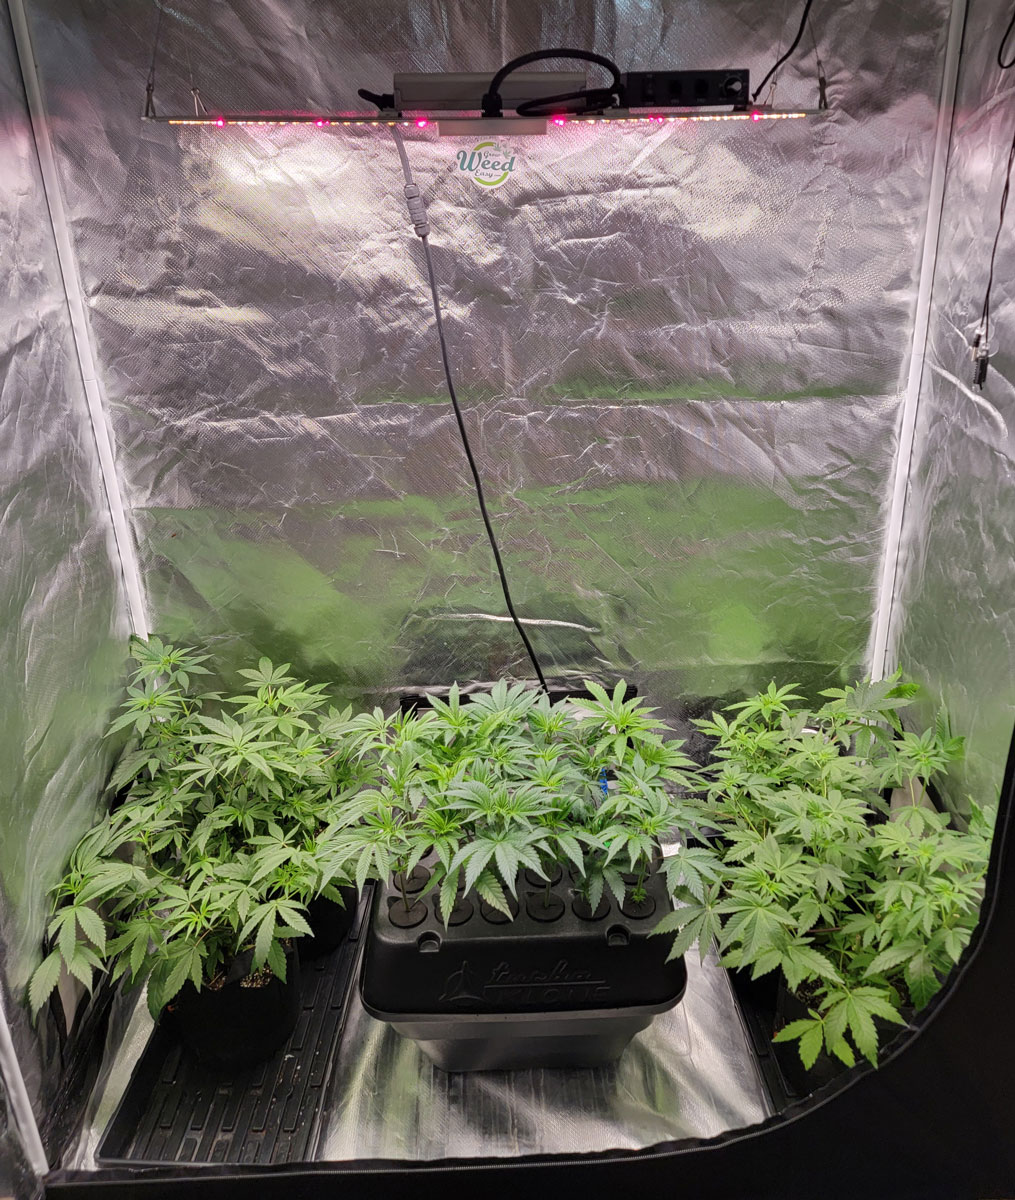
I love the aeroponic method for cloning cannabis. An aero cloner gives you roots so quick it’s faster than growing from seed (though I do love the variety of growing from seeds).
Clones in the middle with mom plants (what remains of them after taking clones) on the right and left