by Jennybee698 (excerpt from 5 Tips for a Successful Outdoor Season)
What You Need to Know About IPM – Integrated Pest Management
Wait, what is IPM?
“IPM is a process to solve pest problems while minimizing risks to people and the environment…an ecosystem-based strategy that focuses on long-term prevention of pests or their damage through a combination of techniques such as biological control, habitat manipulation, modification of cultural practices, and use of resistant (plant) varieties. Pesticides are used only after monitoring indicates they are needed according to established guidelines, and treatments are made with the goal of removing only the target organism. Pest control materials are selected and applied in a manner that minimizes risks to human health, beneficial and nontarget organisms, and the environment.”
– UC CALIFORNIA DEPARTMENT OF AGRICULTURE and NATURAL RESOURCES
Basically, IPM is using natural prevention and environmental methods safe for humans, pets and wildlife within the habitat, prior to jumping in bed with environmentally damaging pesticides. Even when using a pesticide is the last resort, it should be chosen with the utmost care, all things considered.
I have been growing in my specific environments for years and I have learned the hard way which pests and diseases are problematic to me and why. A “pest” can take many forms depending on where you are located… from deer and voles to aphids or the dreaded russet mite. (Just writing it makes my skin crawl!)
There are many factors that affect what you may be up against – your weather (temperature, humidity), the surrounding vegetation, airflow and overall health of the plant play key roles.
Learning your environment and microclimates can take some time, close attention and pay close attention to see the patterns. Planning for pest and disease control is key when looking to harvest a healthy crop and – I’ll say it again – we need to be proactive instead of reactive. When faced with what may feel like an infestation, and we as gardeners have all been there, resist the urge to react with drastic sprays and instead take a deep breath.
There are other options worth trying first and our goal is to grow healthful medicine. As we head into flower, the fact that we are “in flower” presents its own limitations when dealing with pests. Spraying the buds? That can get real dicey and I look to avoid it, with one exception I’ll share in a minute.
Keep the bugs off the nugs!
My suggestions for preventive and proactive IPM:
- Get a jeweler’s loupe. If you don’t yet have one, get one now, it will be your best friend. A tiny, inexpensive magnifying glass. I get mine at Growbiz, it even has a tiny light. I keep mine on a lanyard and it goes into the gardens with me at all times. I have to wear reader glasses (that’s like double magnification lol!) so I put them on and look through my loupe, in the sun, for my best visibility. If I find a leaf with damage, I’ll usually pluck it from the plant to best observe it. If just checking the plant randomly, the loupe allows me to view undersides of leaves without removing them, although I may really have to crawl around.

Pay close, close attention EVERY DAY
It’s one of the reasons I still love hand watering even with drip lines installed… I get to spend the one on one time looking closely through my plants! By looking closely, I mean get up in that big mama!!
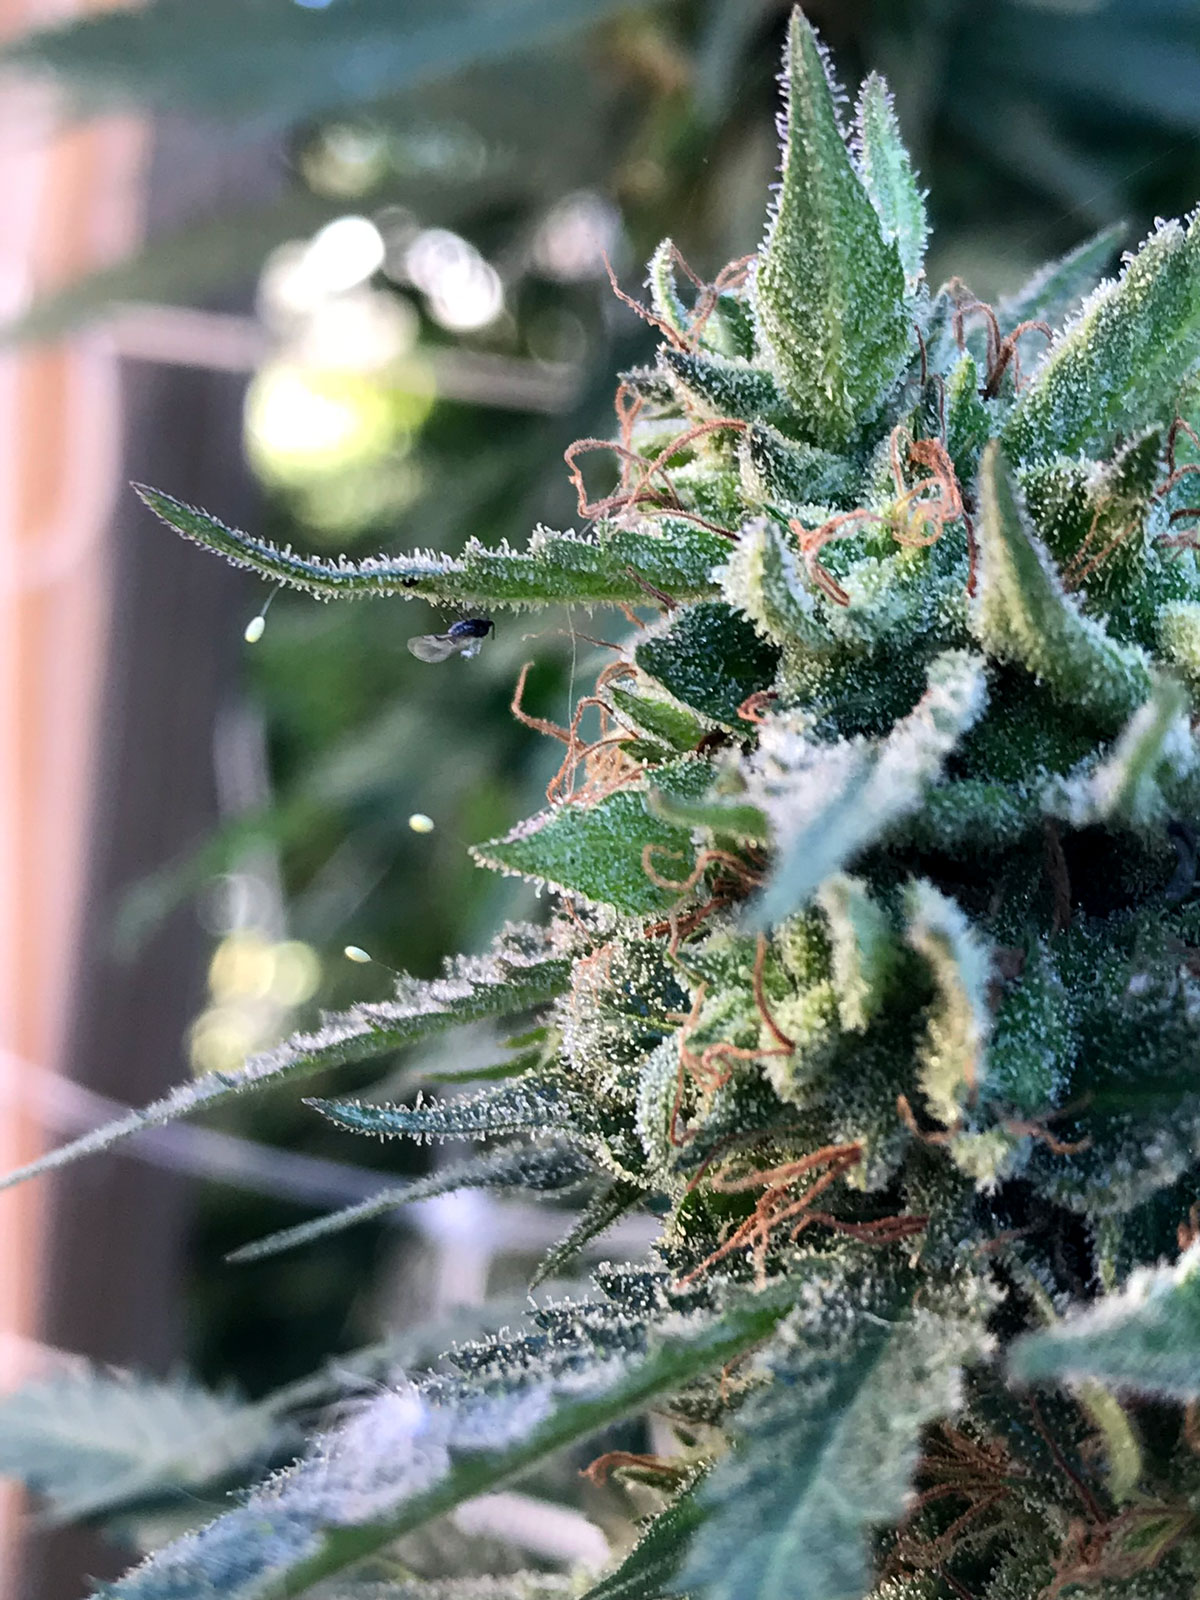
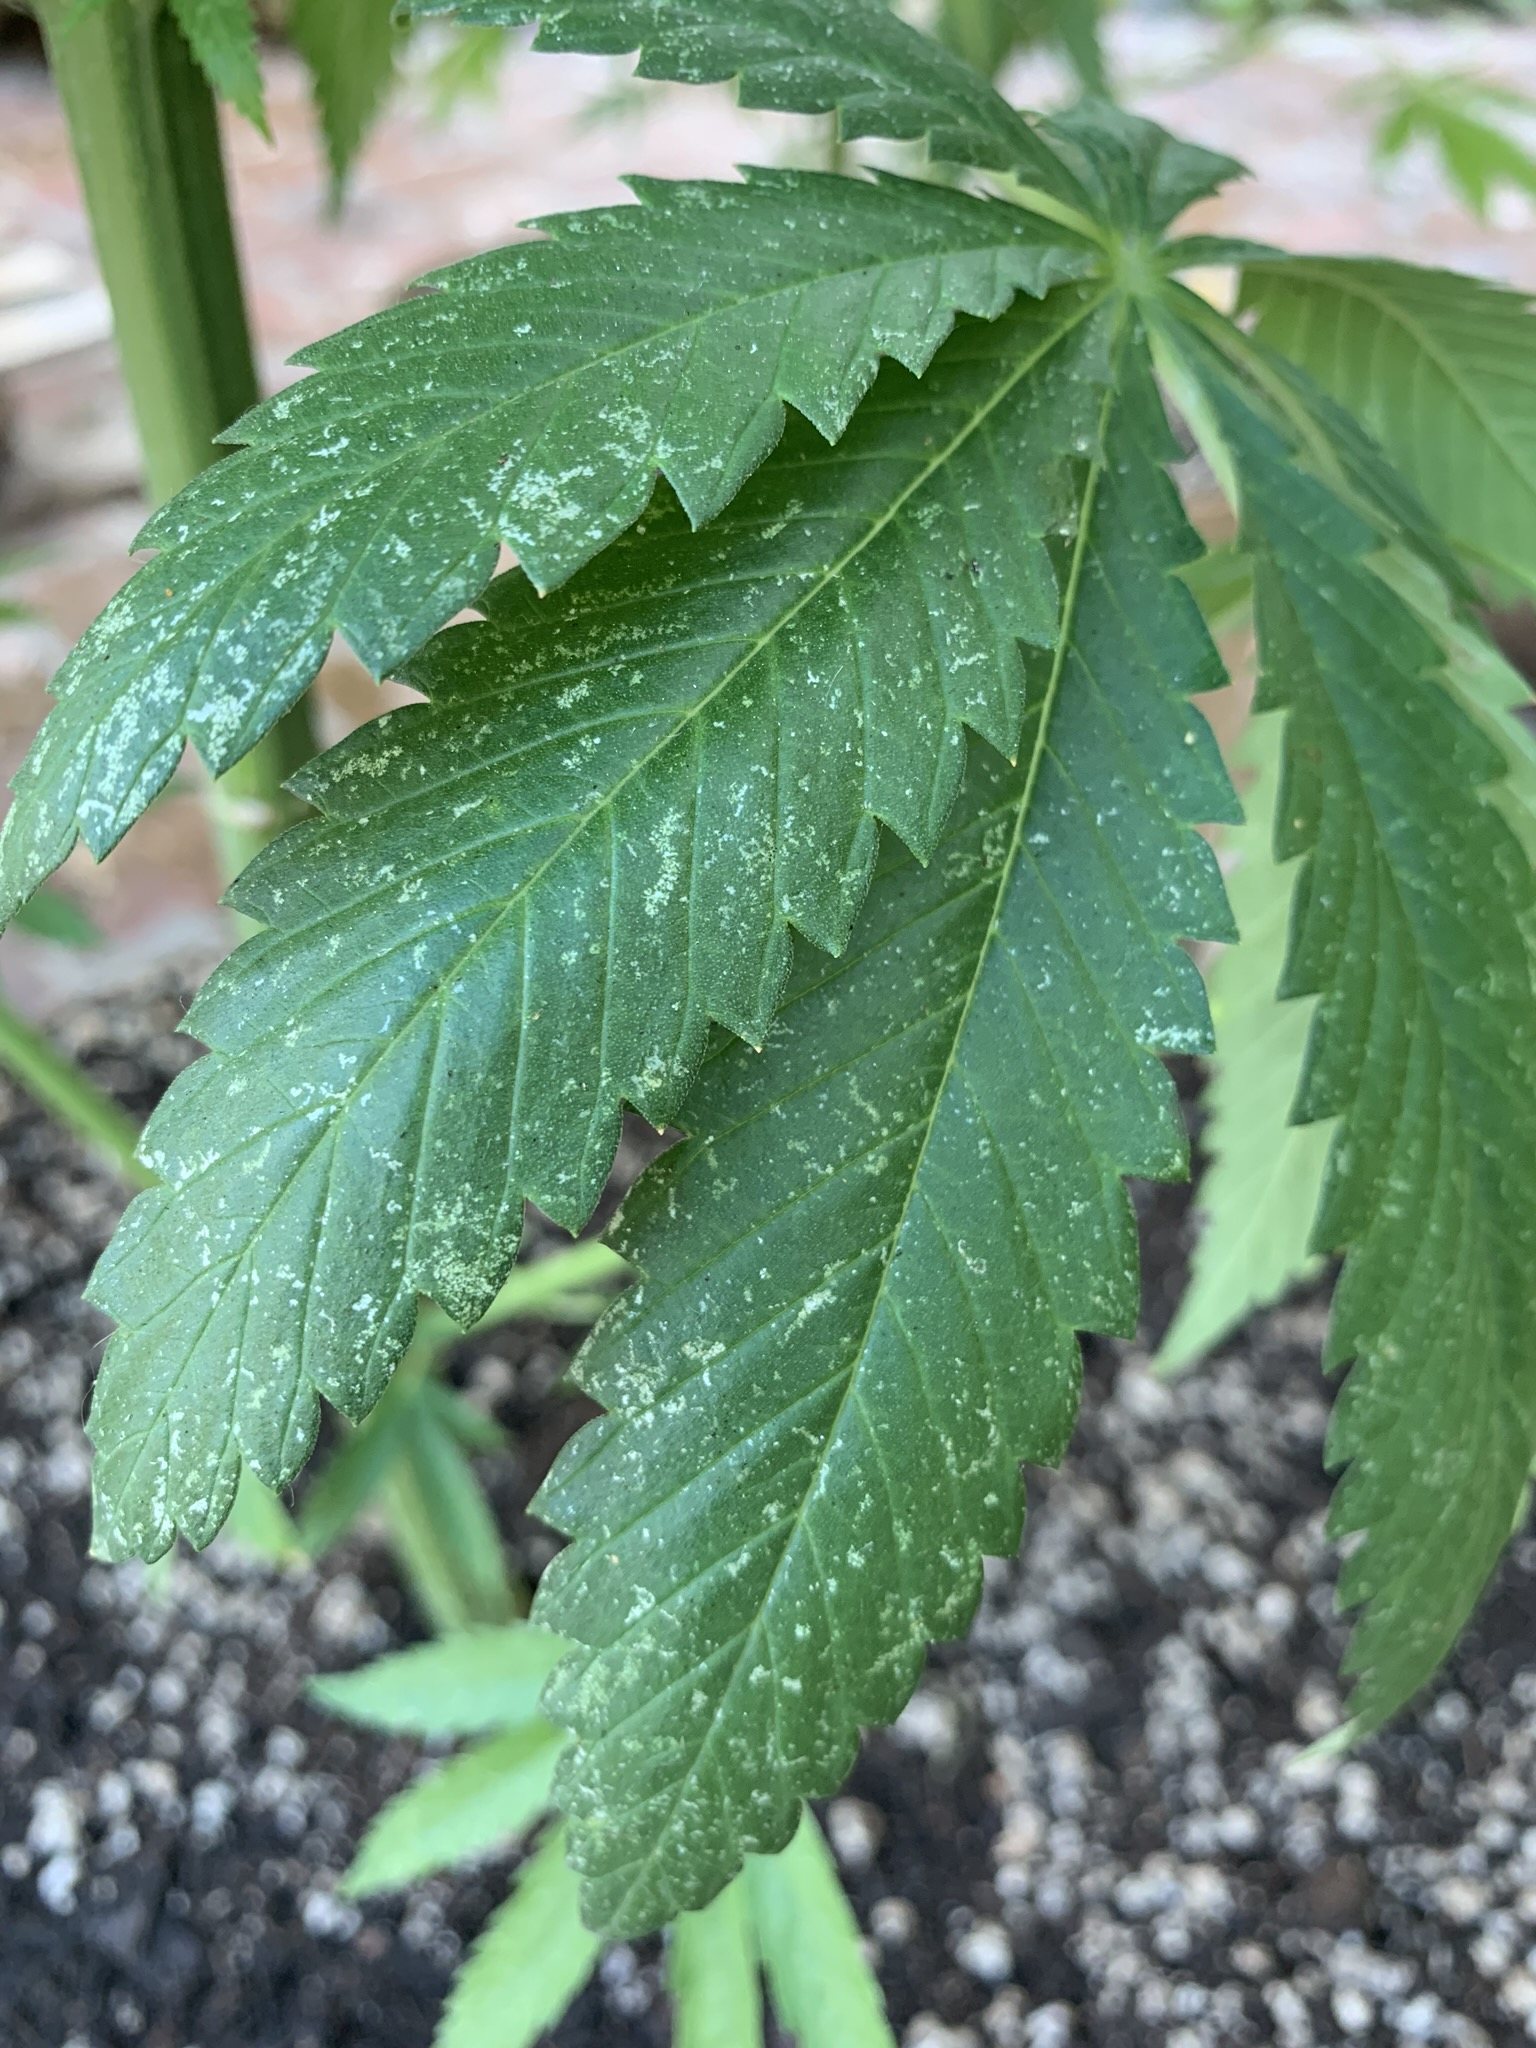
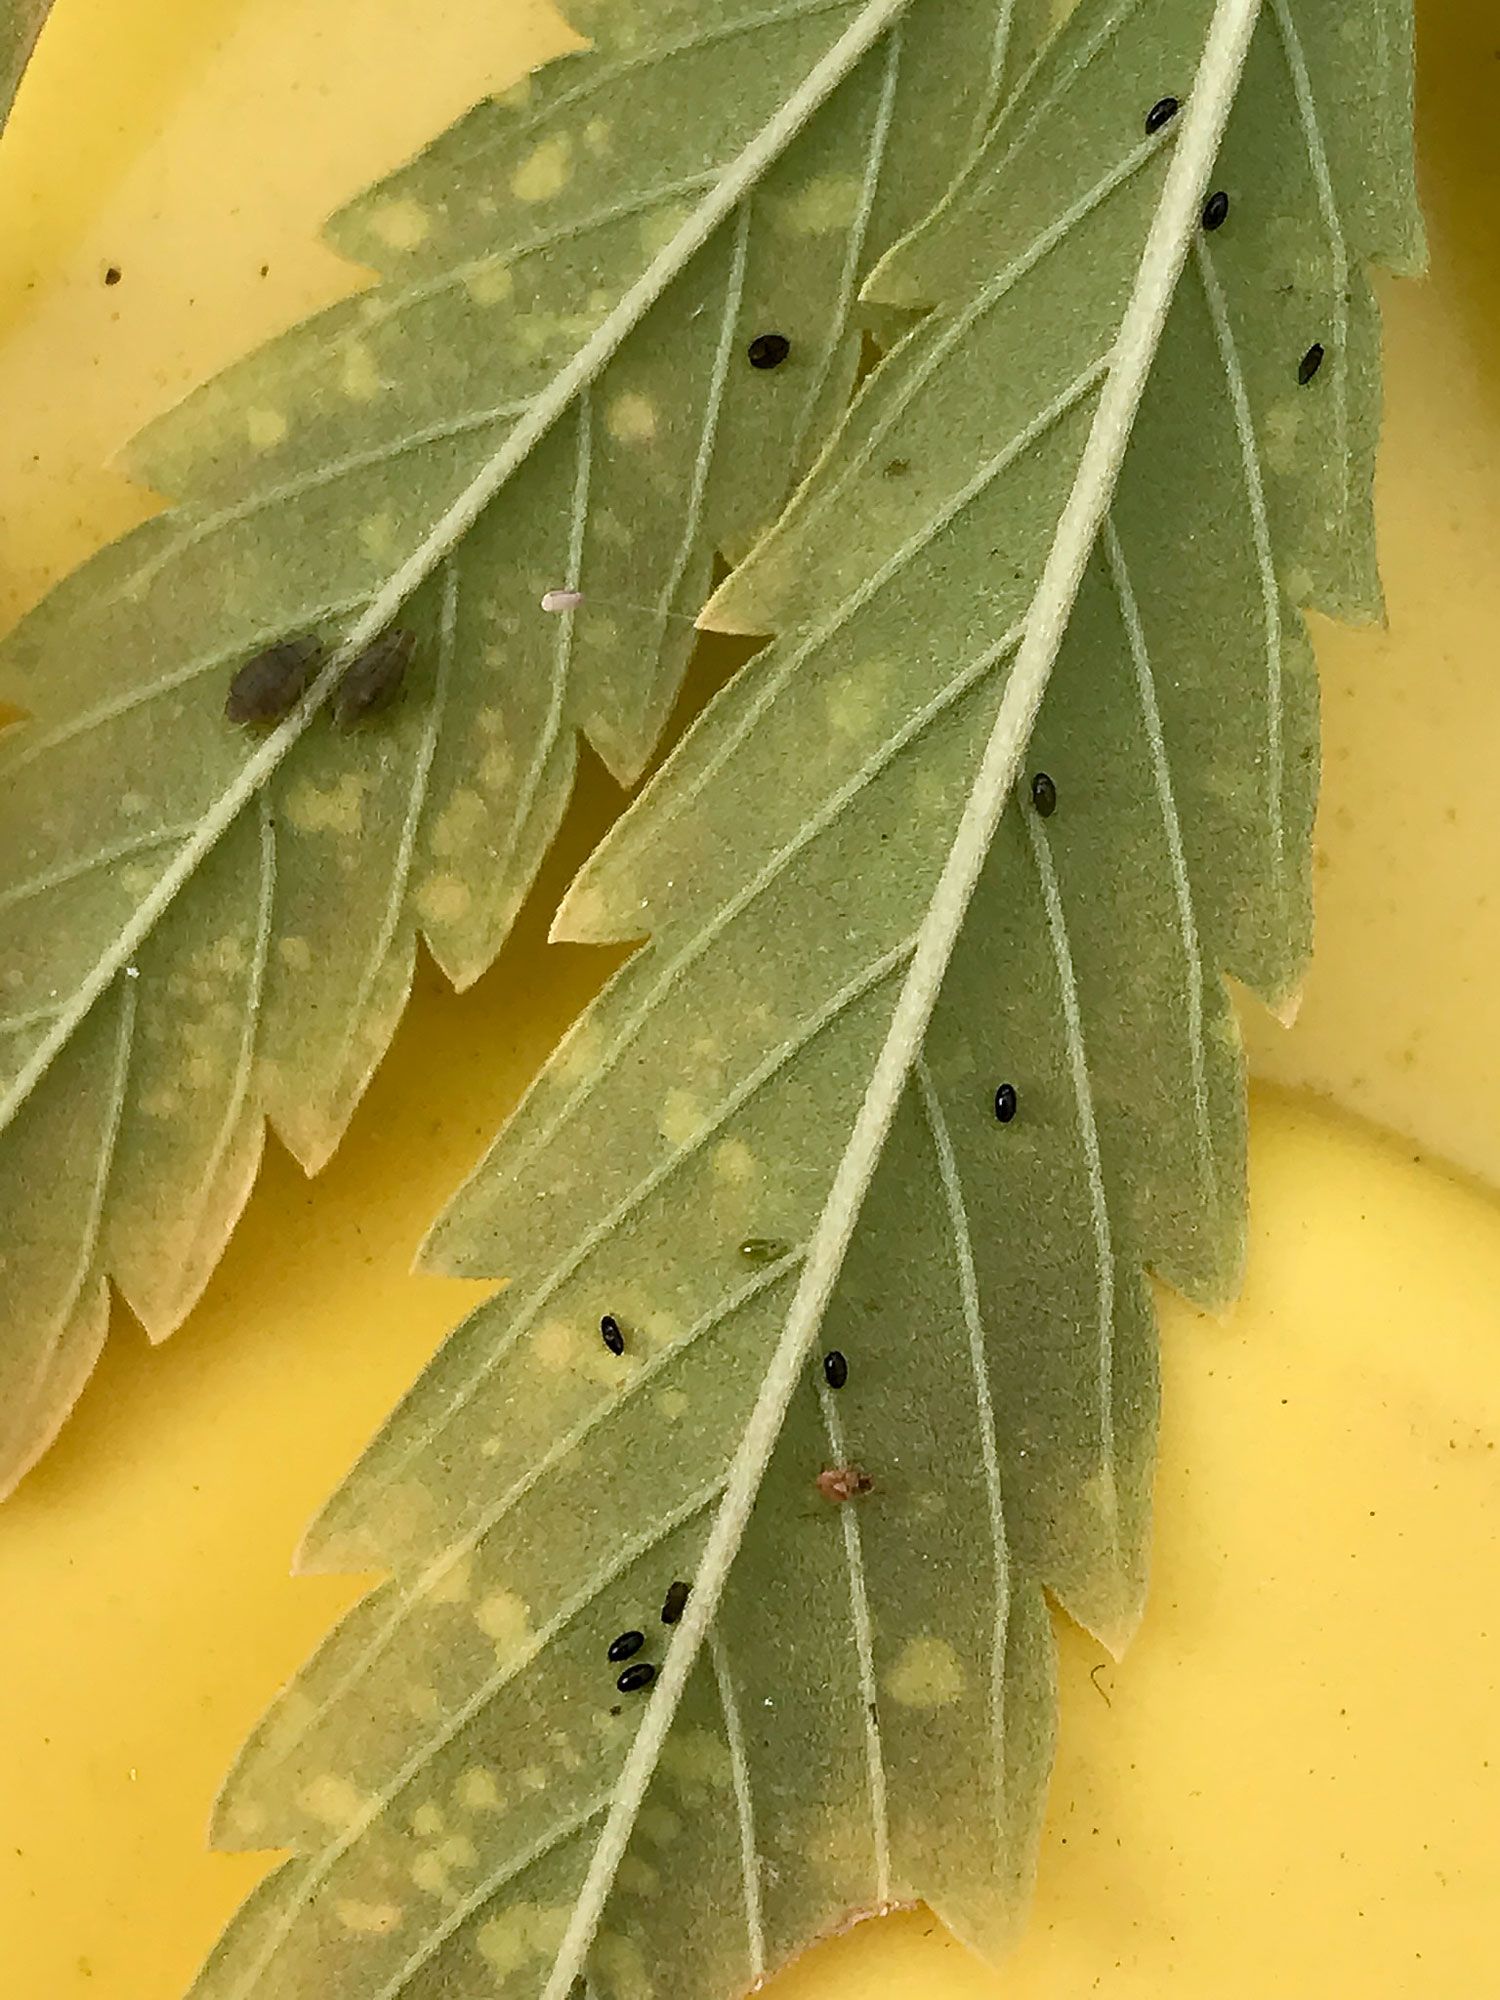
Look under the leaves, crawl on the ground underneath if you have to! If you see tiny yellow spotting on your leaves, something is eating it. Most bothersome insect pests (to cannabis) thrive on the undersides of leaves and suck the life juices from the leaf leaving a “stippling” yellow, spotted appearance.
Mites, thrips and whiteflies cause this type of damage. If you see this, pull out your loupe, check the undersides of the leaf and try to find the culprit. Other signs are tiny black dots near the damage – insect poop! (Yes, they poop where they eat, yo.) If you notice a shiny, snail-like slime called “honeydew”, aphids are notorious for excreting this and it will cause black mold to form on leaves or groups of ants to hoard it.
If you see a team of ants heading somewhere on your plant, follow them! They will likely lead you to something.
Another pain in the butt for me during flower is caterpillars. Oh, they get me in my area! When in the midst of flowering, moths like to lay their eggs on the sweet tips of the flowers, which equals caterpillars eating your buds and causing rotten spots!! (I always imagine them really stoned and looking like the Alice in Wonderland version lol!) Ah, I joke, but there is nothing more horrible than admiring a huge, stunning cola for weeks only to one day see a big, brown, gooey rotten spot where the caterpillar has eaten out the inside, creating a nasty little rotten poop cave and ruining the entire cola. Booo all over that!! Pay close attention, all over, all the time! (more info below on how to stop caterpillars for good)
Know your enemy!
It can be tough to determine exactly what you are looking at when finding a culprit under your loupe glass. This is where the research comes in. Yep, you are also a freaking scientist! For common pests of marijuana check out the Grow Weed Easy Plant Doctor Tool. I have loved this site’s straightforward and easy to understand information for years.
For scientific information about the pests themselves, their life cycles and environmental controls, check out http://ipm.ucanr.edu/index.html.
Another option is to use Google to search for “common cannabis pests”. This gives you a good idea of who they are and what they look like. Knowing exactly what you are up against will help you determine what natural measures are necessary to manage the specific pest. Knowing your enemy will help you adjust the environment accordingly and in preparation.

For example, a few years ago I found a few spider mites on a plant at the end of a row. I felt like it was a zombie infestation and could barely even sleep, wanting nothing but to blast them all to hell…but I maintained control!
I researched spider mites and learned that they love hot, dusty, dry conditions, so I adjusted the environment to make it more uncomfortable for them. I’d mist under the plant and up under the lower leaves EVERY morning, sometimes again later in the day, to rinse the undersides of the leaves and keep the humidity up. That really stalled them out.
I also purchased some beneficial mites, specifically those that thrive in my hot weather conditions and love eating spider mites. Within a week I was in the clear. It was so cool and I didn’t have to kill off every living organism in sight to make it happen. Whew! Needless to say, I now mist up under my plants almost every day when it is dry, hot and dusty and it keeps the little zombies at bay all season.
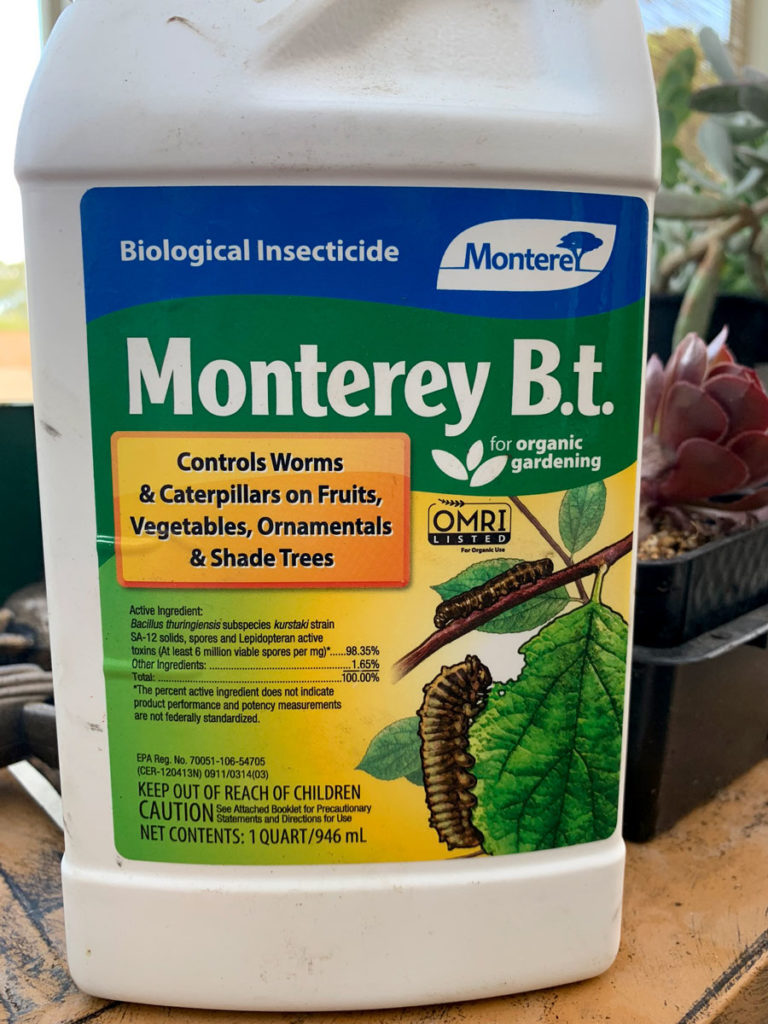
Stock up on BT to fight caterpillars!
BT is my one exception to spraying in flower. Let me share why.
First off, what is BT? BT, or bacillus thuringiensis, is a naturally occurring toxin used as an organic pesticide that ONLY affects caterpillars. It’s an organic spray with a quick breakdown period.
“Bt is a microbe naturally found in soil. It makes proteins that are toxic to immature insects (larvae). Bt makes toxins that target insect larvae when eaten. In the caterpillar’s gut, the toxins are activated. The activated toxin breaks down their gut, and the insects die of infection and starvation. Death can occur within a few hours or weeks.The different types of BT create toxins that can only be activated by the target insect…”
– NATIONAL PESTICIDE INFORMATION CENTER
Covering your plants with insect netting is an option to keep the moths from laying eggs on your flowers, but it doesn’t work well for me. You can spend hours each morning and evening picking them off – which I do, but sometimes I miss seeing the camouflaged little stinks.
BT is inexpensive, super-effective and has a quick breakdown period of a week or less. It can be sprayed often with no ill effects on the environment or the buds when sprayed at the right time of day, when they can easily dry out, at the right time in the flowering period. I find that spraying every two weeks is sufficient for me (3 times in the season). I hold off on using anything at all during the last few weeks, going back to the pick-off method to avoid overly wetting really dense buds, especially if the weather has become cool and moist. I do throw out a few flowers each year from caterpillar damage, but the loss is so minimal when prepared.
Get to know your weather patterns during this phase of the season
If you have lived in the area you are growing in for many years, you likely have a good idea of what changes occur within August to the end of October. Really think about it – When does it get cooler? When does it get rainy, or does it get really humid? Do areas of your garden lose sunshine with the transition of the season, leaving an area now cast longer in shade?
If you are new to gardening your area, your specific climate and microclimates may pose some surprising challenges if you don’t plan ahead. Do some research to see what is typical weather in your area during flowering. Depending on the strains you are growing, some may be harvested earlier while others will need to wait, making those late plants more susceptible to fall weather-induced problems.
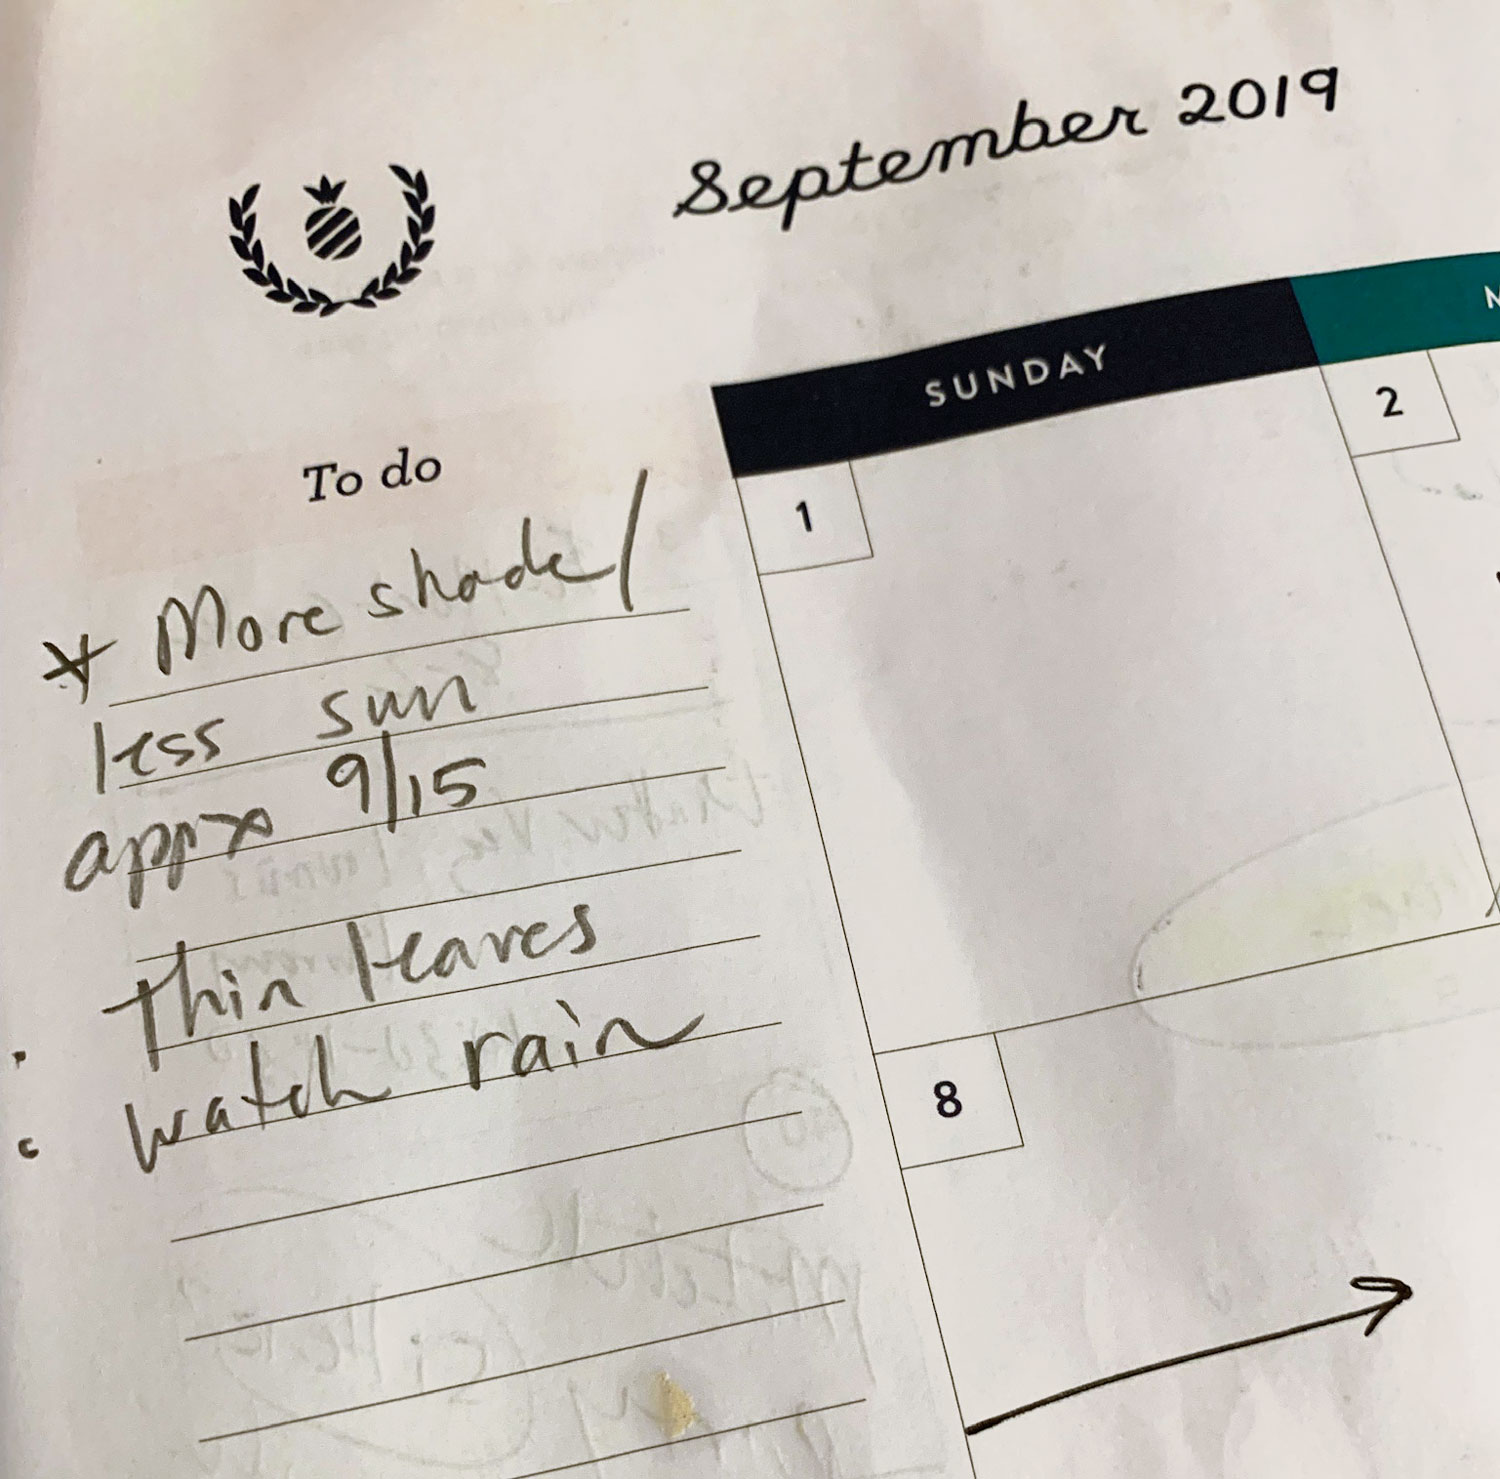
One thing I do every year is to keep a log. A journal, a calendar, whatever works best for you. I tend to do both. On my calendar, I note when flowering begins and the anticipated harvest dates for each strain. These dates are not finite, especially given the lack of some information out there and obscure strains, but they give me an idea of what to prepare for. (Yep, you are also a meteorologist!) I log the weather patterns from previous years and what I noticed, such as; When was it over 100 degrees? What insects were present during the season? Was there anything specific that posed an issue and why? How can it be avoided next year? Through my research, I can step ahead of disease, fungus or specific pests the weather caters to.
What I know from taking notes about my area (if you live in the Northern Hemisphere, some of these may apply to you, too):
- I know that in August the days begin to get shorter. Slowly we will ease into September, with earlier dusk and nightfall which delays moisture evaporation in areas that would otherwise dry out quickly.
- I know that it tends to stay warm well through October, but more humid at times.
- I know that the caterpillars become an issue every single year when flowering begins, causing rotten “poop caves” in the buds, ugh! lol.
- I know that we always have a storm. We have days when temperatures drop significantly. I have multiple years noted with rain and high winds within the first week or two in October! Better have support!
- I know that aphids tend to pop up in September and October where I live. Some really like cooler temperatures and higher humidity. Be diligent in checking under leaves and up inside the canopy of each plant.
- I know that earlier sunsets cause some plants to be cast in more shade later in the day than usual. This, in addition to cooler temperatures, moisture in the air and terrible air circulation can cause powdery mildew to blossom. Time to trim up and clean out the inner/ lower canopy of each plant and add an outdoor fan in the area that needs better circulation. (I use an old, rotating stand fan with an extension cord, yes outside, no joke.)
- I know that any plant infected with botrytis (bud rot) will begin to show with added moisture in the environment.
Read the rest of this article (with 4 more tips on outdoor growing) on Jenny’s website
About the Author Jennybee698
I lost myself as a stay at home Mom. Say what?! Who can relate?! Who knew I would discover my most perfect ME, find my joy and my self-love, on my dirty knees in rows of tomatoes, under a shady trellis of cucumbers, blooming in the cut flowers and so high over a canopy of cannabis?! The gifts of gardening far surpass the obvious homegrown, healthful goods… and I want to share them with everyone.