by Nebula Haze
As harvest approaches, your buds still haven’t reached their final form. The choices you make about harvest timing, drying, and curing give you the power to guide your buds through a remarkable transformation. Today, learn 3 tips to help your buds finish tighter and preserve their best qualities.
These techniques can’t change your genetics or what happened during the grow. But they can help maximize the density of your buds while preventing the loss of bud quality right at the finish line.
- Let buds finish building density
- Dry buds to the right moisture level
- Keep buds from sticking together as they cure
See Purple Ghost Candy buds go through their post-harvest transformation.
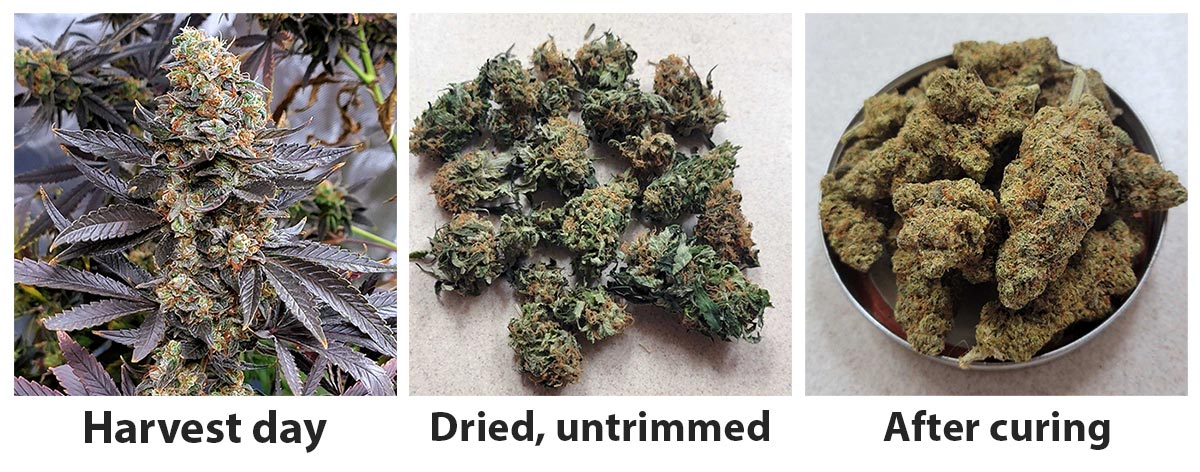
1.) Let Buds Finish Building Density – Harvest when buds hit maximum density, potency, and smell (peak “maturity”)
Key Idea: It’s common for growers to harvest buds too early, which can impact your bud density, yields, and potency. Buds gain a lot of weight and density in the last 1-2 weeks before they hit peak maturity, so harvesting too early can result in somewhat looser buds.
This bud is not ready! Baby buds with all white hairs typically have at least a month to go.

There’s 1+ month to go if all buds are still white puffs at the joints.

This bud is much closer to maturity, as you can actually see the bud underneath now. However, the white hairs show this plant still needs at least a few weeks before buds are ready to harvest.

Still not ready. Let buds continue getting fatter and more dense.

Ready to harvest
For most strains, once most hairs have darkened and curled in, buds are typically near their peak density, potency, and smell.

Ready-to-harvest buds tend to feel hefty and solid.

2.) Dry Buds to the Right Moisture Level – Regardless of how you dry, it’s crucial to stop drying at the right time.
Key Idea: Before smoking, buds must be dried. Buds are done drying when the leaves on the outside are completely dry, while the inner buds should still have some moisture. This moisture balance before curing is key to achieving the highest density with the buds you already have.
When to stop drying buds:
- Stop drying buds when the small stems snap but bigger stems are still bendy.
- The outside of buds should feel totally dry. The tiny leaves should feel a bit crispy and tend to break off.
- When you remove the buds, they should mostly “pop off” of the stem. If they leave lots of strings behind, they could dry a bit more.
Regardless of your particular drying method, the most important aspect when it comes to bud density is to dry buds to the right moisture before curing.
Hang drying is the most common dry method.

3.) Keep Buds From Sticking Together As They Cure – After drying, burp jars daily and gently rotate to ensure buds move independently.
Key Idea: After drying, most home growers “cure” dried and trimmed buds to improve overall smokeability, density, effects, and smell. The most common method is to cure buds in glass mason jars over several weeks, “burping” jars daily.
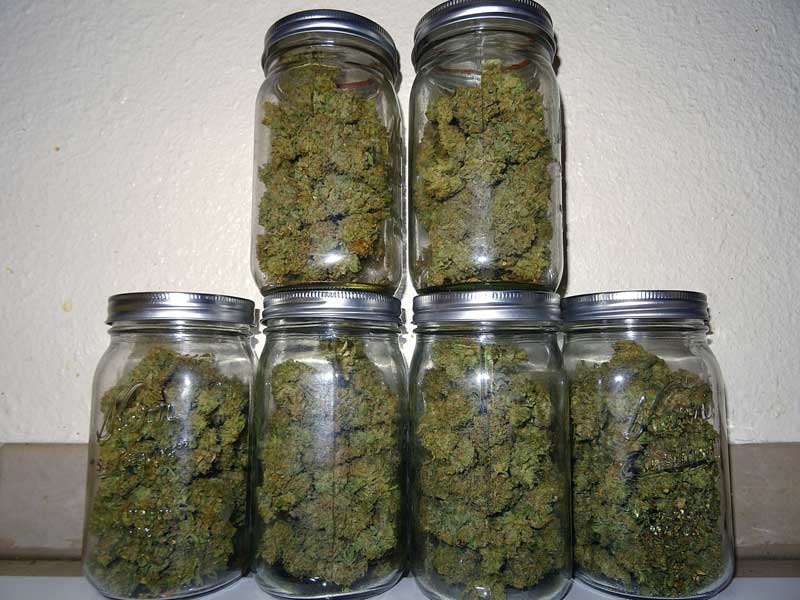
Curing Tips
- When it comes to density, it’s important to ensure buds aren’t sticking together as they cure.
- Burp jars daily and rotate or shake gently to make sure all buds are moving independently from each other. Free movement means they’re getting a bit of air around the outside of each bud, which helps bud moisture equalize more evenly.
- If buds are sticking together, they’re typically either too moist or packed in too tightly. They need to be gently pulled apart and given enough room to move independently from the other buds. Think very light tumbling.
Cure buds at the right moisture with daily burping and gentle rotation for maximum density.
Moisture not quite right? Don’t panic.
- Dried too much? Buds crumbling apart is a sign of overdrying but can be addressed. A 62% humidity pack in a glass jar can help restore moisture during curing. When a humidity pack is combined with burping jars daily, overdried buds can often still cure well.
- Dried too little? If you’ve removed buds from stems but realize they’re still not dry enough, it’s an easy fix. It’s common for buds to feel wet the next day as moisture inside works its way out. Put moist buds in a paper bag or loosely tied turkey bag until outsides feel dry again, before curing any further. Make sure to check outside of buds daily. They should never feel moist to the touch.
Conclusion
Buds tend to cure a bit “looser” if they are harvested on the early side, weren’t the right dryness when curing started, or were cured with buds stuck together. But that doesn’t mean the buds aren’t great to smoke! And it’s important to remember that bud density is greatly affected by what happened before harvest, for example: genetics, grower skill, plant health, light levels during bud development, and environment in the flowering stage. Even in perfect conditions, the buds at the top of the plant are bigger and more dense than buds lower down on the plant.
Density is nice, but it’s not the most important thing in my opinion. What’s most important is that the buds smoke well and produce the effects you want.
But follow the 3 tips in this tutorial to maximize bud density at the very end of the grow.
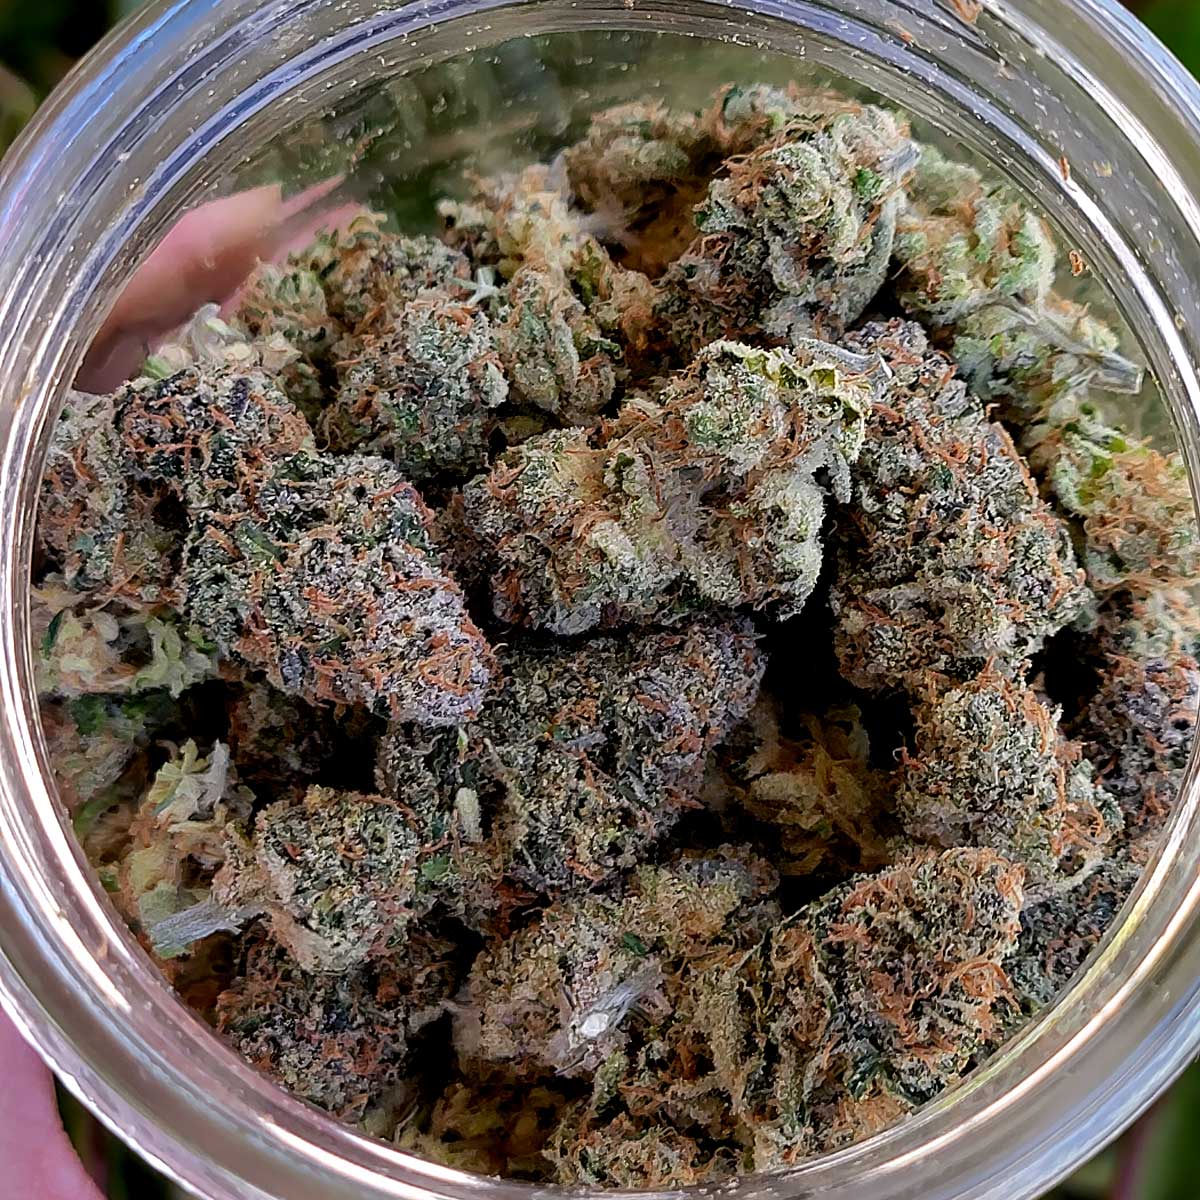
After 2 weeks of curing, these buds are already tight and smoke great.

After curing for a few months with occasional burping and jostling, color deepens, smell intensifies, and buds get even tighter. Effects often feel “stronger” and “smoother” when smoking well-cured buds.
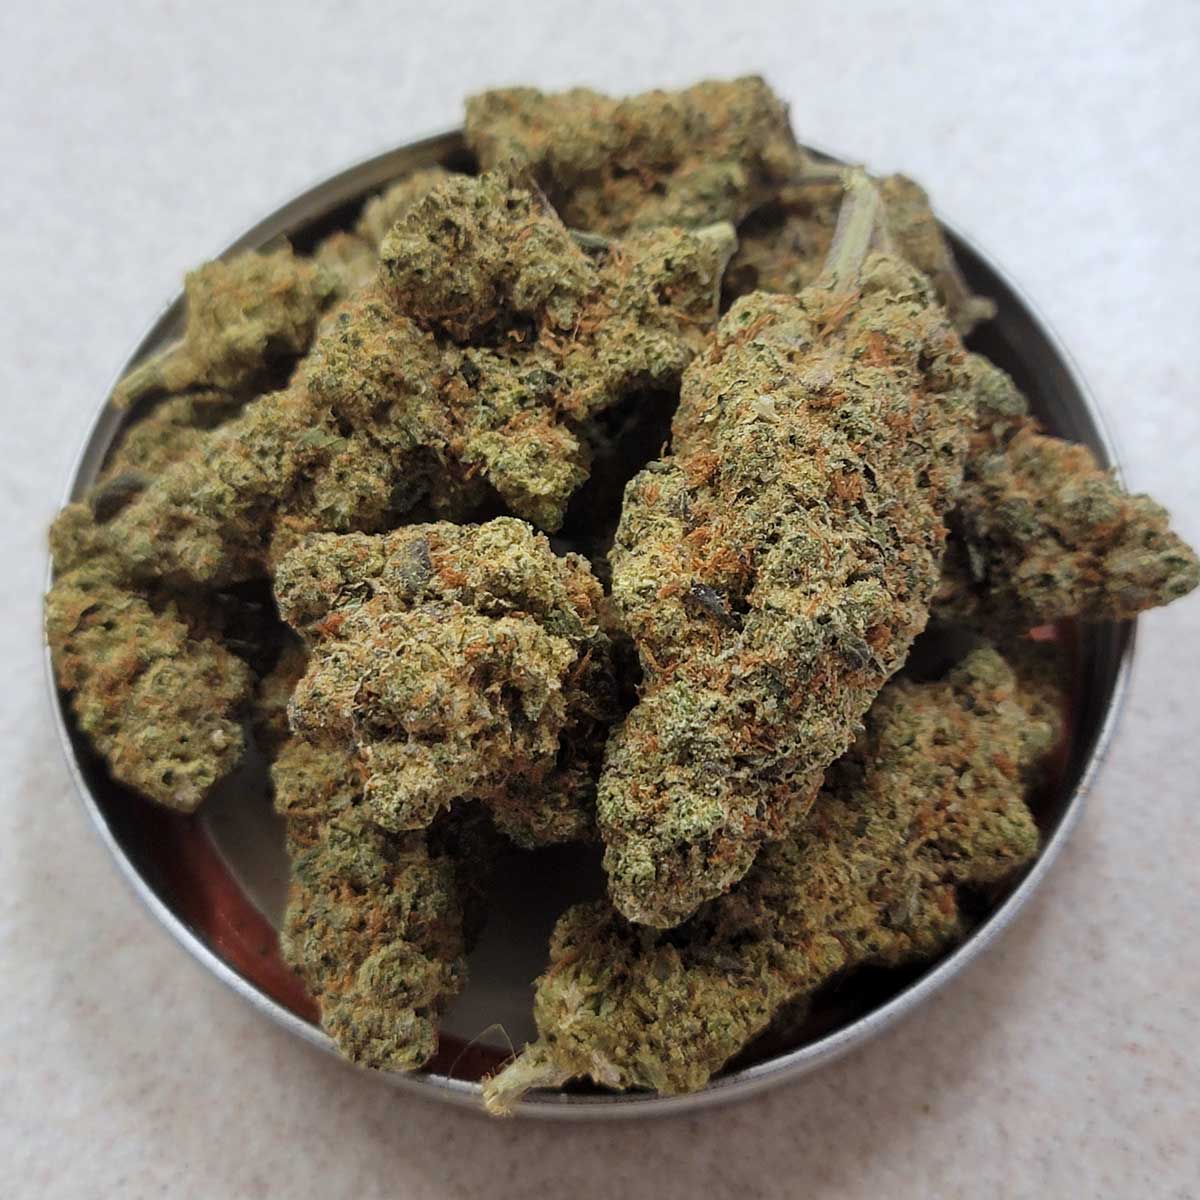
Looser buds can still be wonderful to smoke!
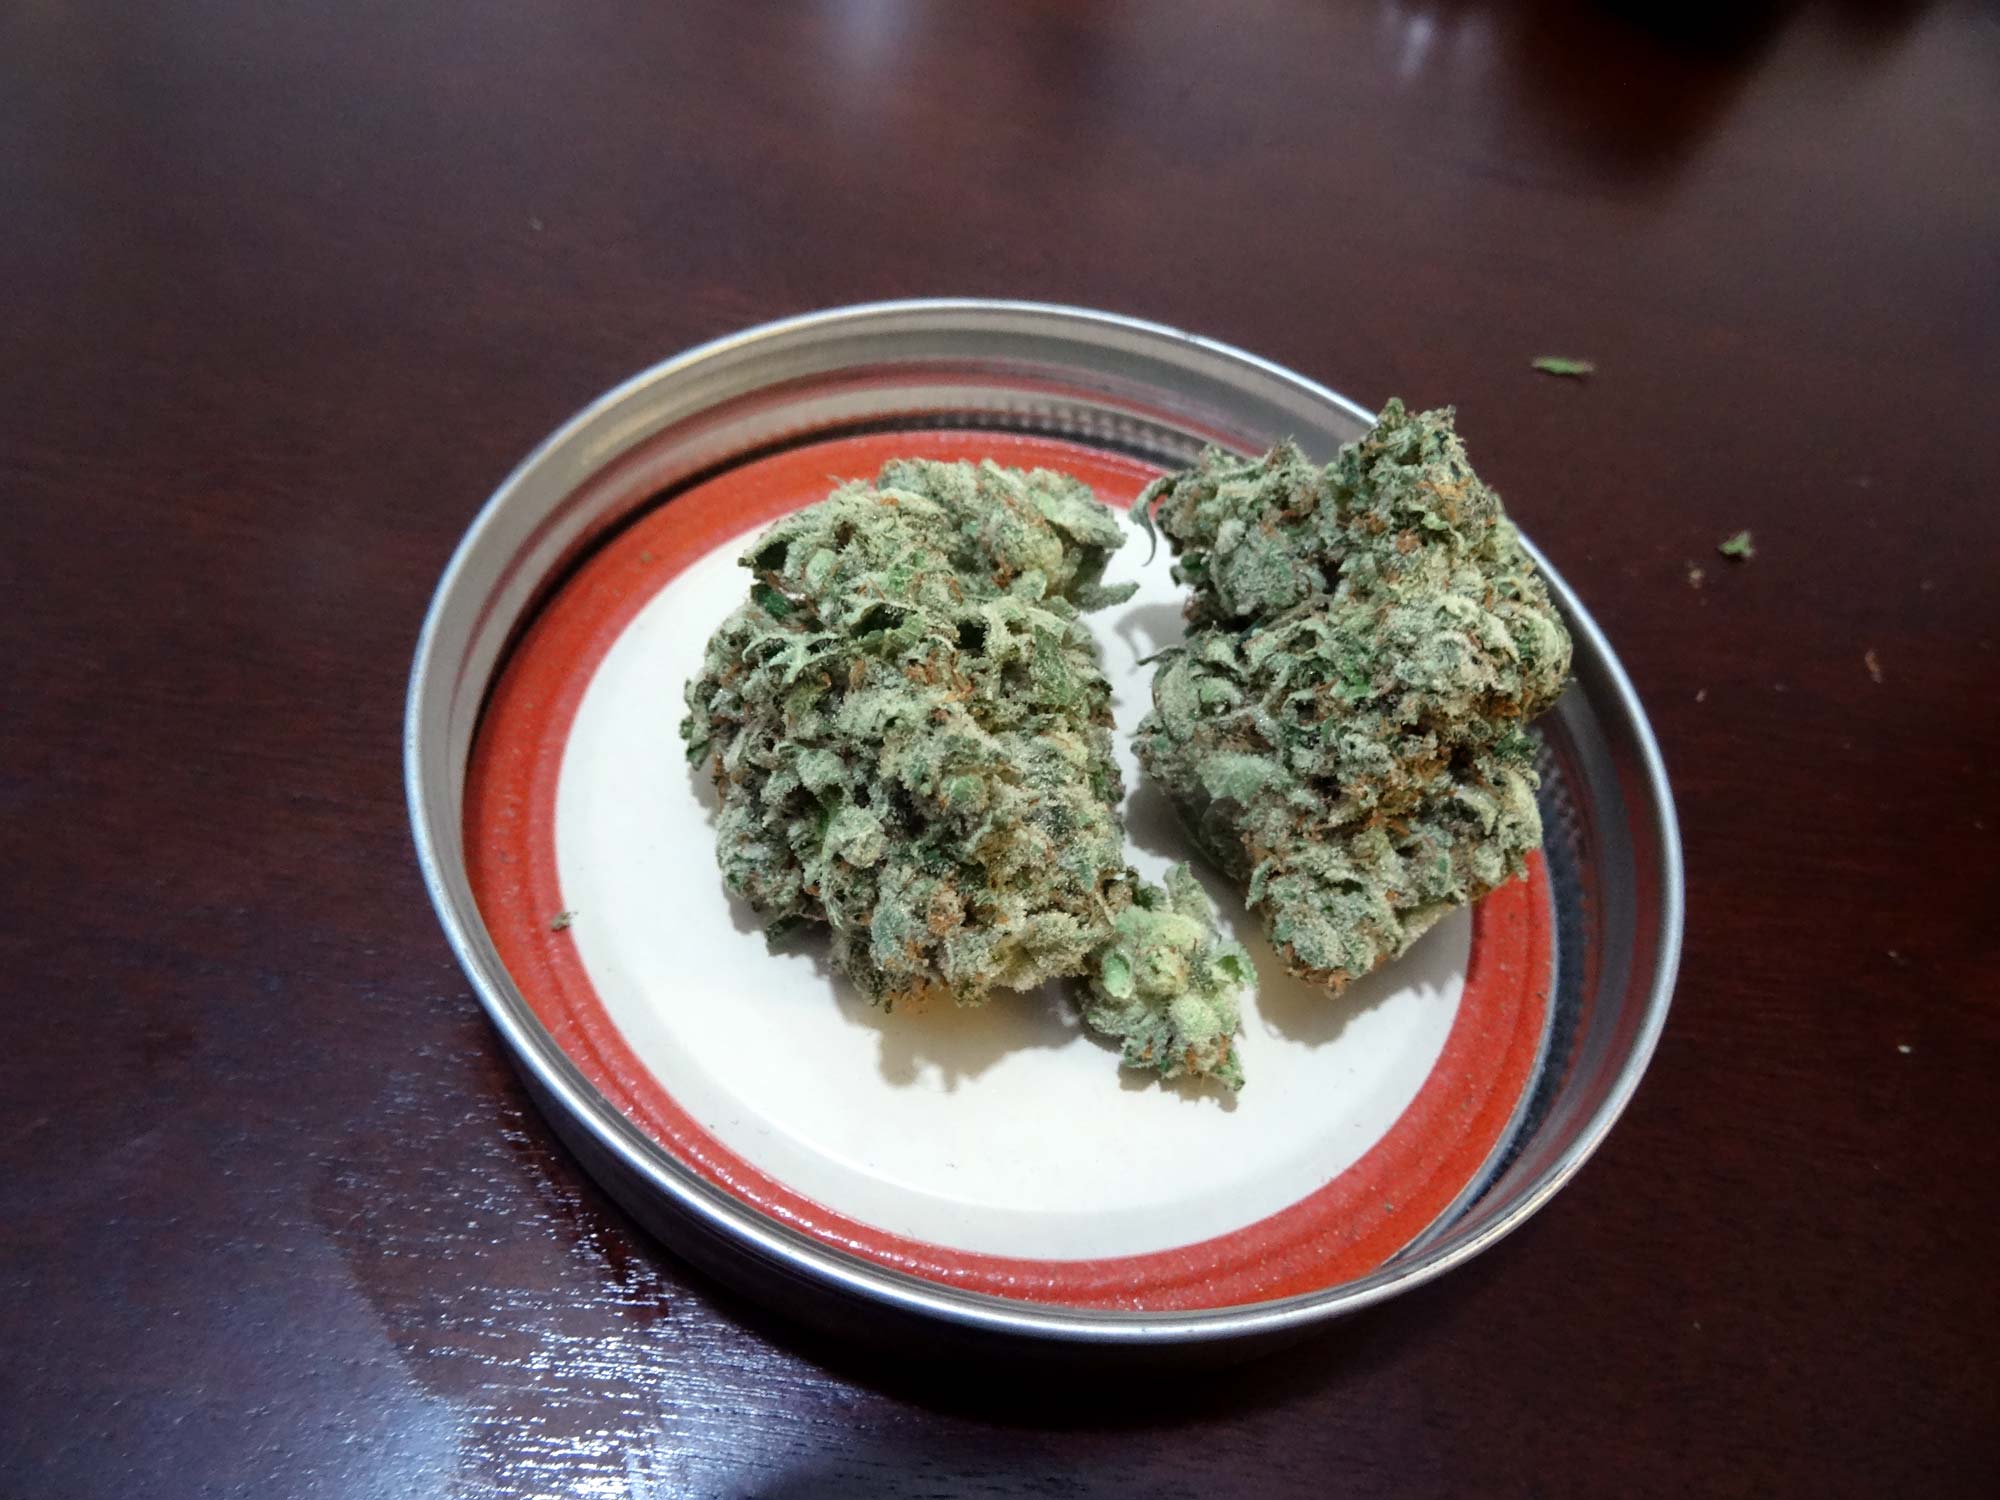
These tips can help you improve density at the end of your grow, especially when used as part of a full harvest plan.
Want a complete harvest plan?
Learn how to HARVEST at the perfect time and process your buds to increase density and ensure they smell great.