by Nebula Haze
Today learn the universal principles that let you grow better weed than you can buy.
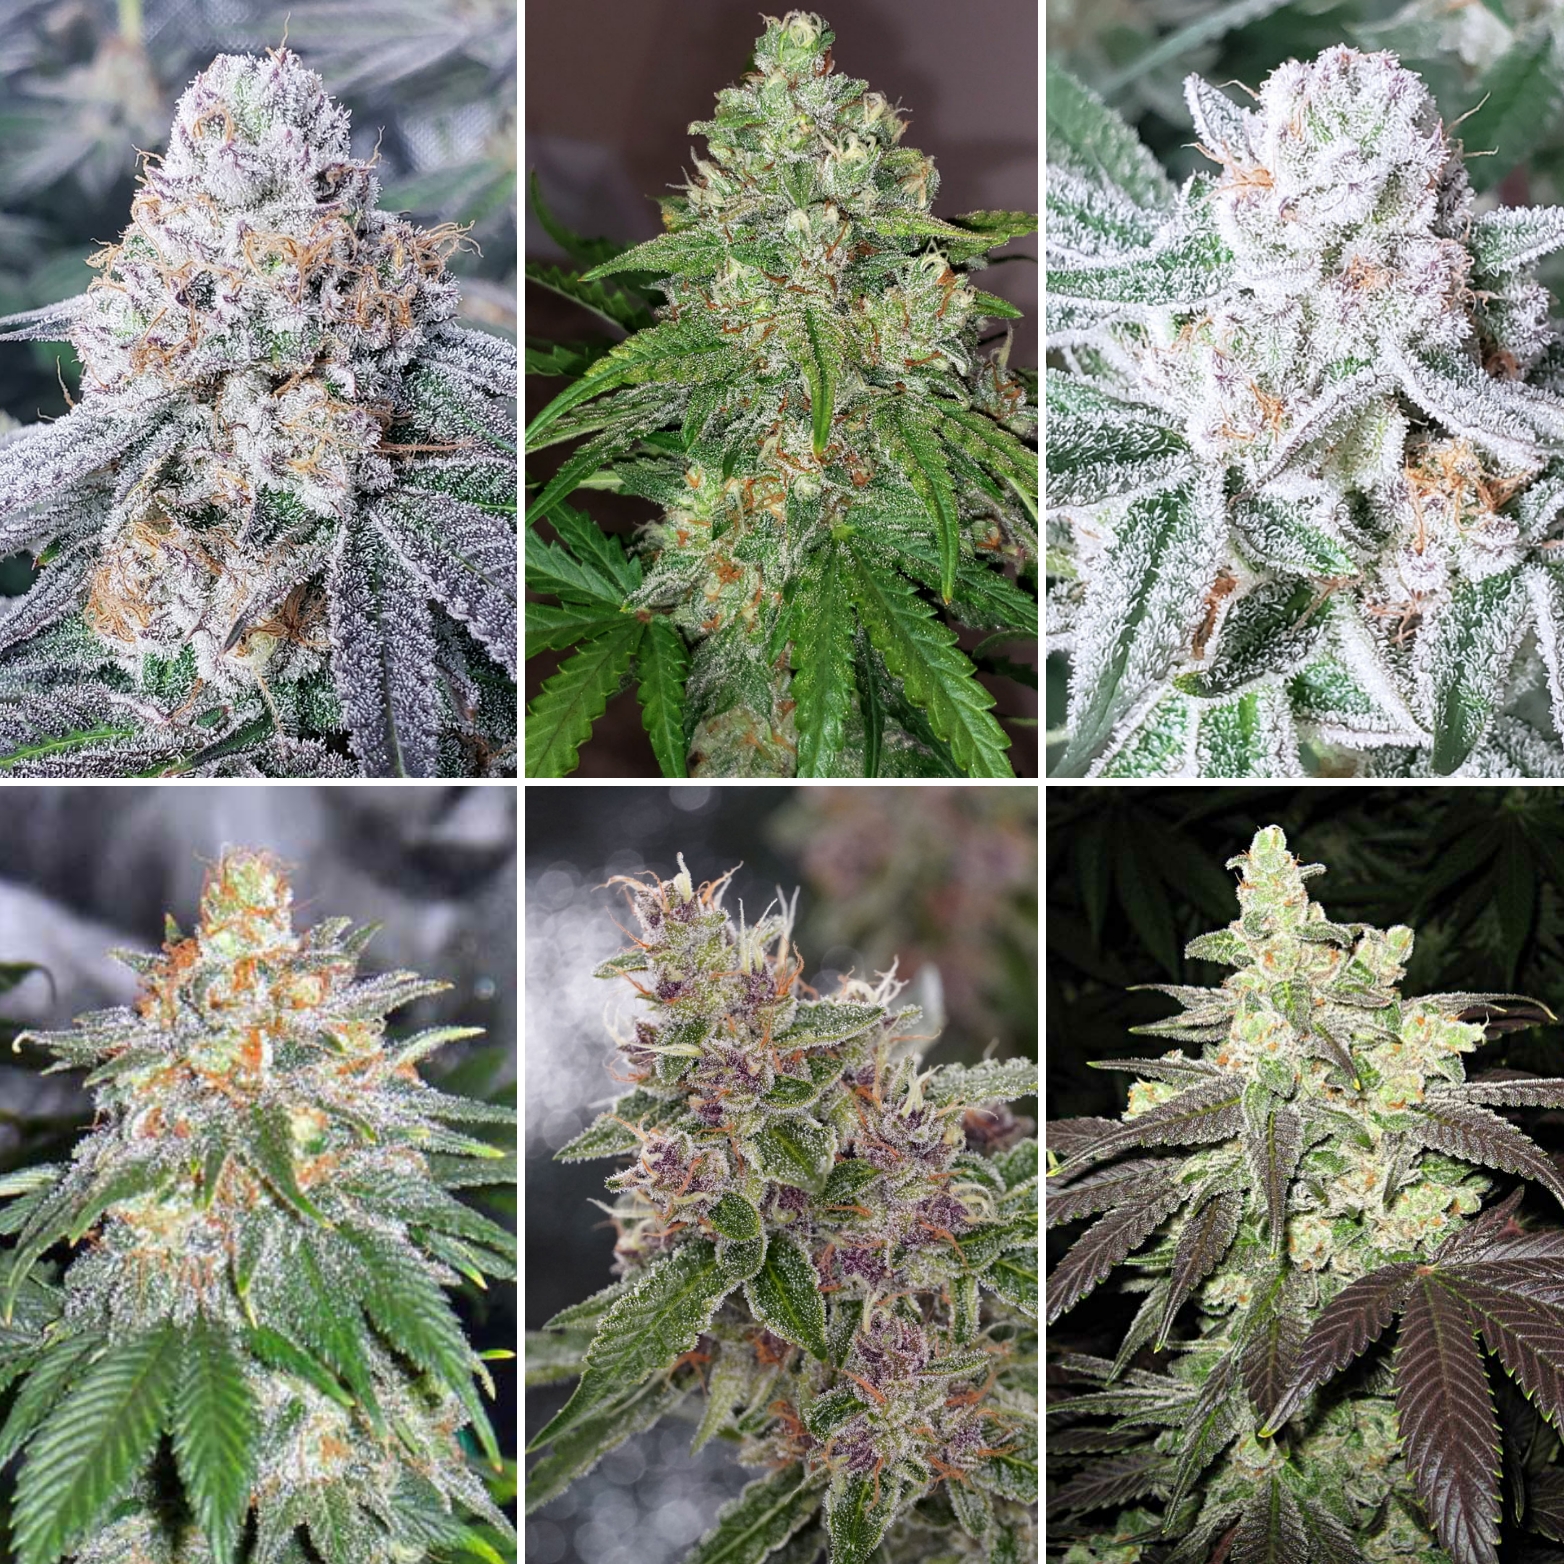
I love these strains for home growers: Blue Dream (pictured here), Candy Games #38, and Purple Ghost Candy.

1.) Start with Extraordinary Genetics
What to Do: Start with the best seeds you can find. Good seeds germinate consistently and produce the kind of weed you want (density, smell, size, effects, strength, color, smoothless, etc.).
Why: Good seeds grow good weed with your desired effects, even if you make mistakes. Plants works with you instead of against you.
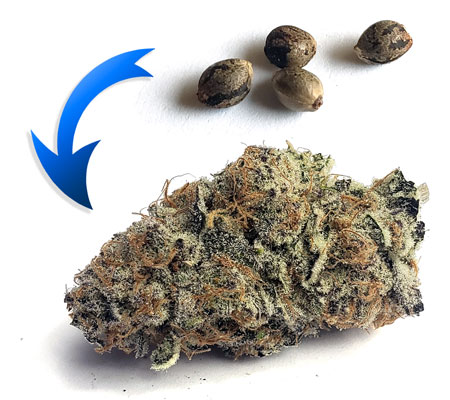
Quick Win: Use one of the following 3 methods to find great genetics for your next cannabis grow.
- Choose a proven breeder and read the strain description to find what suits you. A good breeder always maintains quality for all their seeds. Some breeders I like lately are Happy Valley Genetics, Seedsman, Seed Supreme, and Ethos (all represented in my current grow journal).
- Copy what works – Get the genetics that you see people growing great weed with. For example, if you have friends that grow weed, or interact with growers on social media, take their lead if you like what you see. Find out what they’re growing and get seeds from the same source to copy their results.
- Enjoy the gamble – The old fashioned method. Grow the seeds you have, or choose a strain that sounds good and go for the adventure! Good seed banks curate their seed selection and have seed germination guarantees, so any of their seeds should produce good weed.
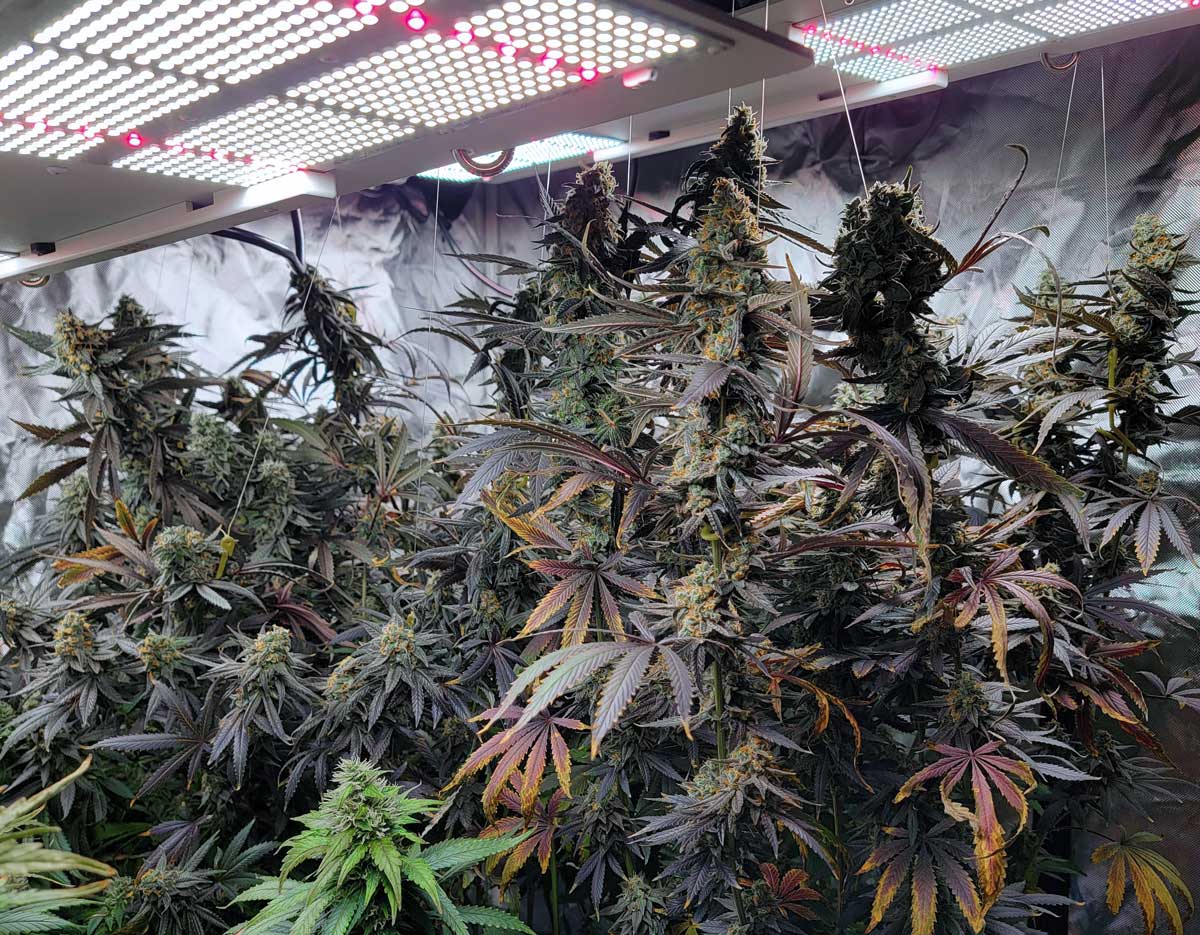
The seeds you pick make a huge difference to results. For example, the following plants were grown together with the same grow medium, nutrients, and care. But look how different they’re turning out! The difference is 100% genetics, not anything I did.
Blue Dream and Candy Games #38 have wildly different genetics! Choose a strain that makes weed you want to grow.

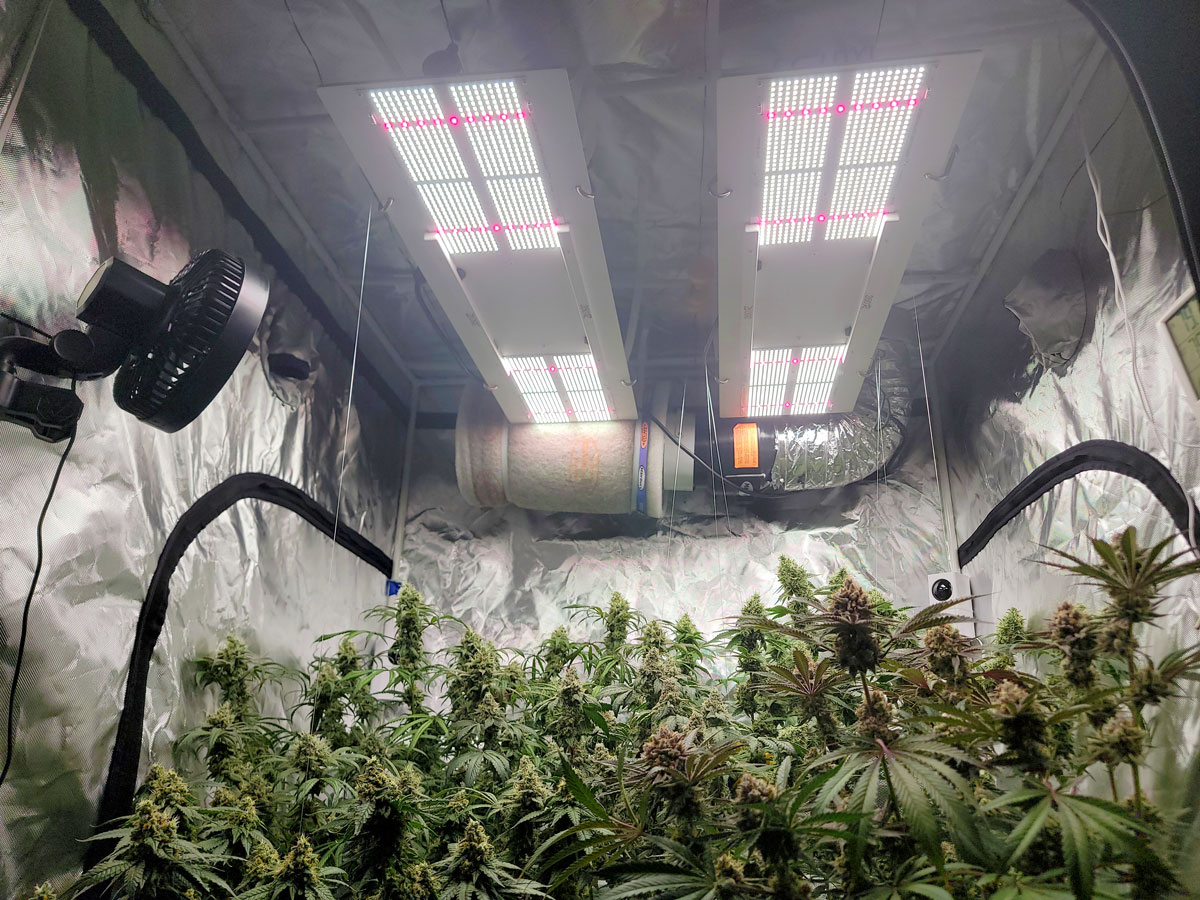
2.) Use a Strong LED Grow Light (Cannabis-Specific)
What to Do: Get a proven cannabis grow light that’s designed for the size of your grow space.
Why: Light = food for plants. More light is better, up to a point. Spectrum (light color) matters too, affecting not only yields, but also density, color, and potency. Older grow lights, most especially “blurple” LEDs, don’t get nearly as good cannabis yields or bud density as newer “quantum board” style LEDs with pinkish or white light.
Modern cannabis LEDs usually produce white or pinkish light.
Quick Win:
- Choose an LED grow light that’s proven to get great results with weed. The best thing you can do is use a grow light that growers are already using to produce great cannabis harvests.
- Good LED companies include… We’ve consistently found these are the most popular grow lights for GrowWeedEasy.com readers: Spider Farmer, Mars Hydro, and HLG. I’ve used multiple models from each of these companies and always had great results with growing weed. Which one to get? Choose the grow light that best fits your grow space and budget requirements. Spider Farmer and Mars Hydro get about equal results. HLG lights tend to be overpowered and cost a lot, and often have to be turned down even in a dialed in setup, but gets some of the best bud density of any LED we’ve tried so far. Even their tiny 65W and 100W LED lights have produced multiple ounces for us.
- Check out our list of 9 recommended cannabis lights with yield estimates, and see pictures of real cannabis plants we’ve grown with them.
A HLG 65W LED is surprisingly productive in a 2x2x3 grow tent. Not bad for an LED that uses less electricity than my bedroom fan.

Or upgrade to a bigger grow light, like a HLG 350 Diablo (or two).
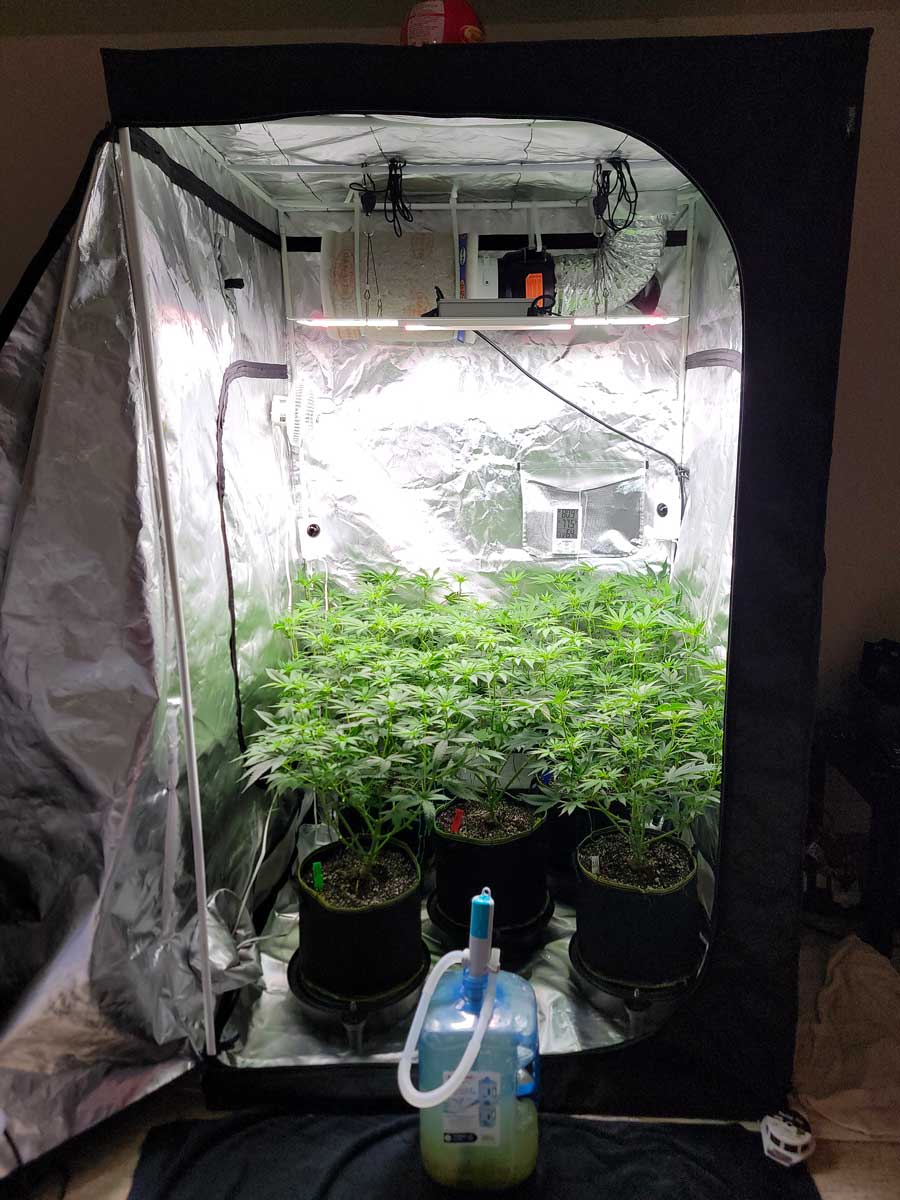
Or go BIG, like Max did here, with multiple lights including a Spider Farmer G5000.

Often it’s easier to combine multiple smaller grow lights than have one enormous grow light. That way you can adjust them independently and have more control over where light falls.
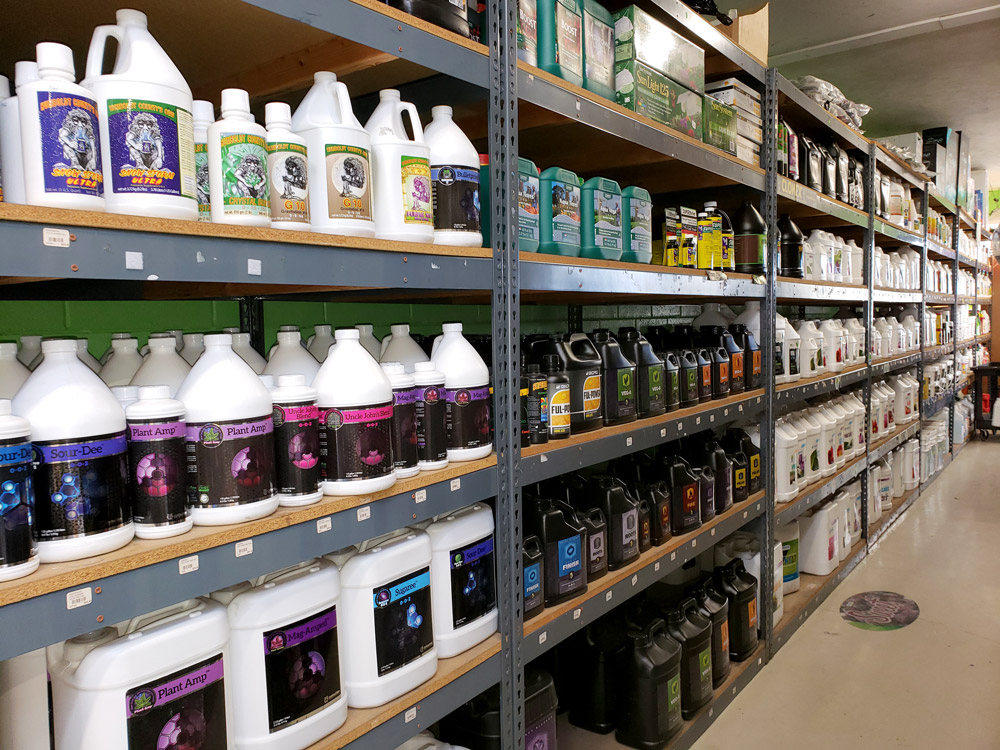
3.) The Right Nutrients at the Right Time
Whether you grow in soil, coco, or hydro, provide proper nutrients. Either use cannabis-specific nutrients and dole out to plants on a schedule. Or start with a cannabis-specific soil that slowly delivers the right nutrients at the right time (called “just-add-water” super soil).
What to Do: Make sure plants get the right amount of nutrients at the right time.
Why: Faster greener growth, but more importantly, proper nutrition in the flowering stage greatly increases bud quality, yields, and potency. On the other hand, a plant that is starved of nutrients while buds are forming makes small, airy, non-potent buds. Most crucially, make sure plants have plenty of nutrients for the first 6+ weeks of the flowering stage, until hairs start darkening and curling in. Plants still need nutrients after that, but for the best harvest, it’s especially important to avoid significant nutrient deficiencies during the early flowering stage and initial bud formation.
Quick Win: Use cannabis nutrients and follow an already-tested schedule
- Easy cheap option – Dyna-Gro Grow + Bloom. Give at 1 tsp/gallon. Give “Grow” for seedlings until first 3 weeks into flowering stage. Then once the flowering stretch is over, give “Bloom” until harvest. These nutrients were initially designed for orchids, but growers have discovered they give surprisingly great results with weed. I was impressed when I tried them in coco.
- Advanced nutrient system – General Hydroponics Flora trio. My personal favorite nutrients, I find the GH trio provides some of the fastest growth and biggest yields. No need to follow a special schedule. Just follow the amounts listed on the side of the bottle at half-strength, and only raise the amounts if plant seem pale. I’ve had good results in soil, coco, and hydro.
- Use super soil instead – Use a “just add water” organic soil that’s made for a plant like cannabis. This kind of soil slowly releases nutrients over the course of the grow, so you don’t need to add any extra nutrients. Nature’s Living Soil is a proven super soil concentrate that makes super soil when used with Coco Loco soil. Just remember, super soil can be stinky at first! But the smell settles after the plants make themselves at home in the soil.
General Hydroponics Flora trio are my personal favorite nutrients for growing weed.

Follow the directions on the bottle at half-strength to grow green, happy, and abundant cannabis plants.

4.) Water Plants So They Grow Faster
Water plants regularly with the right amount at a time. It’s important roots don’t dry out, or stay overly wet for too long. Luckily, if you’re following all the other steps here, you can make some watering mistakes and plants still turn out great. Cannabis plants are remarkably able to recover from watering issues as long as you course-correct.
What to Do: Water plants properly. The easiest method is to follow a cannabis-specific watering schedule like the one below. Or follow proven general principles.
Why: Plants grow faster and get fewer deficiencies, especially seedlings, when given the right amount of water. Good watering practices helps plants start growing fast out the gate.
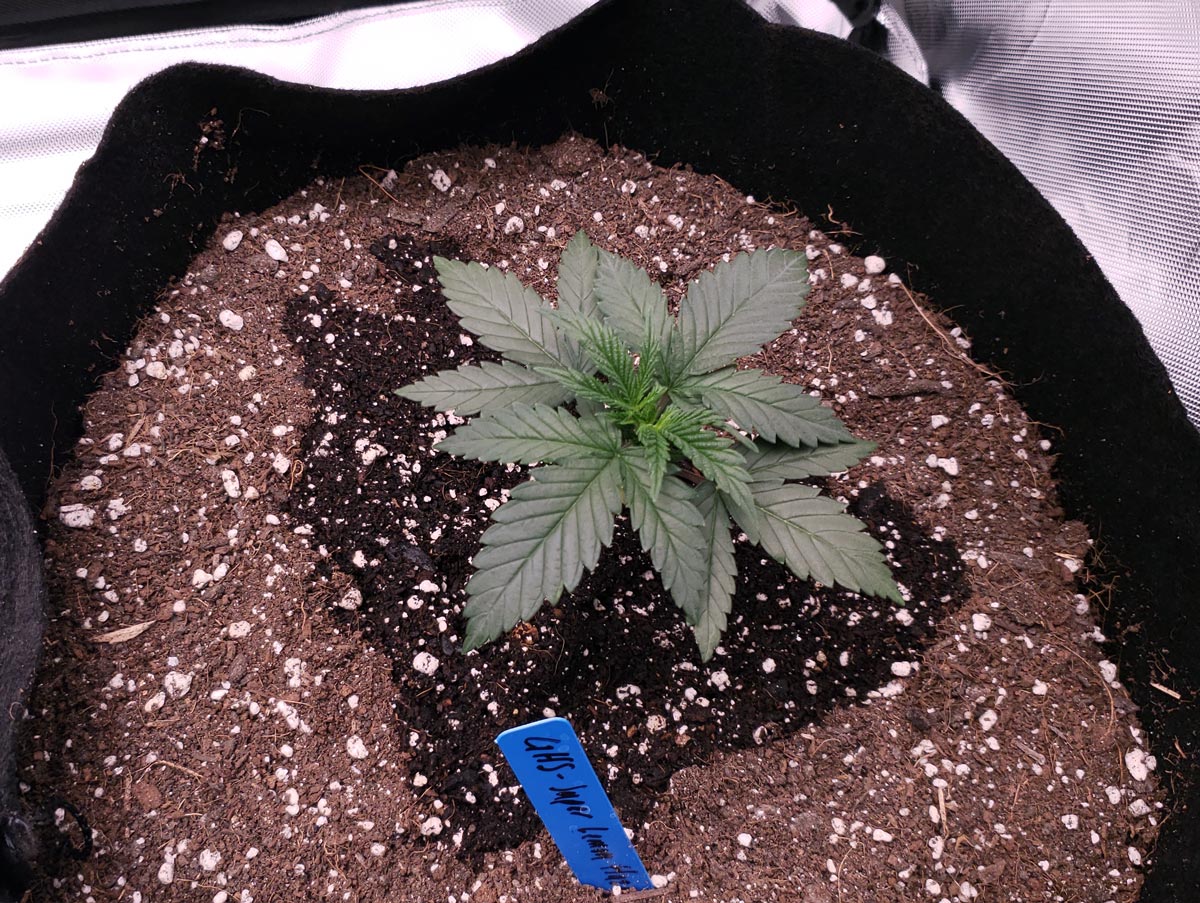
Seedlings grow super fast if you give the right amount of water!

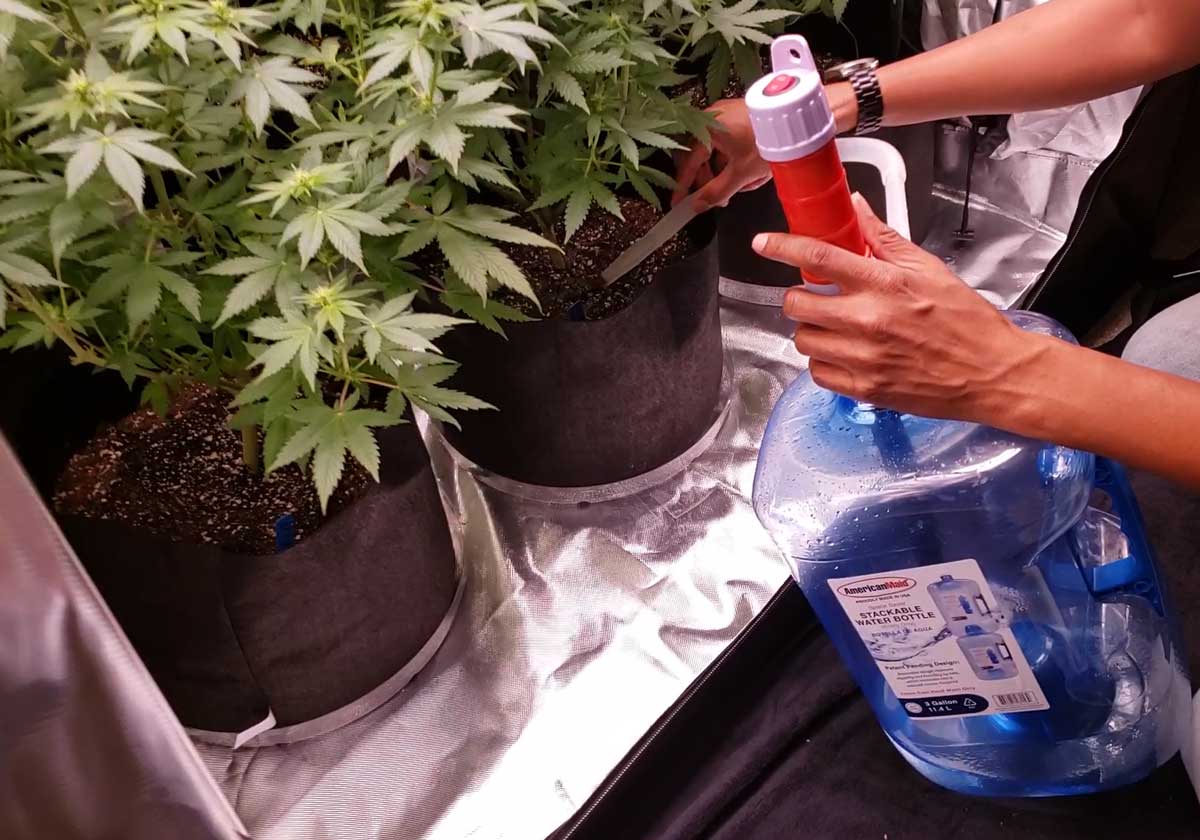
I use a battery operated water transfer pump to easily water plants.
Quick Win: Basically, give seedlings just a little water at a time, at first, in a small circle around the base, every few days. If you don’t want guesswork, follow the following seedling watering schedule that I use. It’s suitable as long as you’re in a 3 or 5-gallon pot (and works pretty well in most sizes). Never wonder again if you’re over or under-watering your seedlings!
Day 1 – Give 2 cups (500ml) water per plant (at this point, your cannabis seedlings should have their leaves completely open and be in a 3-gallon or 5-gallon pot under the grow light)
Day 3 – Give 2 cups (500ml) water per plant
Day 6 – Give 2 cups (500ml) water per plant
Day 8 – Give 3 cups (750ml) water per plant (every 3 days after this)
Day 11 – Give 3 cups (750ml) water per plant
Day 14 – Give 4 cups (1 liter) water per plant
Day 17 – Give 4 cups (1 liter) water per plant
Day 20 – Give 5 cups (1.25 liter) water per plant
Day 23 – Give 6 cups (1.5 liter) water per plant
Day 26 – Give 6 cups (1.5 liter) water per plant
Day 29 – Give 8 cups or 1/2 gallon (2 liter) water per plant
At first, cannabis seedlings only need a little water in a circle around their base.
After the first 30 days, start watering like this…
(1+ Months) Cannabis Watering Schedule
- Wait until top inch of soil is dry (for coco, wait until top is mostly dry)
- Water until you get 10-20% runoff out the bottom
- Remove runoff (test the pH if needed) and start over
P.S. Learn about auto-watering pot bases so you can water plants less often. I’m loving them lately.
5.) Harvest at the Right Time
Wait to harvest until buds have reached peak potency, size, and bud quality. Harvest earlier (speedier more “up” weed) or later (stronger relaxation effect) to achieve your desired effects. Dry and cure using a proven home method.
What to Do: Harvest buds based on their maturity level. After harvest, dry buds to make them smokable (buds are mostly water on the plant), and then jar them so they “cure”.
Why: Choosing the right harvest time maximizes yields, potency, and effects. Drying and especially curing increases density, appearance, potency, and effects, while enhancing the natural bud smell.
Quick Win:
- Follow our free harvest & curing guide on GrowWeedEasy.com
- Check out our new digital book HARVEST. It’s perfect if you want a step-by-step harvest guide that’s available anywhere without the internet Growers who sign up for our Home Grow Masterclass next week get a free copy of HARVEST. And those who have already purchased HARVEST get a steep discount on the class! Make sure you’re signed up for our newsletter and watch your email for more info coming soon.
Wait until buds have reached maturing before harvesting for best effects…
Harvest time may be my favorite part of growing!

Get Free Home Grow Help
Join the GrowWeedEasy.com newsletter for beginner-friendly cannabis tutorials written by home growers. Learn how to improve your next harvest.
Grow tips by email. Unsubscribe anytime. Email privacy.