by Nebula Haze
This tutorial is Part 1 of our “how to grow weed for beginners” series:
Part 1: Get Your Cannabis Garden Setup > Part 2: Your 10-Minute Seed-to-Harvest Grow Guide
Are you looking for a personalized “grow weed at home” kit? This 10-minute tutorial teaches you how to get the right supplies and start growing cannabis indoors. If you’re a first-time grower, it can be confusing to know exactly what’s needed to ensure you get good yields and bud quality. This article walks you through the process of getting the right equipment and setting up your cannabis garden with quick, easy-to-understand steps. Discover your ideal grow style, get your weed growing supplies, and make your dream garden a reality!
Note: Grow an auto-flowering strain and you could be holding your own home-grown weed in less than 90 days ?
Table of Contents
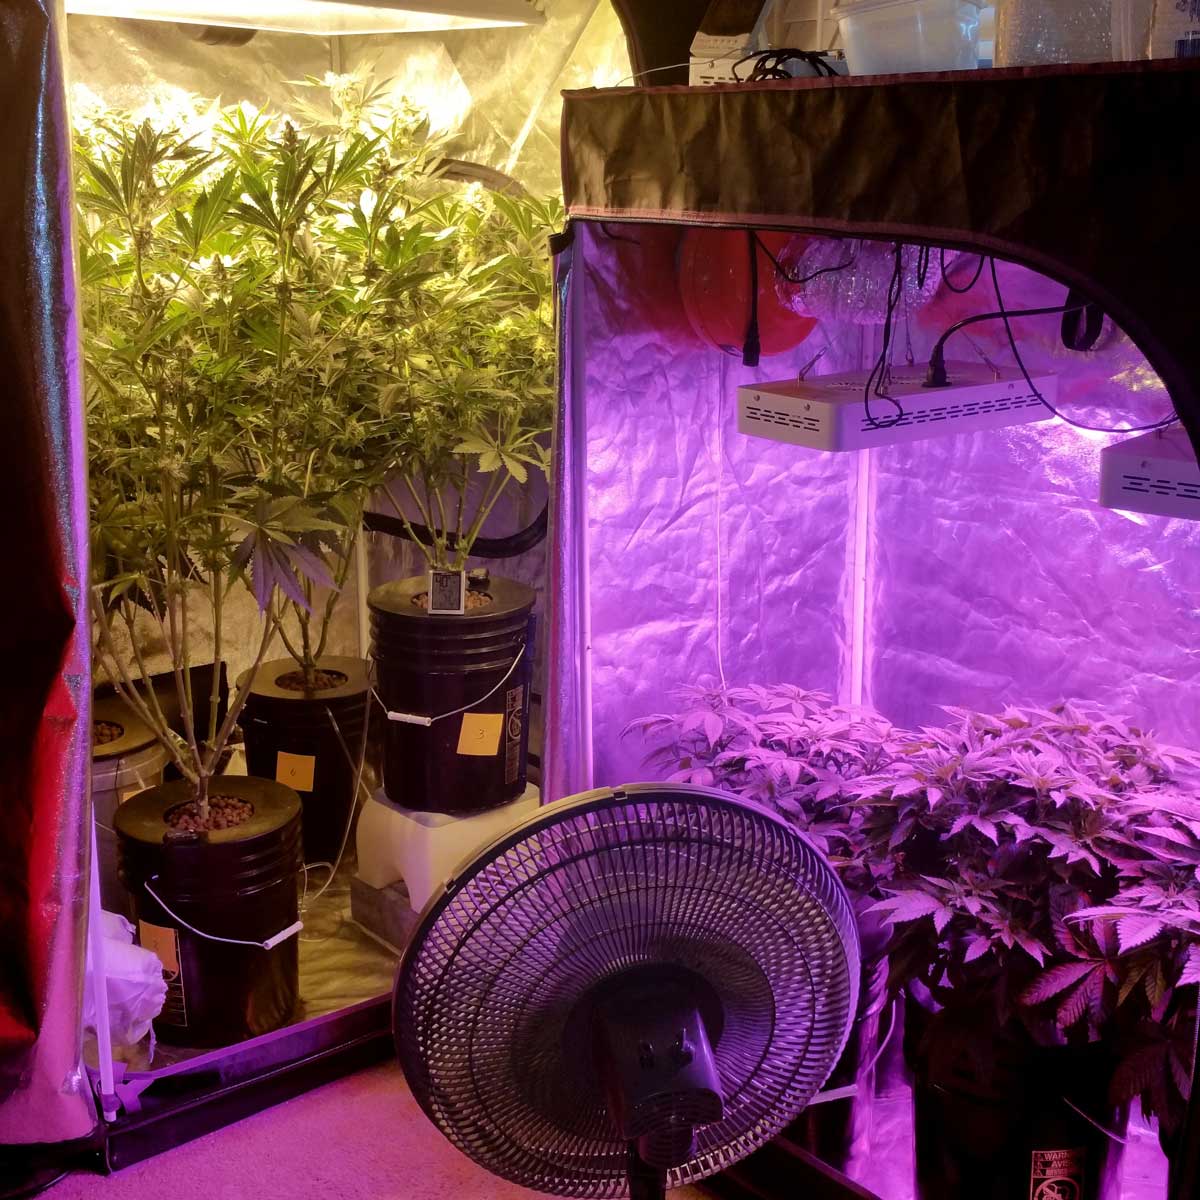
Step 1: Choose Your Place to Grow
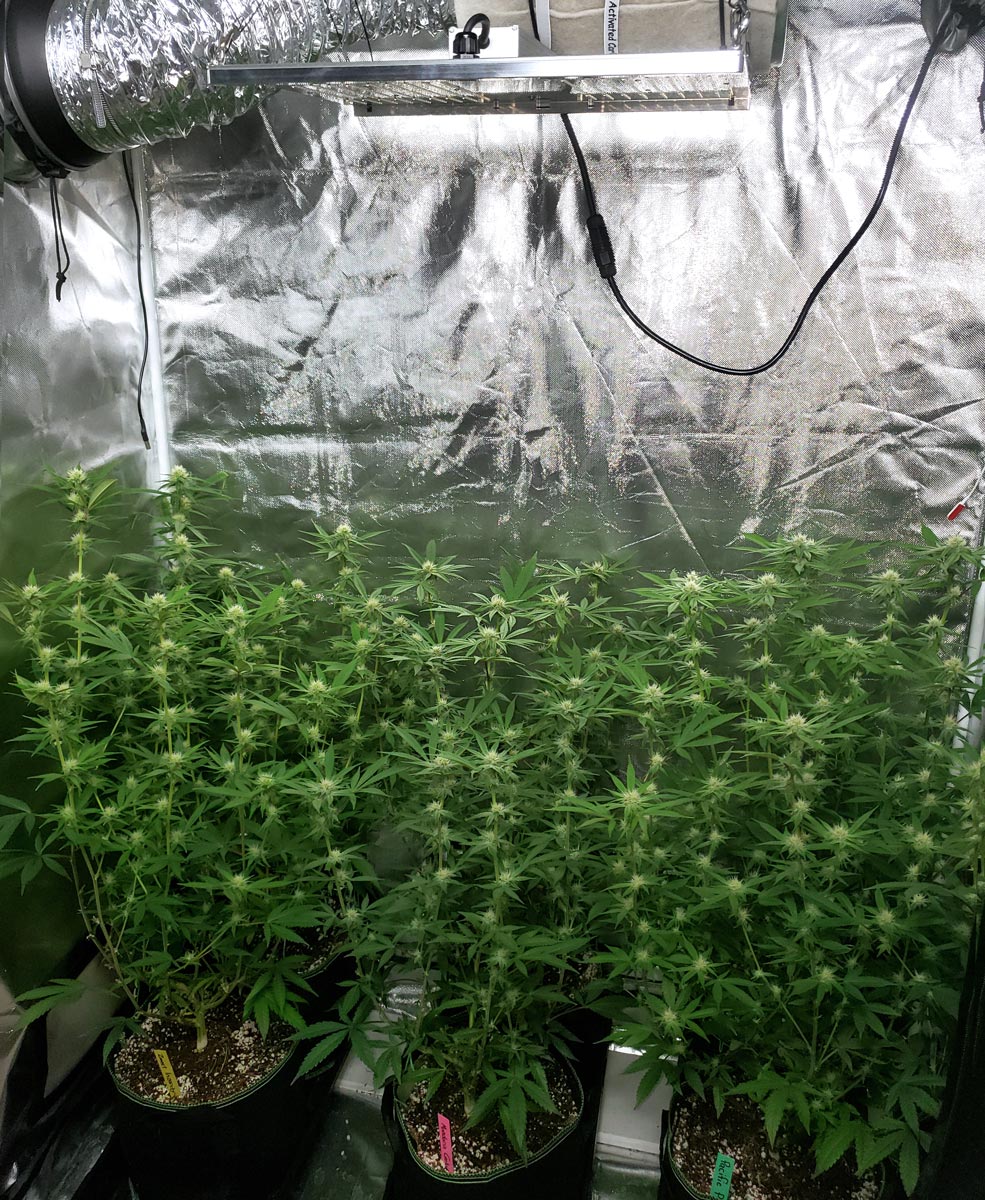
Step 2: Choose Your Grow Light
Step 3: Choose Your Growing Medium
Step 4: Get Cannabis-Friendly Nutrients
Step 5: Choose Your Strain(s) and Get Seeds
Step 6: Start Growing!
Step 1: Choose Your Place to Grow
Where to grow in the house?
- Closet – You can easily grow 1-2 weed plants in a closet with a small grow light, but bigger grow lights can be difficult to keep cool with the door closed.
- Edge of Bedroom – Use a grow tent to contain light and smells so you can still sleep
- Spare Room – Ideal if you have one
- Spare Bathroom – Another great option because of easy access to water and a drain
- Garage, Attic, Cellar or Basement – Private but may be difficult to control the temperature
Many growers (myself included) start growing weed in a spare closet. However, if possible I recommend investing in a cheap grow tent (usually under $100) because it’s like a portable closet that’s waterproof with reflective walls. Plus, a grow tent + carbon filter = no smells.
Extra Resources:
- Where to grow in the house? https://www.growweedeasy.com/where-in-house
- Learn about grow tents: https://www.growweedeasy.com/cannabis-grow-tent
- How to smell-proof your garden: https://www.growweedeasy.com/smell
- Comfortable for you, comfortable for your plants. How to create a great plant environment: https://www.growweedeasy.com/perfect-growing-environment
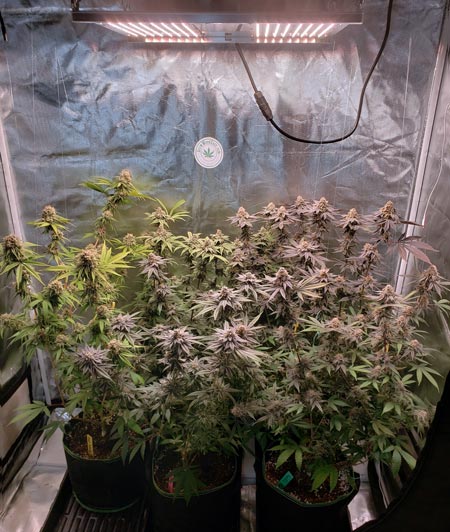
Step 2: Choose Your Grow Light
A grow light has a huge impact on your bud quality, density, and yields. These are the most popular cannabis grow lights:
- (Recommended for most growers) LED grow lights – Older LEDs get poor results, but modern LEDs designed for cannabis produce outstanding growth, bud quality, and yields. LED fixtures come in a variety of sizes and form factors. Small LED fixtures don’t produce much heat but the bigger models (above 300W true electricity draw) can get pretty hot. Average yields for good models are 1+ gram per watt.
- (For cold grow space) MH/HPS grow light combo – This combo consistently produces fast plant growth, dense buds, and excellent yields. Start plants under Metal Halide (MH), then switch to an HPS bulb when buds start forming. Most fixtures that can do one can do both, so you just switch the bulb. MH/HPS fixtures tend to cost less than other grow lights. A 150W or 250W HPS doesn’t produce a lot of heat overall compared to other grow lights (though bulbs get hot). The bigger models (400W and above) produce a lot of heat and hot air must be vented. The 600W HPS is the most efficient HPS grow light and can easily yield over a pound. Average yields are 0.5-1 gram per watt.
- (For making concentrates) LEC (CMH) grow lights – LEC and CMH describe the same type of light (LEC is a brand name). The technology is basically halfway between an MH and HPS grow light. Bulb spectrum makes a big difference with LECs. When a 4000k or 4200k color bulb is used while buds form, plants produce a remarkable amount of trichomes and great yields. The insane trichome production makes these a good choice for growers that are harvesting buds specifically for concentrates, hash, or oil. Buds grown under a 3000k or 3100k color bulb produce significantly bigger yields and fatter buds but these buds have less sparkle. Average yields are 0.5-1 gram per watt.
- (Avoid because LEDs are better!) Fluorescent grow lights (T5s and CFLs) – Generally, a modern LED of similar wattage will give you much better yields, bud quality, and potency than using fluorescent lights. Fluorescent lights used to be a lot more popular before LED technology got as good as it is today. Fluorescent grow lights can be used for short spaces because they can be kept just inches from your plants. Buds tend to be airy without careful plant pruning. Fluorescent lights produce more heat per watt than other grow lights, so a bunch of CFLs or high-wattage T5s can get surprisingly hot. Average yields are 0.25-0.5 grams per watt.
Many newer LED grow lights are designed specifically for growing cannabis
Note: Estimated yields are based on true power draw. For CFLs, ignore the “equivalent” wattage numbers (true watts are also listed on the label). You need to pay extra attention to LEDs because the details can be confusing and aren’t standardized between different companies. An LED may be labeled as “600” or even “1000” but the actual power draw is only 200W or even less. In that case, you would base the yield estimates on 200W (the actual power draw) for a total estimated yield of about 200 grams.
View detailed setup examples with yield estimates: https://www.growweedeasy.com/setup
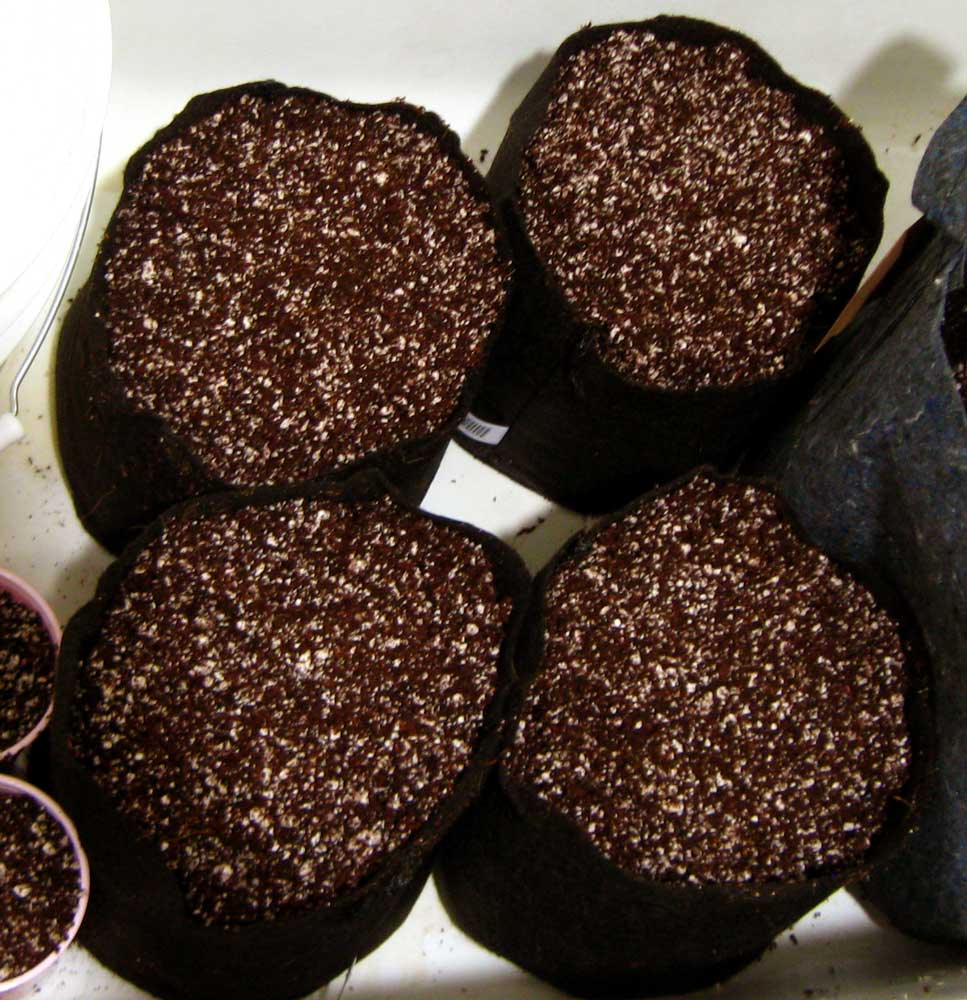
Step 3: Choose Your Growing Medium
There is no best way to grow pot! Each option has its own pros and cons.
- Super Soil – Composted and amended soil that’s “alive” with helpful organisms, just like in nature. Produces complex bud smell and flavor. When set up properly, you just add water from seed to harvest (no added nutrients) so it may be the easiest grow style. However, you need a clean source of water, plants tend to grow a bit slower than other mediums, and watch out for bugs.
- Regular Potting Soil – Most common grow medium. Any organic potting soil should work but look for soil with a light, fluffy texture that drains well. Cannabis plants are heavy feeders and can quickly use up all the nutrients in regular soil. That’s why many growers start giving nutrients after a few weeks unless regularly transplanting to fresh soil. Can also attract bugs.
- Coco Coir – Coco is made of ground coconut husks but looks a lot like soil. It tends to be the most forgiving grow medium so it can be a great choice for beginners. However, coco is inert so you must give nutrients (usually in the water) from seed to harvest. Plants grow a little bit faster than in soil. Unlikely to get bugs.
- Hydroponics – Setting up a hydroponic reservoir takes more work than soil or coco, but hydro-grown plants grow extremely fast. Unlikely to get bugs but you must set your reservoir up properly to prevent root rot (which can kill plants if ignored).
If you’re not sure, I highly recommend coco coir. Fast growth, no bugs, and coco is forgiving if you make mistakes.
More resources:
- Super soil: https://www.growweedeasy.com/super-soil
- Regular soil: https://www.growweedeasy.com/soil
- Coco Coir: https://www.growweedeasy.com/coco
- Hydroponics: https://www.growweedeasy.com/hydro
Step 4: Get Nutrients
Nutrient needs depend on the grow medium:
- Super soil – No need to worry about adding nutrients
- Regular soil – Achieve the best growth and yields by adding nutrients after a few weeks. Use nutrients made for soil.
- Coco – Must provide nutrients from seed to harvest. Use nutrients made for coco or hydroponics.
- Hydroponics – Must provide nutrients from seed to harvest. Use nutrients made for hydroponics.
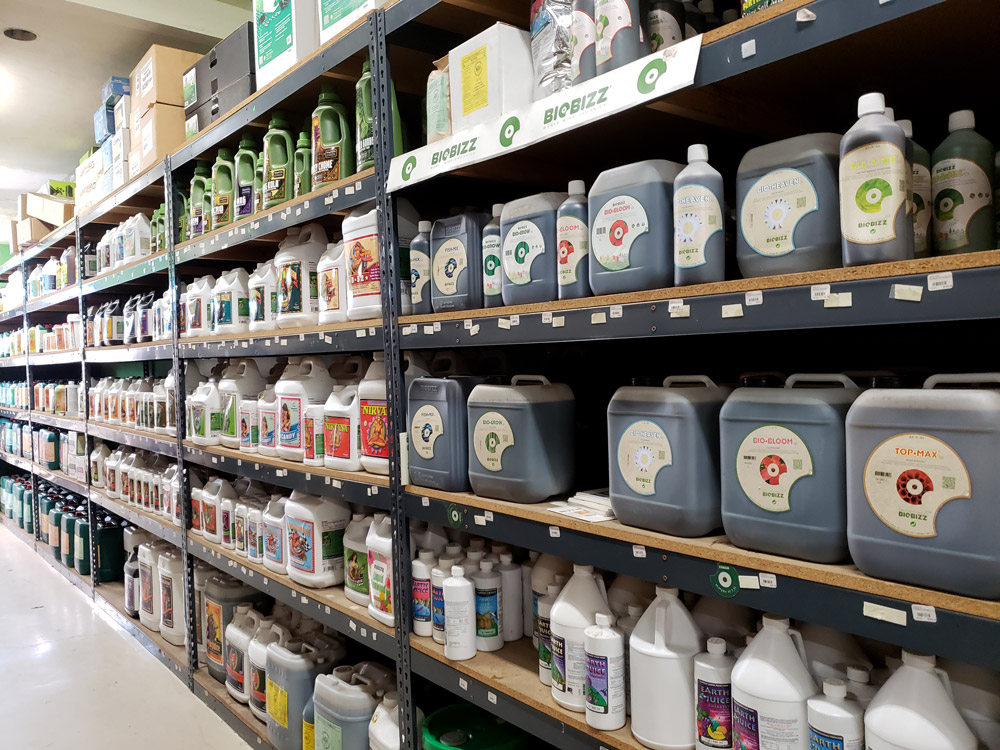
What Nutrients to Get for Each Stage of Life
- Vegetative Stage – In this stage, use “all-purpose” or vegetative nutrients. These nutrients are high in Nitrogen (N), which helps plants grow fast and healthy. Almost any general plant food will work.
- Flowering Stage – Plants need a low-Nitrogen (“Bloom”) formula that is high in Phosphorous (P) and Potassium (K) once plants start making buds.
Learn more about nutrients: https://www.growweedeasy.com/nutrients
Step 5: Get Your Cannabis Seeds
If you don’t have access to live plants or seeds, the best way to get started growing is to order seeds online. Seeds are delivered anywhere in the world, including Canada, Australia, the UK and every state of the USA.
Where to get seeds:
- Seedsman (recommended): https://www.growweedeasy.com/seedsman
- Additional recommended seed banks: https://www.growweedeasy.com/seeds
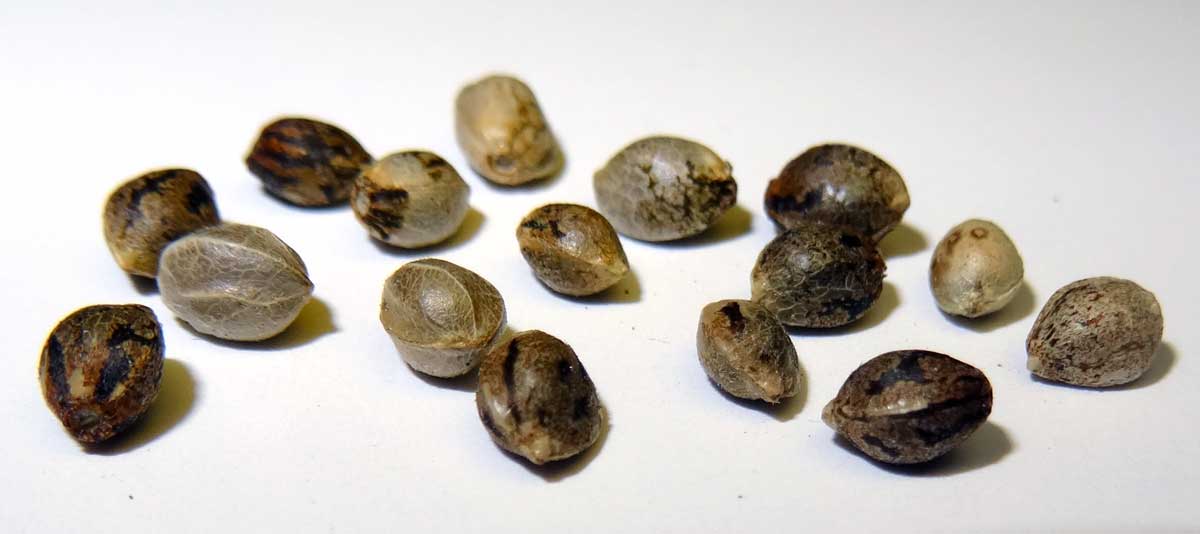
Cannabis seeds are often dark with tiger stripes. However, if that outer coating gets rubbed off, they’re tan underneath. Seed color doesn’t determine quality.
Additional resources:
- Learn how to choose the best strain for your needs: https://www.growweedeasy.com/find-strain
- Grow an auto-flowering strain to harvest as fast as possible (only 2-3 months): https://www.growweedeasy.com/autoflowering
Step 6: Start Growing!
Now that you’re completely set up to grow weed, it’s time to start growing! Don’t worry, I’ll walk you through the process from seed to harvest in Part 2 of this beginner grow series.
Check out our 10-Minute Crash Course in Growing! https://www.growweedeasy.com/10-minute-guide-to-growing-cannabis
Are you ready to start growing? Today is the day!