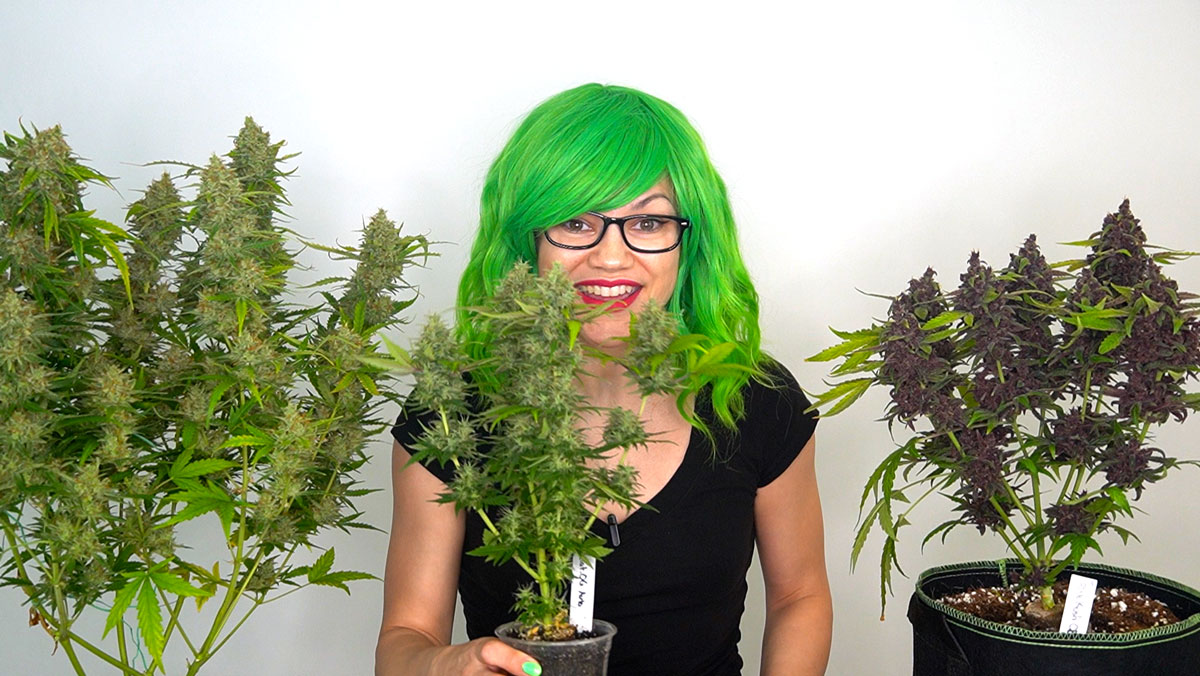
by Nebula Haze
It’s weed time! If you’re growing cannabis plants, then the flowering stage is when your weed comes in. But what do you need to know to make sure your flowering stage ends in a magnificent harvest? Find out today!
Buds are the dried flowers of a female cannabis plant.
An annual plant like cannabis normally grows from seed to maturity and dies over the course of one year. Like many flowering plants, there are 2 main phases of life for marijuana plants: the Vegetative Stage and the Flowering Stage.
Vegetative Stage
First, a cannabis plant goes through a phase of vegetative growth, producing lots of stems and leaves. In this stage, the plant only gets bigger and does not make any flowers or buds. We recently covered the cannabis vegetative stage in depth.
In the Vegetative Stage, cannabis plants only grow stems and leaves. No buds.
Flowering Stage
Next, when a cannabis plant “senses” that the year is coming to a close, the plant completely switches gears from growing bigger/taller and begins a flowering phase of growth. During this flowering stage, the main goal of the plant is to produce flowers, which are the organs needed for sexual reproduction.
The Flowering Stage is when your cannabis plants grow buds (aka “weed” “marijuana” or “sinsemilla”).
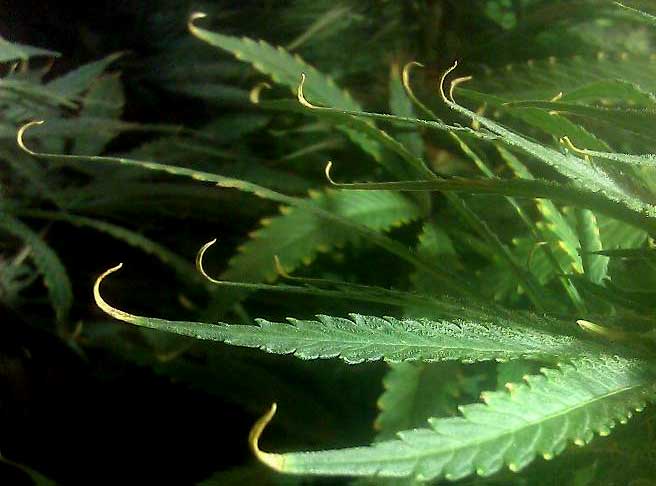
At first the flowers looks like white hairs.
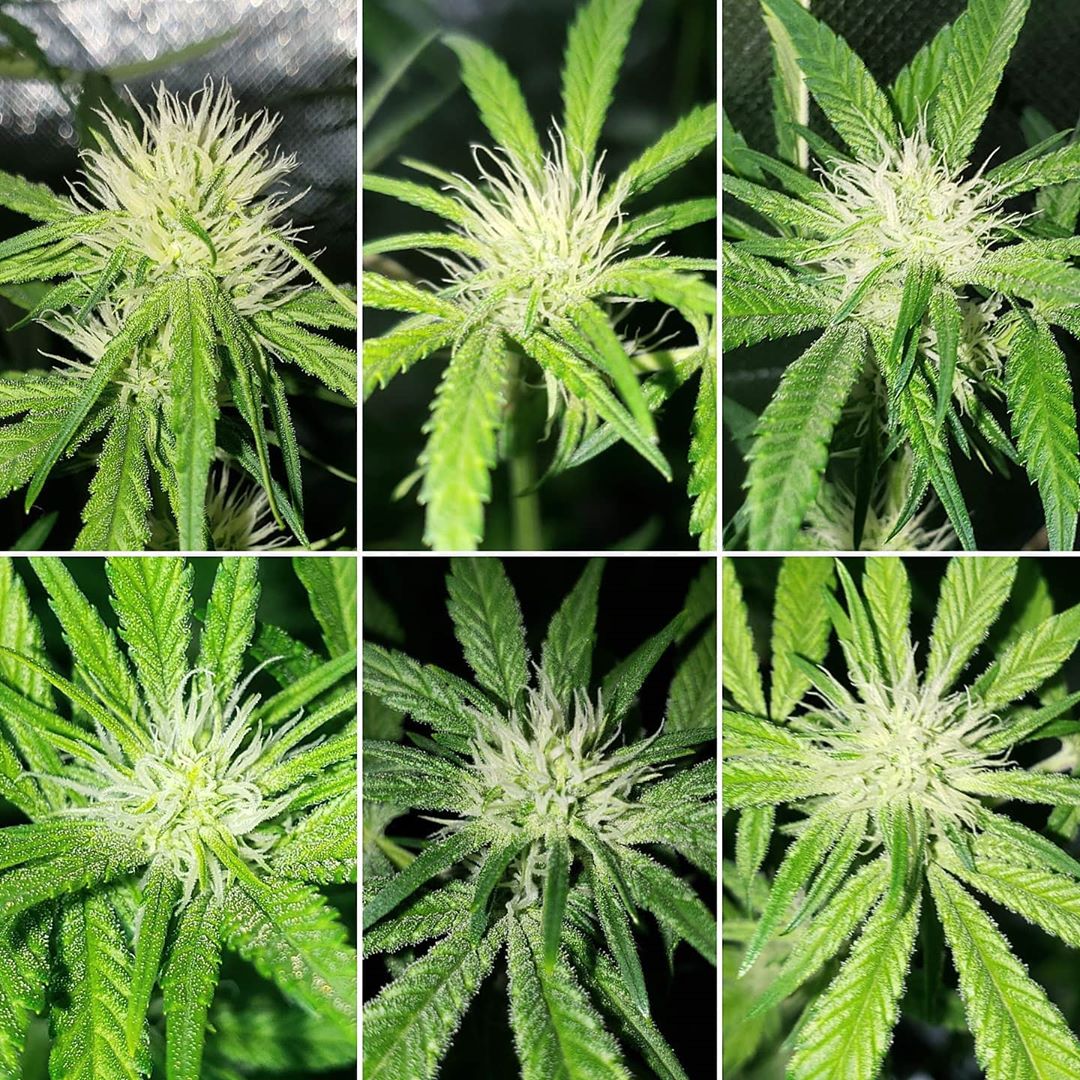
But they soon develop into familiar buds.
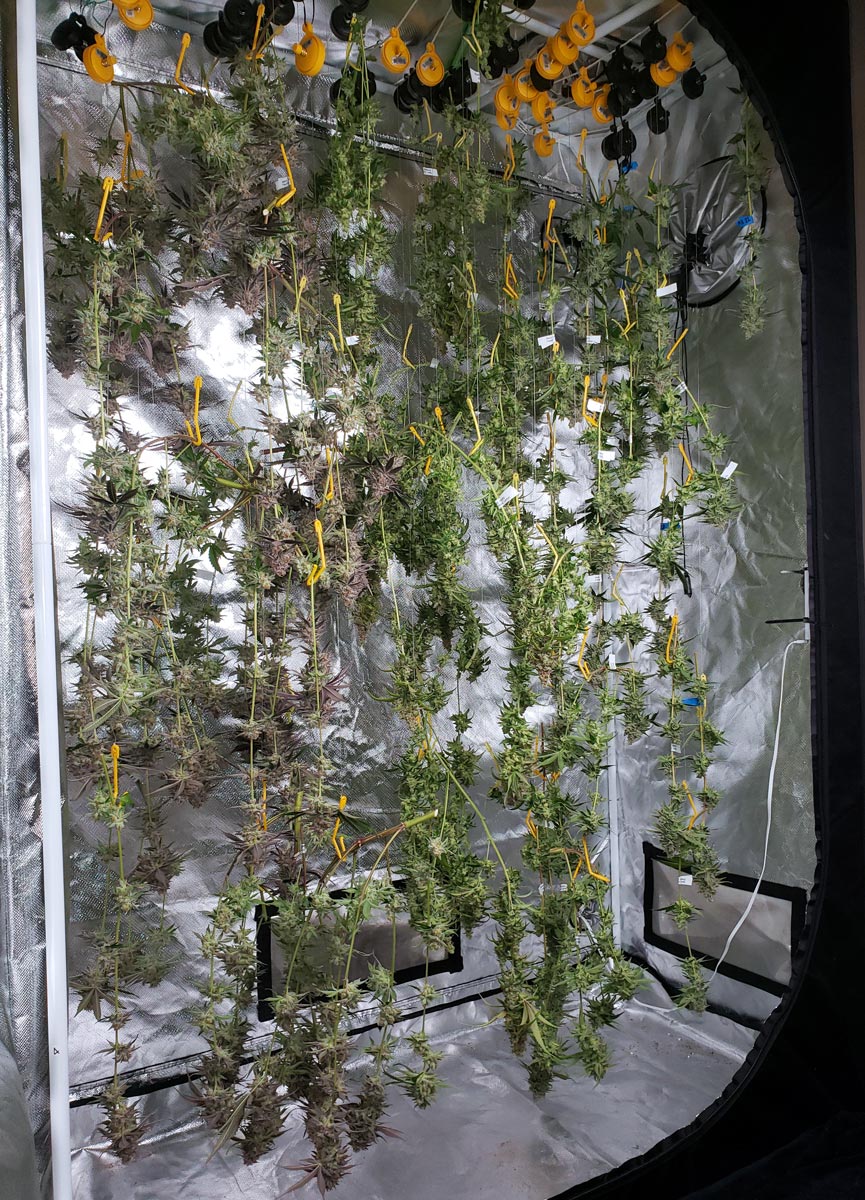
When buds reach peak potency, the branches are cut and hung upside down to dry.
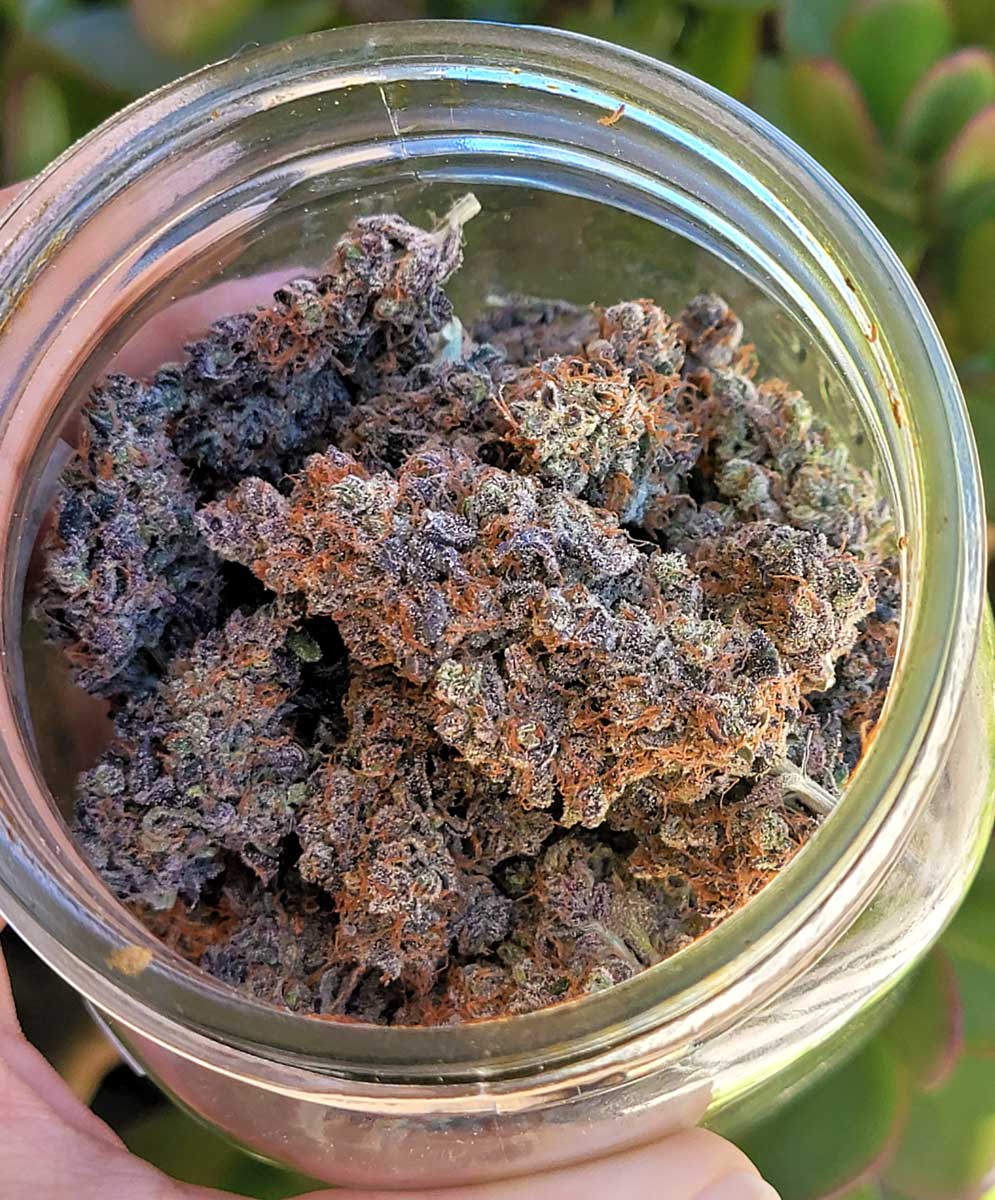
Dried buds are jarred, and soon are ready to be smoked!
Nothing is more satisfying than smoking your own homegrown weed, like this Platinum Cookies.
Now that you understand the basics, let’s cover everything you need to know about the Flowering Stage of cannabis growth, including:
5 Keys to Flowering Stage Success
- Temperature – Not too hot or cold
- Light Spectrum – Mimic the Autumn sun
- Light Intensity – More light = more buds (to a point)
- Nutrients – Give bud-boosting nutrients
- Seeds – Start with great seeds to grow great weed
What to Expect During the Flowering Stage
With most cannabis plants, the “signal” that tells them when to start flowering is how much light and darkness they get each day, also known as their photoperiods. (The exception is auto-flowering strains)
Let me explain.
For most strains of cannabis, once the plant starts experiencing longer nights (when they’re getting 12+ hours of darkness each day), they enter into the flowering stage within a few weeks.
This is because the plant uses a special chemical process to sense how long the nights are. When night periods get long enough, the plant “senses” winter is coming and starts preparing to make seeds by beginning to flower.
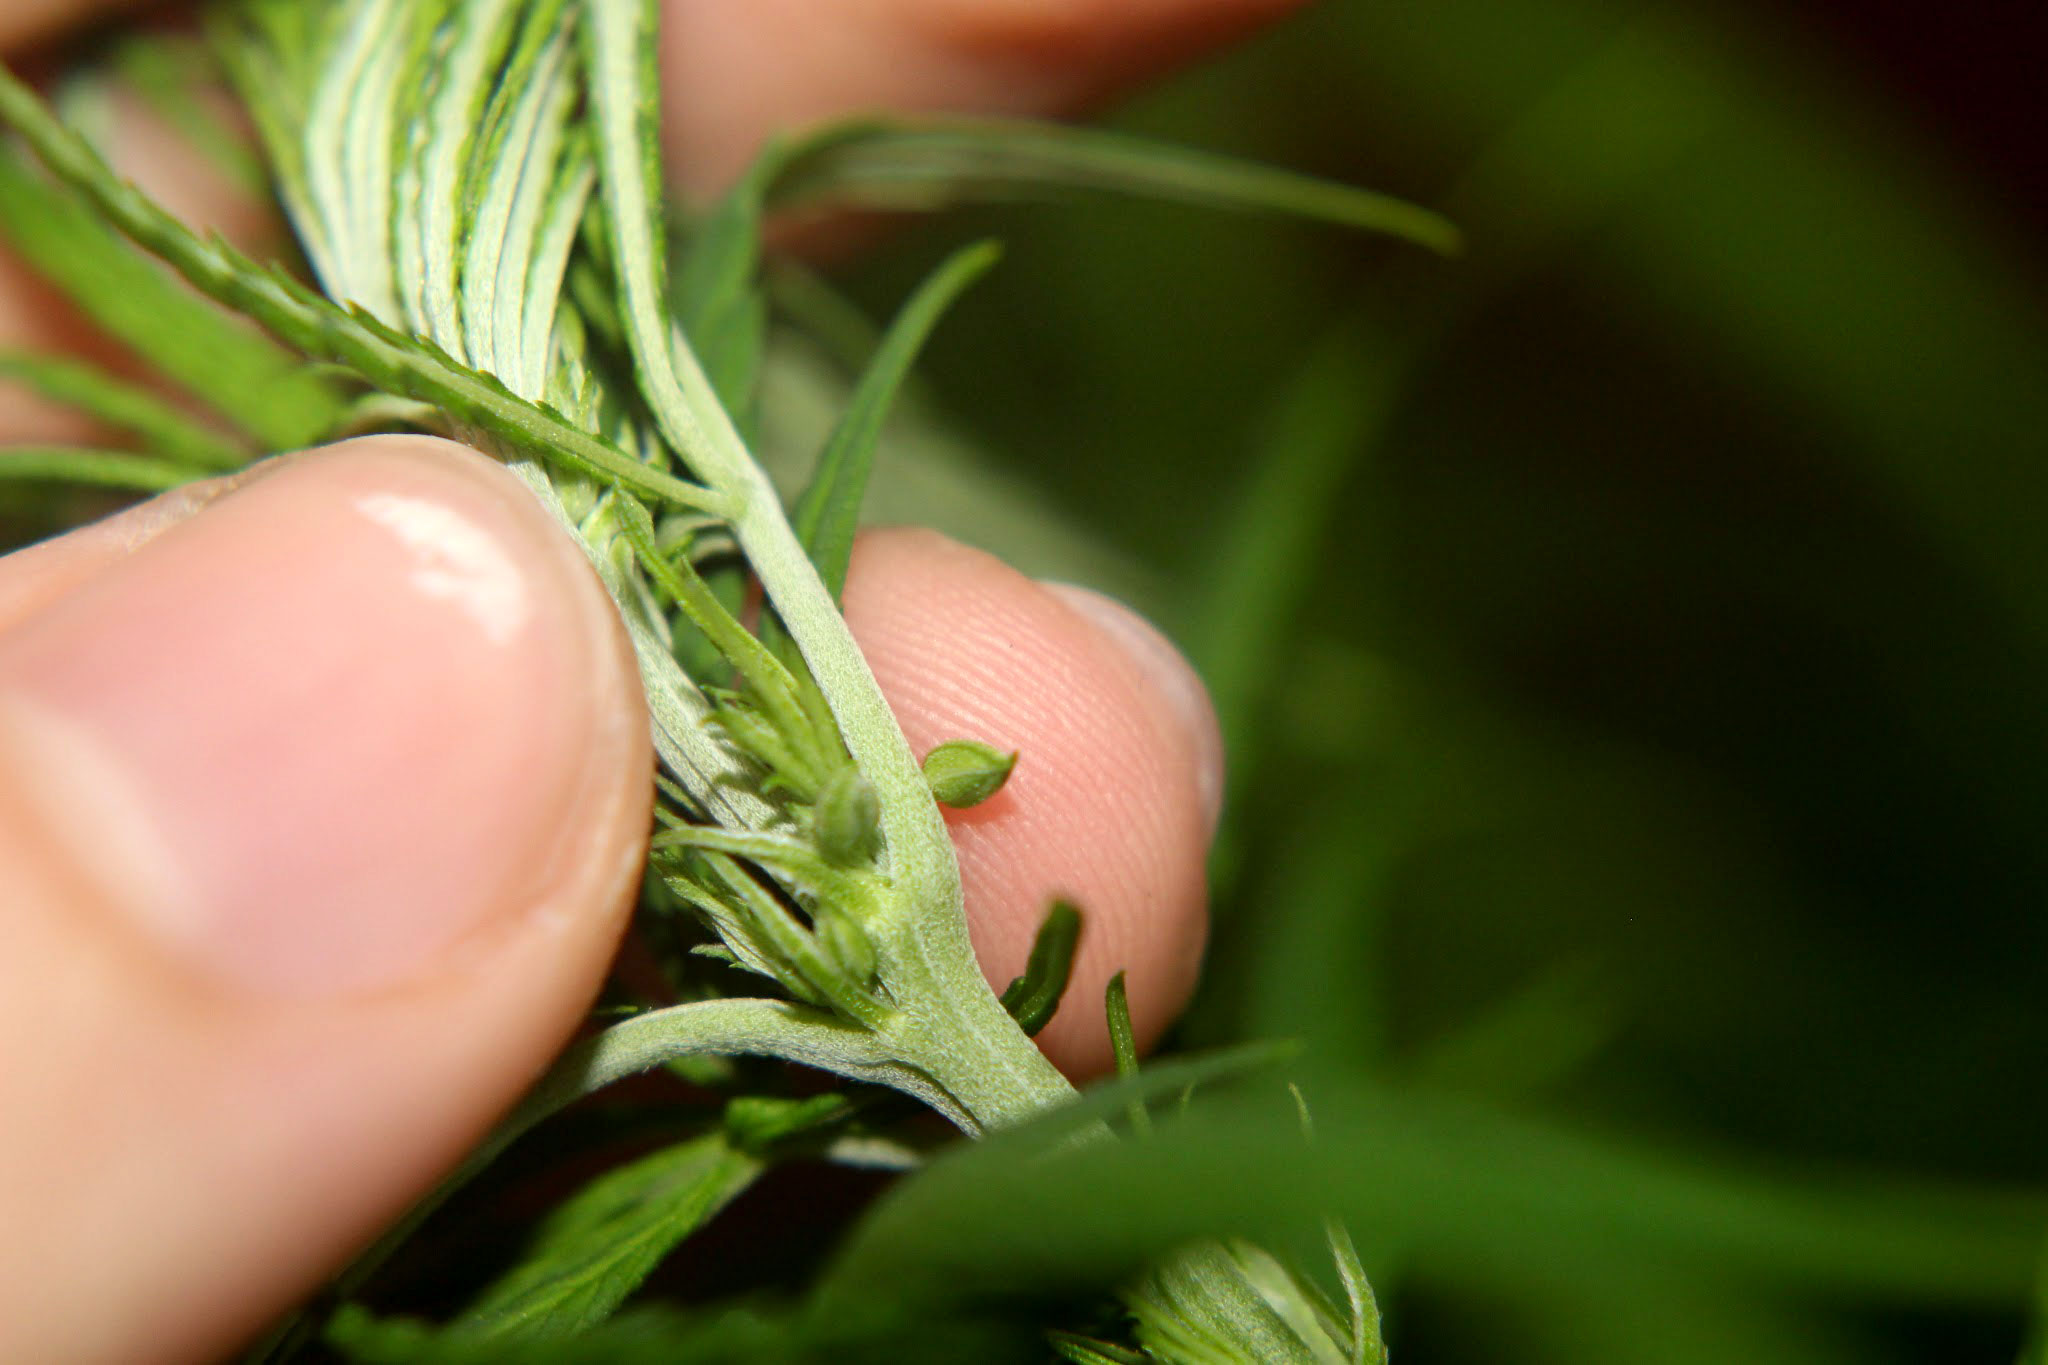
Though all cannabis plants look the same when they’re very young, they reveal their sex in the flowering stage.
Yes, sex.
Most cannabis plants are either male or female, which is part of their genetic programming.
Home growers are often only concerned with female cannabis plants, because only female plants produce the beautifully sticky flowers (or “buds”) that we love so much. On the other hand, male cannabis plants grow pollen sacs instead of buds.
Male and female cannabis plants look the same until they start making flowers.
Note: Pre-flowers can also reveal a cannabis plant’s sex about 3-8 weeks from germination, depending on the strain.
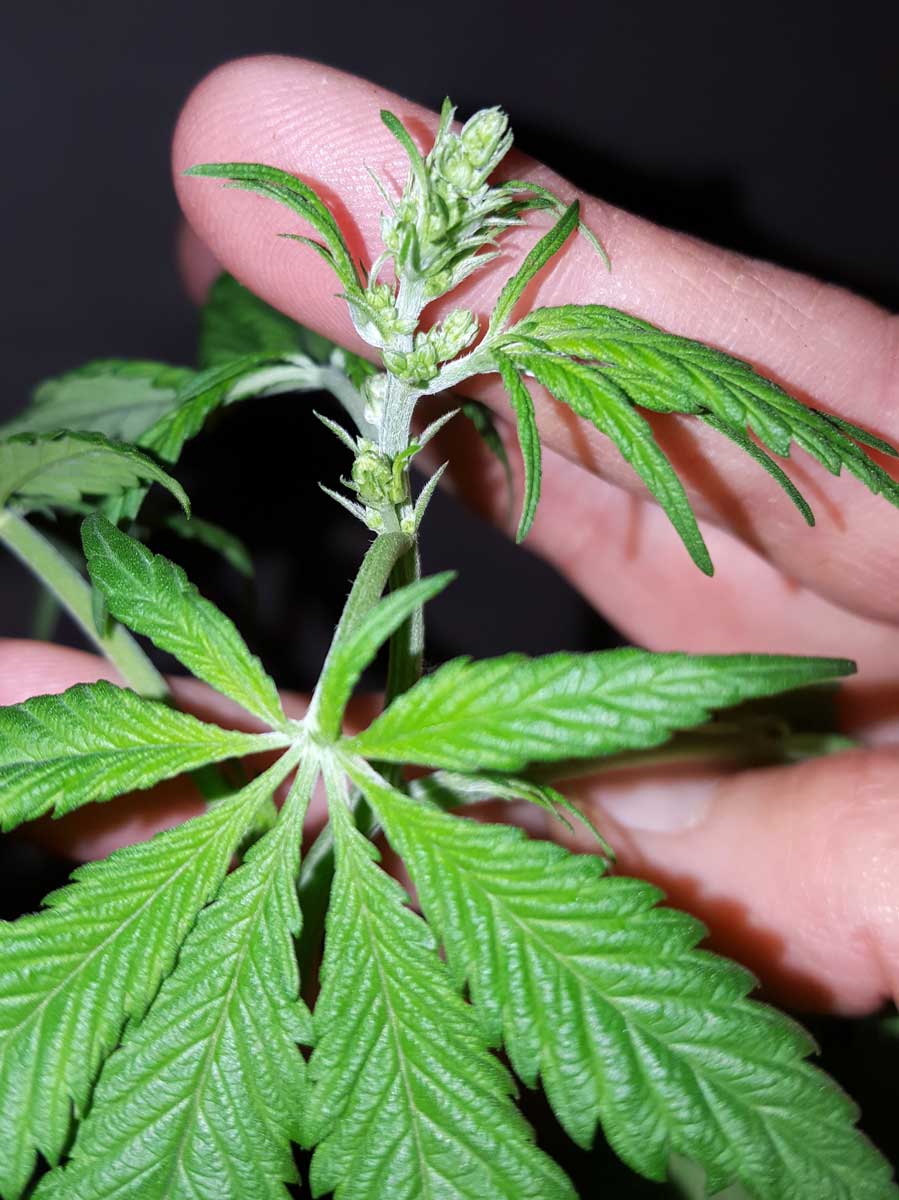
When flowering begins, female plants start growing wispy white hairs at the base of each fan leaf. These hairs are actually the pistils of their flowers. The spots where these white hairs appear develop into buds, and are sometimes called “bud sites”.
Wispy white hairs = female plant

Male plants start growing “balls” that form into pollen sacs, in the same places a female plant grows wispy hairs. Most growers kill male cannabis plants on sight, to prevent them from pollinating the female plants (pollinated female plants focus on making seeds instead of buds, giving you seedy buds and dramatically reducing your yields).
Bunches of “grapes” = male plant
Important: Only Female Plants Make Buds!
In the flowering stage, only female cannabis plants make buds. In the flowering stage, watch closely to make sure all your plants are female.
Buds look like bunches of white hairs at first.

Watch Out for Male Cannabis Plants!
When a male cannabis plant starts flowering, it makes pollen sacs instead of buds. Pollen sacs look like little balls at first, and often have zero psychoactive effects.
Remove male plants quickly! If you see a male plant, it’s recommended to immediately remove it from the grow area. Otherwise the pollen can cause your buds to get seedy.
Male cannabis plants only make pollen sacs in the flowering stage.
After a few weeks, pollen sacs open and spill pollen everywhere, causing nearby buds to grow seeds.
Male cannabis plants are pretty…

…but you don’t want any pollen near your buds!
Use “Feminized” Seeds for All-Female Plants
Luckily, home growers can start with feminized seeds. All your cannabis plants are female with this type of seed, so you can be sure every plant grows buds, and only buds.
Start with feminized cannabis seeds to ensure every cannabis plant is female and grows buds.
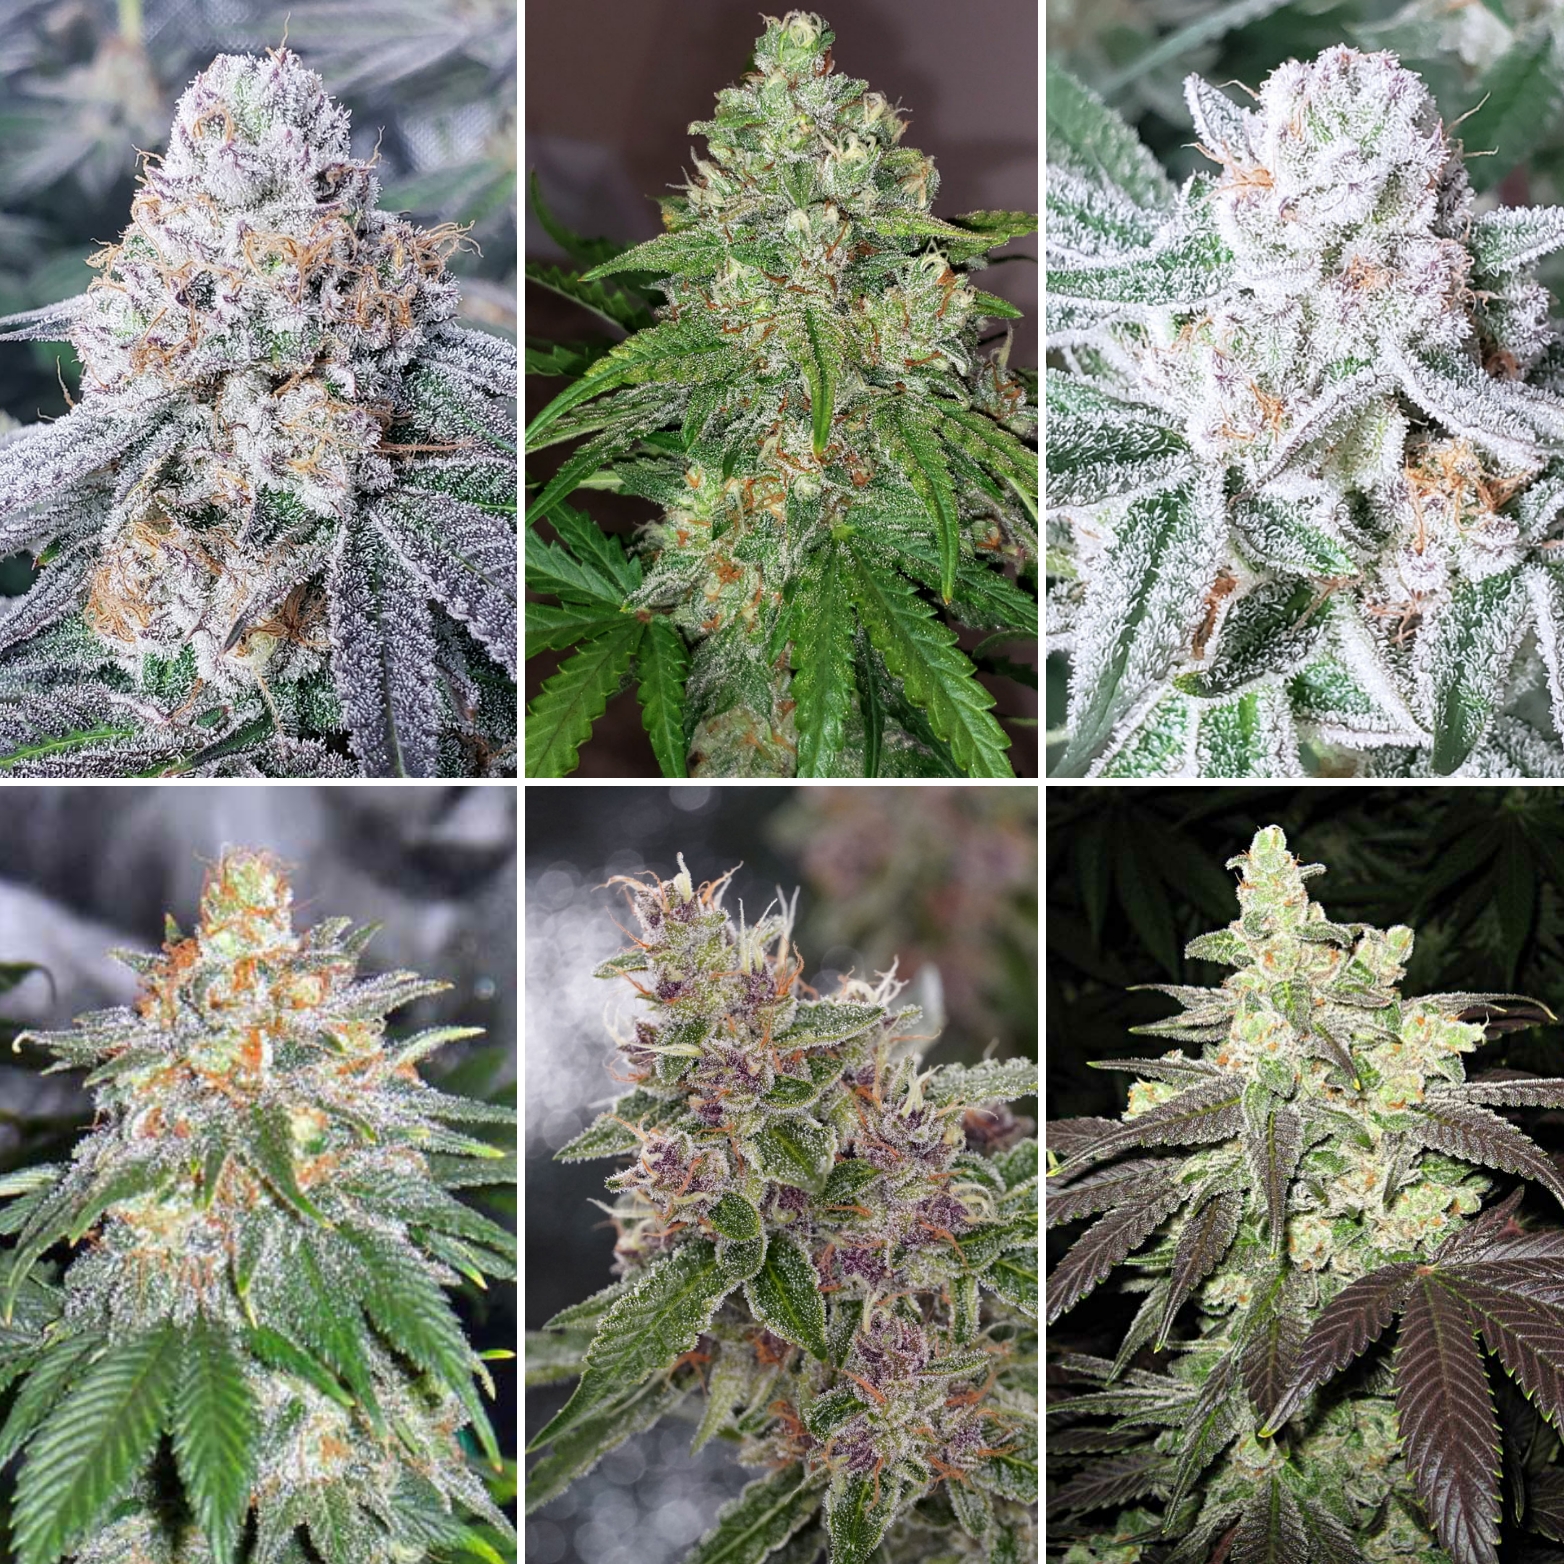
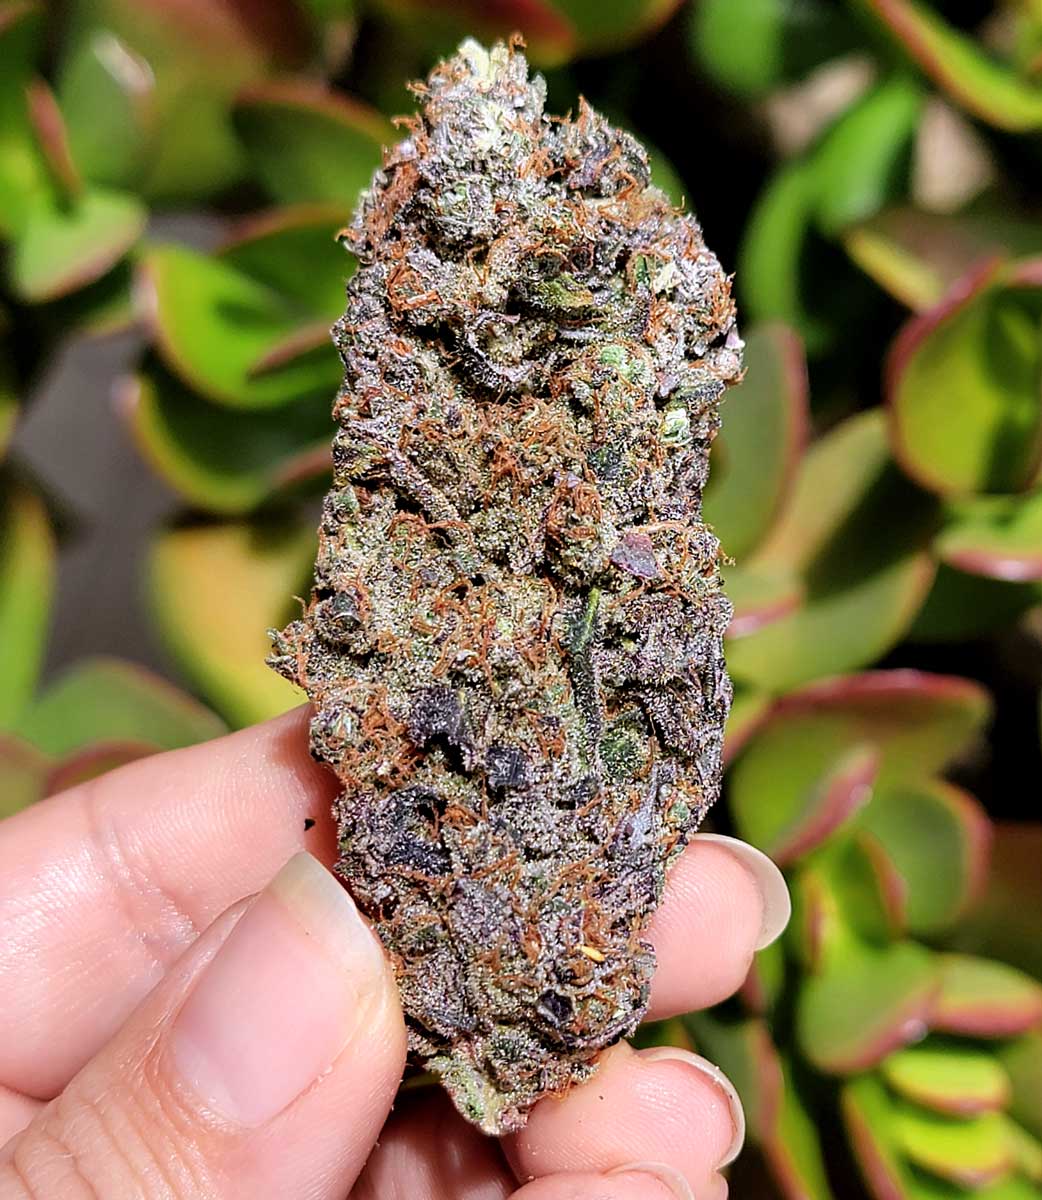
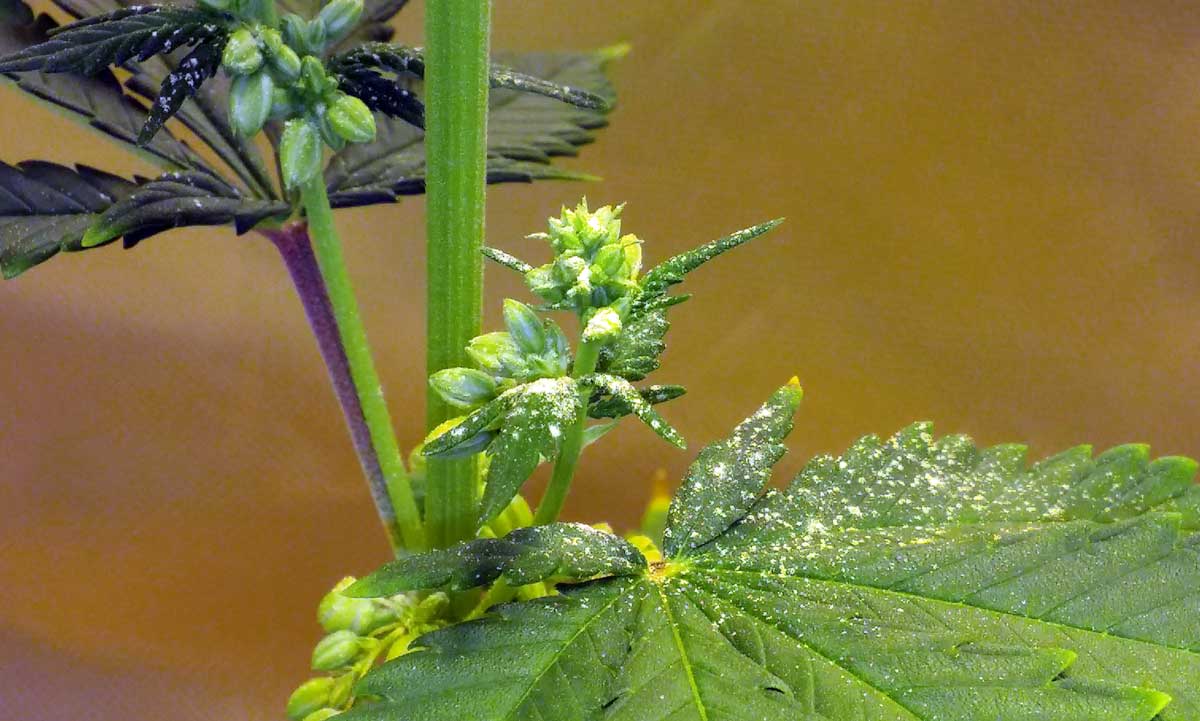
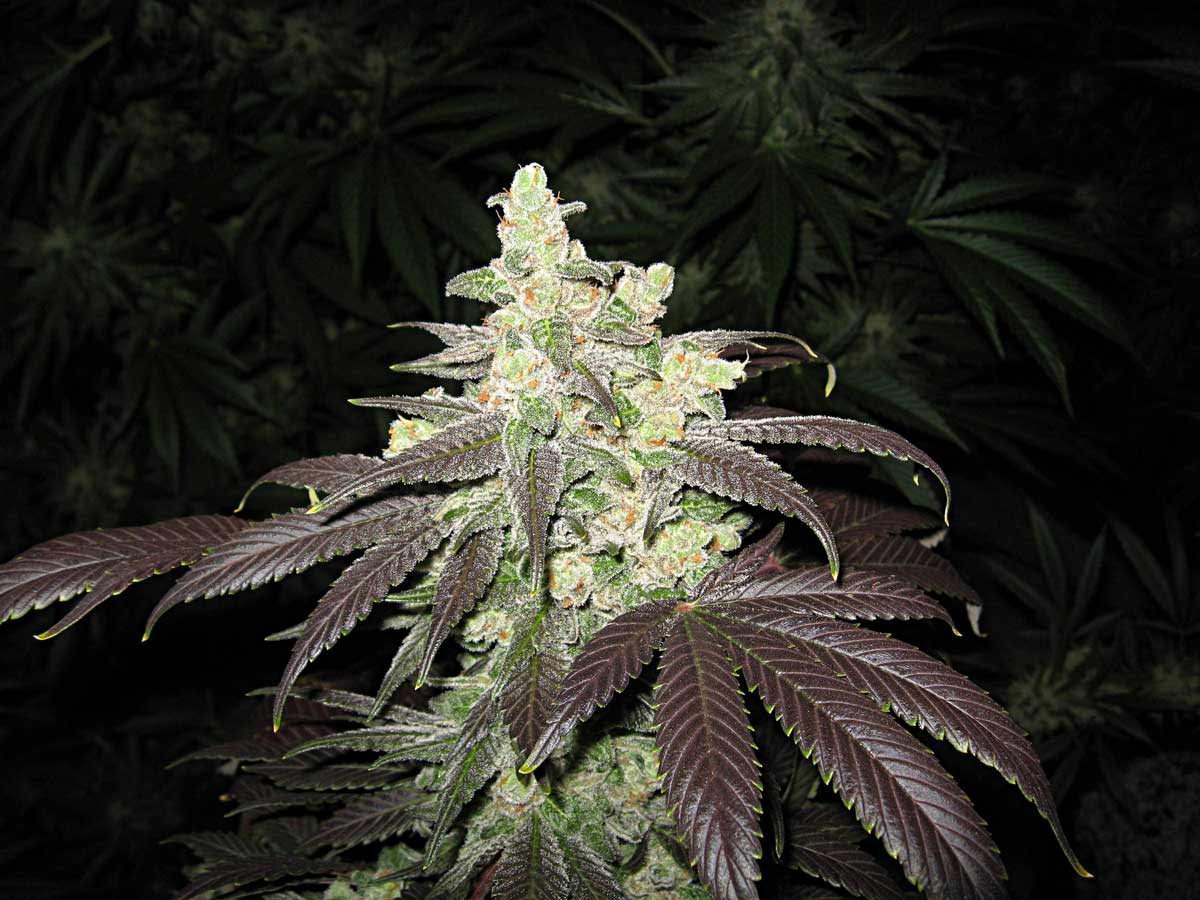
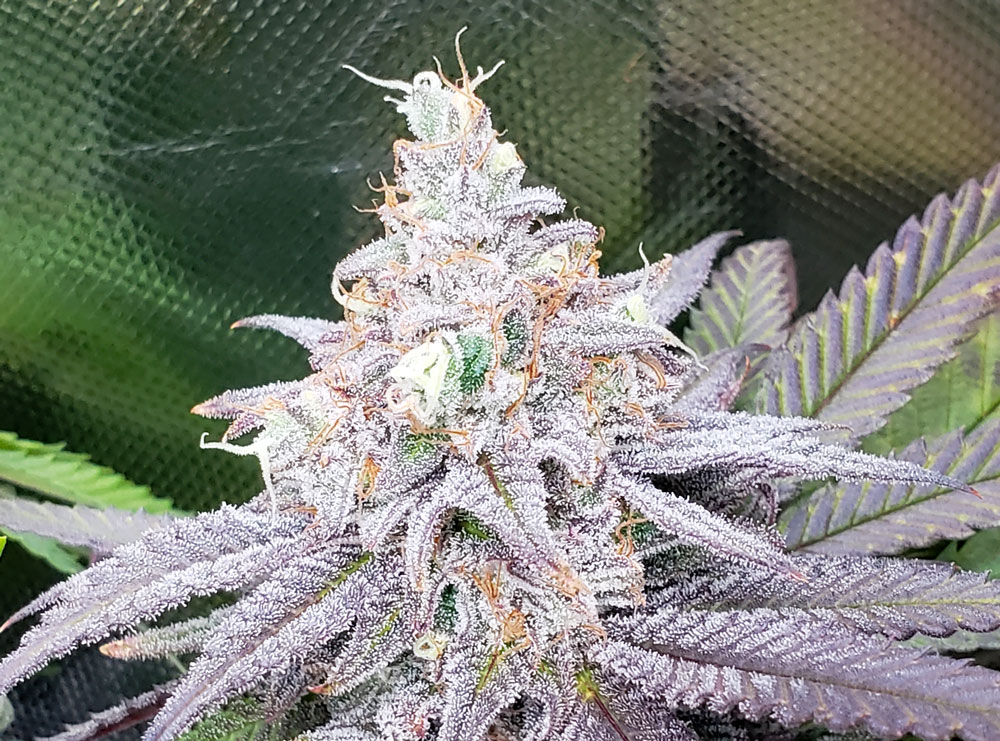
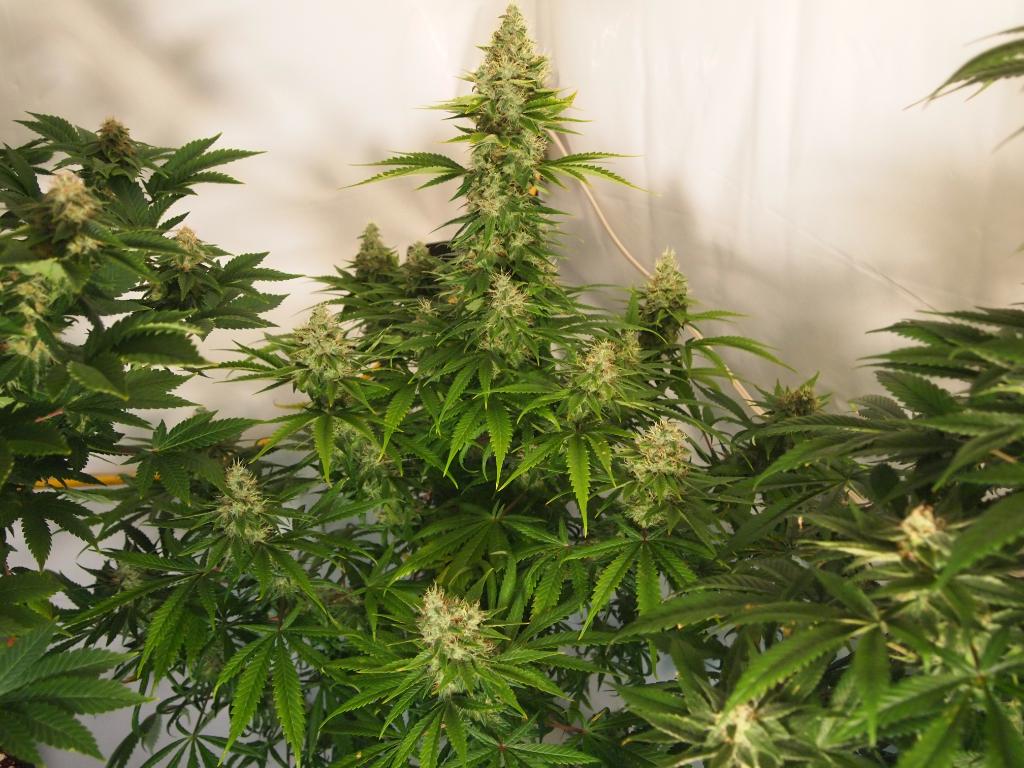
As female cannabis plants continue to mature, their buds look more and more like the buds you buy.
Those bunches of white hairs form into solid buds over several weeks.
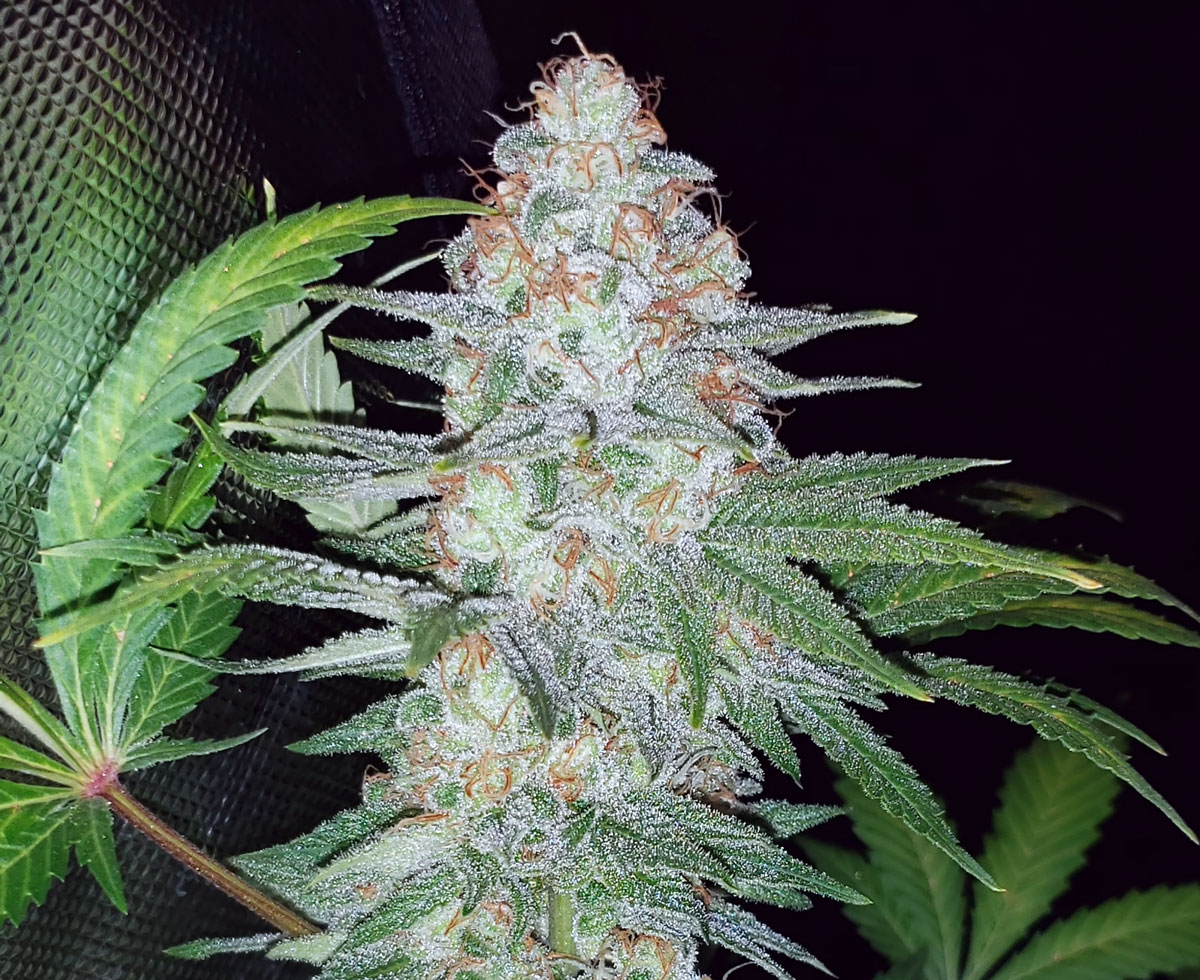
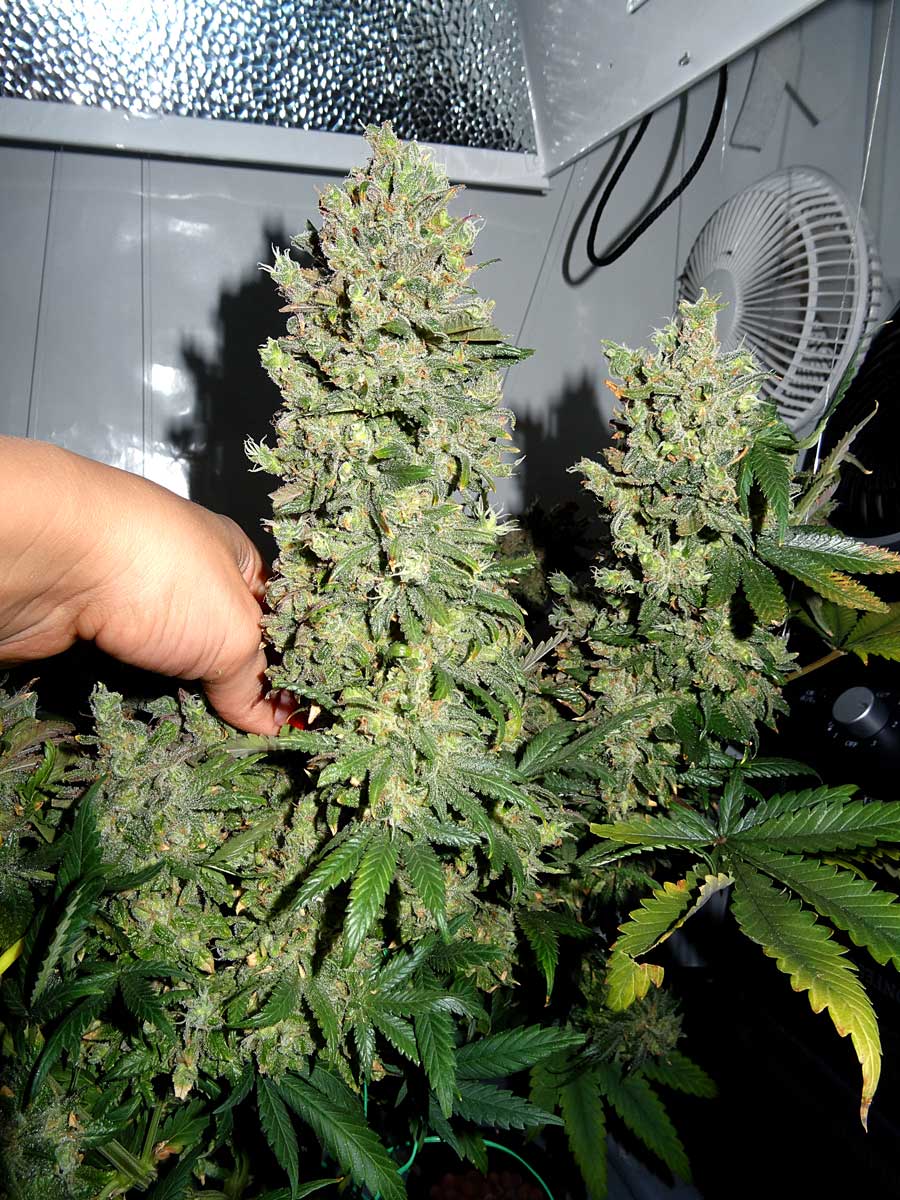
At harvest time, the hairs on buds have darkened and curled in.
Ready-to-harvest buds look mostly solid, like this.
The Flowering Stage of cannabis can be a worrying time for growers because flowering plants are not as tough as they were in the vegetative stage. Flowering plants often have a bigger visible reaction to problems or stress.
Imagine what your plant is going through. Sure, it is a little stressed out trying to make awesome flowers. But a female plant just needs a little extra loving care in this stage to produce the biggest, most potent buds possible.
Don’t worry about minor slip-ups, but do watch your plants closely in the flowering stage, especially your first few grows, and you’ll be able to handle anything that comes up by using the information below.
Now that you know what to expect during the flowering stage, when should you initiate it?
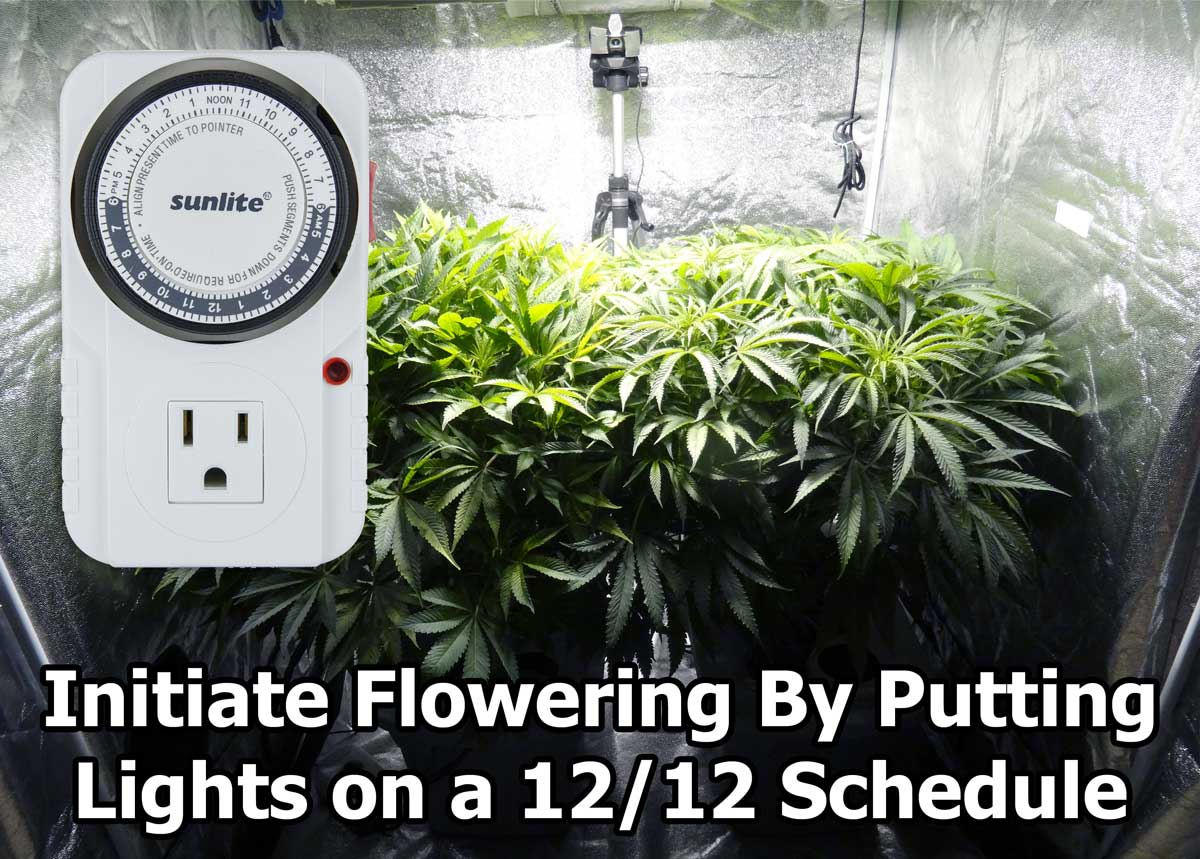
Grow Light Flowering Light Schedule: When to Start 12/12 Photoperiods
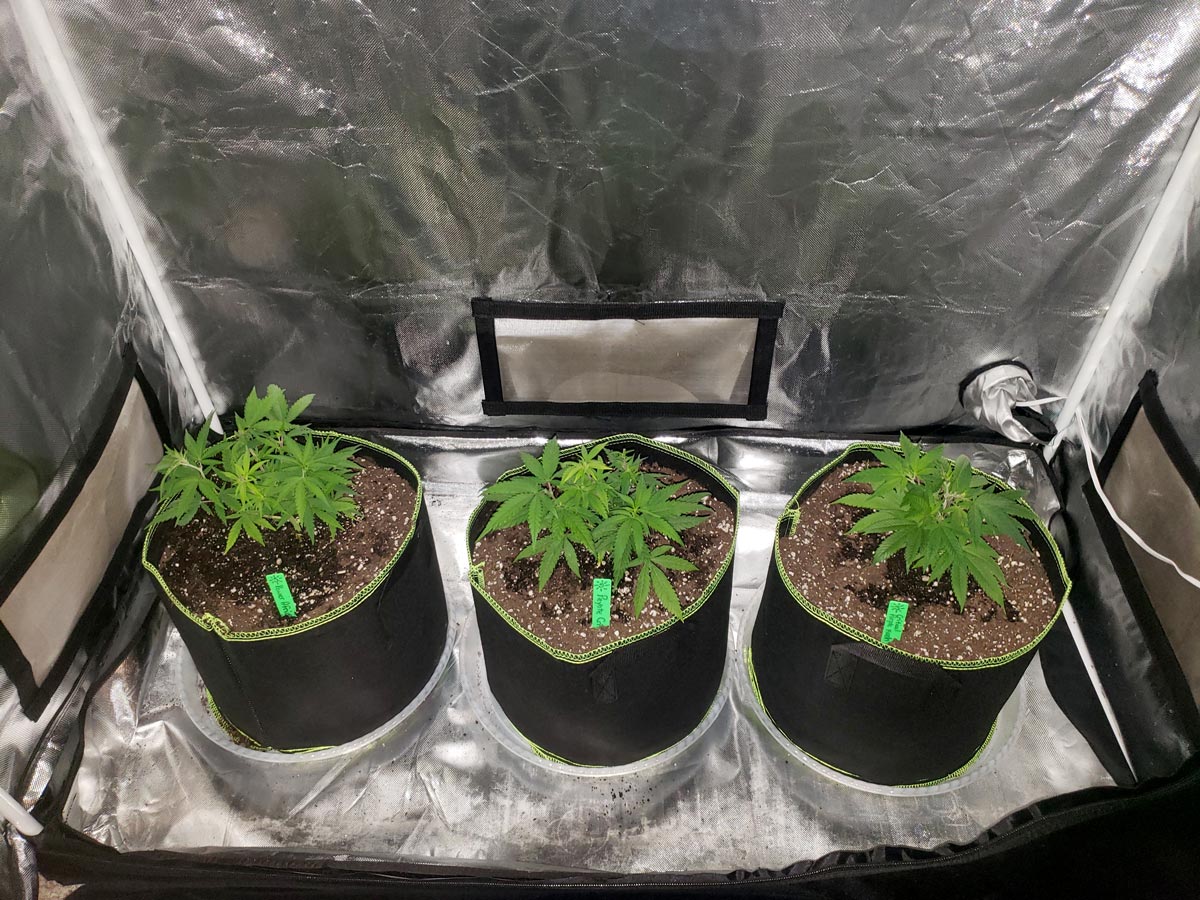
It’s generally recommended to switch indoor plants over to the flowering stage when they’ve reached half their final desired height.
Switch to 12/12 when cannabis plants are half height.
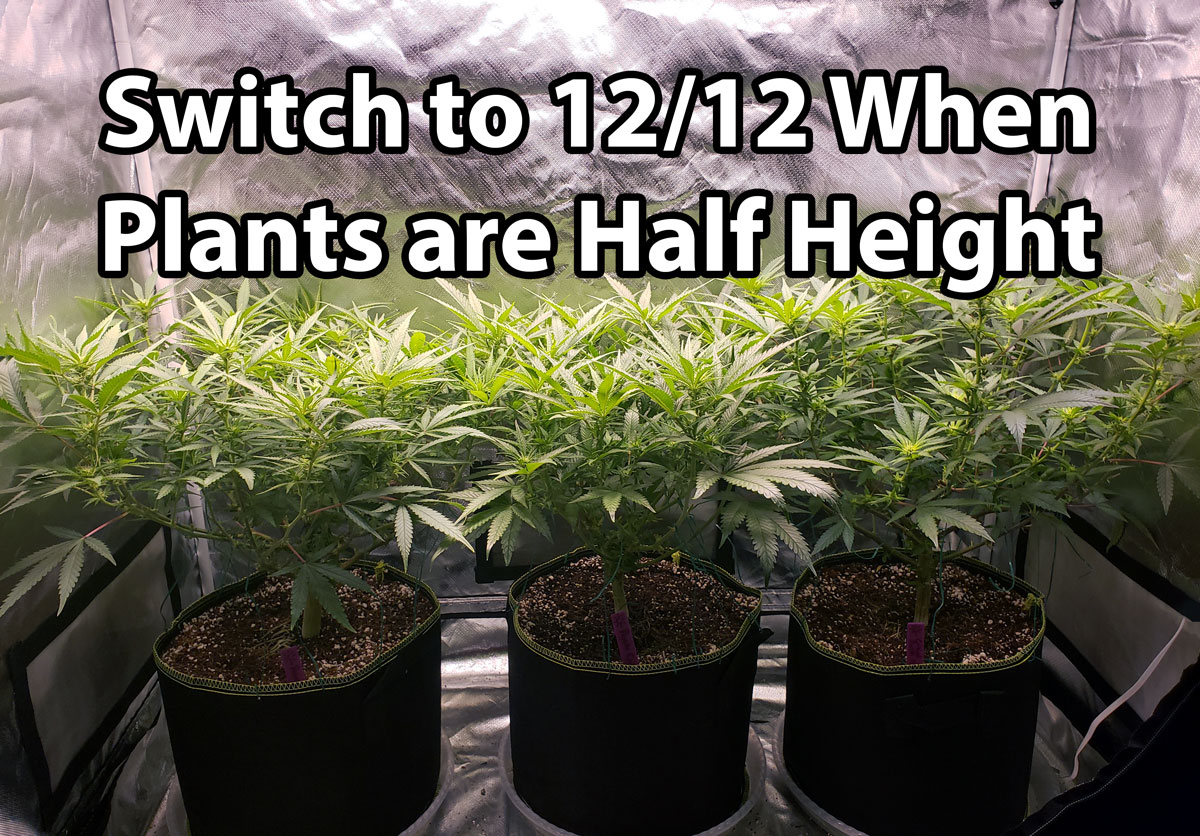
Most cannabis strains about double in height before their buds are ready to harvest. “Short” strains tend to stretch less. “Tall” strains may triple in height. Learn more about the “flowering stretch“.
For indoor growers, set your timer so that the lights are off for 12 hours a day to “tell” your plants to start flowering. This is known as the 12-12 light schedule because you’re providing 12 hours of light, and 12 hours of dark each day.
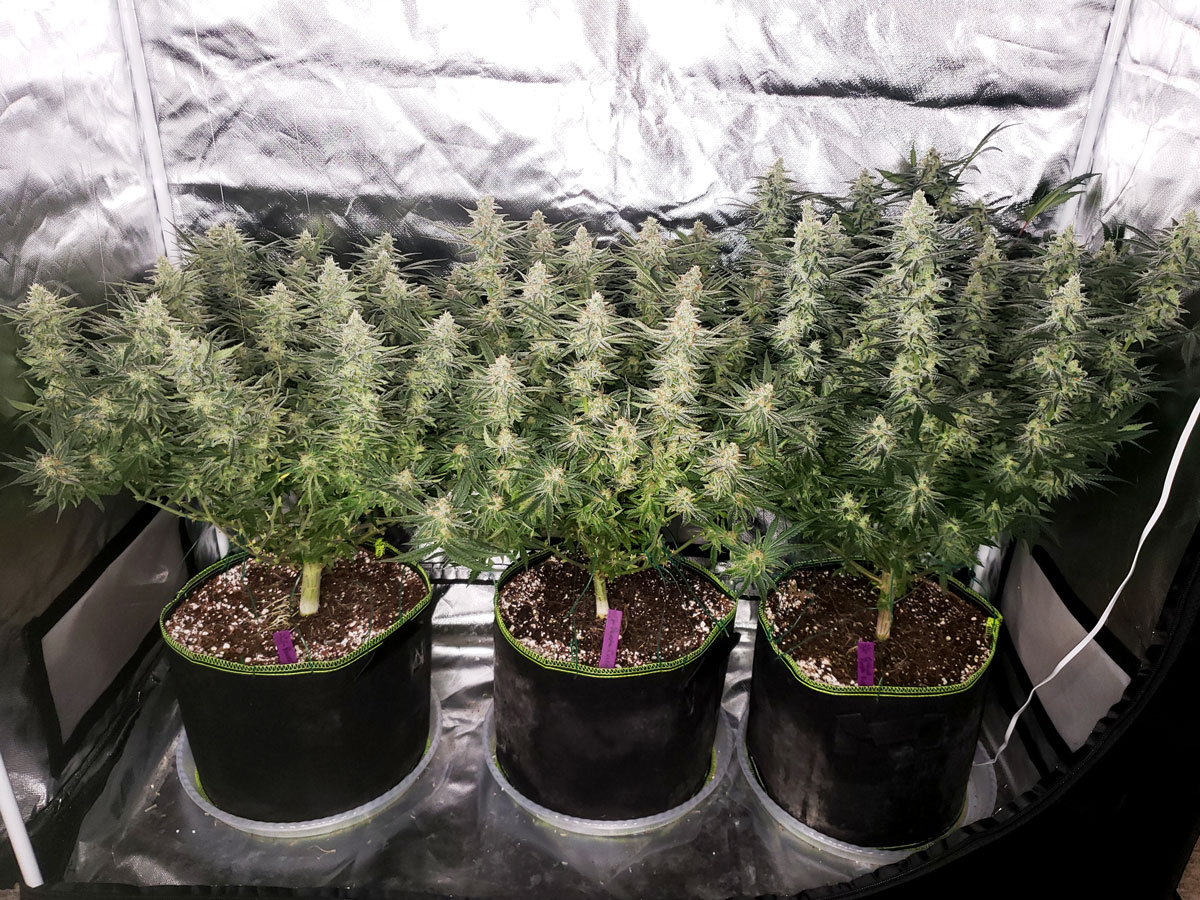
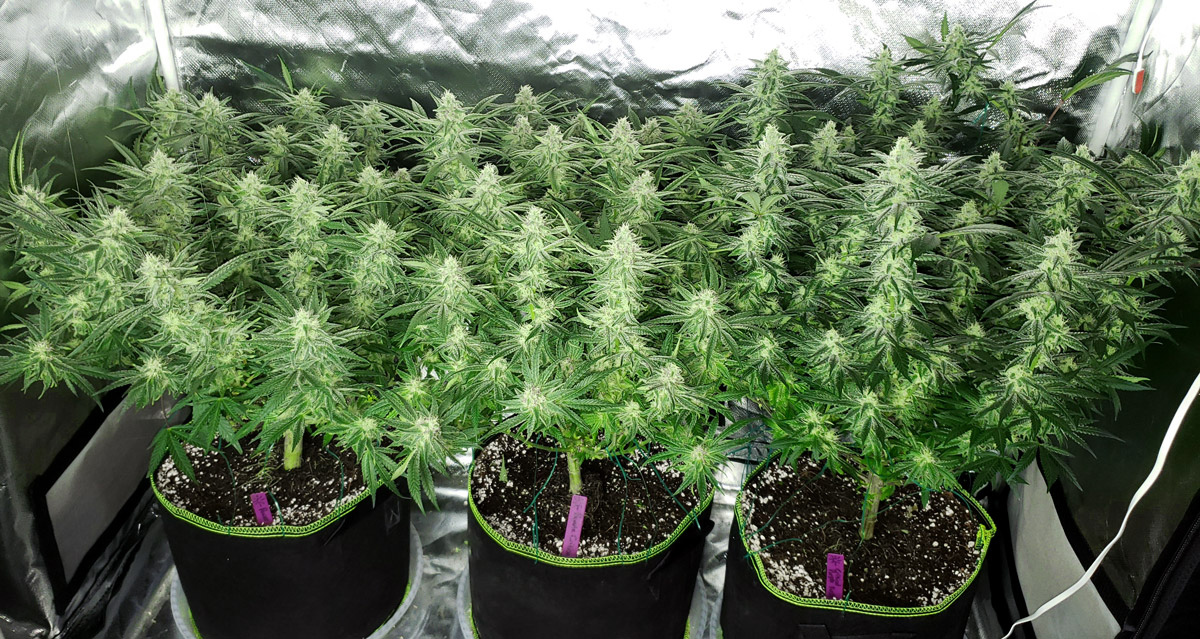
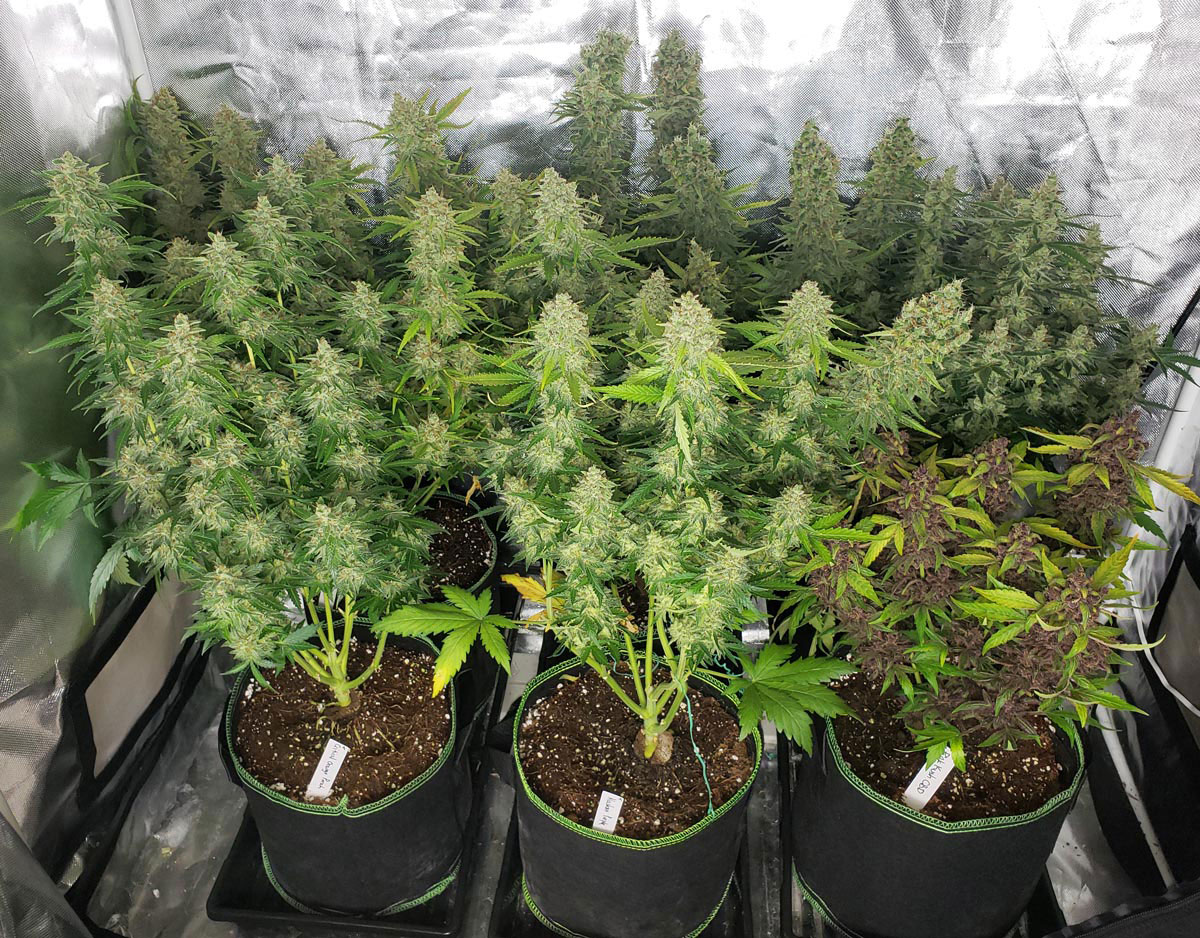
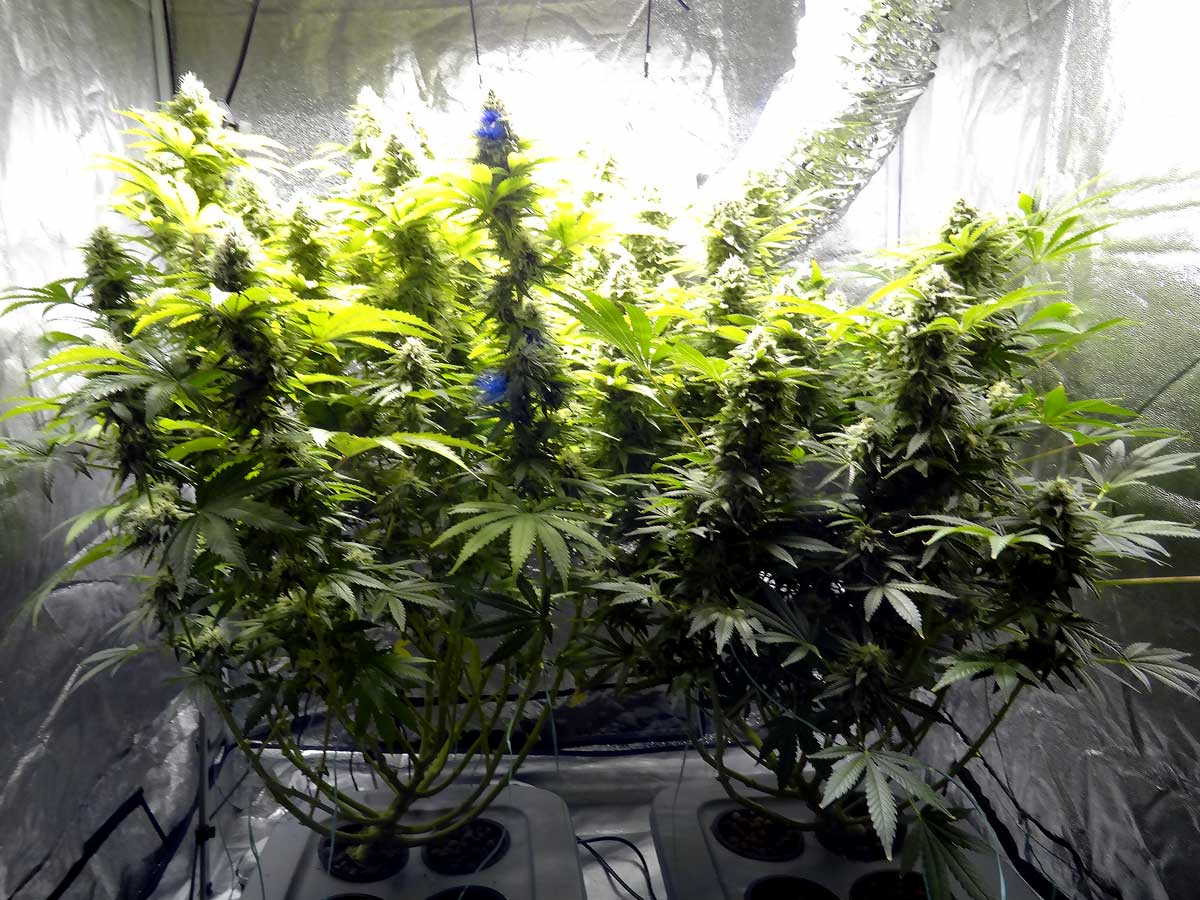
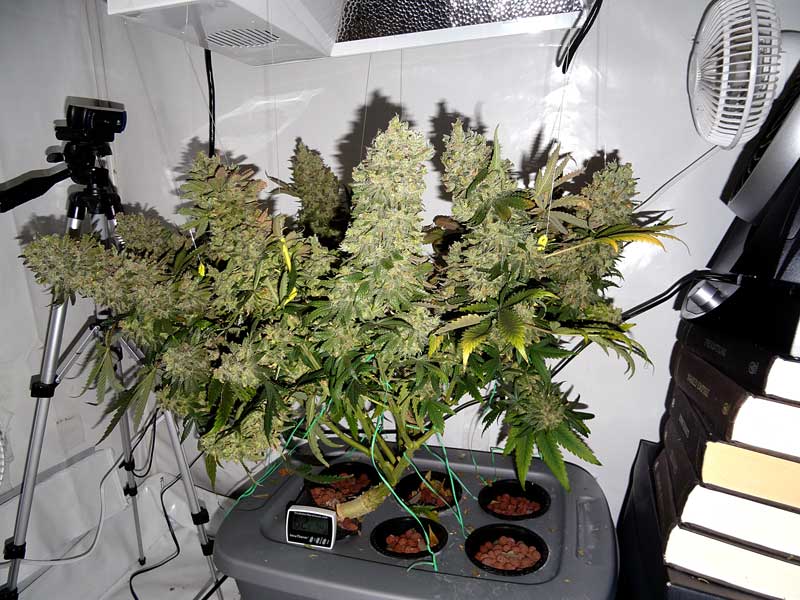
Here are those same 3 cannabis plants at harvest. Twice the height and covered in buds.

However, strain makes a difference. Pay attention to the breeder notes for a strain to see if it tends to be particularly tall or short. The following example helps show the difference in “stretch” between a short and a tall strain.
“Short” vs “Tall” strain – How much does cannabis grow after initiating 12/12? It depends.

Why do cannabis plants need total darkness during their daily 12-hour dark period?
As I mentioned before, cannabis plants decide to start flowering in response to how long their NIGHTS are.
In fact, many growers mistakenly believe that 12 hour days are important, when what’s actually most important is the length of uninterrupted night, or darkness.
Cannabis plants need total darkness during their 12-hour dark period. Even a candle can prevent flowering or cause re-vegging.

Total darkness is needed because specific chemical changes happen during long nights that tell the plant to start flowering.
So for example, your plant would still start flowering if you gave your plant 12 hours of darkness then 24 hours of light, then 12 hours of darkness, etc.
Though this is a generalized rule. It’s important to keep in mind that cannabis naturally grows all over the world, in many different climates. This has caused a lot of variation between strains that can be confusing for new growers.
Some strains respond very strongly to different light cycles, and may be triggered to start flowering after only a few “long nights.”
Other strains, especially Sativa strains from equatorial regions, may need even longer nights to be triggered to start flowering. For these tall, lanky plants, you may need up to 14 hours of darkness each day before they “get the hint” and start flowering. Typically, a breeder will list this in the strain details so you aren’t surprised.
Certain strains may need extra-long nights (up to 14 hours a day) to flower properly.

For reference, these varieties of cannabis tend to be harder to manipulate using the light cycle:
- Moroccan strains
- Southern African strains
- Commercial hemp
- Hybrids developed for early outdoor harvests (September or earlier)
These strains are more likely to respond negatively to light leaks and more likely to show hermaphrodites in response to light stress. For some reason, they also tend to be harder to clone.
Want to Ignore Light Periods?
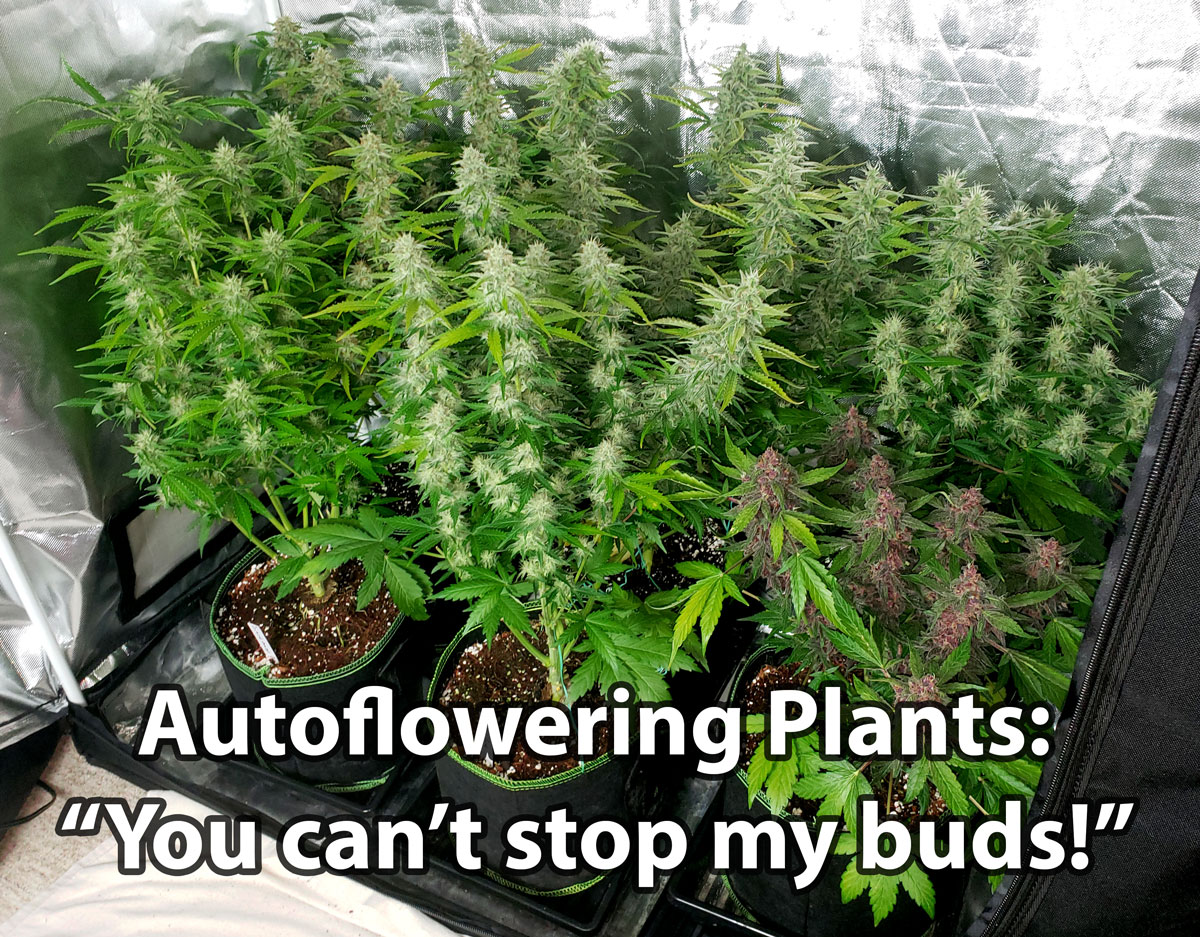
Some extreme northern varieties of cannabis, for example the Ruderalis or “auto-flowering” strain are actually not photosensitive at all. For these plants, the amount of time since germination (the age of the plant) seems to determine when to start flowering.
Auto-flowering strains automatically make buds without special light periods.
Learn about auto-flowering cannabis strains.
5 Keys to a Productive Flowering Stage
While the light period is your main tool to “tell” your plants to start flowering, other factors can have an effect on happy natural development of buds, (the importance of these “secondary” factors is dependent on the strain).
So in addition to photoperiod (i.e., day length), which we already discussed, factors such as light quality (spectral composition), light quantity (photon flux density), vernalization (exposure to a long period of cold), and nutrient and water availability may have some strain-dependent effects. Other strains are much less sensitive to these other environmental variables. Of course, the strain itself is crucially important as well, as genetics control how a plant grows and develops buds.
Cannabis plants need a good environment to grow big, beautiful buds.
In the wild, flowering can be initiated by stresses such as nutrient deficiencies, lack of water, or overcrowding. Why? This allows the plant to produce seeds in bad conditions, and seeds are much more likely to survive environmental stress than the plant itself (which only lives for one year in the best case scenario).
Yet as the grower, you don’t want to “stress” your plant into flowering. You’d much rather get plants to start flowering naturally. This also gives you more control over your garden.
1.) Temperature While Buds are Forming
Avoid Heat– High amounts of heat (especially above 80°F or 27°C) can cause several problems during flooding, including loose airy buds, as well as buds with low potency or smell. The heat both “burns off” the good stuff, while also preventing the plant from forming them in the first place.
Avoid Cold – Cooler temperatures are not as bad as too much heat, but you don’t want it to be under 75°F (23°F) during lights-on if possible. If it’s cold all the time, especially during the first 6 weeks of the flowering stage, buds won’t get as big as they normally would. There is some evidence that the presence of cooler temperatures can cause some strains to start flowering quicker, but does not necessarily increase how fast buds develop.
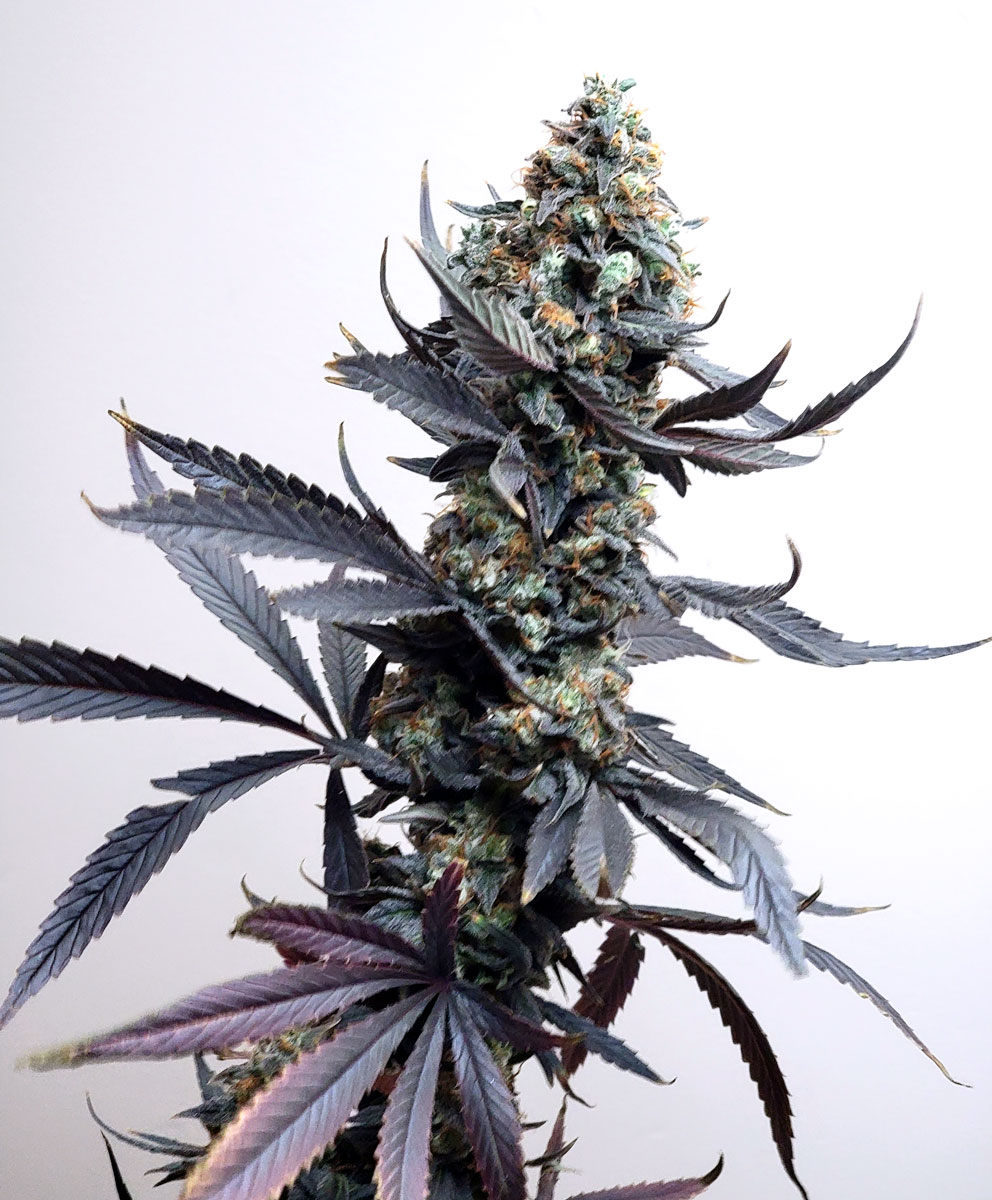
Quick Tip: For many purple strains, cooler temperatures at night are needed during the last ~2 weeks of the flowering stage for the buds to develop their signature purple coloring.
Cool nights during the last 2 weeks tend to bring out purple in many cannabis strains.
Freezing temperatures will kill most varieties of cannabis. In the wild they live their whole life cycle in one year and die when winter comes, so they have no need to become resistant to freezing cold.
2.) Light Color/Spectrum: Flowering Grow Lights Mimic the Fall Sun
For optimal bud production, growers often switch their grow lights to “warmer” colored lights with higher amount of red and far red. This combination simulates the Autumn sun and helps plants start flowering, stay in the flowering stage, and grow the biggest buds.
If you went for a MH/HPS grow light, now’s the time for that thin HPS bulb that produces yellow light.
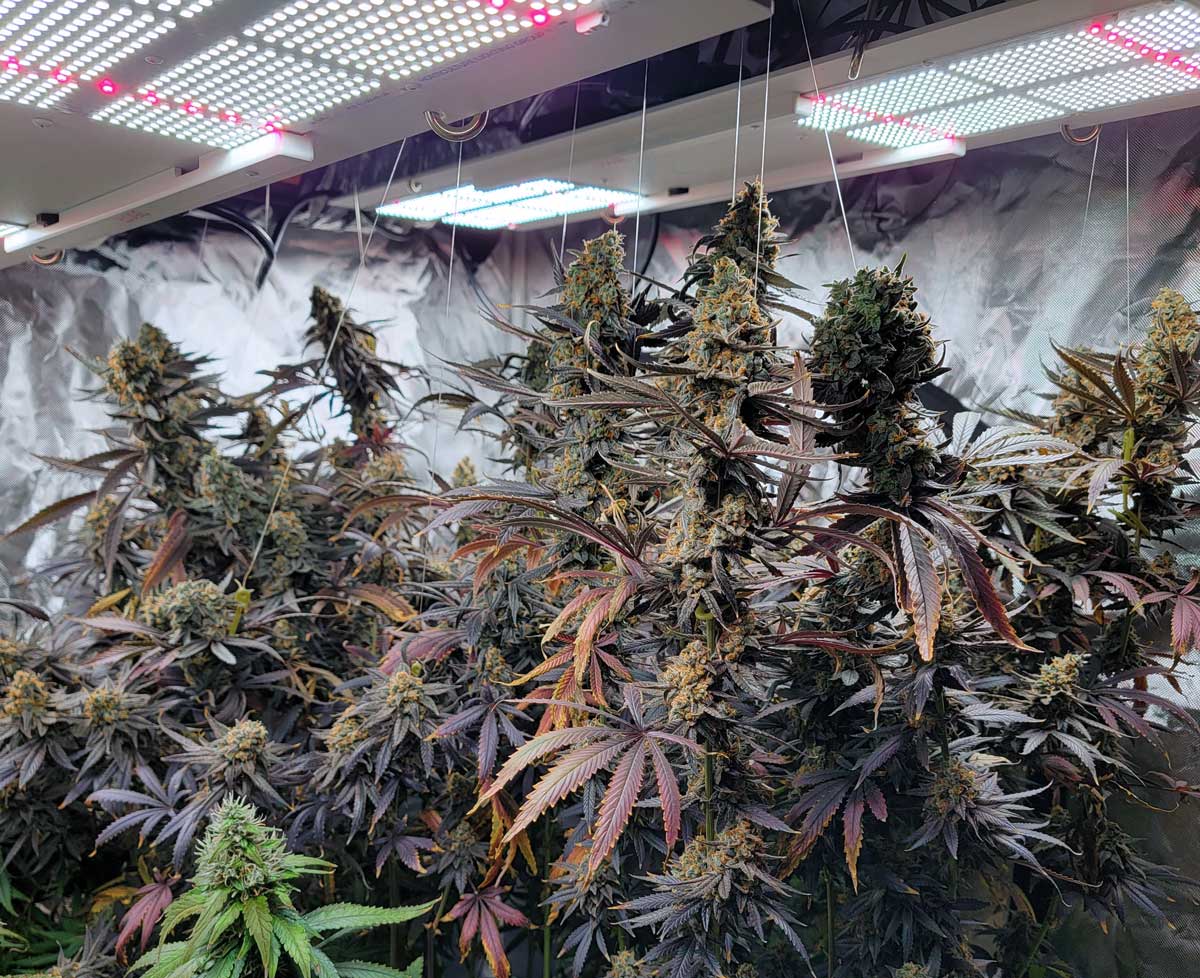
However, most home cannabis growers these days are using LED grow lights. Each model is a little different, but here are some tips to keep in mind.
- Get Flowering LEDs, If Possible – Some LED grow lights are labeled as “bloom” or “flowering” LEDs. These tend to get the best yields and bud potency in the flowering stage. Typically they appear to have a white-pinkish light.
- Flowering Setting – Some LED lights come with a “flowering” setting that should be chosen during the flowering stage.
- Choose a Trusted LED Brand – Certain LED manufacturers have created LEDs that are specially tuned to growing cannabis plants, and even test their lights on actual cannabis plants. These companies include Spider Farmer, Mars Hydro, and HLG. Any of their LED grow lights will produce spectacular weed if used as directed.
It’s important to note that any grow lights will work during the flowering stage. But extra strong lights with higher levels of red give you the best results.
Light from good modern flowering LEDs usually looks white to the human eye, often with a tinge of pink or yellow.

If you’re growing outdoors, you let the sun do its thing and just watch your plants for signs of problems or stress.
3.) High Light Intensity
Strong, intense light is what fuels the growth of buds. Photons are like “food” for cannabis plants. Plants use photosynthesis to turn light into sugar for energy to grow. As a general rule, if your plant is staying healthy, then more light = more buds during the flowering stage. However, too much light will start causing symptoms of light stress.
More light = more buds (to a point)
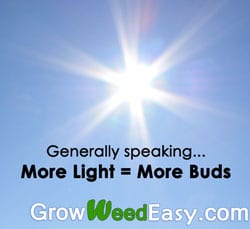
After you reduce all other limiting factors, there comes a point where even stronger light can’t be used by the plant to grow more buds and may hurt them. This is where some dedicated growers have discovered tricks (like supplementing CO2 in the grow room), which allow plants to use even more of the light, increasing yields beyond what would naturally be possible.
However, for most new growers, just mastering the basics and preventing problems during the flowering stage will cause a huge increase in yields even with a humble grow light. Often, this increase in yields from understanding the basics is more than you would get by upgrading your lights.
I’ve seen many dedicated growers get bigger yields in his or her first grow with a relatively small 200W LED grow light than other growers who start with an enormous 600W LED light and the most advanced equipment or nutrients available. That’s because it’s much easier to manage plants under a smaller grow light, so you maximize your plant’s potential. With a big grow light, growers may struggle with heat and light burn, reducing both their yields and bud quality while wasting electricity.
How to Maximize Light Intensity: Choose the right grow light for your space, and keep your lights the right distance away.
High light intensity is necessary for big, dense buds. Remember, light is food for plants.
4.) Bud-Boosting Flowering Stage Nutrients
Most cannabis-friendly nutrient systems have you change to a “flowering” schedule when buds start forming. Flowering nutrients contain higher levels of the nutrients a cannabis plant needs for the creation of buds. Flowering nutrients also contain lower levels of nitrogen, because too much nitrogen tends to make flowering cannabis plants more leafy with fewer and smaller buds.
Want effective and easy nutrients for bud formation? Dyna-Gro Bloom works well at 1 tsp/gallon for cannabis.
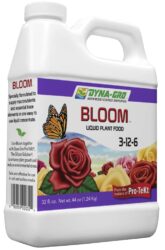
Full tutorial: How to Use Dyna-Gro Nutrients to Grow Cannabis
A lot of beginner growers add excessively high levels of nutrients at this stage thinking that the plant will take it in as food and grow bigger buds.
The hard truth is that adding too many nutrients will only burn your plant. Nutrients does not equal food for your plants. If anything, nutrients are more like their multivitamin, and light is their food.
Too much nutrients = nutrient burn
So as far as nutrient levels, you’ll want to keep doing things the way you have been, just with flowering-specific nutrients. You’ve already dialed into what works for this plant, don’t go totally crazy on it with nutrients now.
Only increase nutrient levels if your plant is showing signs of a deficiency, and only if you’ve ruled out pH problems as the culprit. Even then, increase nutrients slowly and watch plants for signs of nutrient burn. Adding more nutrients than needed during the second half of the flowering stage can give an unpleasant “taste” to your buds, even with organic nutrients such as compost/manure.
Towards the end of the flowering stage, it’s natural for there to be some yellow leaves near the bottom of the plant. No need to increase nutrient levels at this juncture. However, if top leaves are turning yellow, or bottom leaves are turning yellow early, try to figure out the cause and fix it quickly. Your plant needs a lot of green, healthy leaves until just before harvest in order to make the biggest and best buds possible.
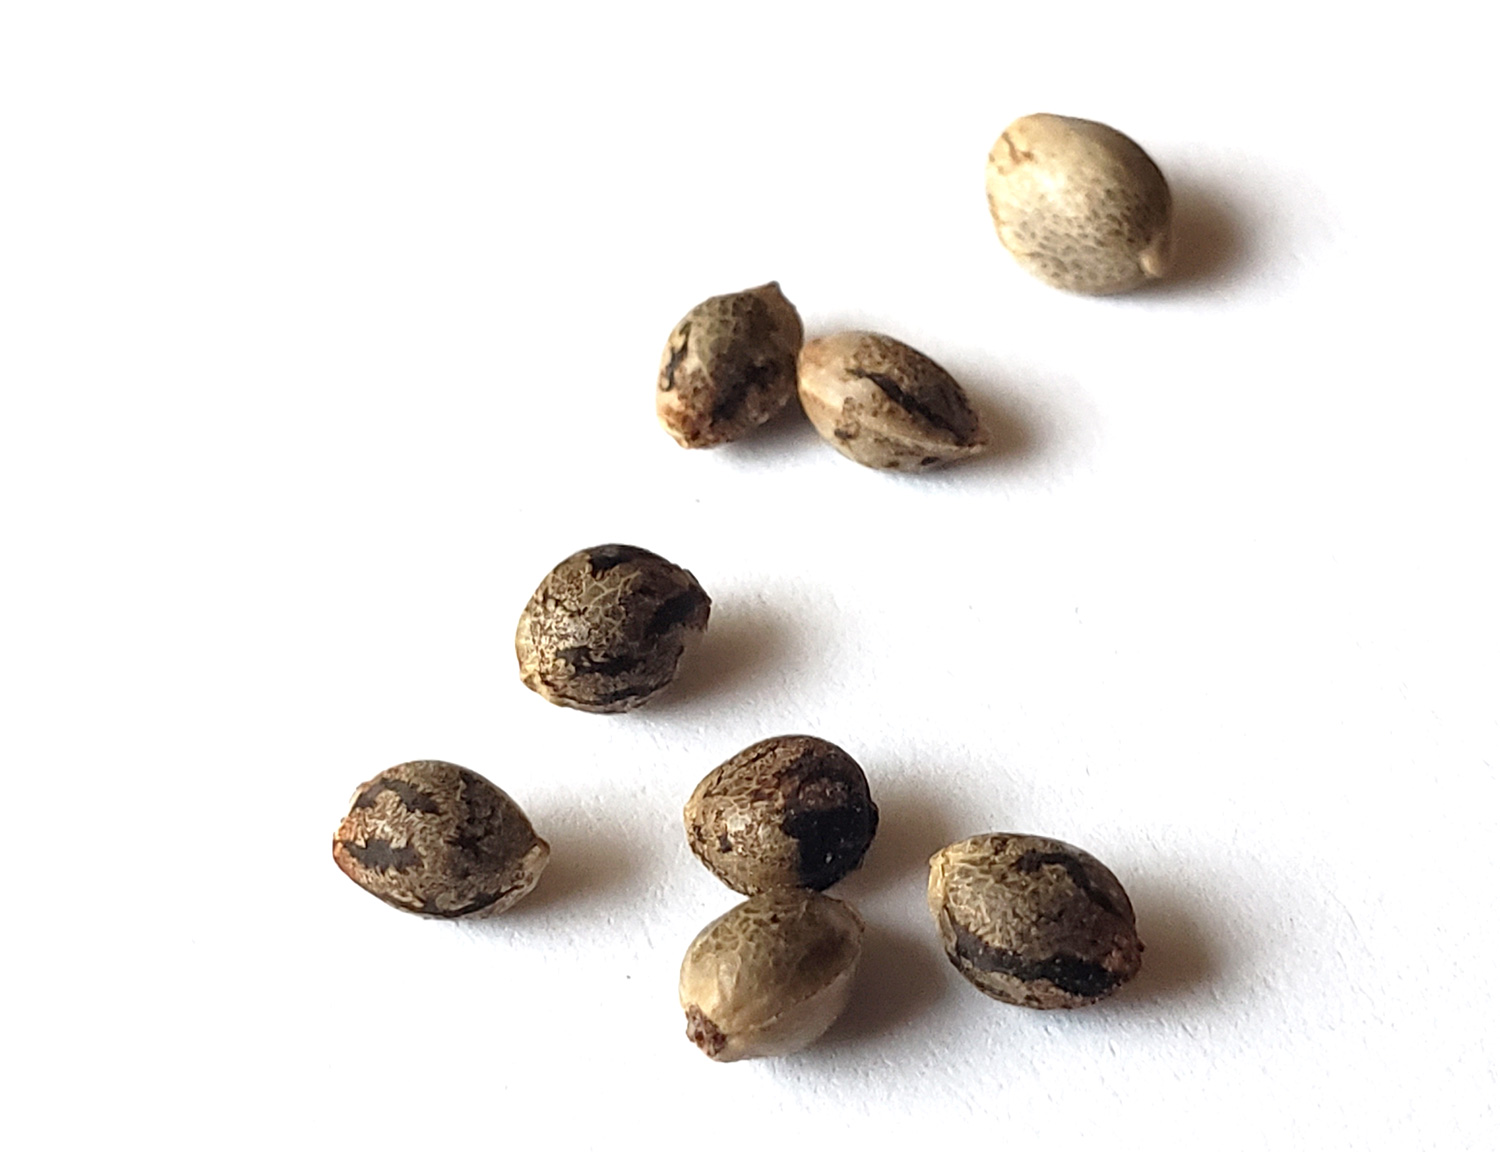
5.) Start with Great Seeds (Ultra-Important)
This isn’t something you actually do in the flowering stage, but your seeds determine half your results at harvest, or more. You can’t grow great weed without great genetics.
Think about it, if you grow hemp seeds, the buds won’t have any potency whatsoever. If you grow seeds you find, you don’t know if they got the “good genes” from their parents, or whether they’re grow completely different from the buds you found them in.
3 Proven Cannabis Seed Sources
These are the 3 main cannabis seed sources I personally use when I’m growing weed.
- Seedsman – For growers who want the biggest selection of cannabis strains possible. They’ve got just about everything! Especially in 2025, they have continuously updated their offerings with some of the best breeders. They also breed their own top-tier in-house strains which are cheap seeds for what you get.
- North Atlantic Seed Co. – This seed company was started by and is run by home growers. They take genetics seriously, and heavily screen all breeders. You can feel confident any breeder on this website is a trustworthy breeder or they wouldn’t be there. A great source of rare American genetics.
- MSNL Seeds – This company is run by a geneticist. What I like about these strains is he thoroughly lab tests each strain for potency and smells, and freely shares that information about each strain. If you’re looking for consistent plants with particular potency or effects, this is an excellent choice.
Learn about other recommended cannabis breeders.
3 Recommended Strains for Home Growers
If you want more specific recommendations, let me share my 3 current favorite strains as of mid-2024. These are the strains I’ve grown before, and am currently growing again.
1.) Pineapple Chunk
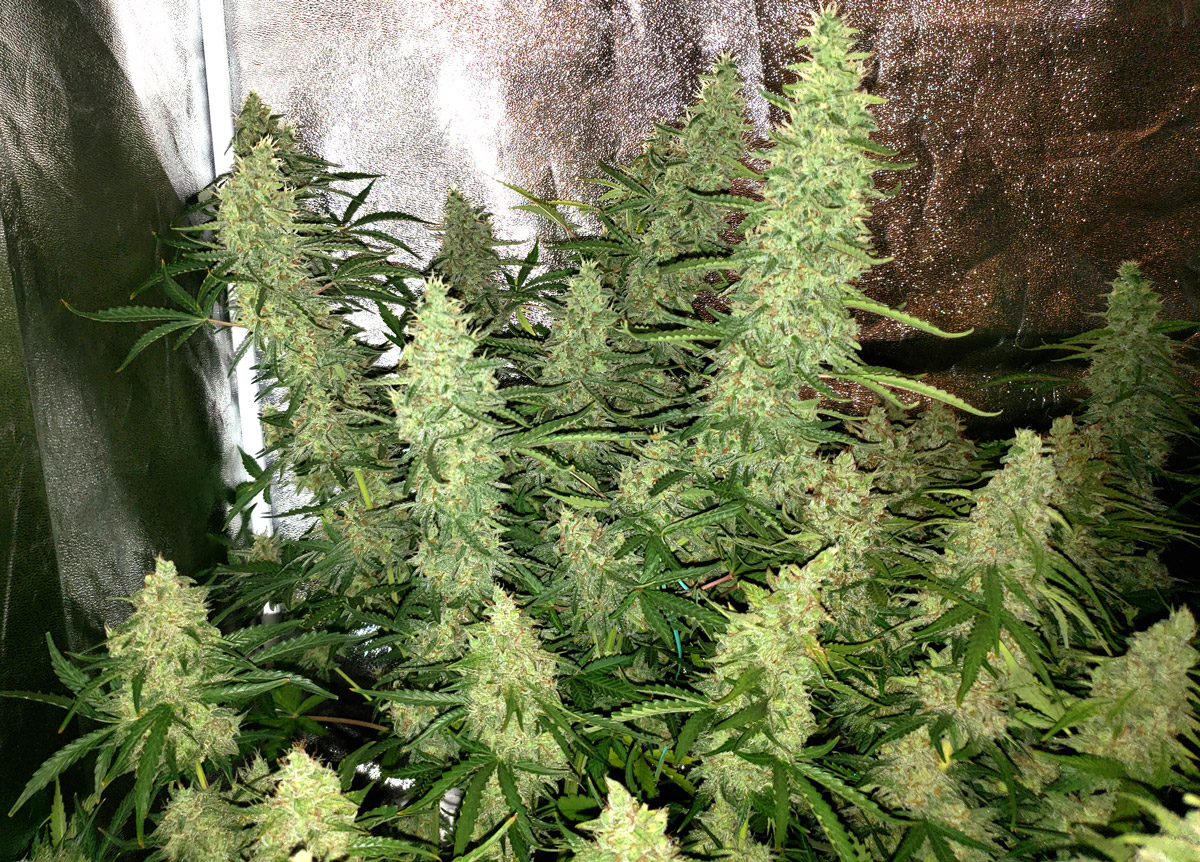
Pineapple Chunk is a quintessential European strain that continues to impress me I grew it in 2012, then 2015, 2022, and recently again in early 2024. Every time the buds came out even better than the previous time. I personally think this may be Barney Farm’s best strain, and that explains why they keep refining it. This one was grown under a newer LED grow light and smelled like a mix of citrus with a hint of strawberry. Buds came out dense and sparkly.
2.) Liberty Haze
I am a huge fan of Liberty Haze. The bud effects remind me of the unique psychedelic “day” (uplifting) effects of now-rare outdoor Sativa strains. You never see them anymore because they get huge and need long hot summers in order to produce properly. Liberty Haze gives you access to those bud effects yet is suitable to grow indoors. It still tends to grow tall and stretchy, but as long as you top the plants when they’re small (cut off the tops, which forces the buds to makes many buds instead of one), you can wrangle them indoors.
The left plant here is the 2nd time I grew Liberty Haze. As you can see it got a bit tall, which I’ve come to expect, but it was otherwise easy to grow and produced excellent yields. The Critical Kush on the right was also a good plant, but the Liberty Haze buds won when it came to effects.
Example of a Liberty Haze plant sent in by a reader.
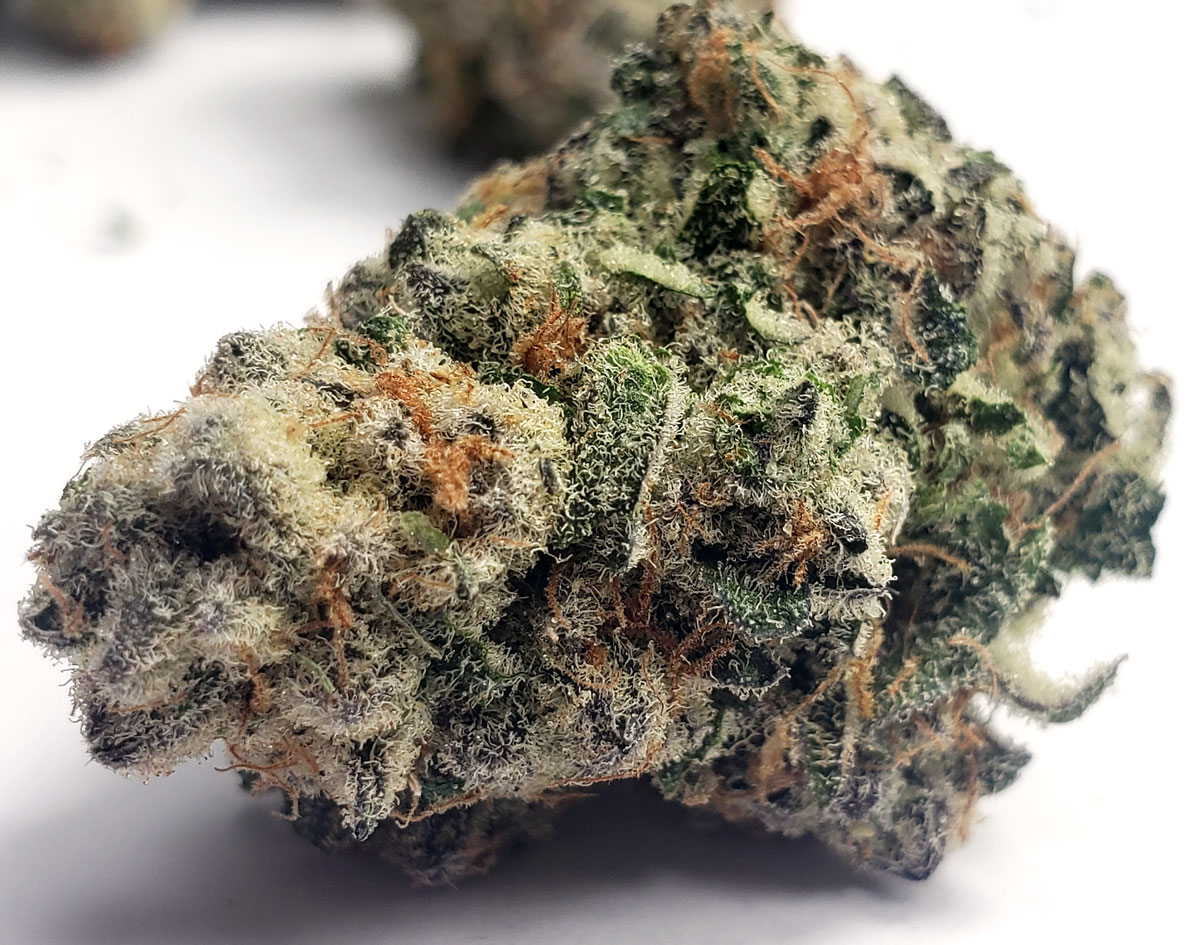
3.) Amnesia
This strain lives up to its name. Amnesia buds are known for making you forget what you were just saying. Not necessarily the best choice for social situations (unless you all just want to chill) but perfect for relaxation at the end of a long day.
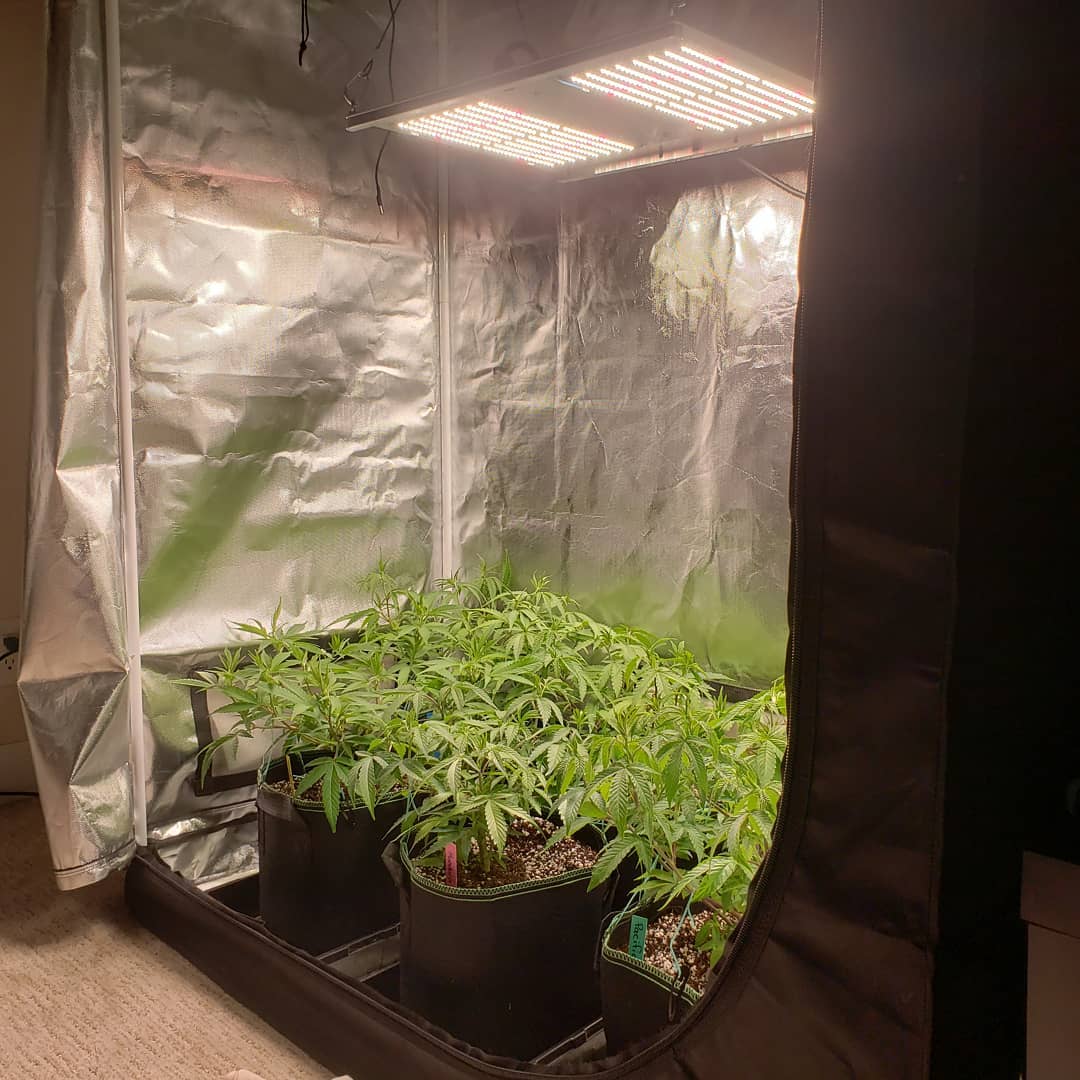
Example of an Amnesia plant I grew in a hydroponic setup.
Closeup of Amnesia buds. Dense and chunky!
Here’s a detailed guide on how to research and find the best strain for you.
Now you have a complete overview of everything you need to master the flowering stage, the most important stage of growth for most growers. Now check out some specific tips and hints so you produce the best buds possible!
You might like: Week-by-Week Timeline: What to Expect in the Flowering Stage
About the Author: Nebula Haze
In response to the need for more tutorials aimed at new growers, Nebula co-founded GrowWeedEasy.com in 2010 with fellow grower Sirius Fourside.
Since then, Nebula has published hundreds of growing articles in print and online, teaches online video lessons, and continues to dedicate herself to serving the needs of the cannabis growing community.
“My mission is to show other cannabis enthusiasts how easy and fun it can be to grow pounds of killer weed out of your closet.”