by Nebula Haze
Are you looking for a no-stress, short, and simple marijuana grow guide? Maybe you just want a quick overview of the home growing process. This super condensed version of the 10-Step Quick Start Grow Guide may be the shortest cannabis home grow guide that actually teaches you everything you need to know.
Learn how to start strong!
And harvest tons of big buds!
The following tutorial is basic yet covers everything that matters most. If you follow just these steps you will be harvesting your own weed in 2-5 months! Quick Tip: Choose an auto-flowering strain for the fastest harvest (harvest is 2-3 months from germination, depending on strain).
Easiest Cannabis Grow Tutorial Ever
Table of Contents
Step 1: Choose Your Place to Grow
Step 2: Choose Your Light
Step 3: Choose Your Growing Medium
Step 4: Get Cannabis-Friendly Nutrients
Step 5: Where To Get Cannabis Seeds
Step 6: Germinate Your Seeds
Step 7: Vegetative Stage – Only Stems and Leaves
Step 8: Flowering Stage – Buds Start Growing!
Step 9: Harvest Your Cannabis
Step 10: Dry & Cure Your Buds Like a Professional
You may also enjoy our marijuana life timeline or complete beginner’s guide to growing cannabis.
Cannabis Growing 101: Fast, Easy & Effective Beginner Guide
Step 1: Choose Your Place to Grow
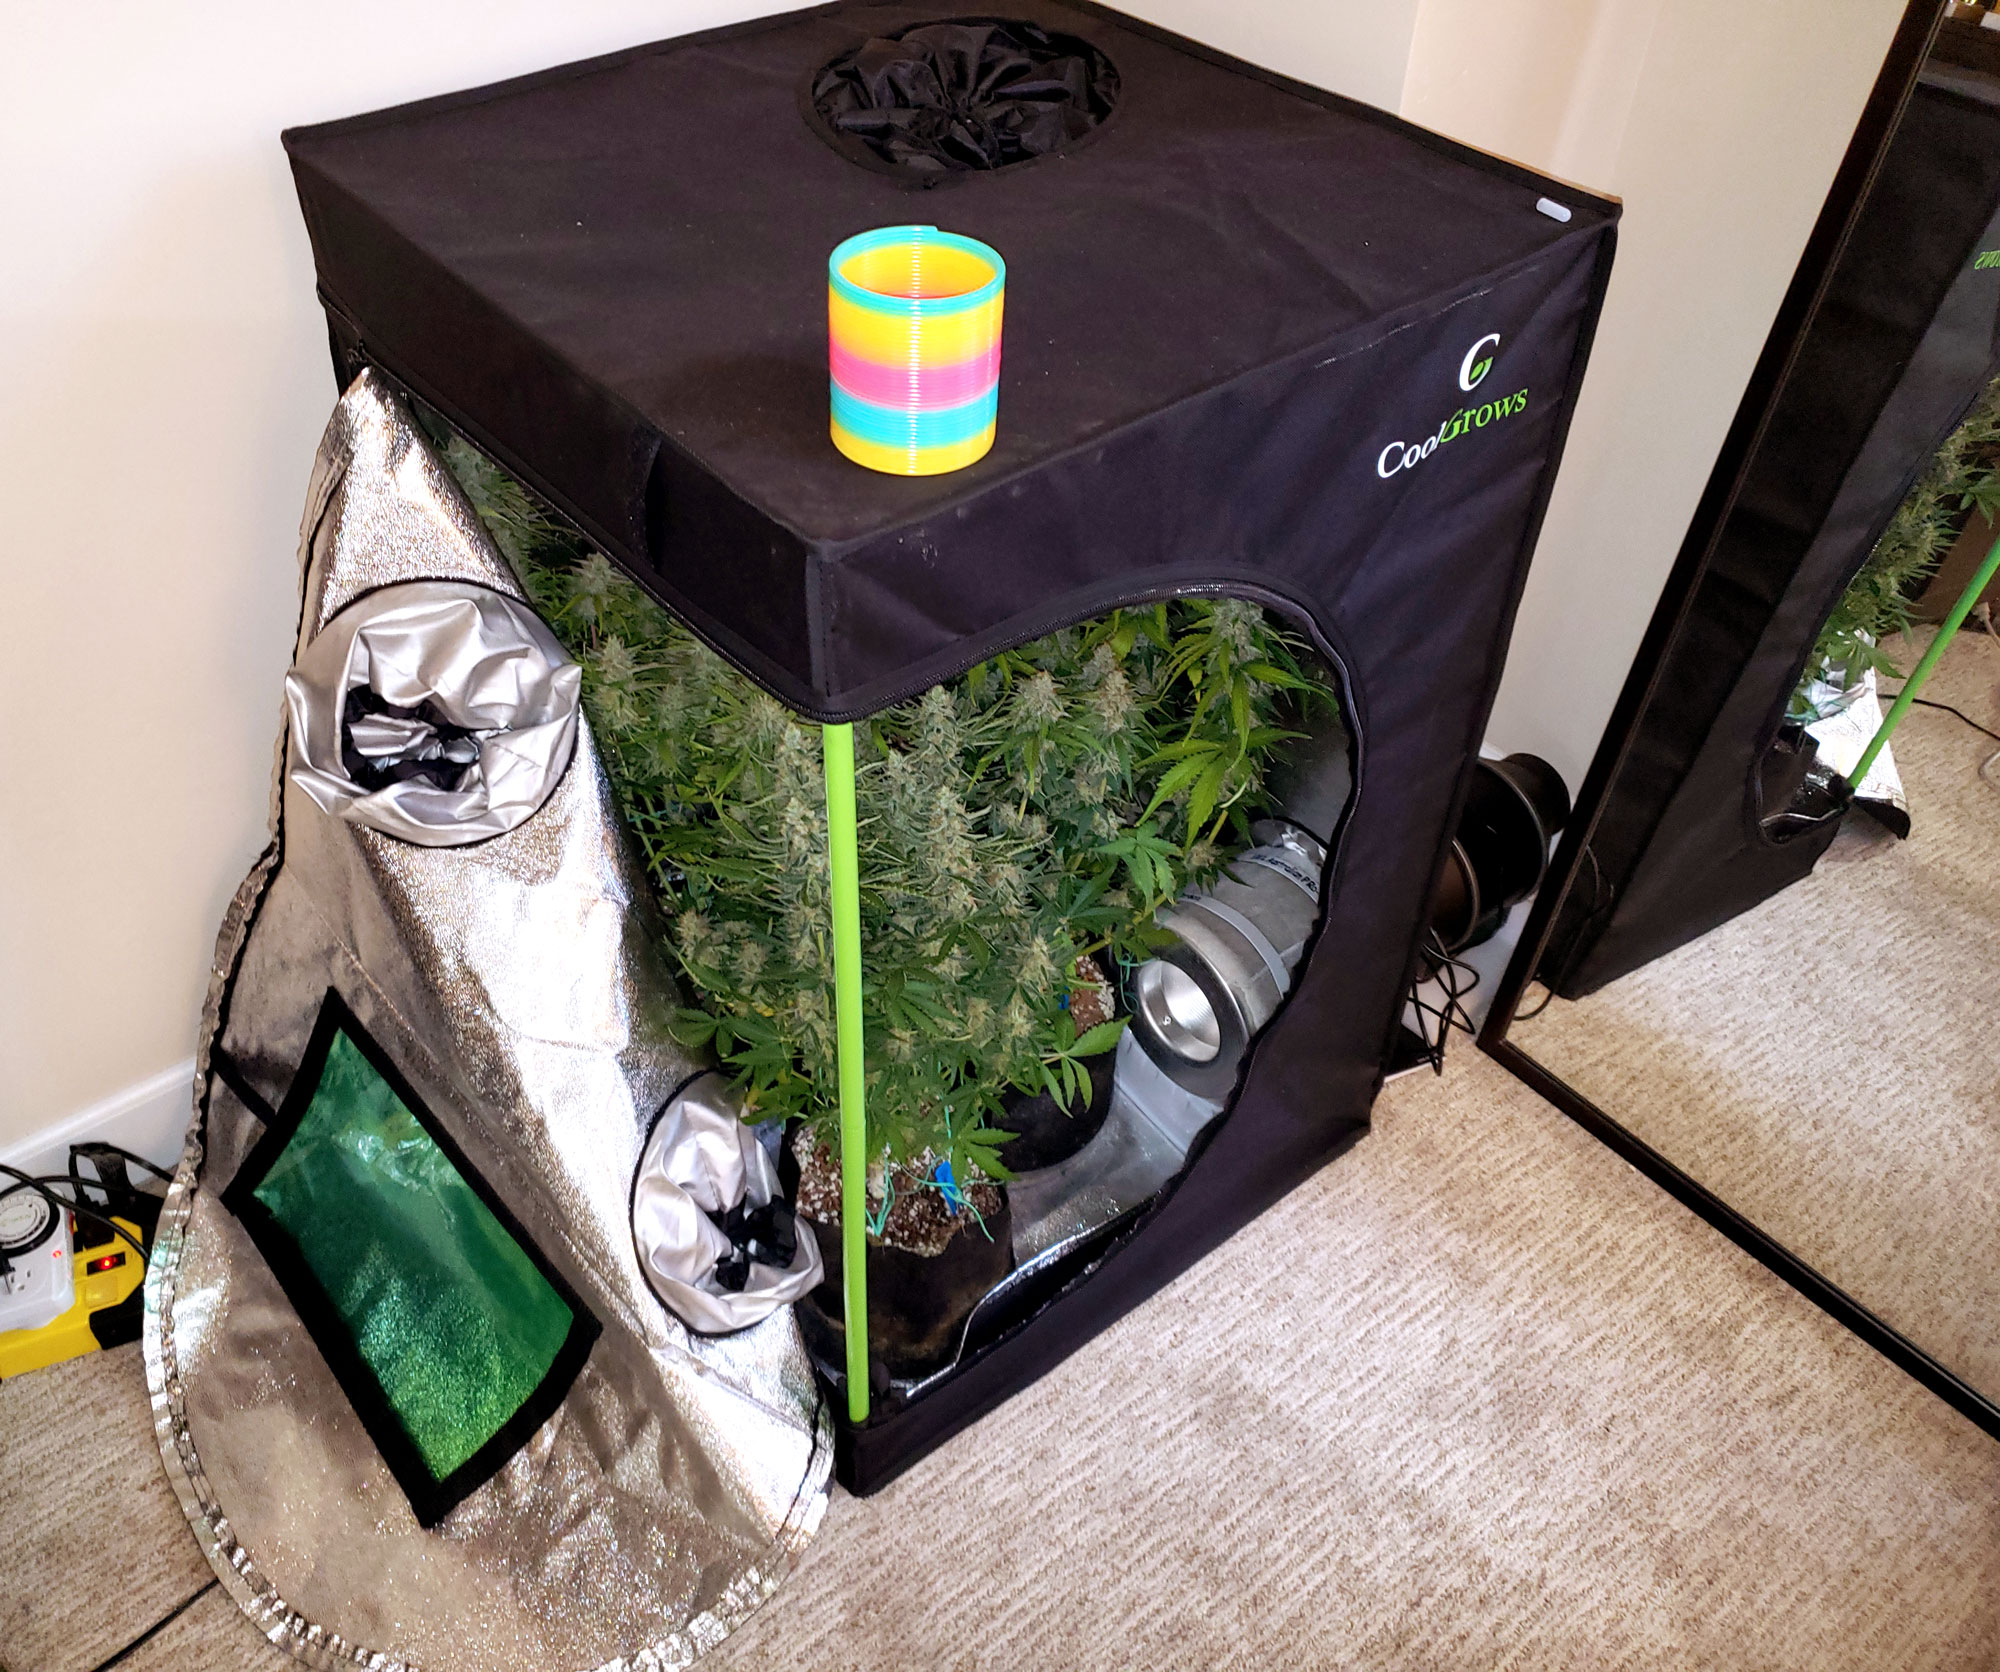
Indoors or outdoors? A spare room? A closet? Learn more about different places to grow weed indoors. One simple way to get started is to put your plant inside a cheap grow tent.
I personally think grow tents are a cheap (under $100) and easy way to set up the perfect grow environment, but there are lots of great places to grow!
The main thing to remember about your growing environment is that when the temperature, humidity and overall airflow feels nice to you, it’s probably good for your plants, too! Learn more about setting up the perfect environment.
Step 2: Choose Your Grow Light
If your goal is to harvest…
1-4 oz – Small LED grow light
4-9 oz – 250W HPS
7-14 oz – 400W HPS
10-21 oz – 600W HPS
1-4 oz (Small)
- Ultra short edition – 3′ tall
- 65W – HLG 65 LED Grow Light
- 1-3 oz per harvest
- $300 to get started
- Room to grow – 4′ tall
- 100W – SF-1000 LED Grow Light
- 2-4 oz per harvest
- $430 to get started
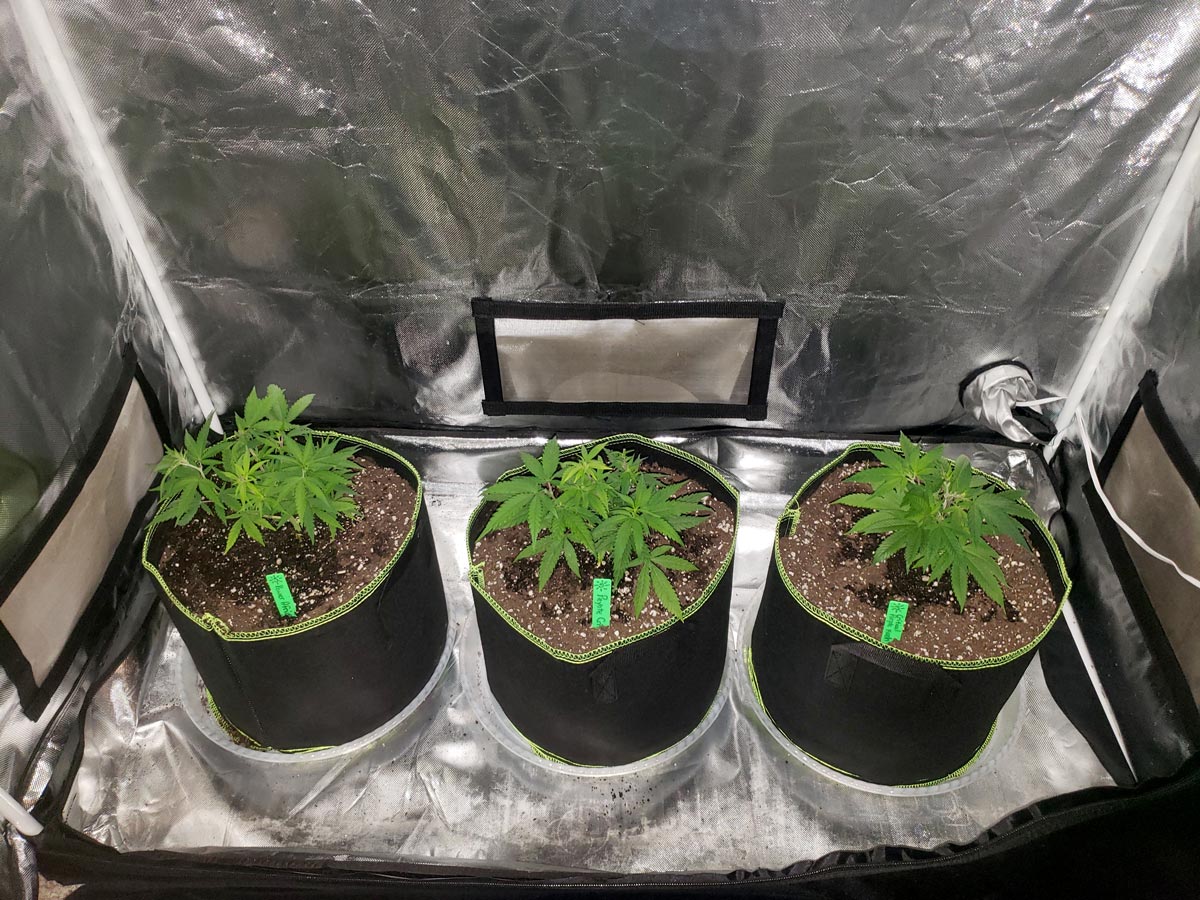
Example of a small grow.
5-16 oz (Medium)
- Standard Power – 5′ tall <--Amazing option for beginner growers!
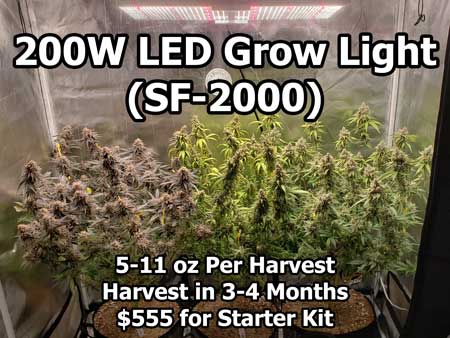
- 200W – SF-2000 LED grow light
- 5-11 oz per harvest
- $555 to get started
- Max Power – 6′ tall
- 300W – Mars Hydro SP3000 LED
- 7-13 oz per harvest
- $575 to get started
- Over Power – 6′ tall
- 300-400W range (dimmable) – for growers who go crazy with power
- Up to 16 oz per harvest
- $495 to get started with a 400W HPS
- $745 to get started with 315 LEC
- $890 to get started with HLG 350R (Massively overpowered LED)
The SF-2000 LED grow light is one of the best LED grow lights for home growers. It yields up to 11 oz of potent, top-tier weed, yet is low on heat and electricity.
11-22 oz (Large)
- 1+ lb LED Producer – 6.5′ tall
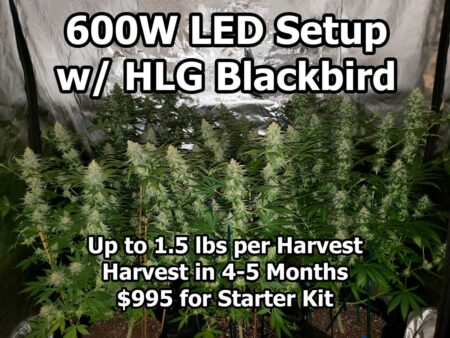
- HLG Blackbird 600W LED grow light
- 11-22 oz per harvest
- $995 to get started
- 1+ lb HPS Producer 6.5′ tall
- 600W HPS (dimmable)
- 10-21 oz per harvest
- $495 to get started
The HLG Blackbird 600W can easily yield a pound of dense, potent, sparkly weed! Perfect for a 4’x4′ grow tent.
Compare different grow lights for growing cannabis.
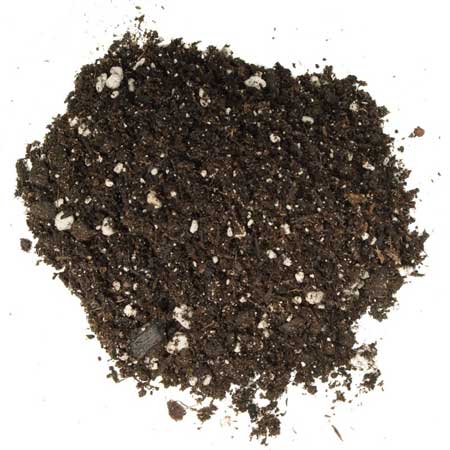
Step 3: Choose Your Growing Medium
There is no best way to grow pot! Each option has its own pros and cons.
- Soil – Close to nature, especially if growing in amended and composted soil without any liquid nutrients. Slightly slower growing but buds tend to have a stronger and more complex taste/smell.
- Coco Coir – Coco is a hand-watered medium that looks and acts a lot like soil, but is actually made out of broken up coconut husks. Plants grown in coco grow a little bit faster than in soil, and coco has properties that soothe plant roots. As a result, coco tends to be more forgiving than most other grow mediums, and plants are more resistant to heat. Another advantage is pests are much less likely to attack plants in coco because many bugs need soil to live. If you’re not sure which medium to start with, I highly recommend starting with coco! That’s what I did and I’m so happy because it was also a perfect way to train for moving on to either soil or hydro 🙂
- Hydroponics – Setting up a hydroponic reservoir takes more work than soil or coco but hydro grown plants get the fastest growth of all grow mediums, meaning you get to harvest more quickly with the same amount of electricity. Hydro-grown buds tend to be very potent.
Step 4: Get Nutrients
If you’re starting in composted, amended soil, you don’t need to worry about adding extra nutrients. For regular soil growers, you want to supplement your plant with extra nutrients after it starts using up the nutrients in the soil. For coco and hydro growers, you provide all your nutrients directly to your plants from the beginning. Luckily all quality nutrients come with an easy schedule to follow, so you don’t have to think about it!
What Nutrients to Get for Each Stage of Life
- Vegetative Stage – In this stage you should use nutrients that are high in Nitrogen (N). Almost any general plant food will work. The extra nitrogen will provide what your marijuana plant needs in the vegetative stage
- Flowering Stage – Plants need a low-Nitrogen (“Bloom”) formula that is high in Phosphorous (P) and Potassium (K) in the flowering stage. In a pinch you can use cactus or succulent nutrients, because they use a similar nutrient ratio.
Learn more about cannabis-friendly nutrients.
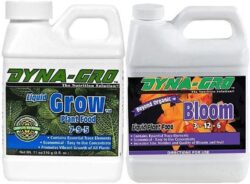
Examples of Great Cannabis Nutrients
Dyna-Gro Grow + Bloom – Easy, cheap, effective cannabis nutrients. Use “Grow” in vegetative stage, “Bloom” in flowering stage. 1 tsp/gallon from seed to harvest.
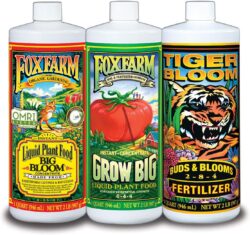
Fox Farm Soil Nutrient Trio – Mostly organic, perfect for growing in soil. Follow their recommended nutrient schedule for best ratios for weed.
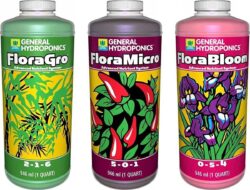
General Hydroponics Flora Trio – Professional-grade nutrients for serious cannabis growers. Fast-growing plants and top-shelf weed. Here’s my custom guide to using these nutrients for cannabis.
Step 5: Get Your Cannabis Seeds
If you don’t have access to live plants or seeds, the best way to get started growing is to order seeds online. You can get seeds delivered anywhere in the world, including Canada, Australia, the UK and every state in the USA.
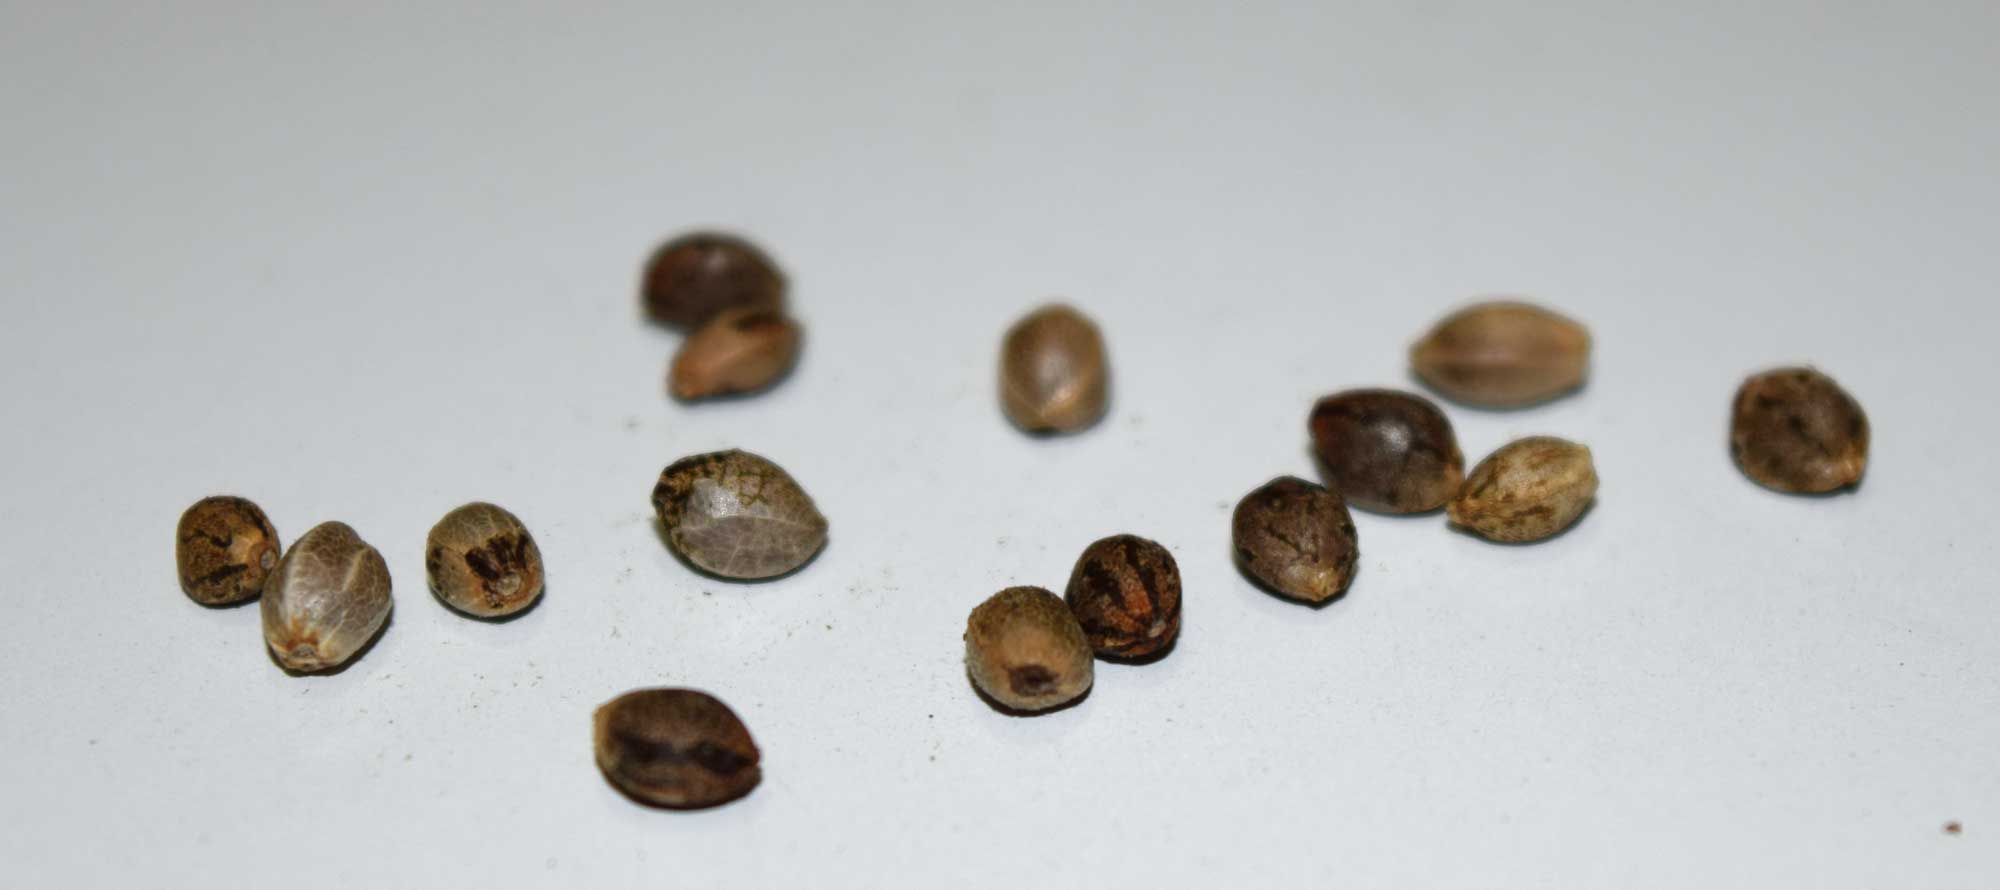
Learn more about researching strains to figure out which one you might like best! Choose an auto-flowering strain for the fastest harvest (harvest in as quickly as 2 months).
Step 6: Germinate Your Seeds
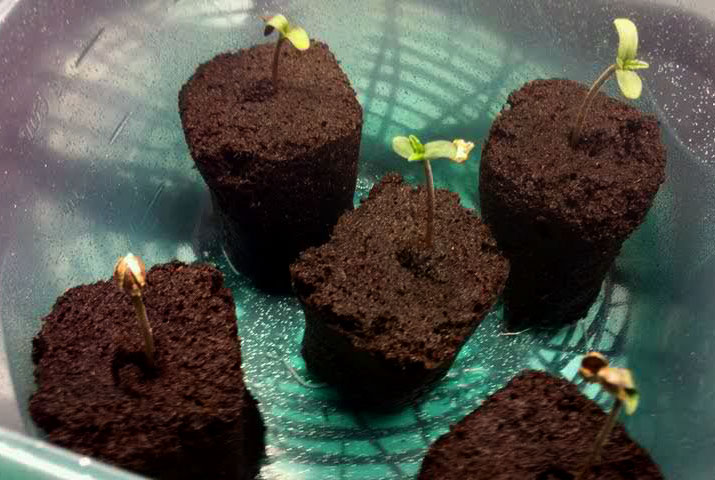
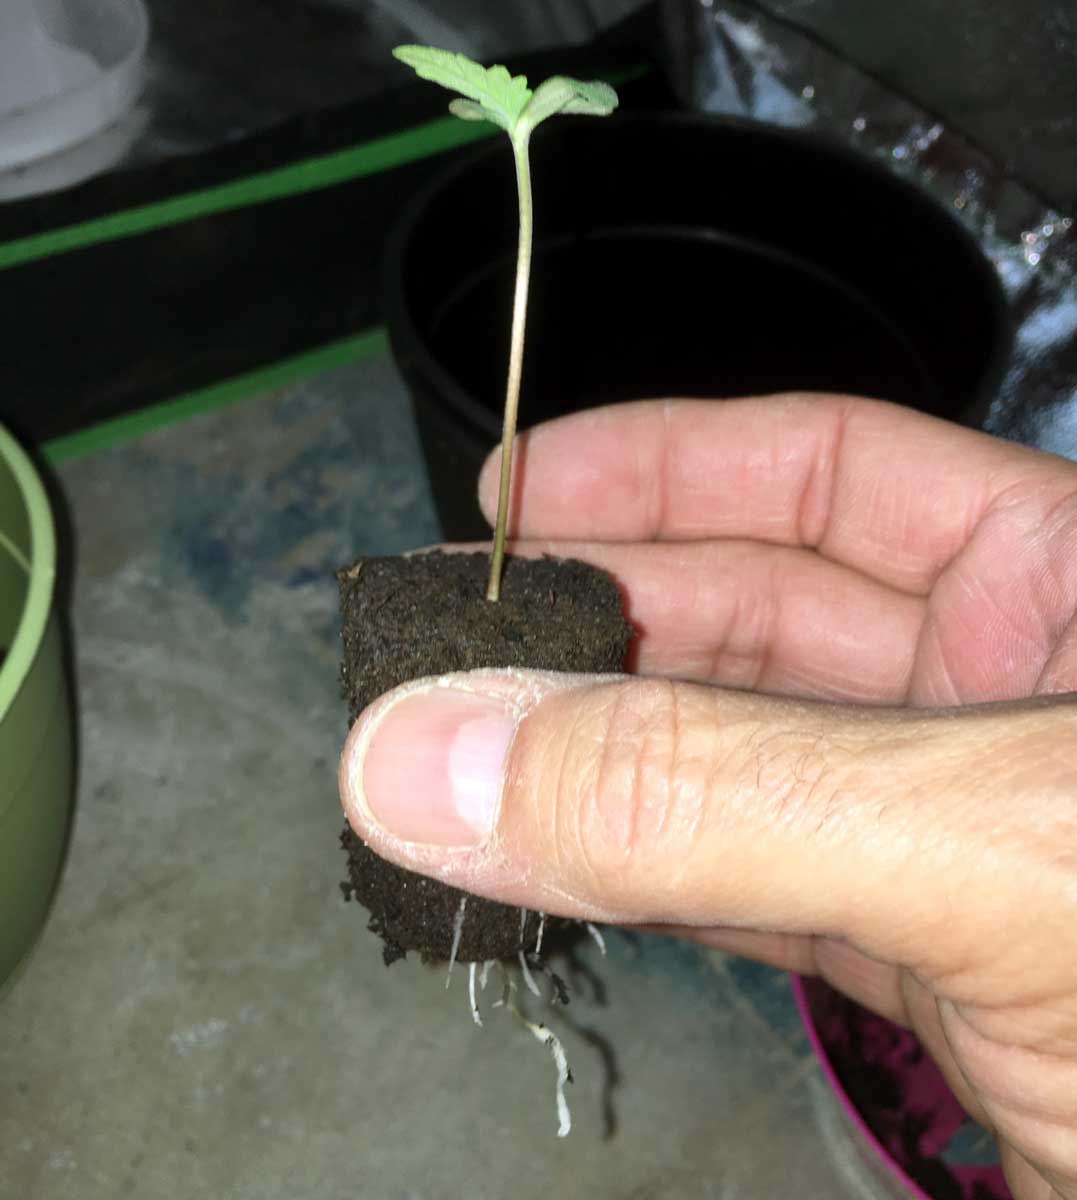
One of the simplest ways to germinate your seeds is to plant them in a starter plug like a Rapid Rooter. These already moist when you get them and are designed to give your seed everything it needs for the first few days of growth. Just put your seed in the pre-cut hole and leave in a warm place until your seedlings appear! (Here’s more info if you would rather germinate the seeds first, and then put them in the Rapid Rooters). Add a few teaspoons of water if they start to dry out but don’t add so much water the rooters actually look shiny wet. You don’t want to drown your seedlings! Unless your air is really dry, seedlings like the open air and don’t need a humidity dome like clones do. They get all the water they need through their roots.
Simply put your seeds in the pre-moistened plugs and wait for seedlings to appear 🙂
After germination, you place your Rapid Rooter directly into soil/coco, or insert into a net pot if you’re in hydro. The Rapid Rooters make it so you can’t really mess up transferring seedlings!
If you see roots out the bottom, it’s time to transfer plant into its next destination!
There are other ways to germinate seeds if you don’t have or don’t want to use Rapid Rooters. For example you could use the popular “paper towel method” or even plant your seeds directly into the growing medium! Learn about other ways to germinate your seeds here.
Help for common cannabis seedling problems.
Step 7: Vegetative Stage
Your Main Duty: Water Plants & Adjust Grow Light
In the vegetative stage a marijuana plant really does grow like a weed! It can recover from a lot even if you mess up. You can almost even think of it as a regular houseplant, just a really fast growing one!
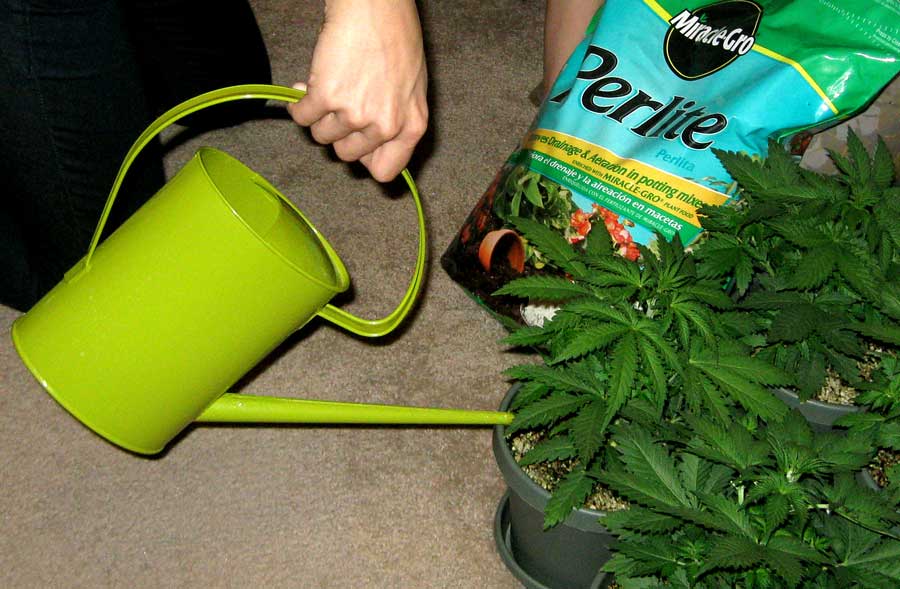
At this point your main job is to water your plants and check the pH regularly (to prevent nutrient problems). If you are using high levels of nutrients and supplements, try to give plain water sometimes to prevent nutrient build-up.
When it comes to nutrients, follow the nutrient schedule or recommended dosage for “vegetative” growth. However, it’s a good idea to start at half-strength at first since most nutrient recommendations are often a bit too strong for marijuana right away.
Lean how to water plants perfectly every time!
When the top inch feels dry to the touch, water your plants well and remove runoff water. Avoid watering too often! You should be watering vegetative plants every few days. If they’re drying out in less than a few days, transplant to a bigger pot or give more water at a time. If they’re taking more than 3 days to dry, give less water at a time until they’re drinking faster.
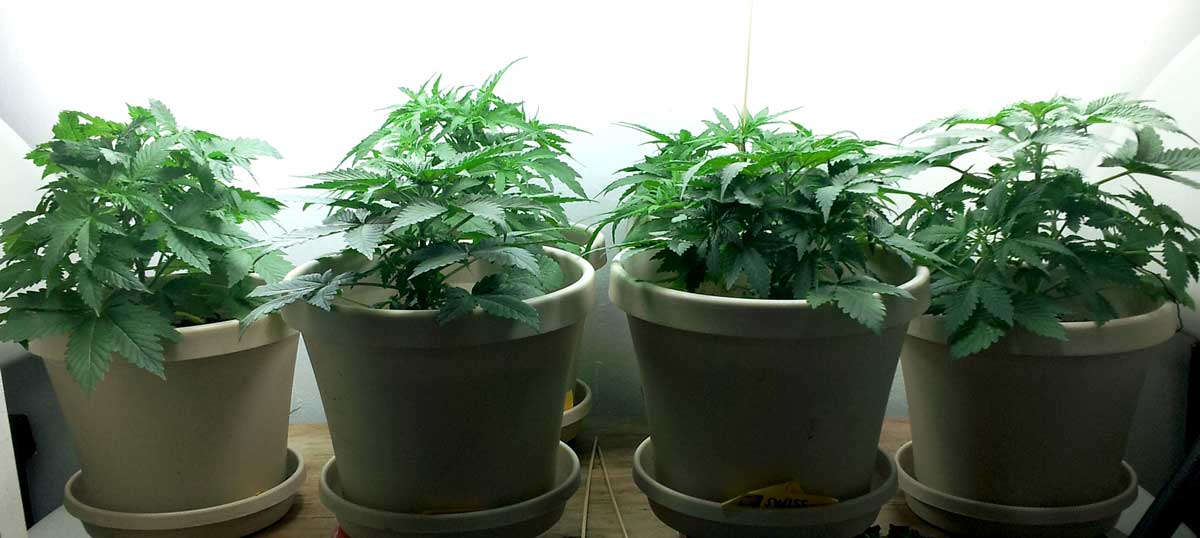
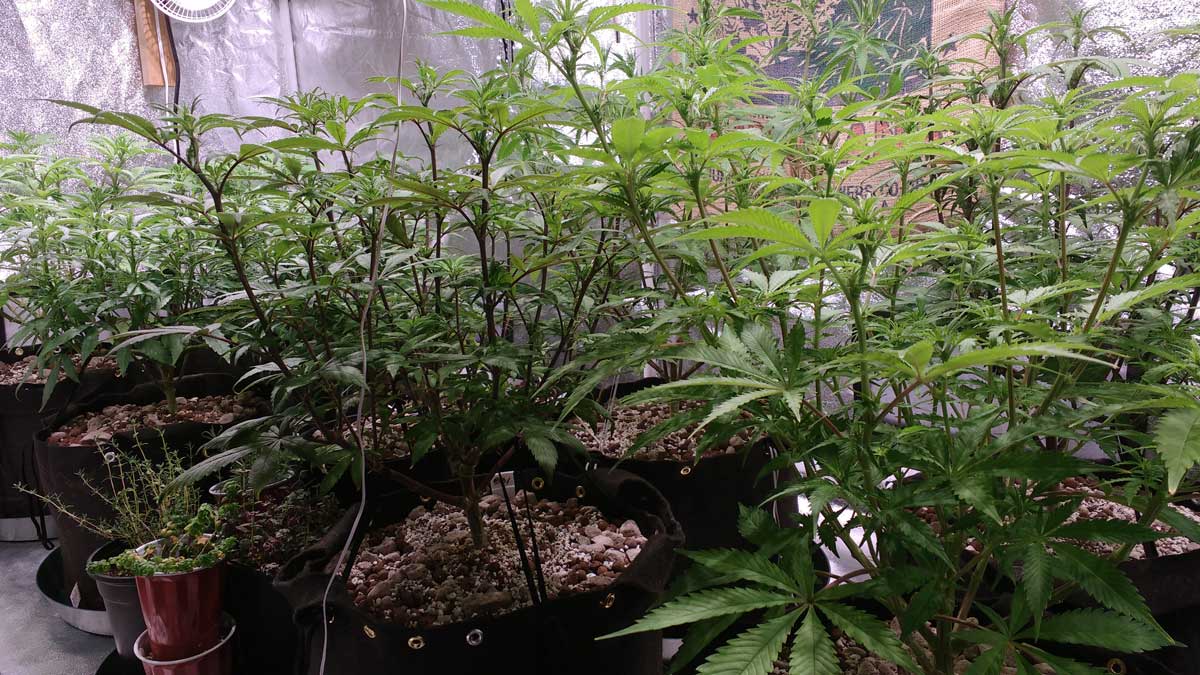
During the vegetative stage your plant only grows new stems and leaves, and overall the plants will keep getting bigger and bigger.
Many indoors growers choose to train their plants in the vegetative stage to grow in a flat, table-top shape, as this will increase your yields under indoor grow lights in the flowering stage. But even if you don’t do anything your plants will still grow just fine.
Try to make sure you keep your grow lights a good distance away so they’re not burning your plants, and other than that just wait until your plant has reached half the final desired size.
Plants in the vegetative stage only grow stems and leaves, no buds!
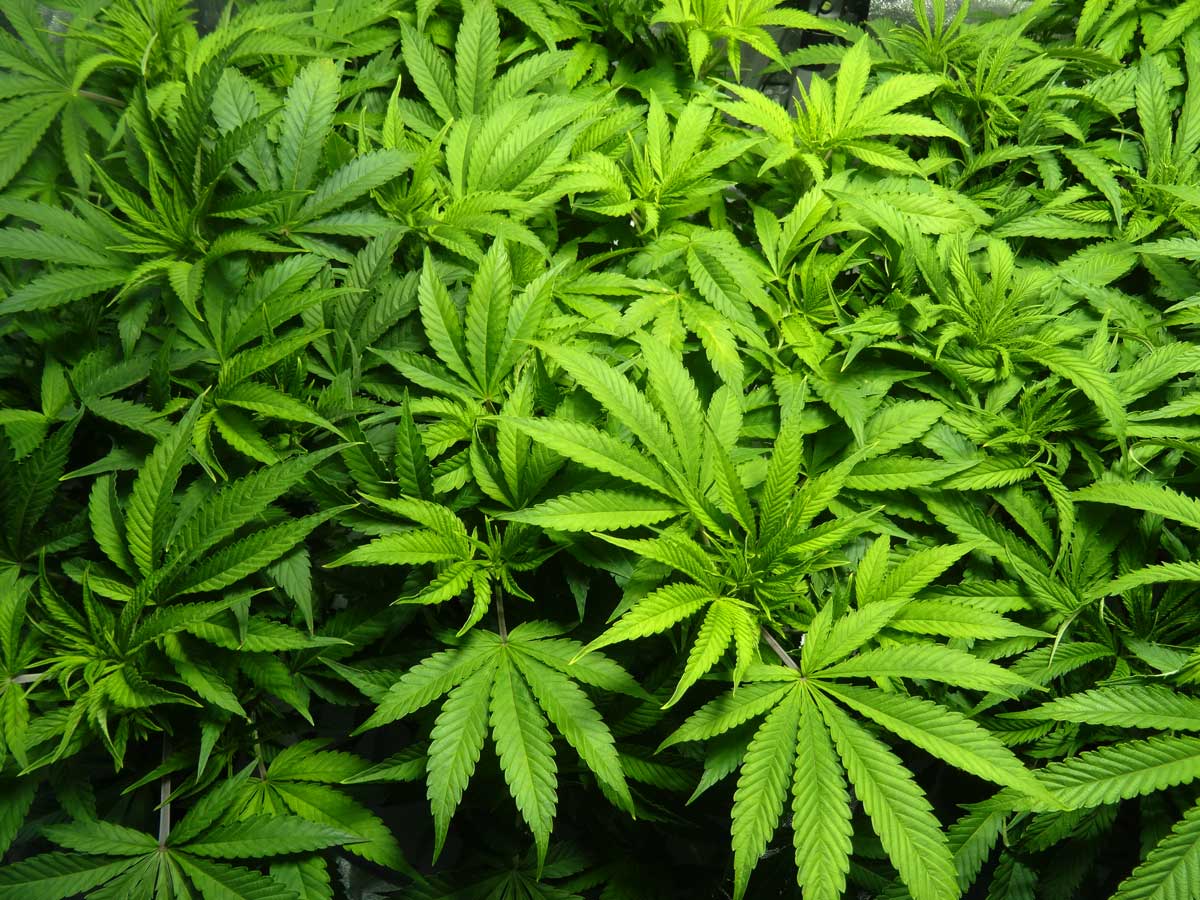
Plants in the vegetative stage can grow several inches a day after they get going!
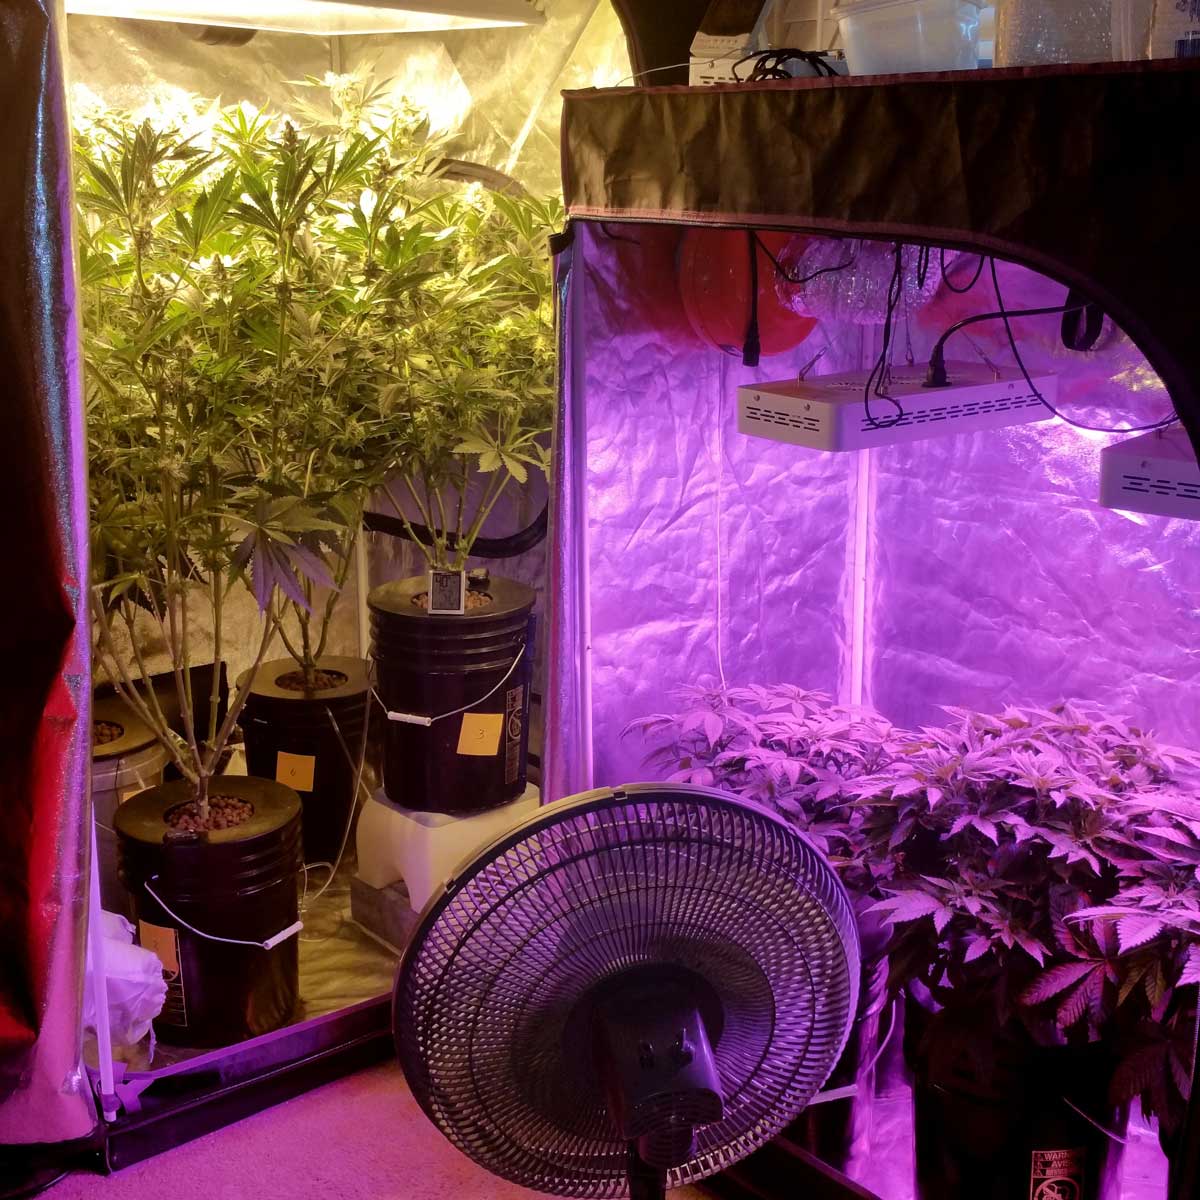
 pic by Froctor Dankenstein
If you don’t watch out, your grow space can get out of control 🙂

Get help with common vegetative stage growing problems
If want to know more about what to expect (and what to look out for) in the vegetative stage, check out the complete vegetative stage tutorial!
Step 8: Flowering Stage – Buds Start Growing!
When your plant has reached half the final desired size, it’s time to tell it to start making buds! After you do this step, your plant on average will about double in size (more or less depending on the strain), so don’t wait too long!
Switch to the flowering stage when your plant has reached half the final desired height. Your plant can double in size after the switch!
You “tell” your plant to start making buds by putting your grow lights on a timer that is set on a 12/12 light schedule. This means the grow light is on for 12 hours, but the plant spends the other 12 hours a day is in uninterrupted darkness.
This daily dark period is like a message that tells your plant winter is coming. Plants will typically start growing buds within 2-3 weeks after the switch to a 12/12 light schedule.
The first few weeks after the switch to 12/12, your plant will be growing fast! This extra fast growth period is known as the flowering stretch.
Here are two plants right after they are given a 12/12 light schedule. Notice how both get taller, but one gets far taller than the other. The amount of “stretch” after the switch is determined by strain/genetics. Hopefully this animation gives you an idea of how plants develop in the flowering stage from 12/12 to harvest. Learn more about growing different strains together.
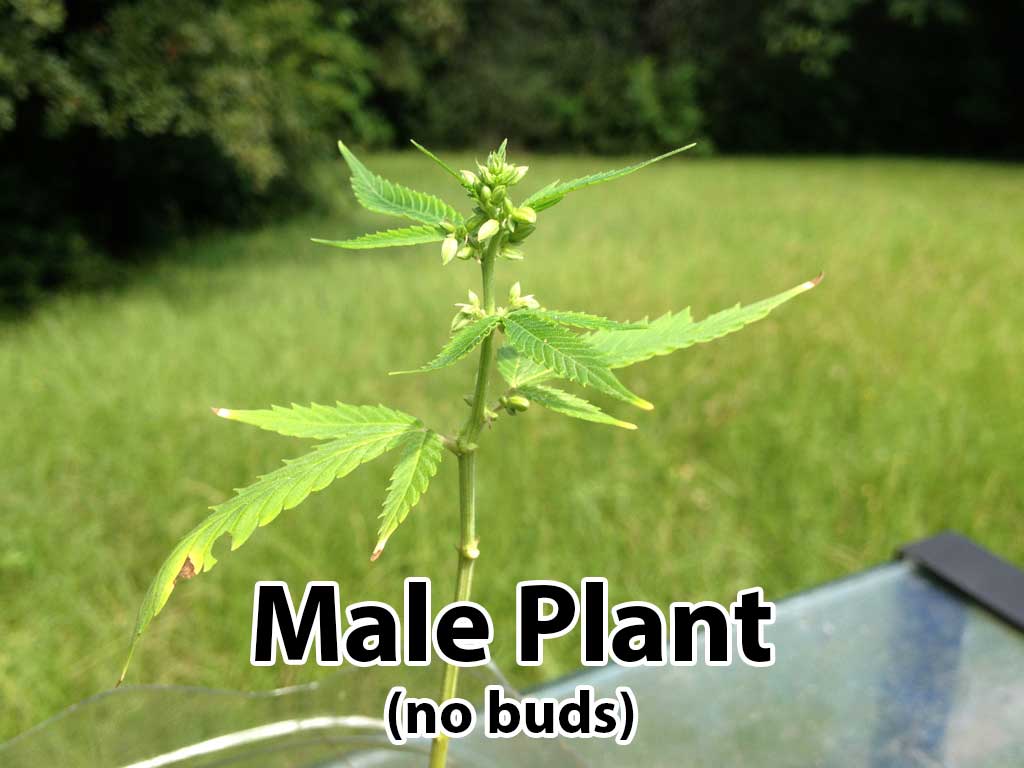
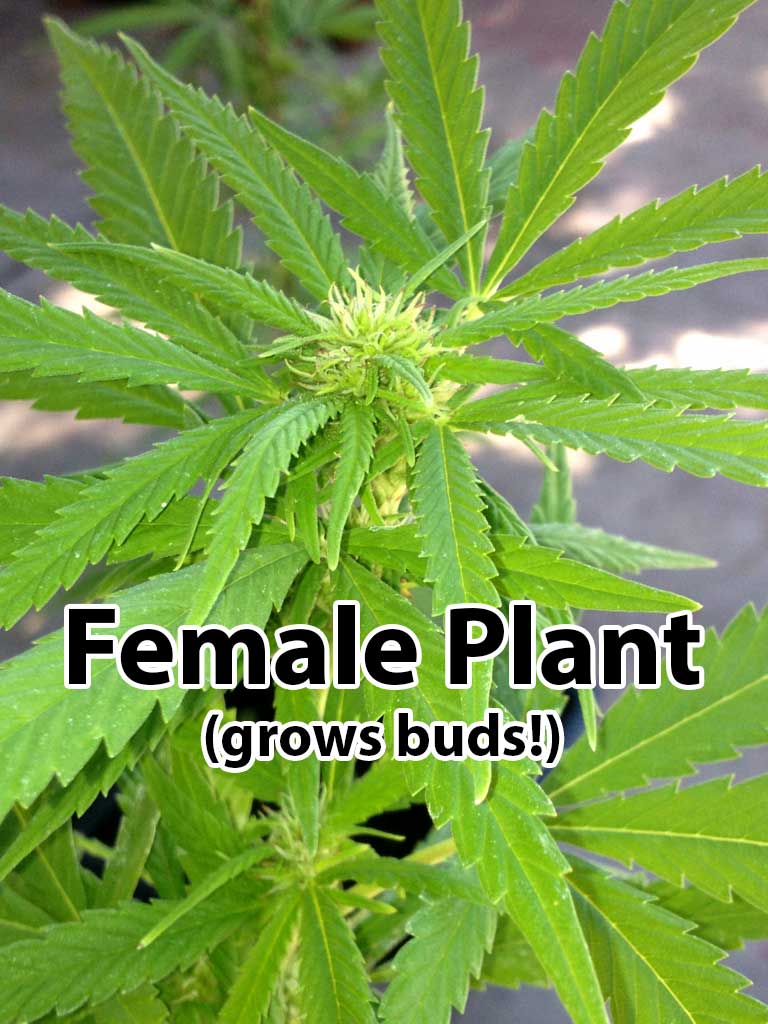
Male vs Female
When your plant starts making flowers, you need to double check that they’re all making buds (female) and not pollen sacs (male). Learn where to look on the plant to figure out the plant gender as soon as possible.
You can skip this step if you started with feminized seeds (since all plants will be female and make buds).
If your plants are female they will start growing wispy white hairs that eventually turn into buds. If your plant is male, it will grow pollen sacs that look like little bunches of grapes, and these will open up into flowers that can pollinate your buds and make them full of seeds.
Learn more about male vs female plants!
It’s important to identify any male plants as soon as possible and remove them from your grow room so your female buds don’t produce seeds from being exposed to pollen.
Around 6 weeks after the switch to 12/12, your plant will stop growing bigger and focus completely on bud growth. Although that’s true for most strains, some long-flowering or Sativa strains can continue growing taller for longer.
Your Main Duty After Week 6: Watch Buds & Leaves Closely For Problems
It’s hard to be patient for harvest after week 6 because eventually the plant stops making much new vegetative growth while buds fatten and mature. You usually aren’t seeing a lot of new growth any more, so it might seem like buds are done. But even though you might not see it, your buds are getting bigger and more potent each day!
Although plants mostly stop growing around Week 6, buds still need time before they’re “ripe” enough to have reached peak potency. Buds will continue to fatten and get more dense right up until harvest.
Watch plants closely so you can react to any problems quickly so you cruise to the finish line 🙂
Most plants are ready to harvest about 9-13 weeks after the switch to 12/12 though some strains take more or less time.
Next, learn how to determine when your plant is ready to harvest!
Step 9: Harvest Your Cannabis
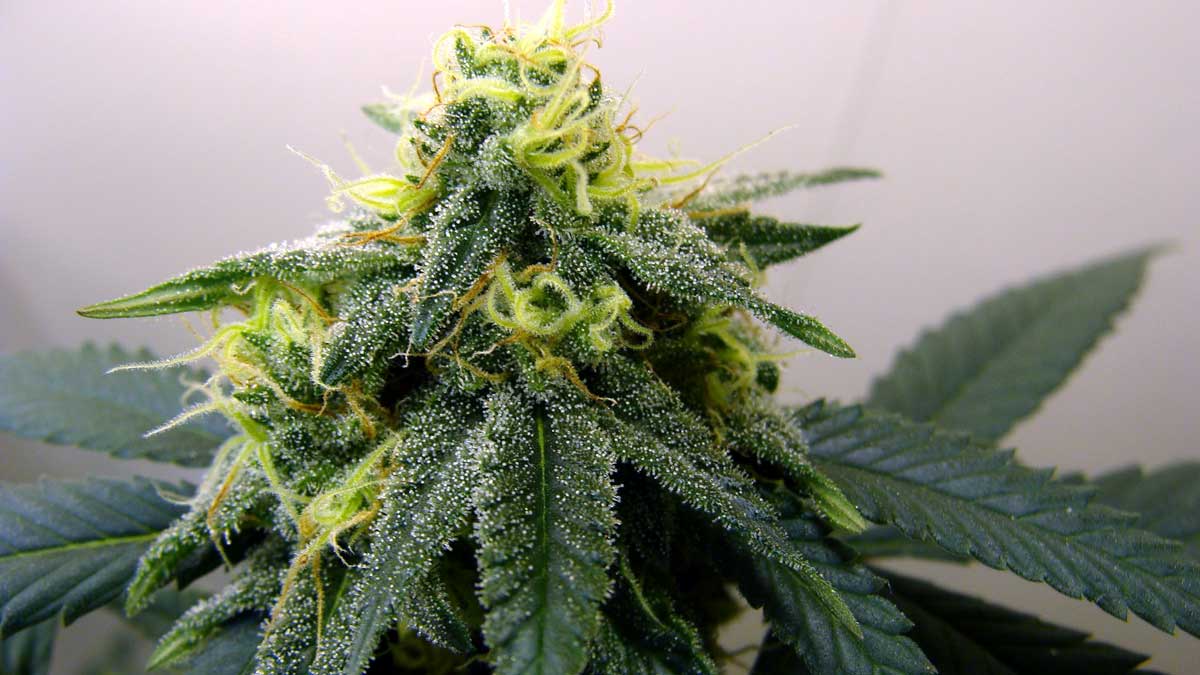
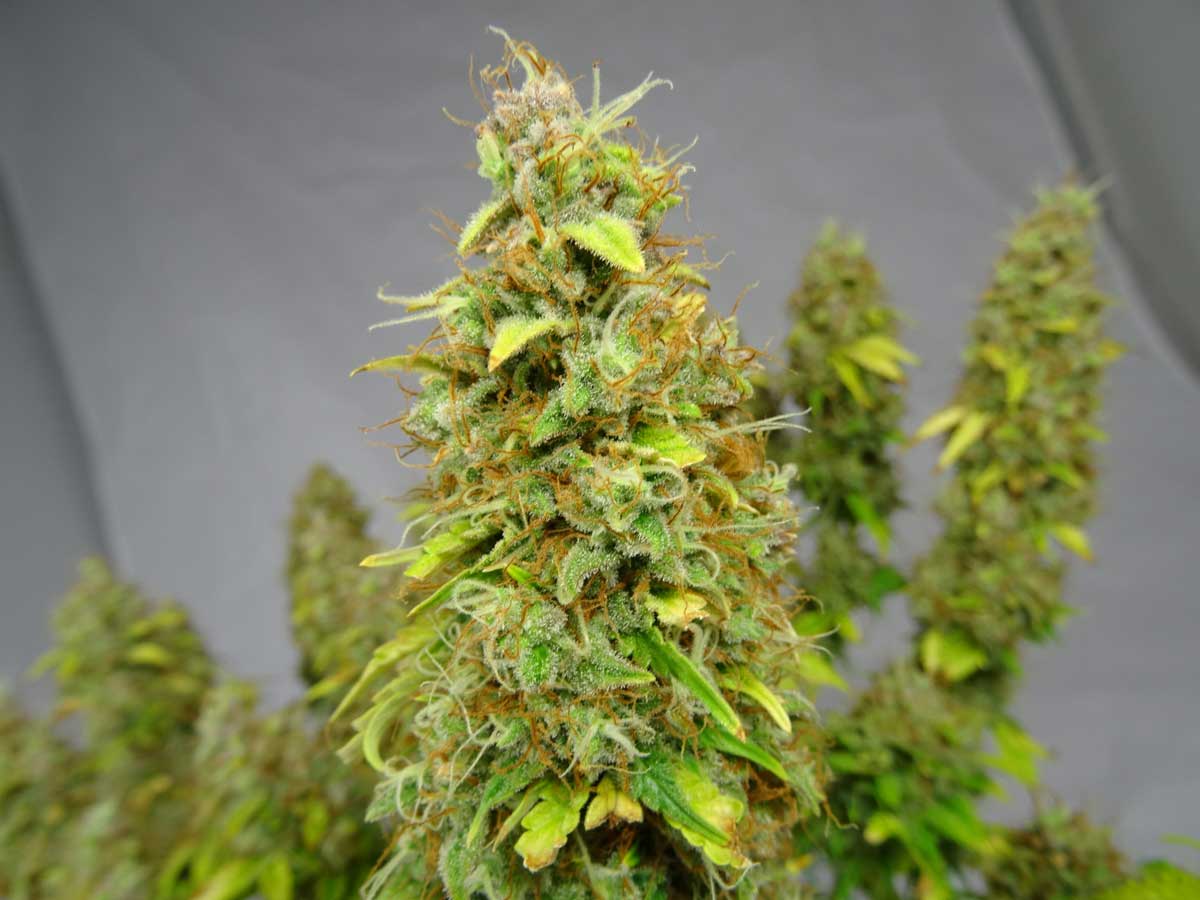
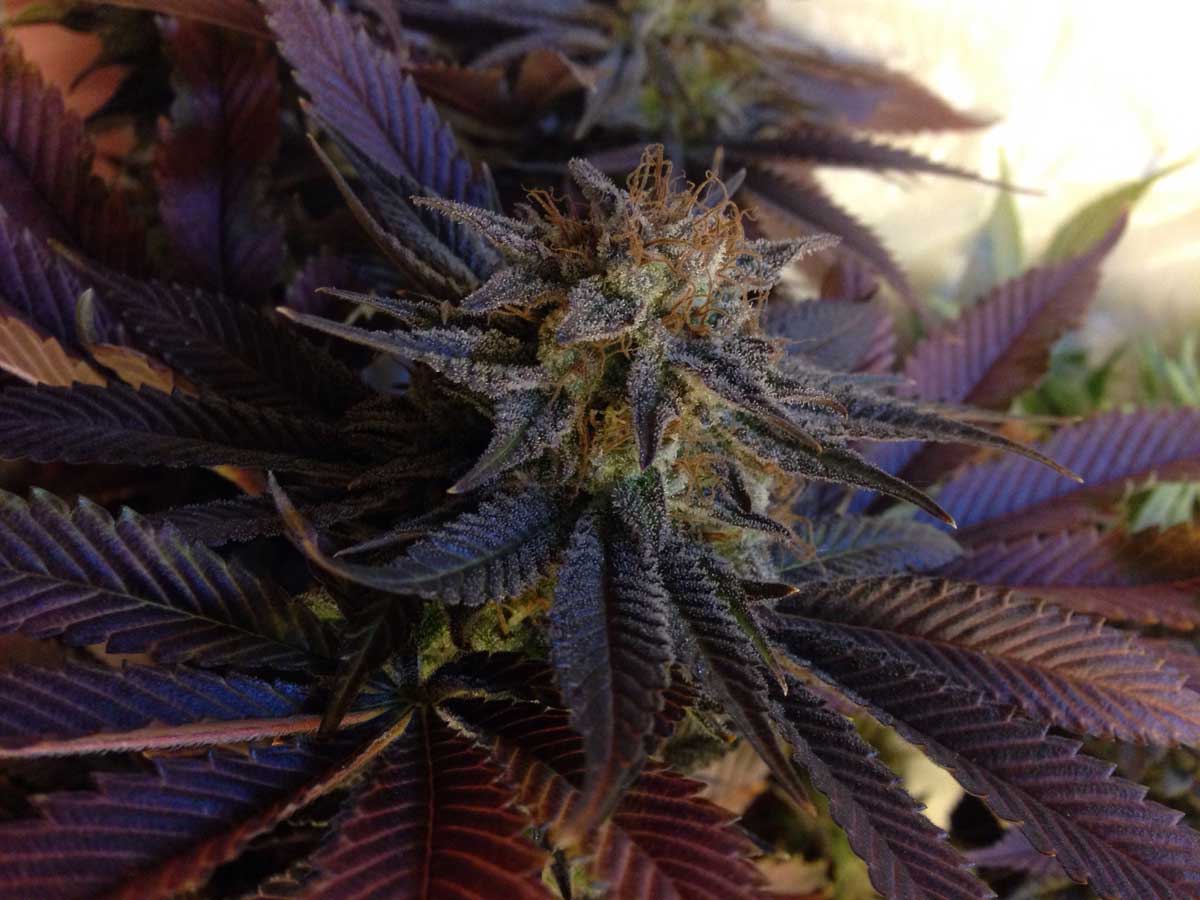
When plants are ready to harvest, the white hairs on the buds will have darkened and will have mostly curled in. What if my plant keeps making new white pistils over and over?
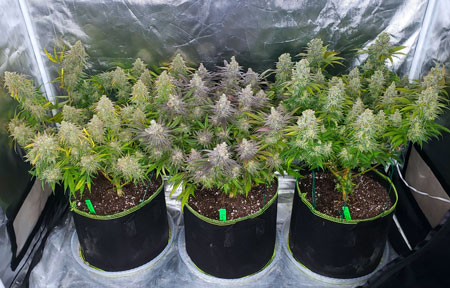
Here are examples of marijuana buds that are ready to harvest
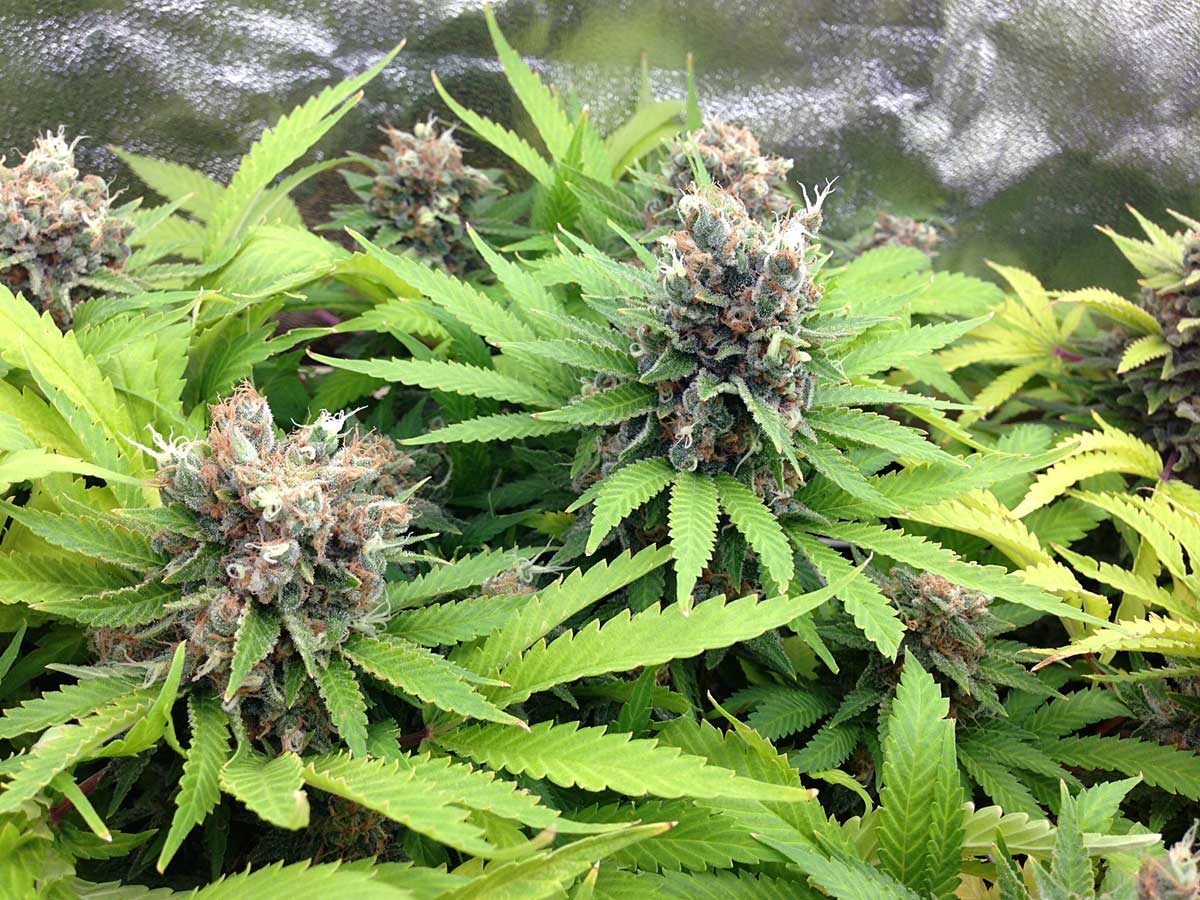

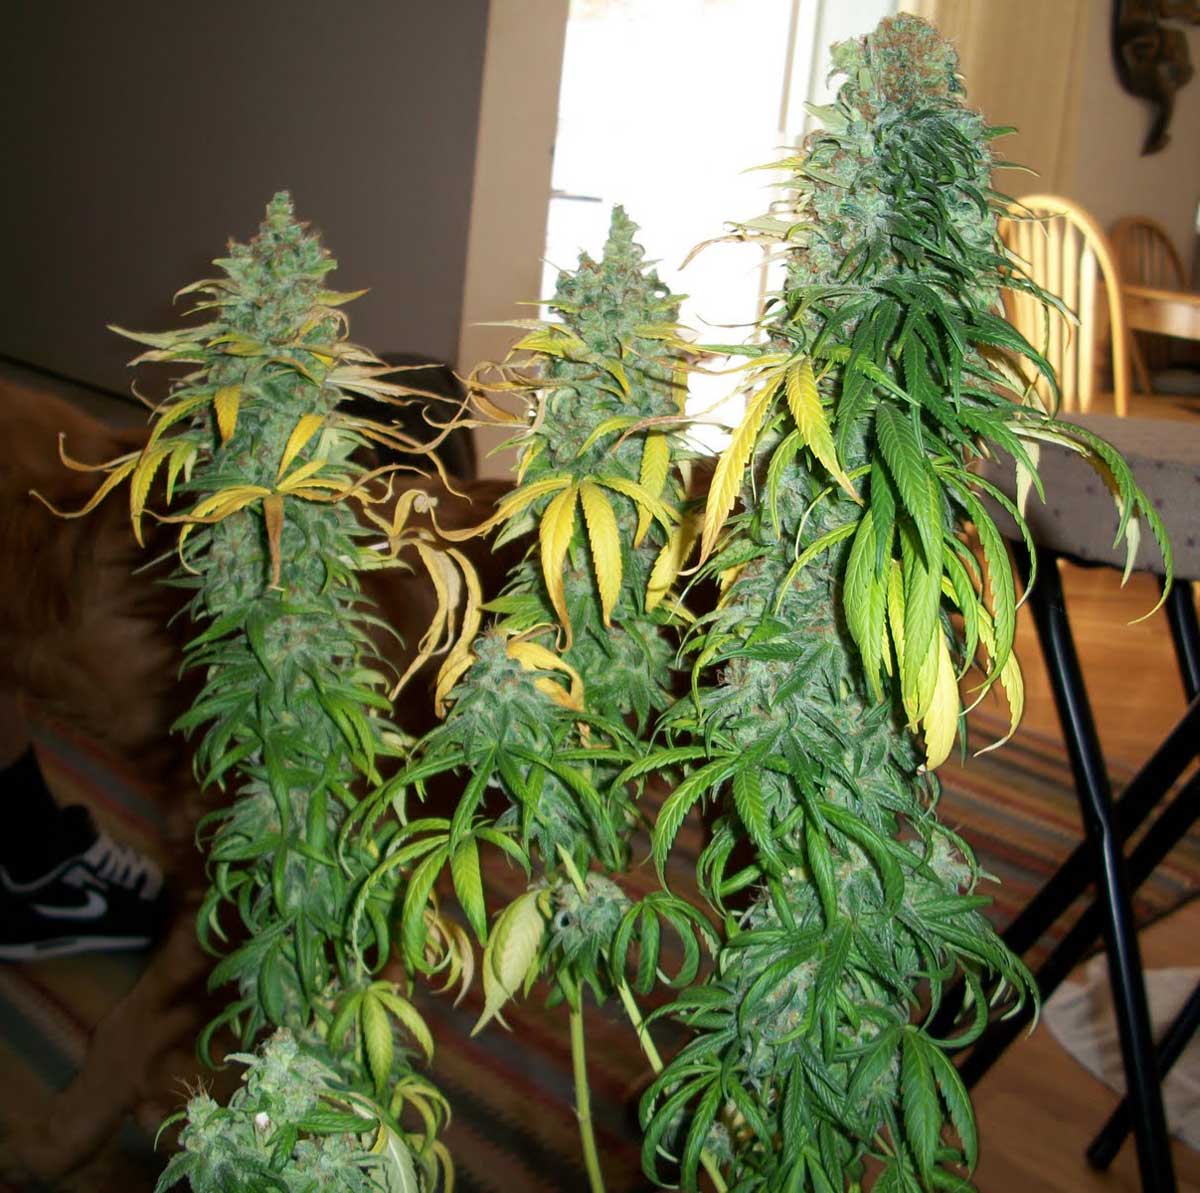

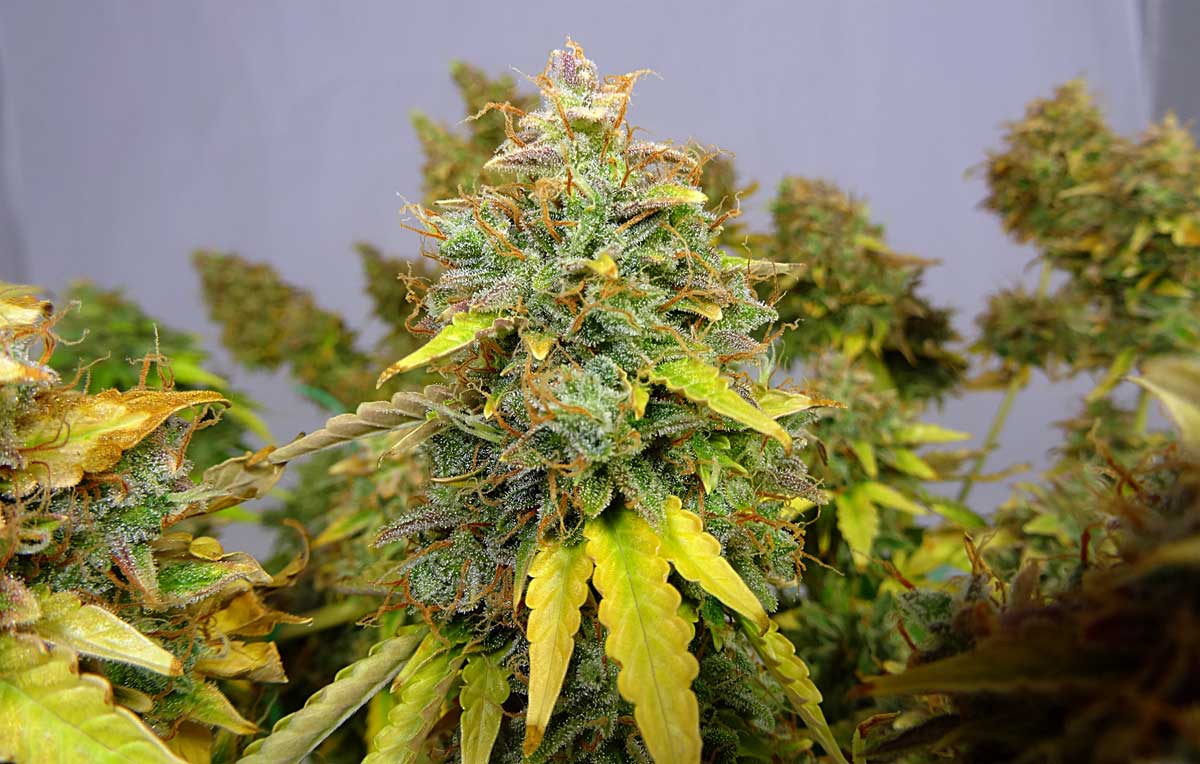
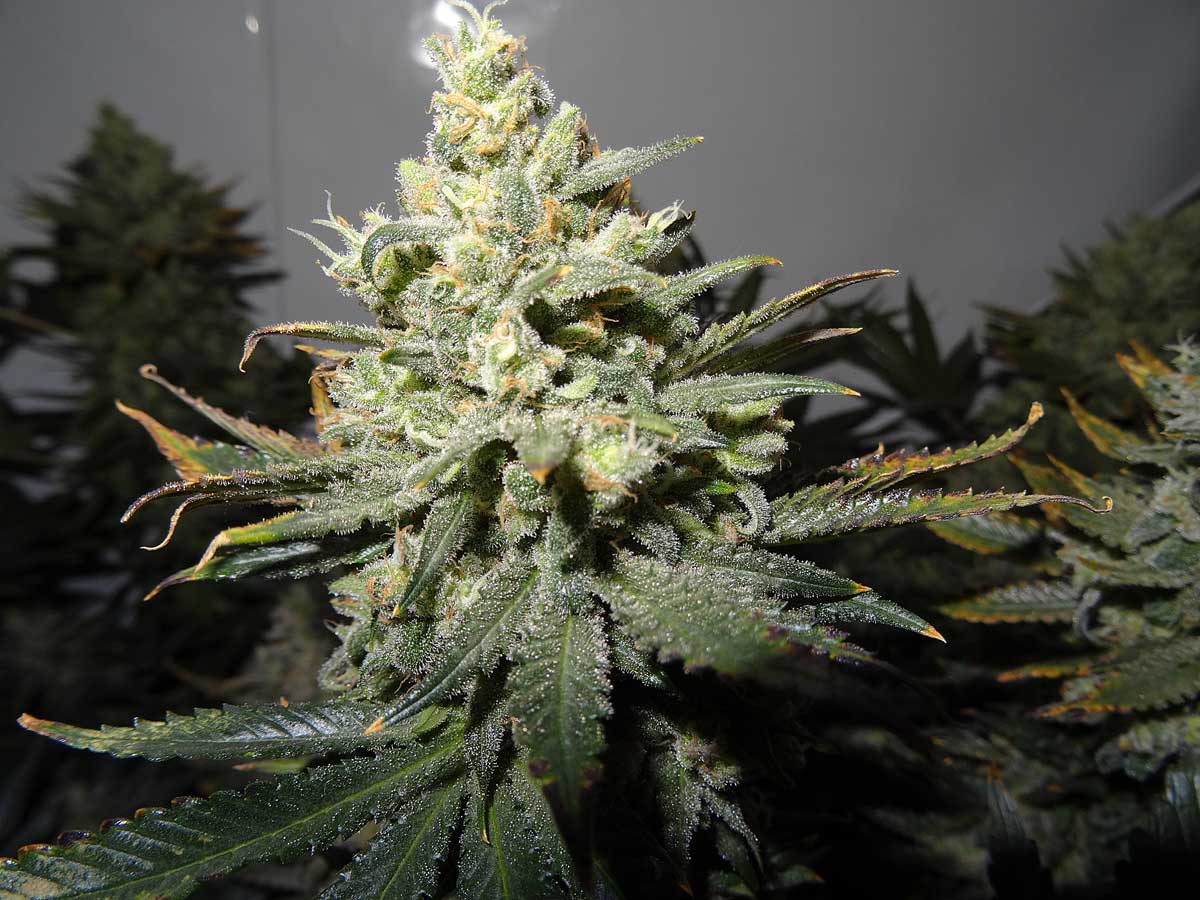
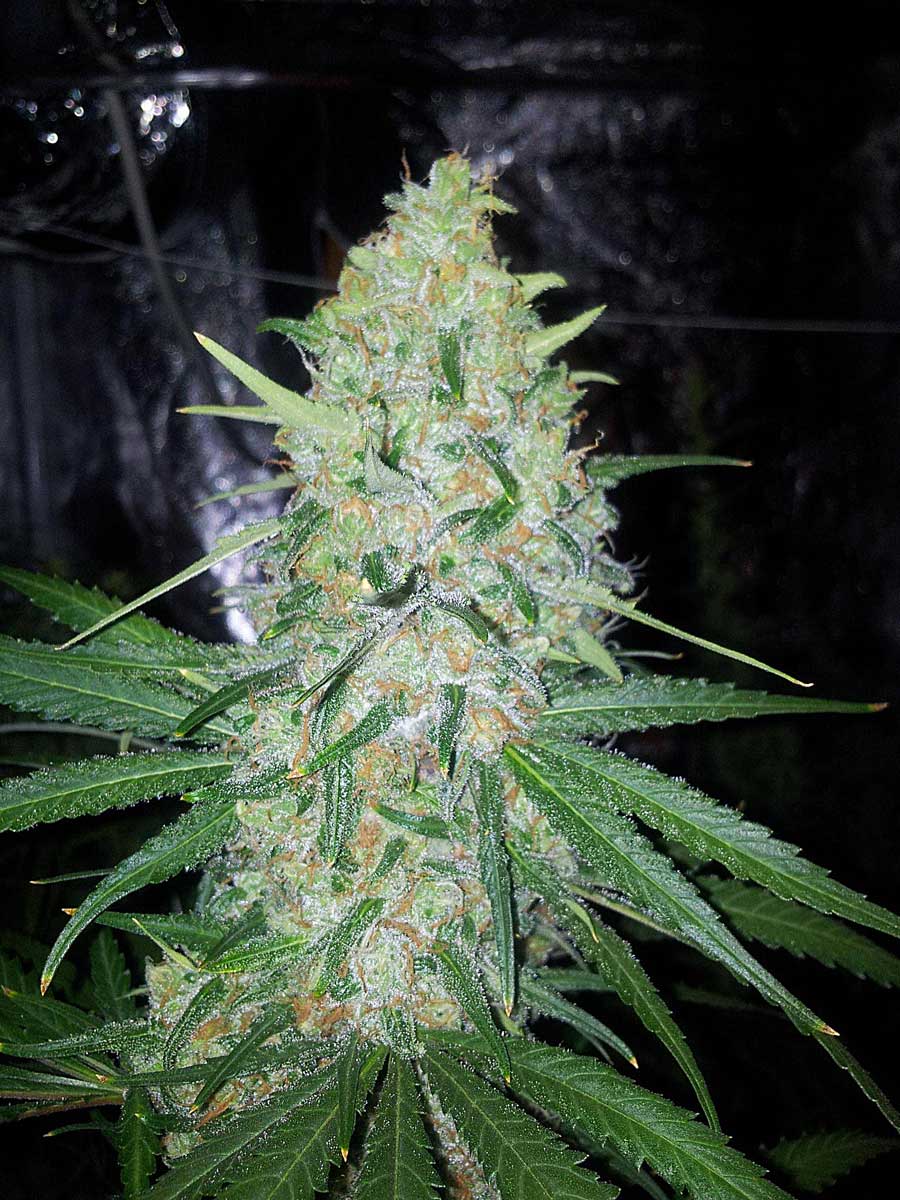
You can choose when to harvest your buds based purely on looks, but if you want to get scientific about it you can use a magnifier to look at buds closely and determine whether they’ve reached peak potency.
Learn how to look at trichomes with a magnifier to determine when to harvest
This is done by looking at the “trichomes” or glitter that grows on buds. When buds have reached the highest levels of THC the trichomes turn milky white. Waiting until a few trichomes turn amber can give buds more of a body or relaxation effect.
Step 10: Dry & Cure Your Buds Like a Professional
Making sure to actually dry your ganja slowly and cure them in jars can increase their quality by up to 50%! When buds are ready to harvest, start cutting down one stem at a time.
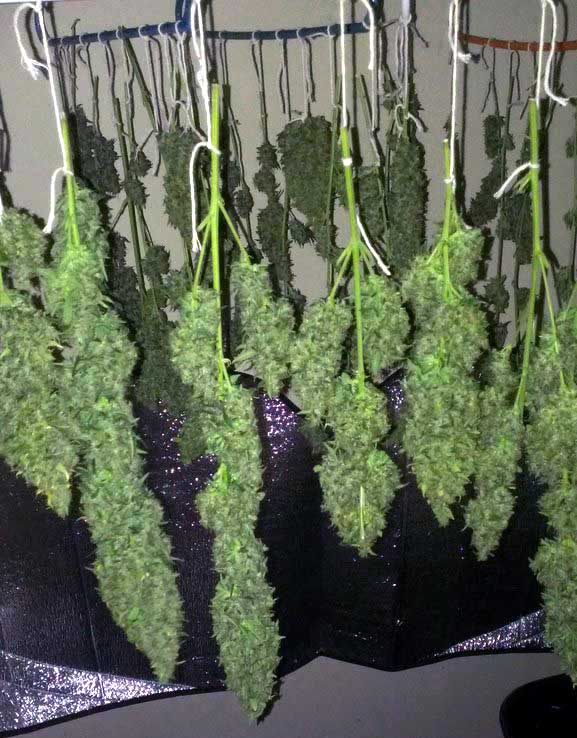
Trim off the extra leaves and hang buds upside down in an enclosed space like your grow tent or a closet.
After drying buds for a few days to a week, the small stems will snap and most buds should pop off on their own without being bendy or leaving strings behind.
At this point put the buds in quart-sized glass mason jars, filling them about 80% full. Open jars daily and make sure the buds don’t feel wet or stick together. After the first 2 weeks you can open jars just once a week or less.
The process of sitting in glass jars is known as “curing” and increases the quality of your buds considerably! The quality (and perceived potency) will continue to improve for up to a few months!
Read the complete drying & curing tutorial
Jump to…
Complete Basics Guide: How to Grow Cannabis!
How To Get To Harvest As Fast As Possible
The Life of a Marijuana Plant (timeline)
How to Improve the Overall Quality of Your Bud