“Just Add Water” Super Soil Tutorial – use Coco Loco soil with Nature’s Living Soil Concentrate
This organic super soil tutorial was written by Nebula Haze and features the original recipe & video tutorial for composting organic super soil by grower Subcool
Table of Contents
Why Super Soil for Growing Cannabis?
How to Grow Cannabis with Super Soil
Why Should You Compost Organic Super Soil for Growing Cannabis?
Why do cannabis growers compost their soil to create organic “super soil” instead of just using “regular” soil from the store? Why is super soil better than other types of soil for growing cannabis?
“Super soil” is a term that started being used widely after a famous cannabis grower known as Subcool released a specific set of instructions for creating composted soil that delivers everything your cannabis plant needs, at exactly the right time, without needing to manage your pH or add extra nutrients.
Ever since Subcool taught other cannabis growers how to make their own super soil, organic growers around the world have been using this “secret” to harvest incredible top-shelf organic buds!
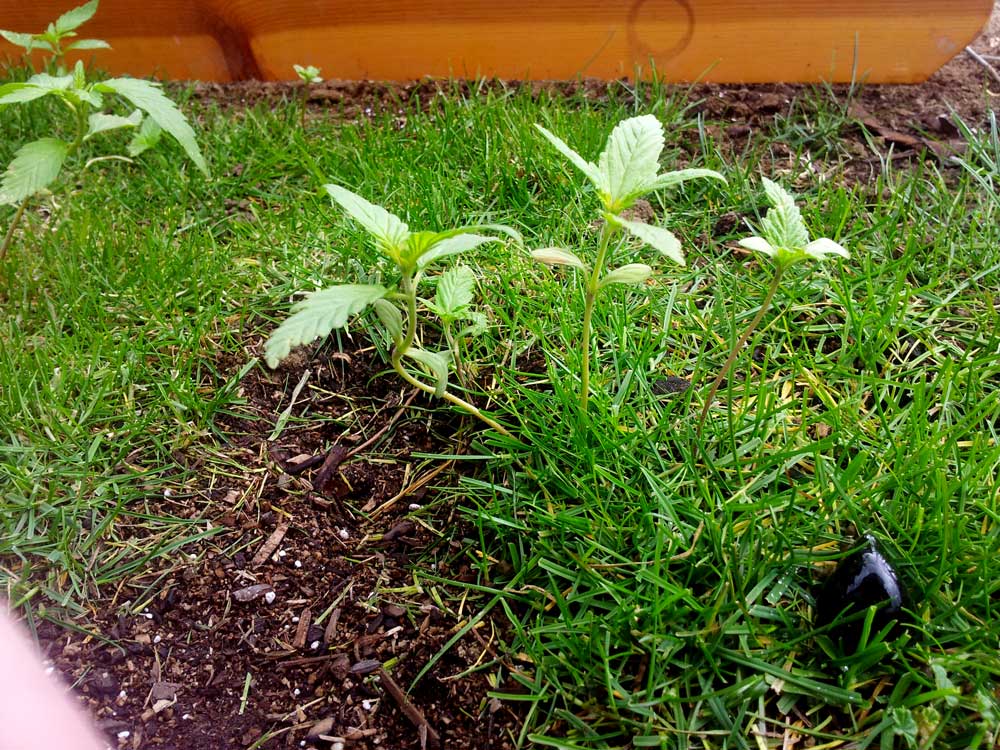
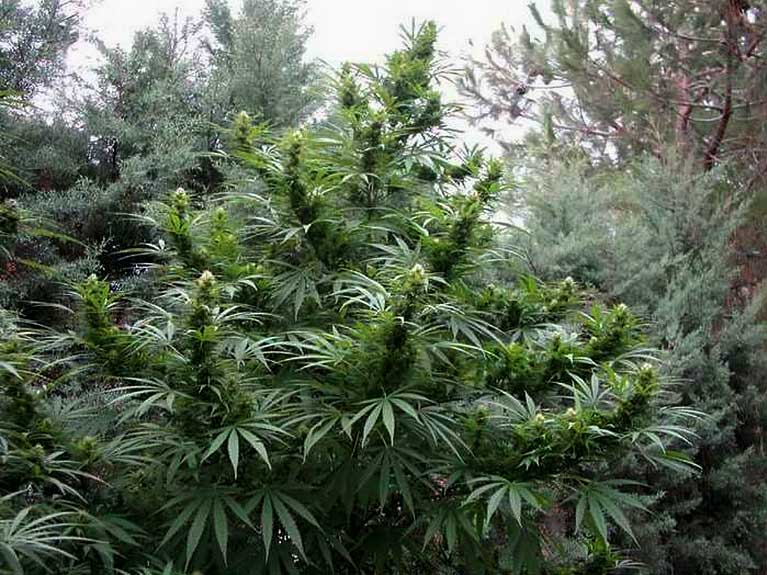
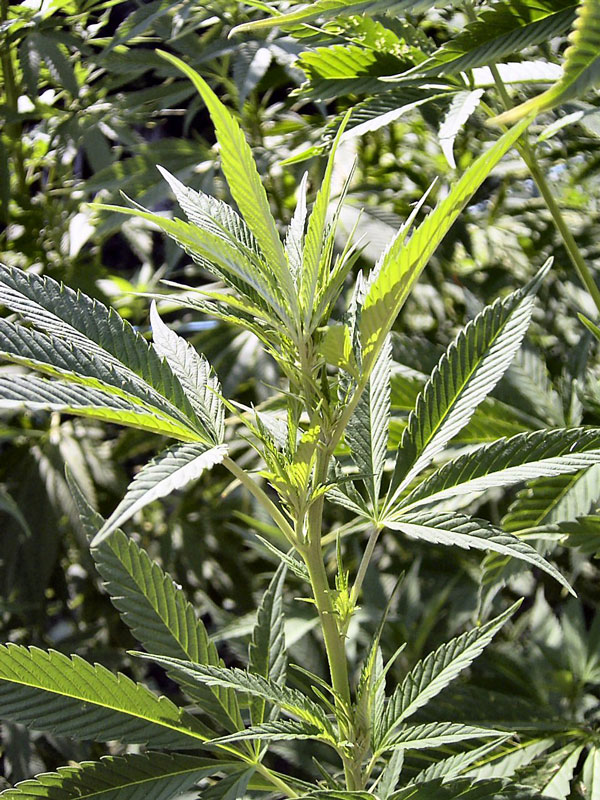
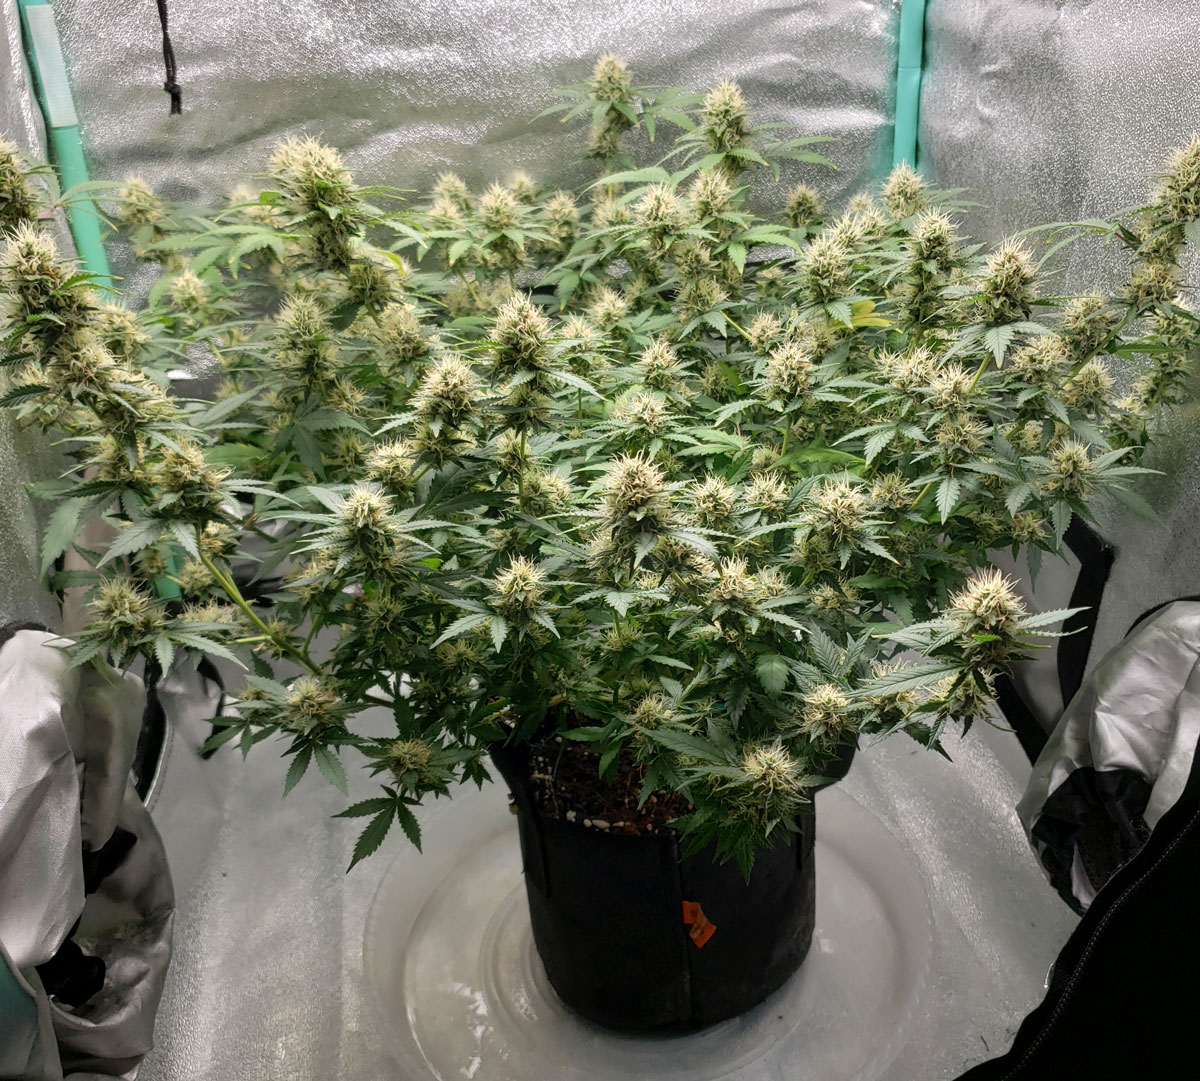
Organic “Super Soil” makes cannabis grow like a weed in the wild!
There’s lots of reasons to use super soil for growing cannabis. In addition to being able to create a fully organic growing medium, the correct “recipe” for composted super soil actually mimics the root conditions that make cannabis thrive in nature.
That’s why with super soil, your main job as the grower is to simply water your plants and watch them grow. There’s no need for complicated nutrients, chemicals, managing pH and other factors that can make growing cannabis more difficult or time-consuming throughout the grow.
It is easy and low-effort to grow incredible-quality cannabis buds in composted super soil; just water your plants and wait for harvest!
With super soil, you’re re-creating the environment that causes cannabis to grow like a weed in the wild. You’re creating a “living soil” that acts a lot like the most fertile types of soil in nature.
This means a lot less work from you during your grow. In fact, needing less work during the grow is why many organic growers feel that growing cannabis in super soil is easier than growing cannabis any other way.
Plus there’s the possible taste/smell/smoothness benefits…
Let’s learn more about the pros and cons of using amended and composted super soil for growing cannabis…
Pros of Super Soil
- Better Taste, Smell, Smoothness – Many growers believe that growing cannabis in super soil enhances taste and smell compared to other growing methods, while producing smooth buds with less of a chance of “harshness” from over-fertilization
- Great for Indoors and Outdoors – Super soil is a versatile growing medium that can be used to grow thriving cannabis plants almost anywhere
- Natural – Super soil can be created using only organic ingredients that have been broken down naturally – this closely mimics the best and richest soil found in nature
- No Need to Flush – Since there’s no chemical salts to alter taste and smell of buds, many organic growers feel there’s no need to flush before harvest
- Can Be Easier to Grow – Once the amended soil is composted, growing cannabis in super soil is easier than pretty much any other type of growing medium; with super soil there’s less of a need to worry about maintaining pH or nutrients! As long as you’re starting with a good water source, you just water your plants and wait until harvest 🙂
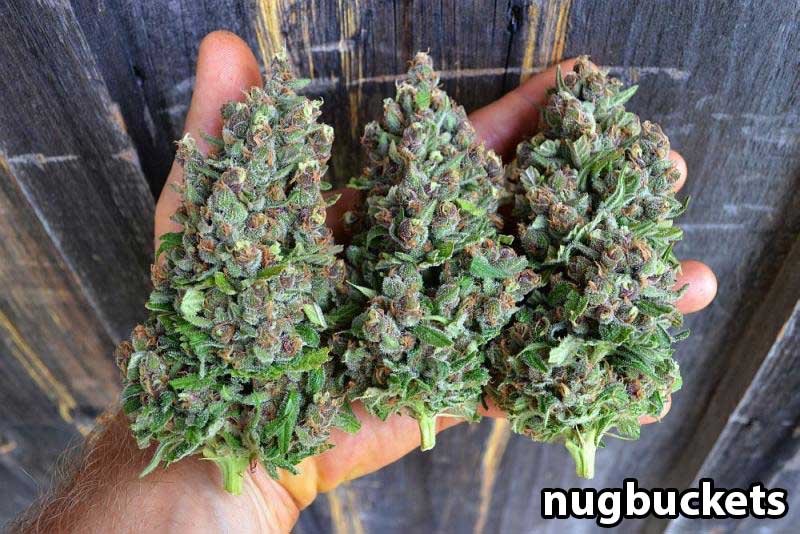
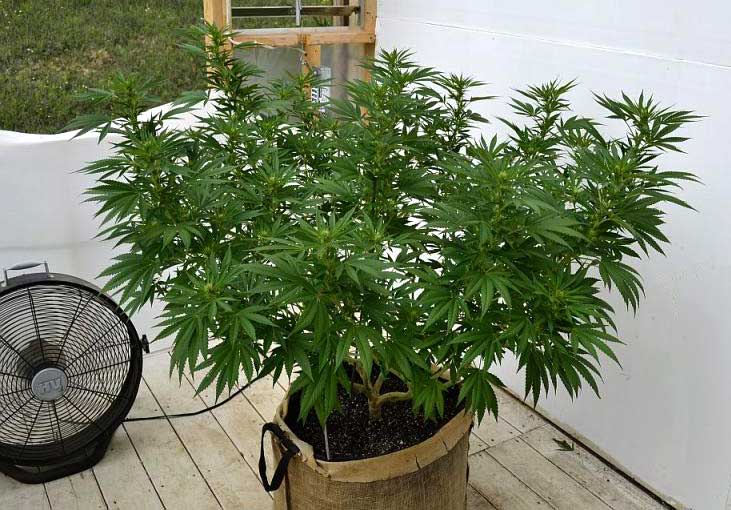
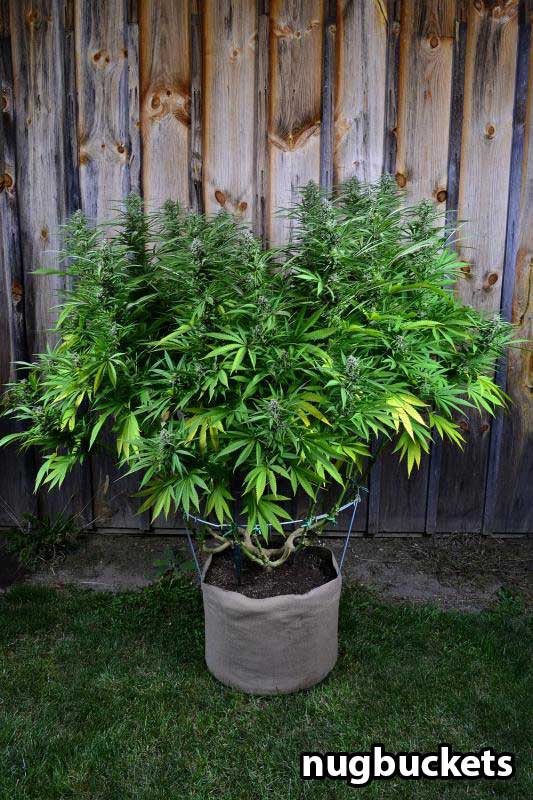
Nugbuckets is a world-famous organic soil grower
Cons of Super Soil
- Expensive & Best Suited to Bigger Grows – Can be expensive to get started since you generally compost a lot of soil at once – it’s difficult to scale the organic super soil process down to smaller grows that need less soil at a time. However, if you do want small amounts, or if you don’t have time for the composting process, you can actually buy pre-made super soil from experts who specialize in growing cannabis.
- Need to Plan Ahead – Composting take 30-60 days before your soil is ready to be used by your plants, which means you have to plan ahead before each organic grow
- Mixing Soil Can Be Tiring – The amending and composting process involves some physical work (mixing the soil)
- Slightly Slower Growth than Liquid Nutrients – Although you don’t have to do anything to make super soil work for you, cannabis plants grow slightly faster in the vegetative stage when using liquid nutrients. Since nutrients are provided in the absolute most available form without needing any help from microbes in the soil, using liquid nutrients can shave a couple weeks off your grow compared to super soil. You can grow using organic soil with organic liquid nutrients to get some of the benefits of both.
Learn more about soil vs other growing mediums
Growing with super soil is a completely different experience compared to most other forms of growing cannabis. Instead of using unnatural chemical salts created in a lab to provide your plants with nutrients in the most easy-to-absorb form possible, you are re-creating an optimal version of how cannabis grows in the wild.
Organic growing uses only natural sources of nutrients, and is much closer to how cannabis grows in nature
Today a lot of growers use non-organic, liquid-based cannabis nutrients. When using liquid nutrients, you must act as the “middle man” who takes care of your plant roots. That means you’re responsible for maintaining the soil pH and giving specific nutrient ratios throughout your plants life to achieve optimal growth.
When using amended and composted super soil (like this recipe by Subcool), you are creating an entire soil ecosystem that extracts organic nutrients in their natural form and makes them available in a form that your plants can easily use.
Basically using organic composted super soil means your soil is acting as the “middle man” instead of you. The microbes, fungi and other tiny organisms in the soil which have been cultivated during the composting process will take care of your plant roots, delivering nourishment directly to your plant in the form it needs.
Once you’ve created a living super soil via composting, you pretty much just need to water your plants and wait for harvest!
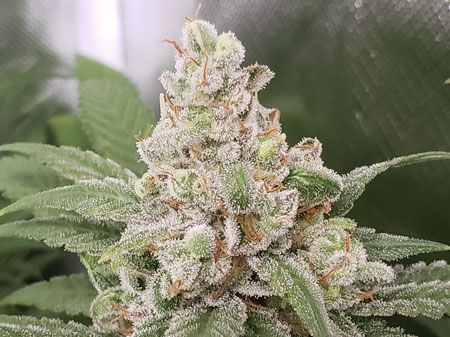
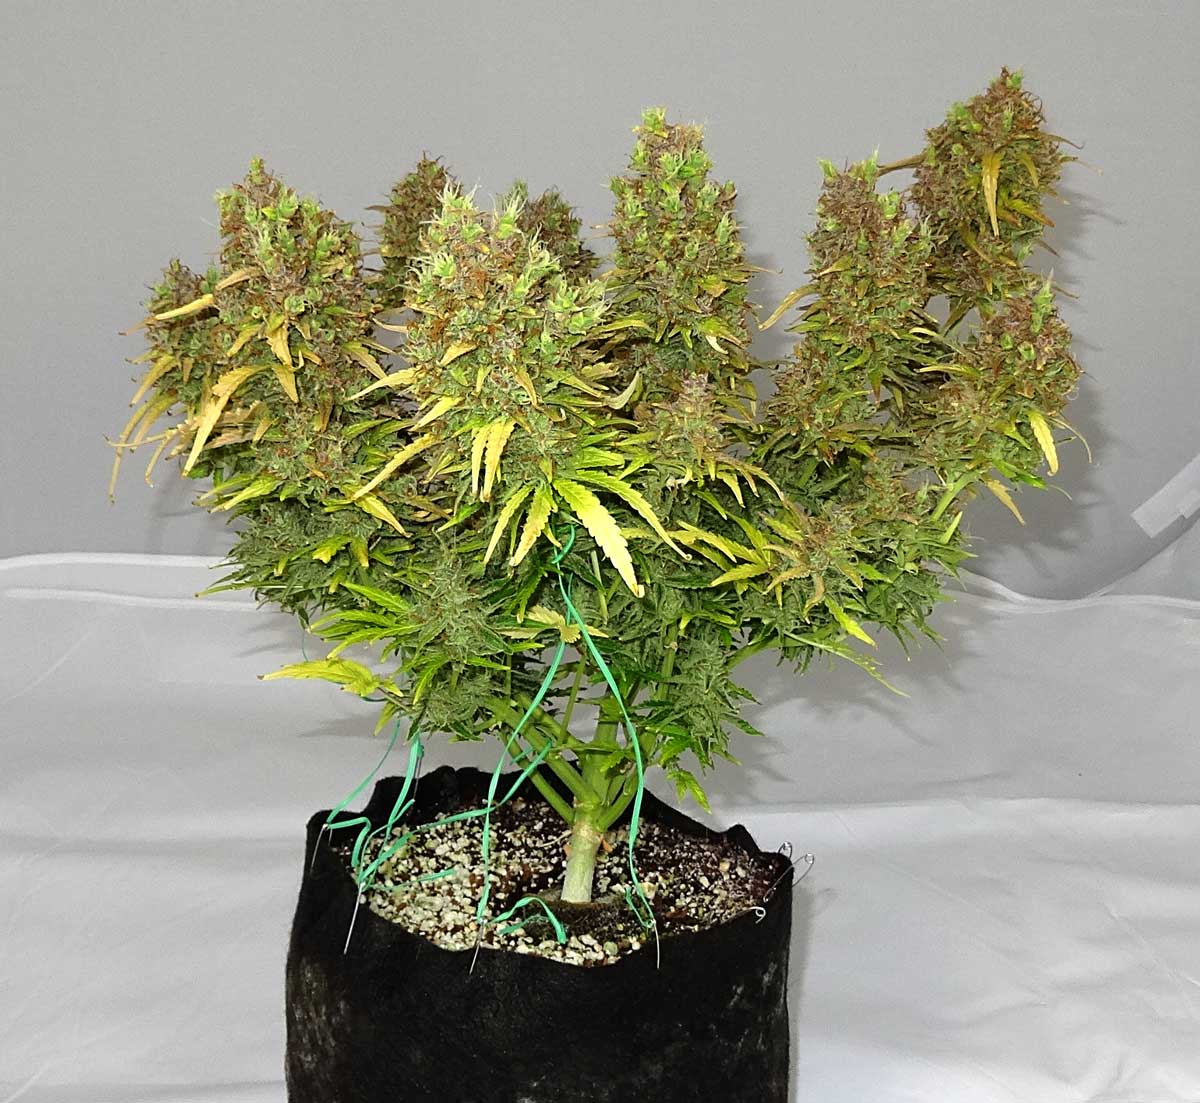
This glittery bud was grown in organic soil by Koma Trichome

Note: For some cannabis growers, organic and composted soil is the most natural choice. For others, the composting process may take too much time or space. But there are alternatives!
Like any growing style there are a million ways to get your cannabis to grow. If composted super soil is not the right choice for you, there are organic options that take less preparation.
Buy Pre-Made Super Soil
There are some places that offer pre-made Subcool Super Soil, similar to the soil created in this tutorial. There are also many nurseries that sell high-quality composted soil which will work well for cannabis (though perhaps not as well as something specially made like Subcool Super Soil). These may be good in-between choices for those who want the benefits of super soil, but aren’t willing to go through the composting process.
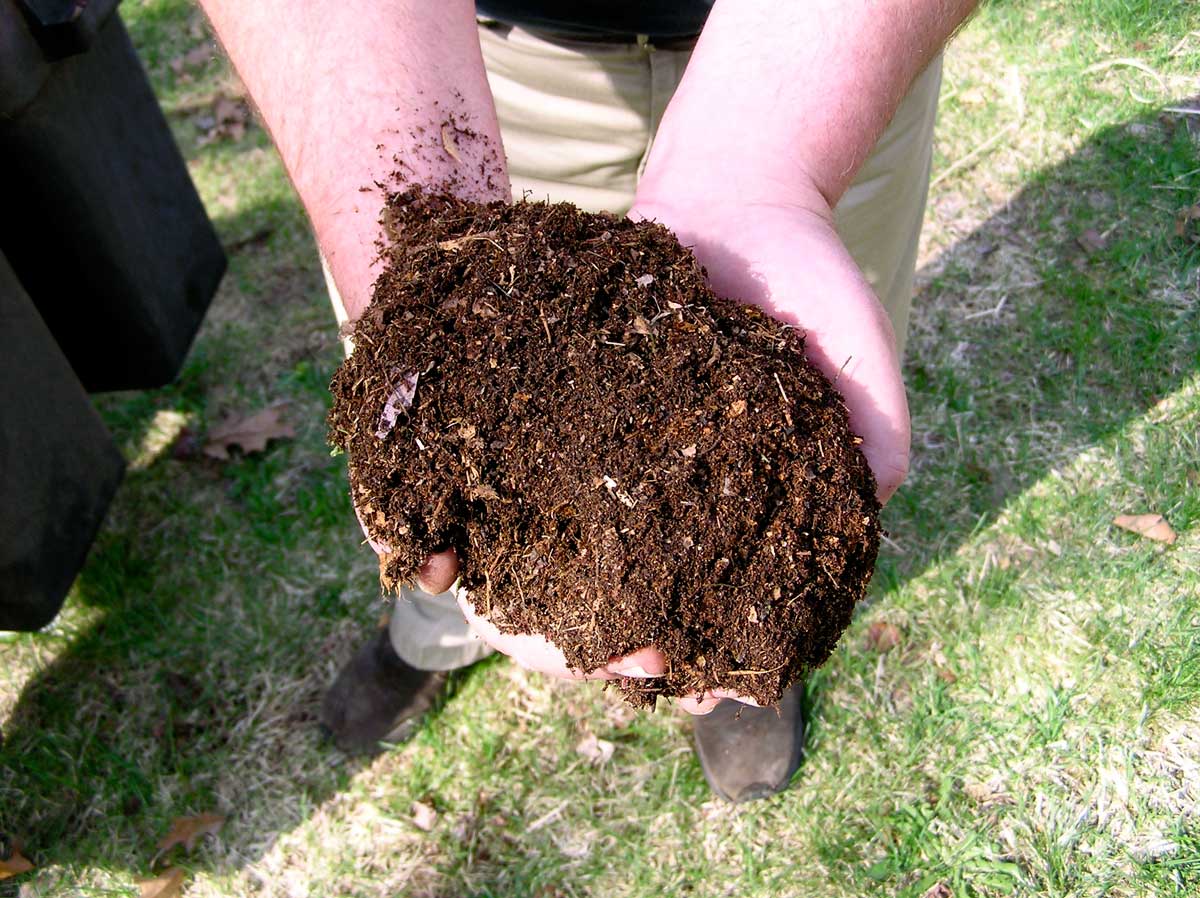
I’m currently using Nature’s Living Soil and it’s been a great experience so far. You need 1 pound of Nature’s Living Soil for every 5 gallons of pot size (a 5-pound bag makes 25 gallons of soil). I like that Nature’s Living Soil came with clear directions on how to use the soil, store any leftovers, and re-activate it for your next grow.
With Nature’s Living Soil, you basically only need to water your plants, just like with the recipe in today’s article! If you don’t want to make a lot of super soil at once, or if time is a premium for you (time is money!) then you may be happier letting someone else do the composting for you!
Want More Control & Faster Vegetative Growth? Get Organic Nutrients!
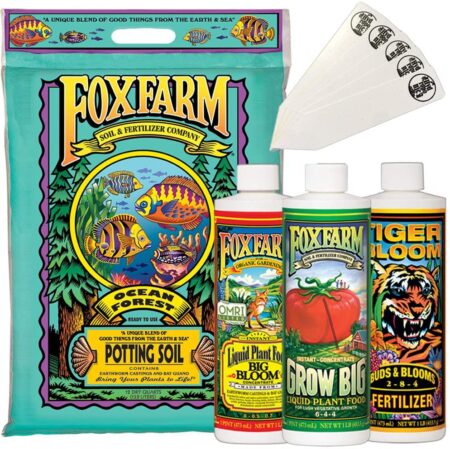
Another common method for growing marijuana organically is to start with quality organic soil and pair it with a proven organic nutrient line. Fox Farm Nutrient trio is a great nutrient system that is mostly organic and works excellent for growing cannabis in soil.
For growers who want more control over the exact nutrients and supplements delivered to the plants, adding nutrients to the water can be a great option when mixed with high-quality soil like Fox Farm Ocean Forest. Although this is not fully organic, it’s mostly organic and will results in bigger yields and faster growth than using a “just add water” soil.
Fox Farm Ocean Forest soil plus their nutrient trio is a mostly organic combo that produces fast-growing healthy cannabis plants with excellent bud quality
Here’s a Pineapple Chunk cannabis plant I grew in Fox Farm soil + nutrients combo under a Spider Farmer SF1000 LED grow light and produced almost 5 ounces. The plant grew happy and healthy with excellent buds. I just wish I’d used a bigger pot as I think I may have been able to yield even more if the roots had room to spread out.
Pineapple Chunk buds at harvest. They came out beautiful! I really love the Spider Farmer LEDs for growing weed so far.
Another huge advantage of using liquid nutrients is your plants tend to grow faster in the vegetative stage than when they’re grown in only composted soil, which can shave a few weeks off your grow. Liquid nutrients are immediately available to roots, whereas with super soil you need the microbes in the soil to convert nutrients into a usable form.
However, when using liquid nutrients for growing cannabis (even organic ones), it becomes a lot more important to test and manage pH just like any other non-super soil grow. It’s up to you to decide what works for you!
How to Grow with Super Soil Guide
How to Compost Your Own Super Soil!
Huge mixing container (enough to hold ~110 pounds of soil)
Rake
Tarp or large trash cans to hold soil while it’s “cooking”
Composted Super Soil Ingredients
6 bags x 10-gallon Roots Organic Soil (For a total of 60 gallons or 210lbs of soil)
2 bags x 50L (35 lbs) Biobizz Light-Mix soil (Total of 70lbs)
2 bags x 30 lbs Organic Earthworm Castings (Total of 60lbs)
1 box 6 lbs Fish Bone Meal (3-16-0) Note: 3-15-0 or 3-18-0 can also be used
1 cup Dolomite Lime (“prilled” if possible)
½ cup Azomite (0-0-0.2)
1 box 5 lbs Blood Meal (12-0-0)
1 bag 4 lbs Happy Frog Bat Guano (0-5-0)
¾ cup Epsom Salt
(Optional) Up to 25% Perlite (for extra drainage)
The following instructions uses a “layered” approach to make sure everything is mixed together well. It is possible to throw all your ingredients in a pile and mix everything up, but this order makes it a lot easier to get a fully mixed final product.
Here’s the video tutorial, with step-by-step instructions below
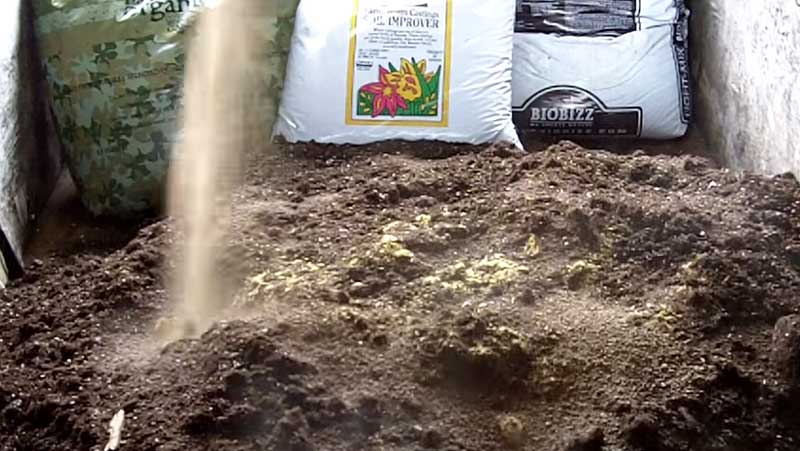
1. ) Add 4 bags of Roots Organic Soil to your mixing spot (there should be 2 bags of Roots Organic Soil left)
Get ingredients ready.

If you don’t have a big enough container, use a tarp or even a kiddie pool.

Add 4 bags of Roots Organic Soil to the bottom of the container.

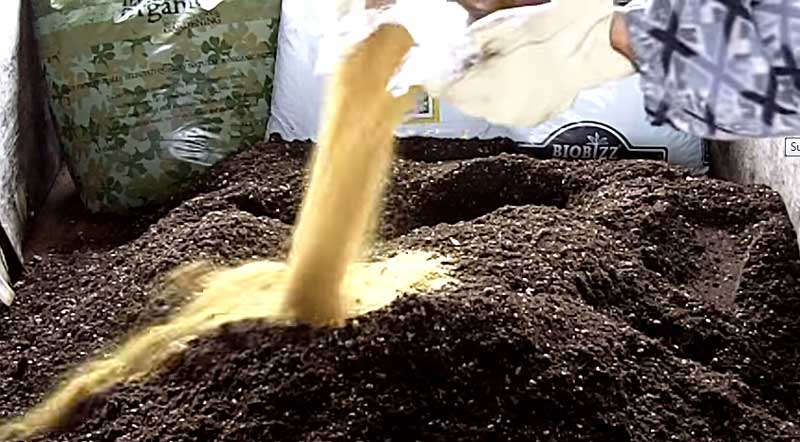
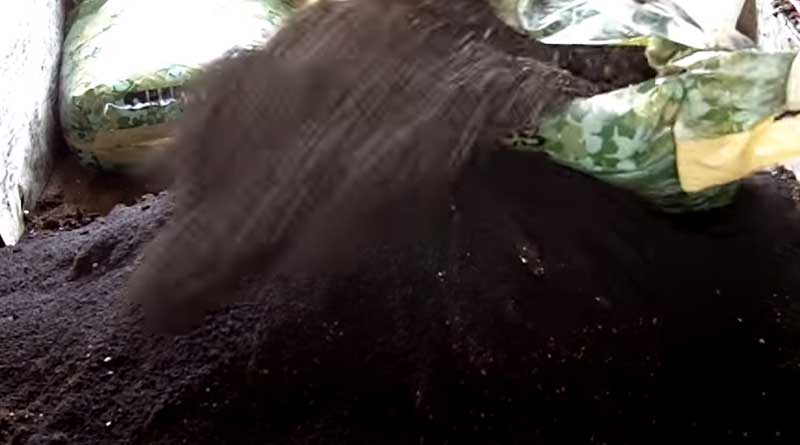
2.) Add Fish Bone Meal (since it’s smelly and you want to cover it up first)
Add Fish Bone Meal
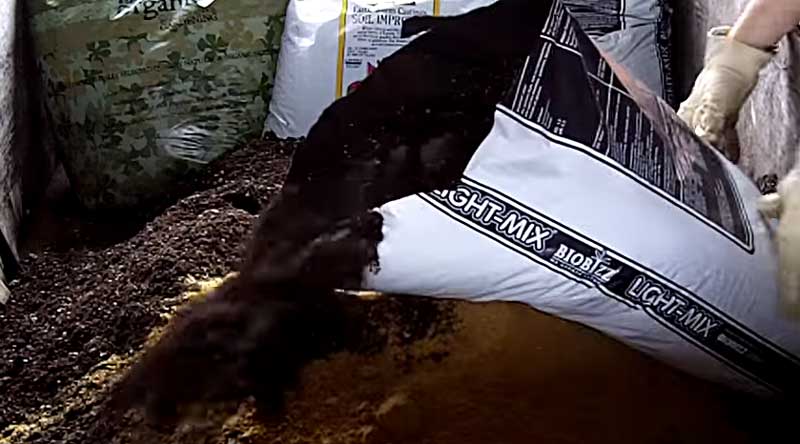
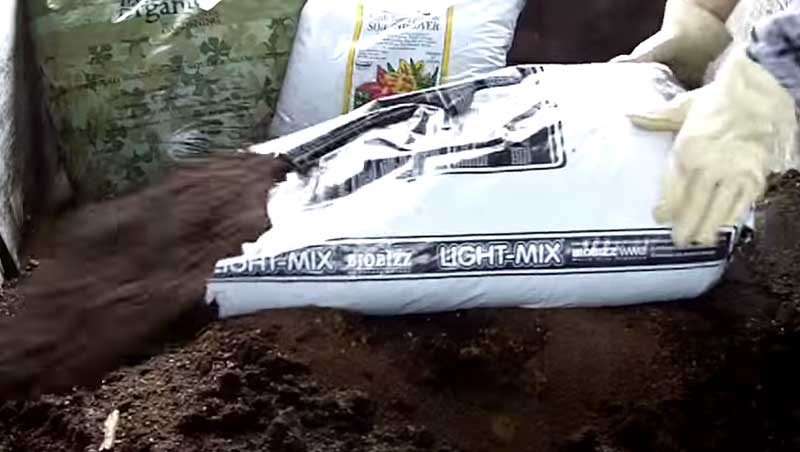
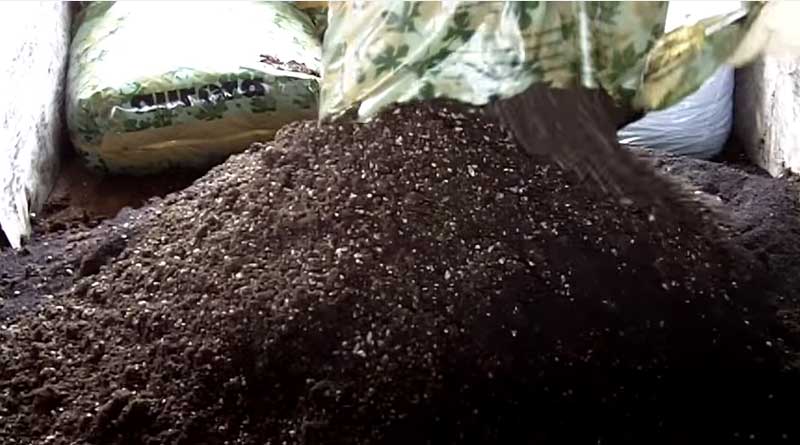
3.) Add 1 bag of Biobizz Light-Mix (there should be 1 bag left)
1st bag Biobizz Light-Mix soil
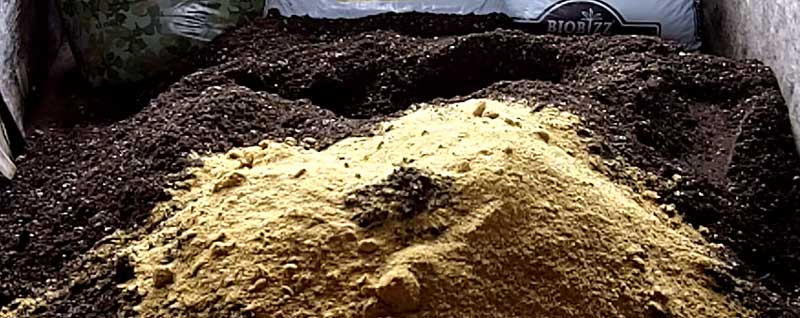
4.) Rake it out so that the Fish Bone Meal is lightly mixed in
Here is what the Fish Bone Meal and soil looks like after a light mixing:
5.) Sprinkle Dolomite Lime over the entire pile.
Sprinkle Dolomite Lime
6.) Sprinkle Granular Azomite over entire pile
7.) Add the last bag of Biobizz Light-Mix
2nd bag Biobizz Light-Mix soil
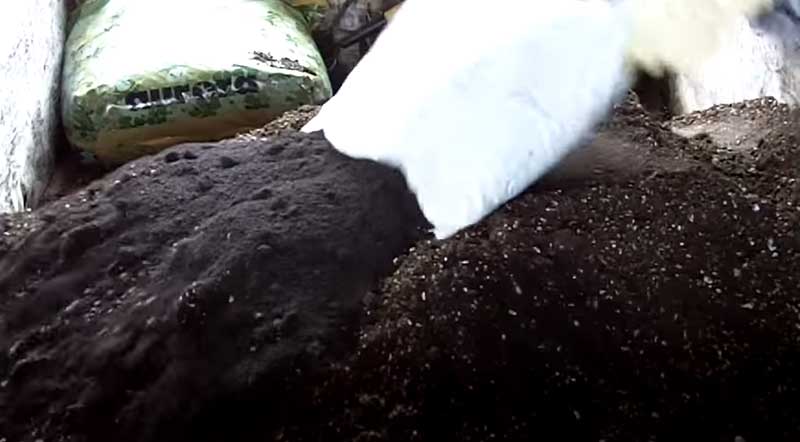
8.) Add 1st bag of worm castings
1st bag Earthworm Castings
9.) Add 1 bag of Roots Organic soil (you should have 1 bag left)
1 bag Roots Organic Soil
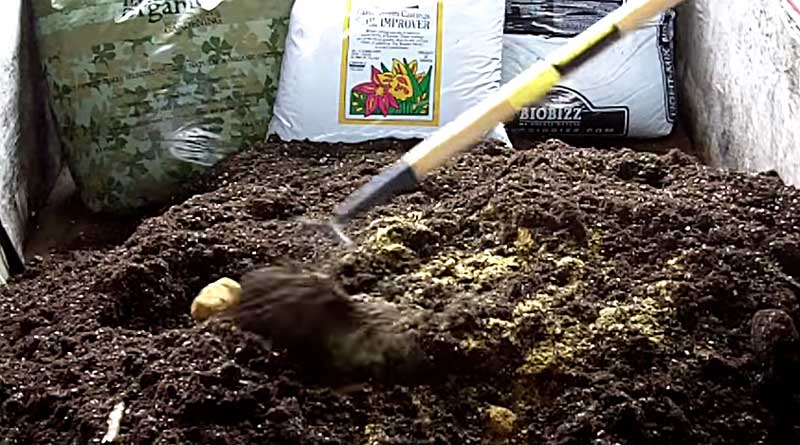
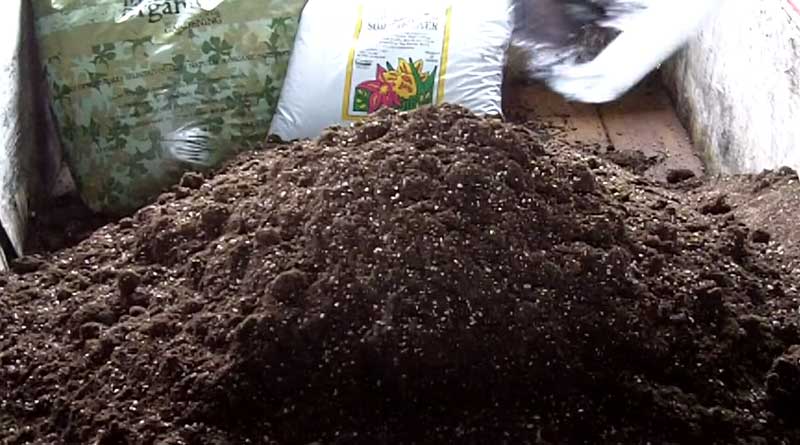
10.) Rake it in lightly
Rake it out
11.) If you’re using perlite, add it now.
12.) Add 2nd bag of worm castings
13.) Add last bag of Roots Organic Soil
Last bag Roots Organic Soil

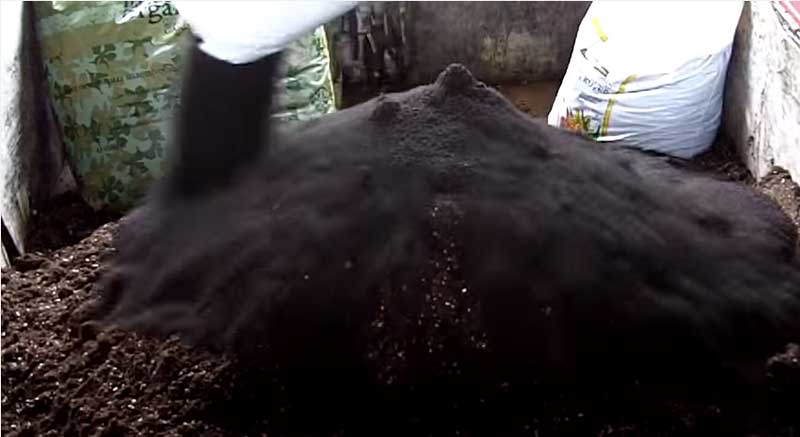
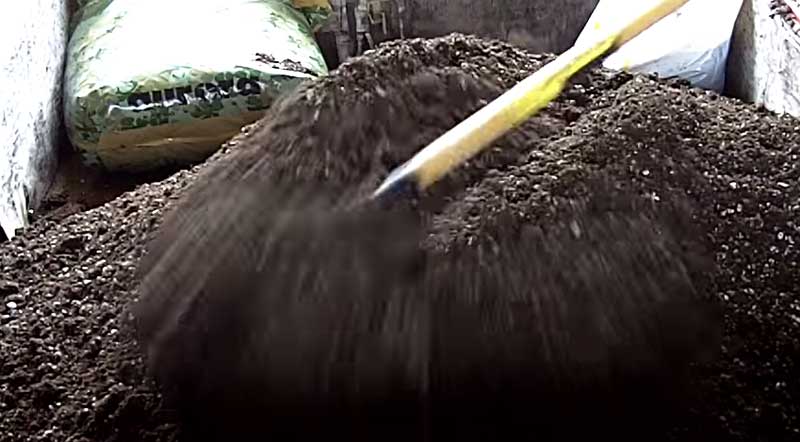
14.) Rake entire pile gently so it’s all mixed up
Rake it out
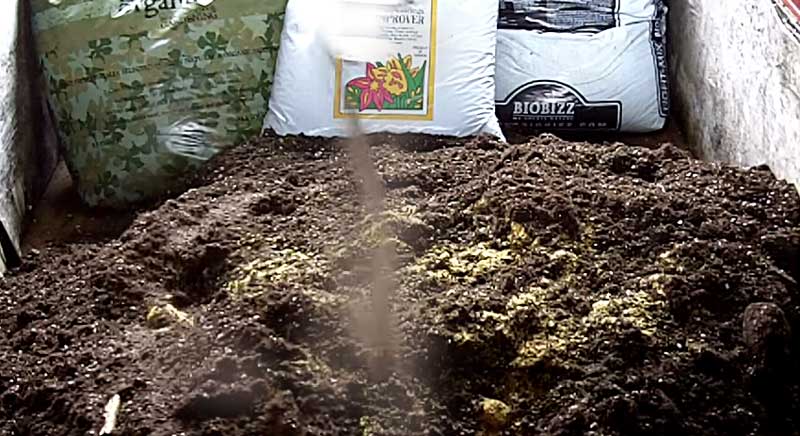
15.) Add Blood Meal
Blood Meal
16.) Add Bat Guano
Bat Guano

17.) Add Epsom Salt
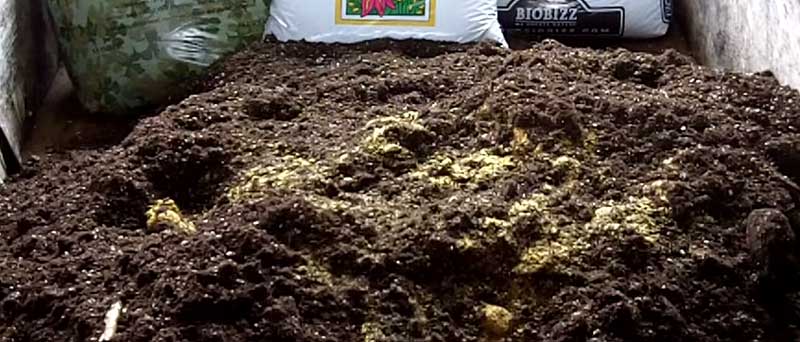
18.) Final stir – mix thoroughly
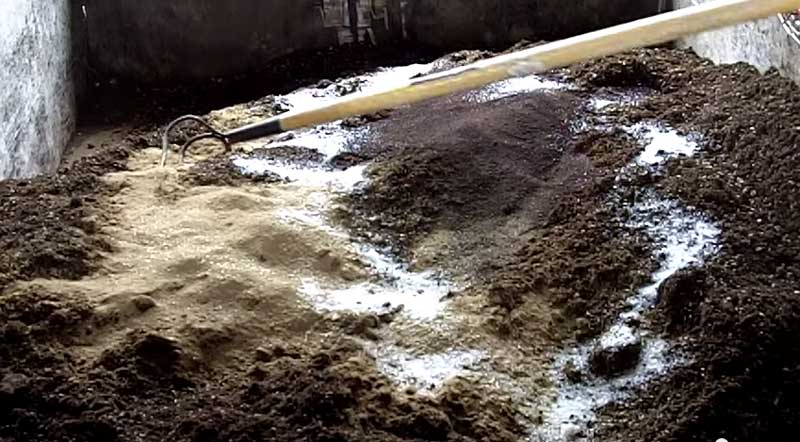

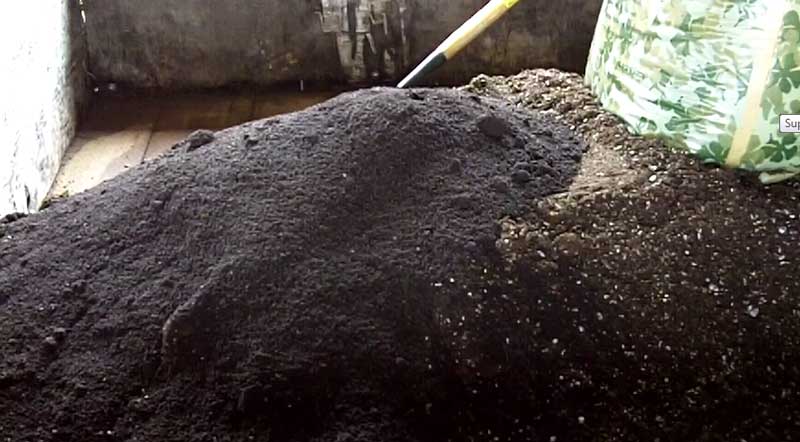
Over next week, continue to mix pile regularly (for example moving pile to one side then the other) until you don’t see any spots of color anymore.
After mix has been thoroughly mixed over a week, wrap up super soil in a tarp, or store in a large container such as a garbage can (this mix takes about 4 large garbage cans)
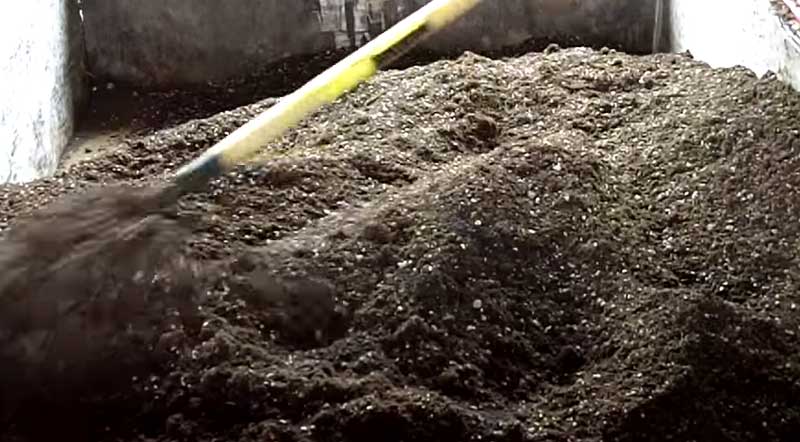
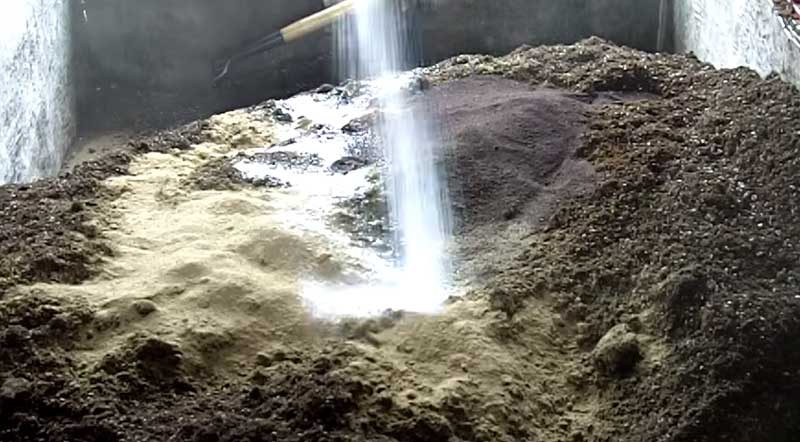
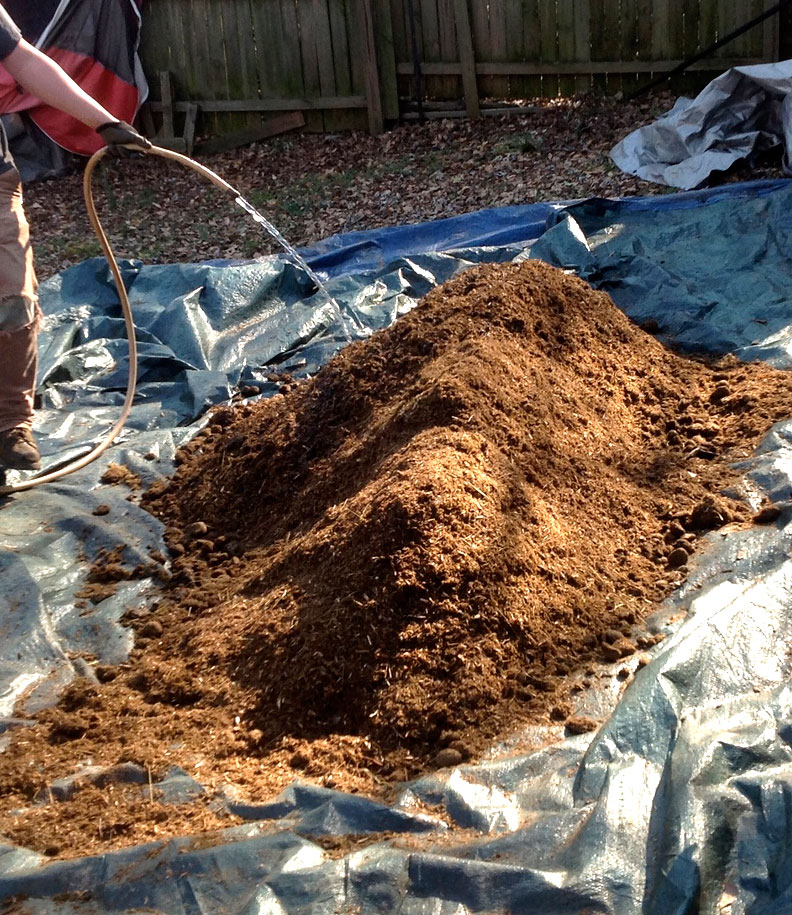
 Add water to mix and stir it in to initiate the microbial process. Super soil should be moist but not soggy while composting. The idea is to keep the mix both moist and relatively contained. If your super soil mix is not put in a container or wrapped up, it will dry out, which stops the whole process. Make sure you wrap up your soil if in a tarp, or put a top on your garbage cans. You need to keep the mix in a relatively enclosed environment.
Keep your composting mix in a sunny place and allow the super soil mix to “cook” for 30-60 days. During this process, your job is to keep the soil moist but not soggy, and otherwise keep the pile covered/enclosed to trap heat and air. The microbial processes in the soil will actually cause the composting pile to become hot to the touch – this is normal! That’s part of why it’s called “cooking” 🙂 As the soil cooks, it will break down the ingredients you added into a form that your plants can easily use.
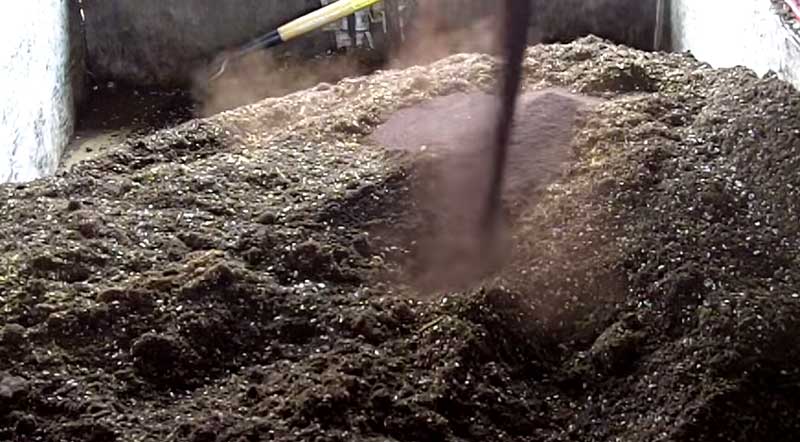
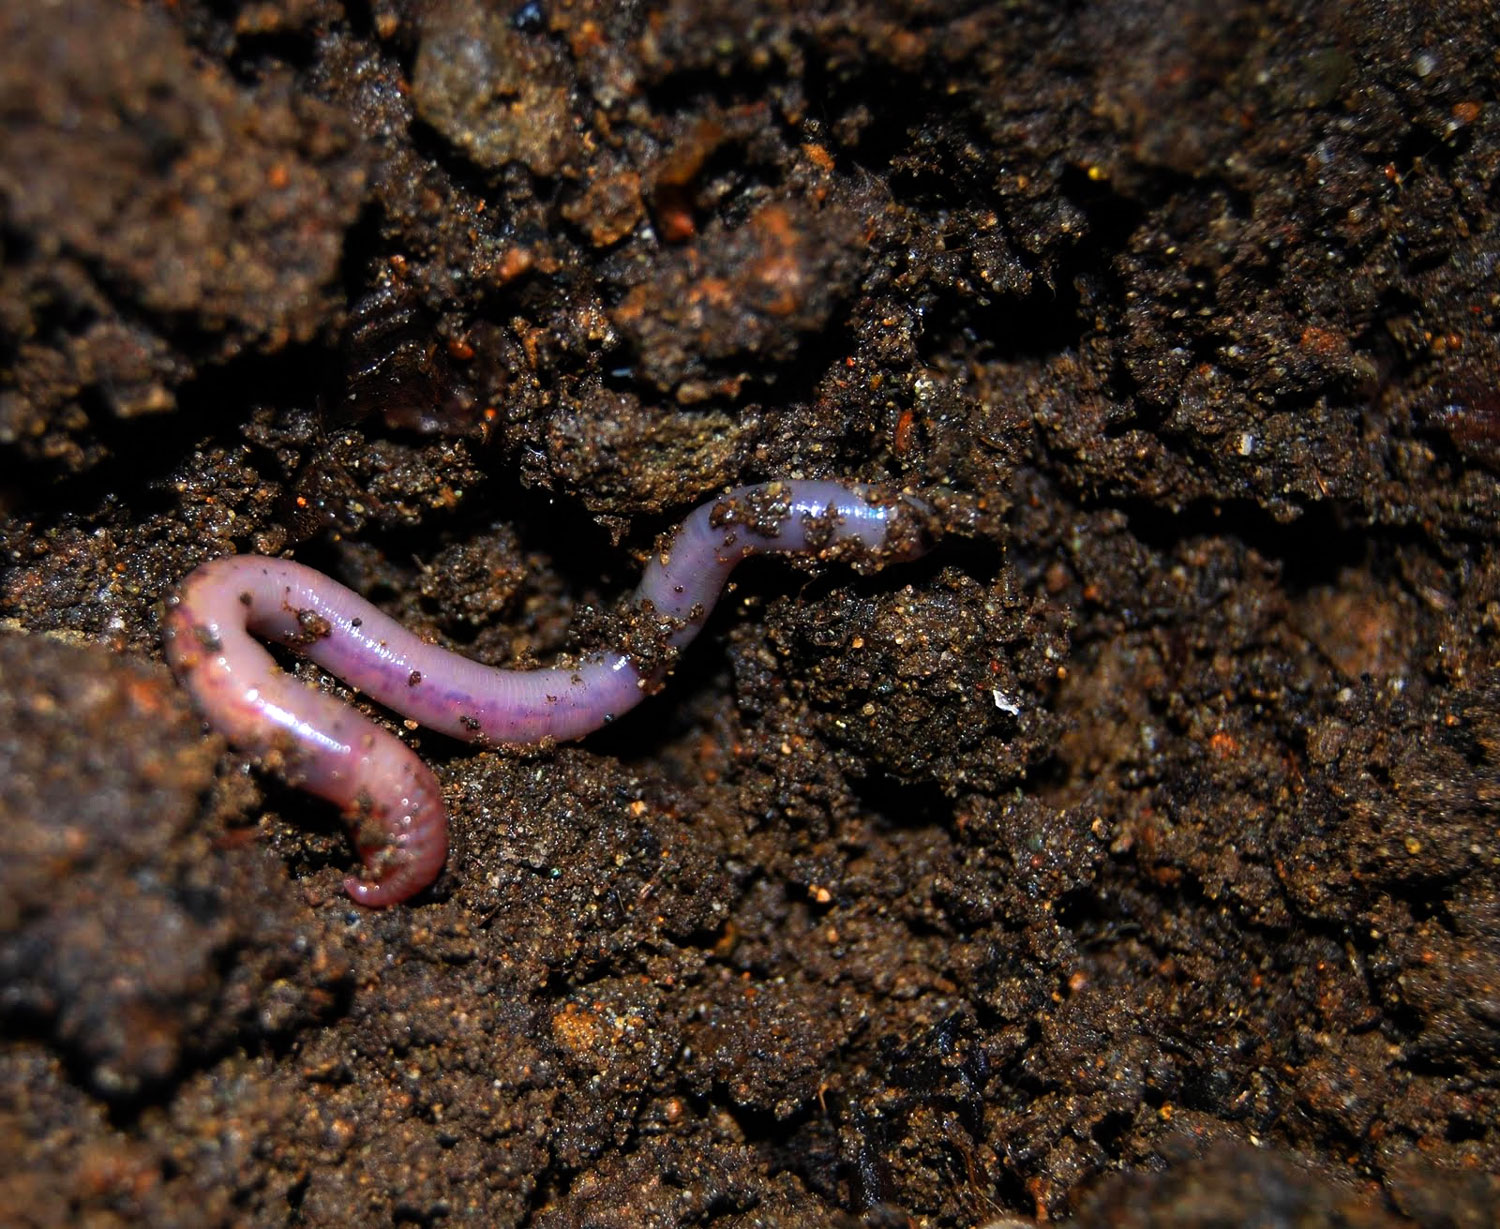
Note: Be on the look out for bugs, especially if mix is not completely enclosed! You just created a perfect environment for bugs to live.Bonus points: if you add live worms to this mix it will help aerate and loosen up your mix. Worms can even be used in potted containers – they do no harm to your plants, and will help maintain healthy soil.

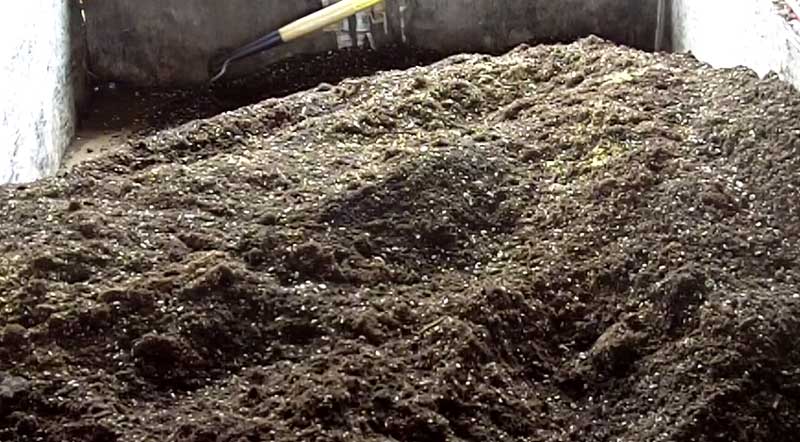
Mix one last time before you start growing!
Start Growing with Composted Super Soil!
Now that you have your composted super soil, it’s time to get started! Luckily for you this section is pretty short because there’s not much that you need to do other than water your plants!
What type of water to use?
When growing cannabis with composted super soil, you want to use a clean source of water. You don’t want to use distilled water, as it can mess with the soil ecosystem, but most sources of water should be okay as long as the pH isn’t very high or low. If the pH of the water is far outside the 6-7 range, it can disrupt your soil cycle. So if you have very hard water, or the pH is off, you either need to use a different source of water just be on the lookout for nutrient deficiencies. If you run into nutrient deficiencies with super soil it often means you need to correct the pH when you water (learn how to pH water for organic soil).
What You Will Need
- A place to grow (indoors, outdoors, your closet…)
- Grow light (or a spot with direct suntlight outdoors)
- Super soil (make it or buy it)
- Solo cups for seedlings (optional)
1.) Choose the container you plan to use (where you will plant your seeds).
I personally am a huge fan of smart pots, which are containers made out of fabric. Plants grow faster in smart pots than traditional hard-side containers because roots thrive on oxygen and they let air in from the sides.
The air from the sides also prevents the roots from “choking” themselves or wrapping around the edges of the pot, so a plant grown in a smart pot won’t get rootbound!
Another cool thing is you use a smart pot exactly the same as a regular pot, and still get those benefits.
The main difference is they dry out faster than traditional pots, so you want to get a container that’s about twice the regular recommended size so you don’t end up watering your plants all the time when they get big!
Learn more about smart pots vs regular pots.

2.) Fill your container with 1/3 super soil (as directed on the bag), then fill the rest with Coco Loco soil.
You will need not only your super soil but also Coco Loco (or other high-quality coco or regular organic soil) to help your young plants transition into the “hot” super soil.
Fill bottom third with super soil, top half with Coco Loco.
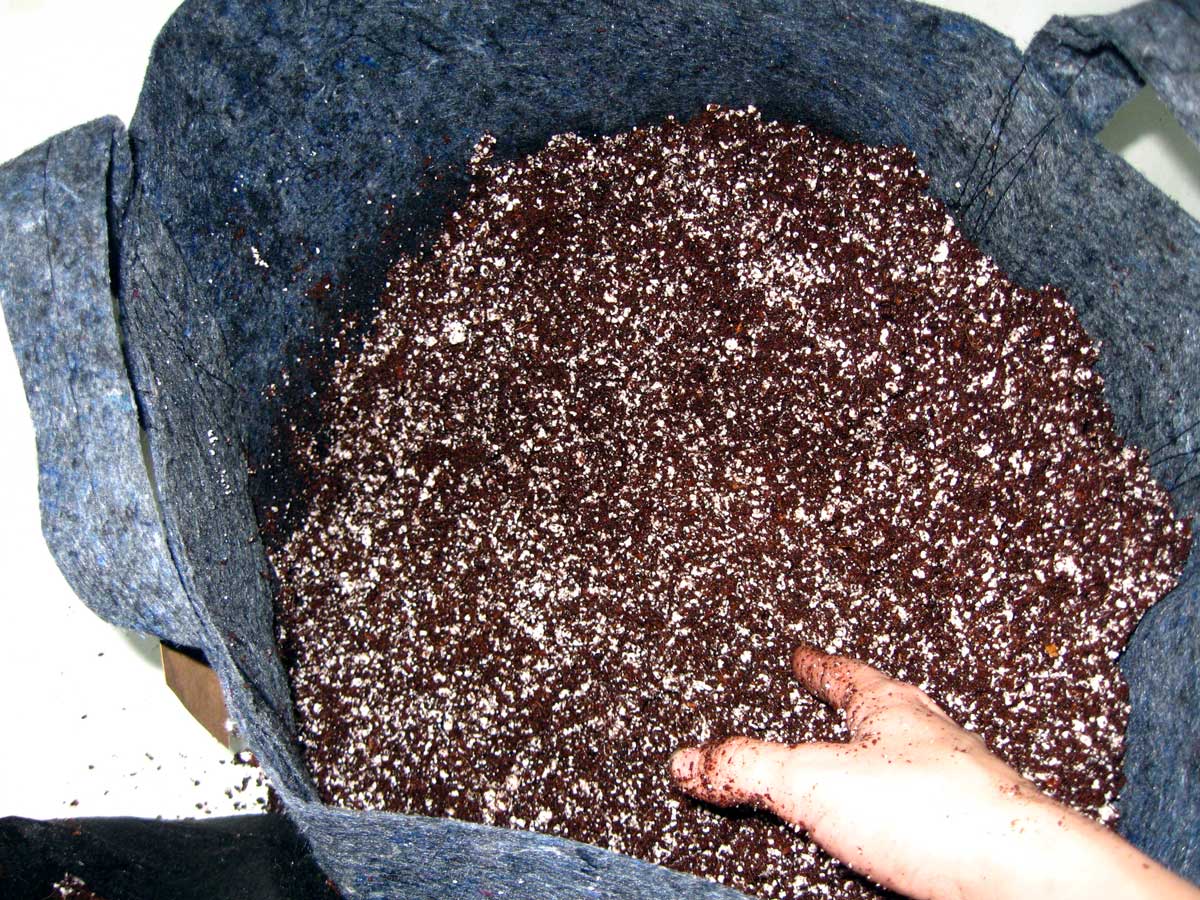
Fill the bottom 1/3 of your pot with your composted Super Soil mix, then fill the rest of your container with Coco Loco. You can also start with organic soil or another growing medium of your choice, as long as it’s not too “hot” (amended with lots of nutrients) for young plants.
In general, you need about 1 pound of organic super soil concentrate for every 1 gallon of pot size. So for example for a 3 gallon pot, you would use 3 pounds of Nature’s Living Soil, then fill the rest with Coco Loco.
The Coco Loco is situated at the top of the container so you do not burn young plants or clones with too high levels of nutrients. However, once their roots reach down to the super soil, the plants will be mature enough to use the rich source of nutrients without worrying about nutrient burn.
Even if young plants do get a little nutrient burn, they will soon grow out of it so don’t stress as long as your plants are growing fast and healthy! It just means you gave them too rich of a “diet” before they were ready 🙂
Of course make sure your garden is ready first! You’ve chosen a place to grow, you’ve got your pots and soil, and your grow light is set up, right?
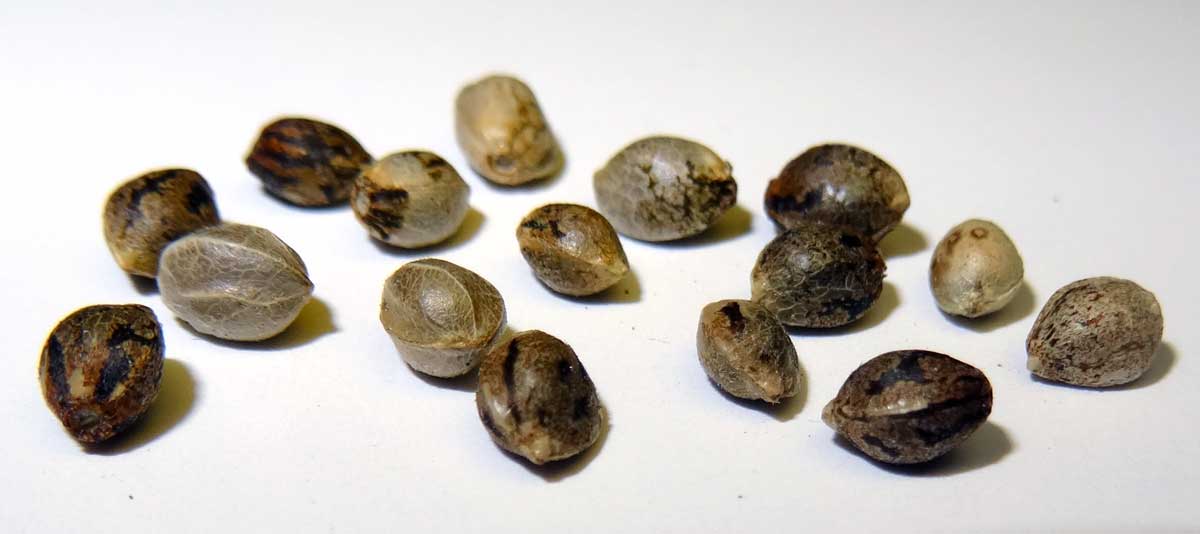
Ok! Time to put your seeds (or clones) into their new homes! But where to get seeds?
You may be surprised to learn that because of the customs laws in America, it is actually reliable and safe to buy your cannabis seeds online from a reputable seed bank overseas or in Canada.
Learn more about safety precautions when ordering seeds online
View a list of tested & trusted seed vendors:https://www.growweedeasy.com/seeds
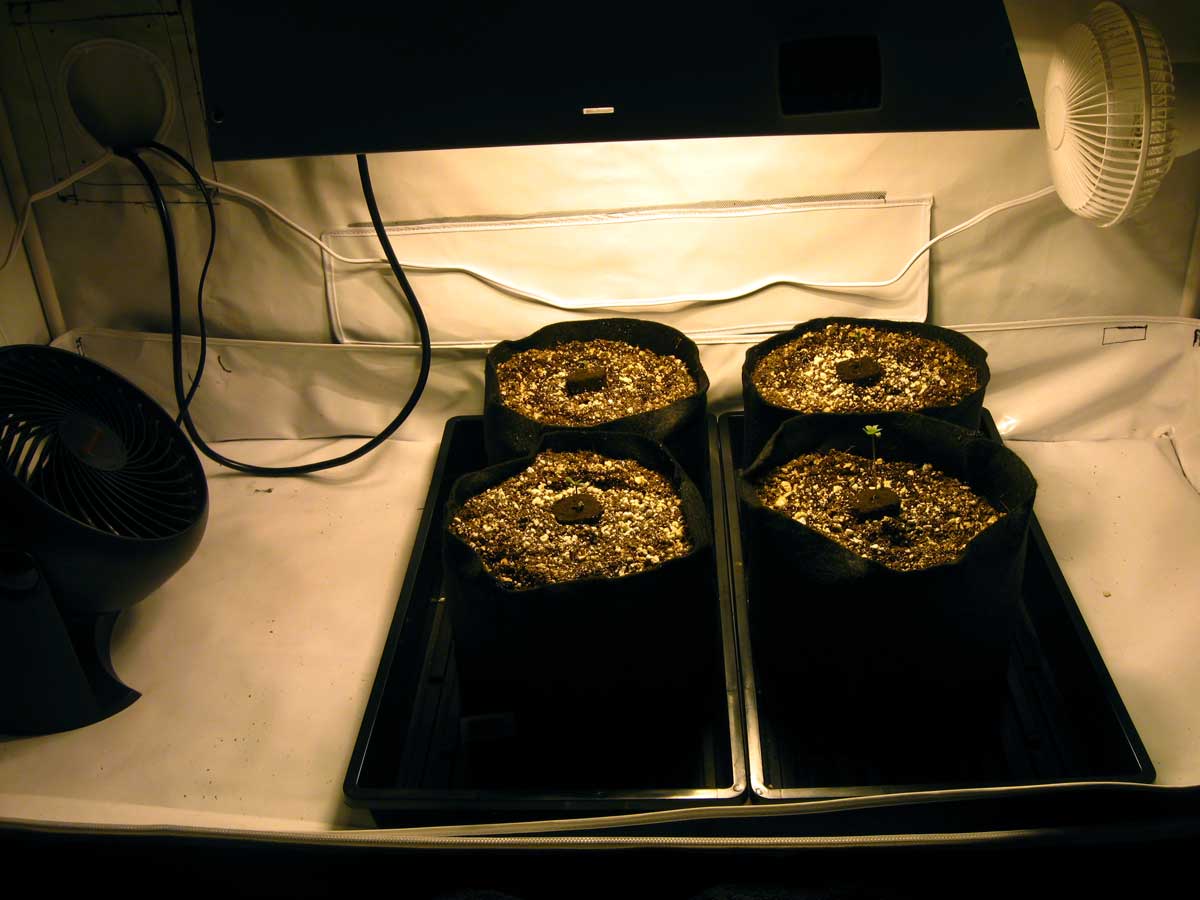
Germinate Your Young Seeds in a Solo Cup for the Fastest Seedling Growth!
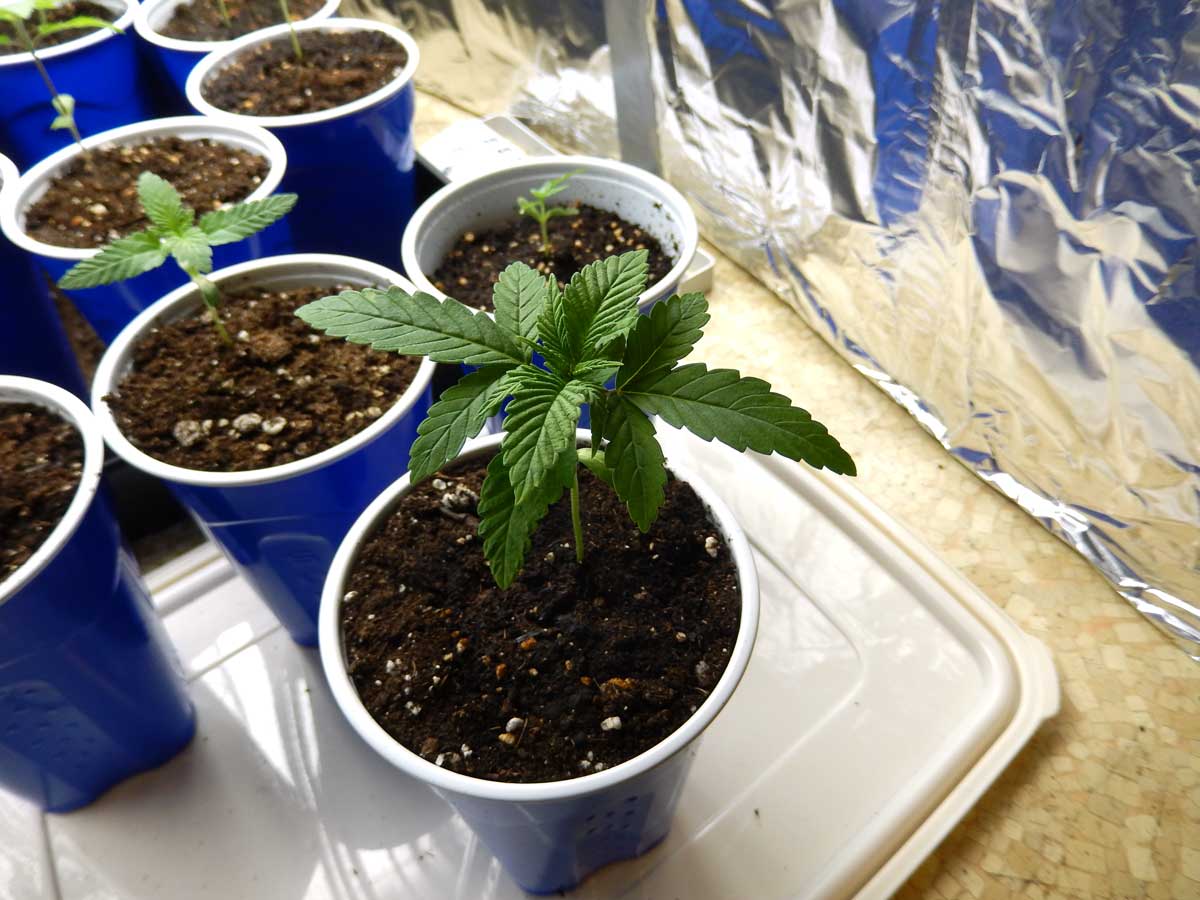
Make sure to transplant seedlings to bigger containers when their leaves reach the edges of the cup!
This is how one grower did it:
I originally germinated in Rapid Rooters then moved the seedlings into solo cups filled with Coco Loco. After the leaves grew past the edges of the cup, I moved them into the 3 gal pots with the super soil and Coco Loco.
4.) Water your Plants
Now that you have seedlings, your main job is to water your plants as needed and provide plenty of light.
How to water plants in super soil:
- Give just enough water to wet the medium, but try to stop just before you get much runoff
- Wait until the entire top layer of soil feels dry (at least up to your first knuckle) before watering again
- When in doubt, water less! It’s super easy to overwater plants in super soil.
- Unlike some other growing mediums, in super soil your plants will grow best if you avoid getting runoff. Runoff will carry away some of the nutrients in the soil, and since you’re not adding any extra, you want to conserve the nutrients you do have.
Important Tips
- Make sure roots stay warm and keep them from sitting directly on the ground. This is important for the colony of organisms at the roots to thrive, and cannabis also tends to grow better with warm (but not hot) roots
- Maintain the pH for the best results, and especially if you notice any nutrient deficiencies or other problems
Example watering schedule for seedlings in 5-gallon fabric pots for first 30 days:
- Day 1 – Give 1 cup (250ml) water per plant
- Day 3 – Give 2 cups (500ml) water per plant (wait 3 days after this one since you just upped it)
- Day 6 – Give 2 cups (500ml) water per plant
- Day 8 – Give 3 cups (750ml) water per plant (every 3 days after this)
- Day 11 – Give 3 cups (750ml) water per plant
- Day 14 – Give 4 cups (1 liter) water per plant
- Day 17 – Give 4 cups (1 liter) water per plant
- Day 20 – Give 5 cups (1.25 liter) water per plant
- Day 23 – Give 6 cups (1.5 liter) water per plant
- Day 26 – Give 6 cups (1.5 liter) water per plant
- Day 29 – Give 8 cups or 1/2 gallon (2 liter) water per plant
- Continue giving 1/2 gallon (2 liters) per plant every 3 days. You may need to give more at a time or more often as plants get bigger. If you ever get any significant runoff out the bottom, it means you should be giving less water at time.
When growing cannabis outdoors, plants will naturally start flowering in the fall. When growing cannabis indoors, you will need to switch your grow lights onto a new light schedule to start making buds.
For indoor growers, once your plant is half the final desired height, it’s time to initiate flowering by putting your lights on a 12/12 schedule so they’re getting 12 hours of light, and 12 hours of uninterrupted darkness every day. At that point they’ll start making buds, and you’re just waiting until harvest time!
Learn more about light schedules and how to get plants to start making buds
More resources for growing cannabis:
- Complete Beginner’s Guide
- How to Grow Weed in 10 Steps
- Diagnose Your Sick Plant
- Bugs, Mold & Other Cannabis Pests
Cannabis Life Stages
Plant Care Tutorials
- Cloning
- Plant Training
- How Often to Water Plants
- Male vs Female Plants
- The Perfect Environment
- How to Control Smell
- How to Set Up Exhaust
How to Improve…
When using liquid cannabis nutrients, it’s important to manage and maintain the pH at the root zone to make sure that nutrients are easily available to plant roots. Liquid nutrient systems deliver nutrients in their most basic form, but as a result you need to take care of the root zone to make sure plants are able to access these nutrients in the soil.
But, you usually don’t need to manage pH in organic super soil!
When using composted super soil, you generally don’t need to worry about managing pH. This is because you’ve created a “living soil” which will deliver nutrients directly to your plant roots.
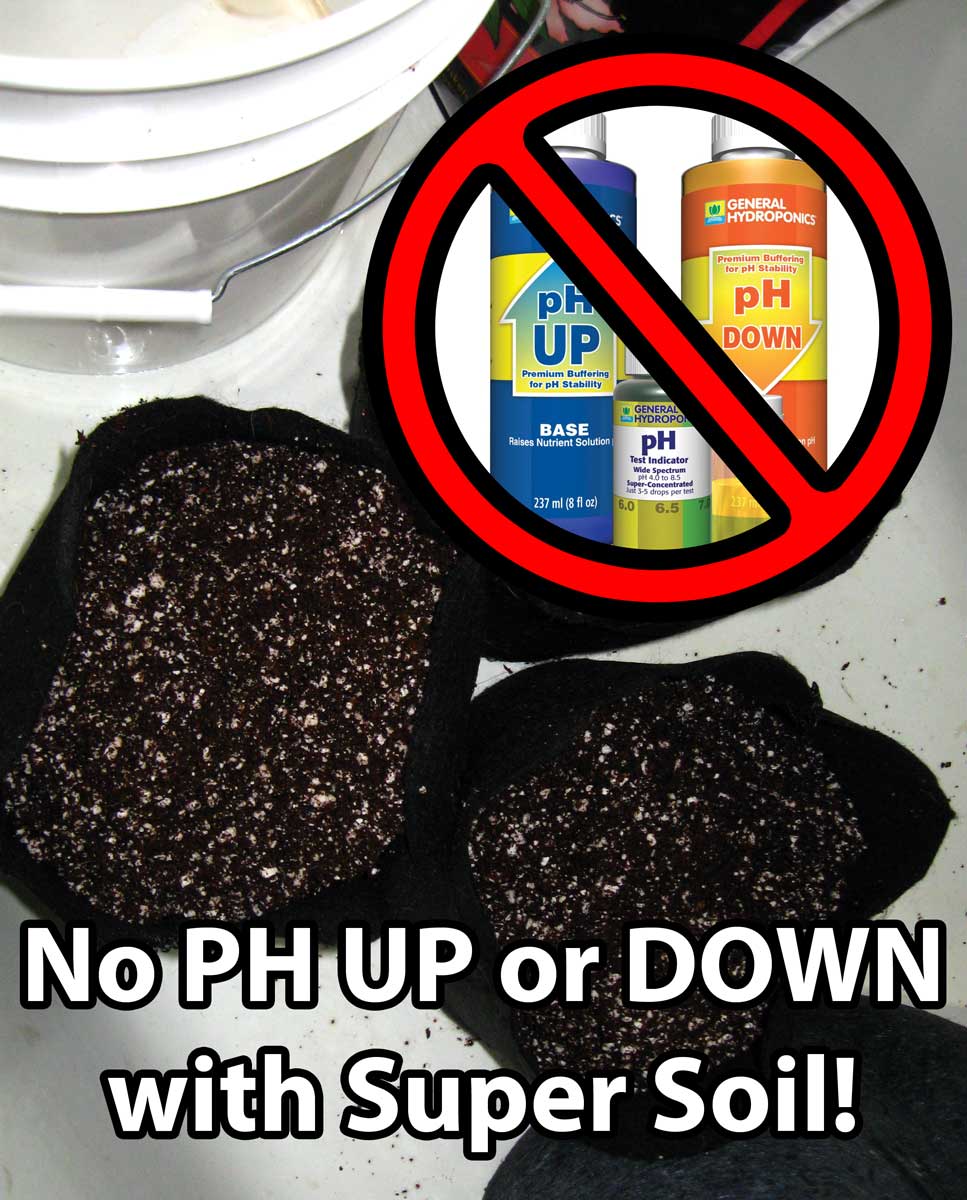
When growing organically, the old saying “if it ain’t broke don’t fix it” is a good motto to go by. If your plants look healthy, don’t do anything!
If you are noticing nutrient problems and you discover the root pH is way off, it’s possible you may need to adjust the pH using an organic source for pH management. But it’s important to avoid using chemicals that could possibly damage your soil ecosystem that is essential to getting the most out of super soil. How do I adjust the pH safely when growing organically?
However, nutrient problems caused by pH are rare in composted super soil unless you’ve started with a bad water source that’s throwing the pH off by a lot.
What causes pH problems in organic super soil?
- There’s some sort of problem during the composting process (for example if not enough water was added to allow beneficial organisms to colonize the soil)
- Your water has high levels of contaminents affecting your water pH (for example if the pH of your water is outside the 5-8 range, or has a PPM above 400).
In organic growing you are creating “living soil” which means you manage the soil instead of the plant. You need to care for the microbes, fungi and other beneficial organisms in the soil so they can break down nutrients and deliver them to your plant roots, just like in nature.
These organisms work as the “middle man” to care for all your plant root’s needs. As long as you take care of the soil’s ecosystem, you will almost never need to worry about pH in your super soil grow.
Learn more about managing pH in organic soil
(don’t accidentally kill all your beneficial microbes!)
Jump to….
Mulch: A Powerful Tool for Organic Growers
Alternative Super Soil Composting Tutorial
How to Train Your Plants for Bigger Yields
7 Tips for Growing Top-Shelf Buds
Cannabis grows like a weed in the wild…
Super soil makes your cannabis grow like a weed in your garden!