by Nebula Haze
Cannabis seeds are natural things and you can’t expect 100% germination every time. Unfortunately, that’s just not how nature works. Many factors can affect germination including genetics (some strains germinate easier than others), the age of seeds, and how well they were stored. But I’ve been lucky and gotten 100% germination ever since I started using this method.
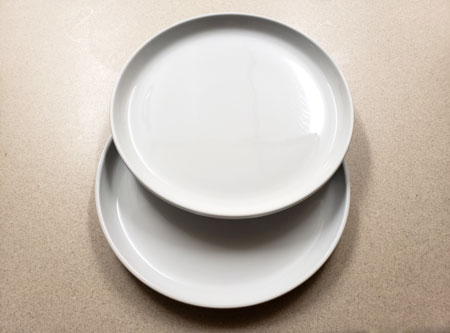
Paper Towel Method – Germinate seeds between wet paper towels, lock in the moisture with two plates, and place on a seedling heat mat for a few days
Pros
- High Germination Rate – Almost every seed with germinate if you follow the instructions
- Fast – Often takes only 1-3 days to see roots
- Keep Track – You can check on seeds without disturbing them
- Less Space – Use less space than planting seeds in pots (helpful if germinating lots of seeds at once)
- Fun – I personally love seeing the whole germination process and it makes me genuinely feel closer to the seedlings
Cons
- Multiple Steps – Not as simple as planting seeds directly in soil!
- Requires Supplies – You need cheap paper towels, seedling plugs, and a seedling heat mat
- “Bucket Head” Seedlings – I’ve found that shells are more likely to get stuck on the seedling leaves with this germination method because seedlings aren’t pushing themselves out of the soil. You may want to use tweezers to remove the shell gently, or just leave them be. However, this can happen with any method (instructions at the end of the article explain how to remove stubborn shells safely) and I personally find the increased germination rate makes this worth it.
Seeds typically germinate in 1-3 days!
Create happy little seedlings in less than a week!
How to Germinate via the Paper Towel Method
Supplies
- Cheap paper towels – Why cheap paper towels? Seed roots grow into expensive cloth-like ones and have to be cut out (learned that one from experience)
- Two Plates – You need to lock the moisture in during the germination process
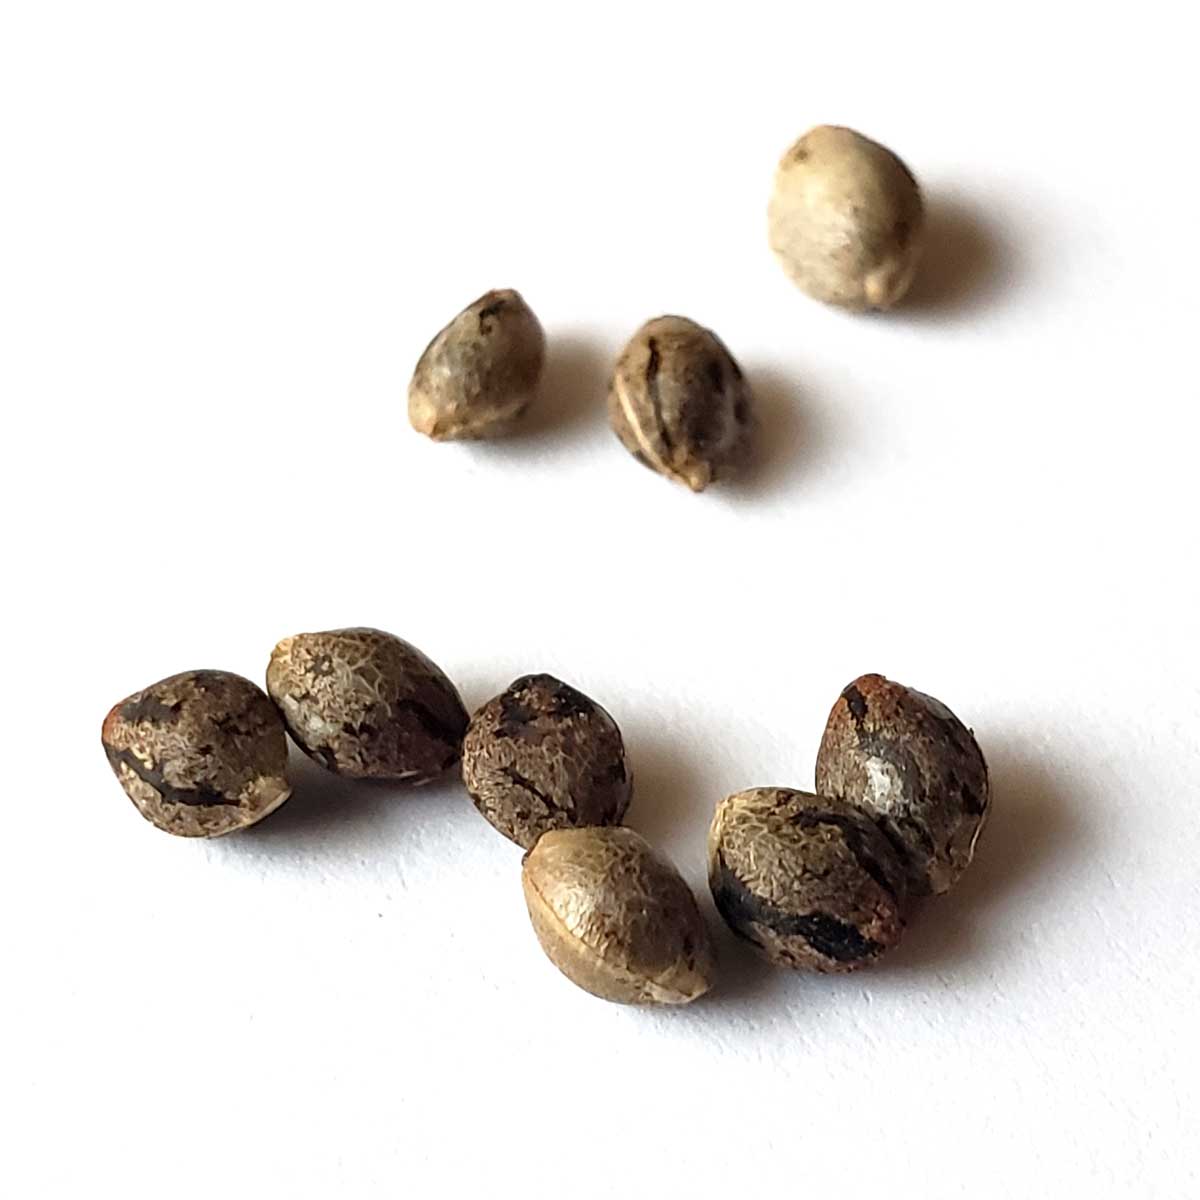
- Cannabis Seeds – If you need seeds, here’s a list of seed vendors that ship worldwide
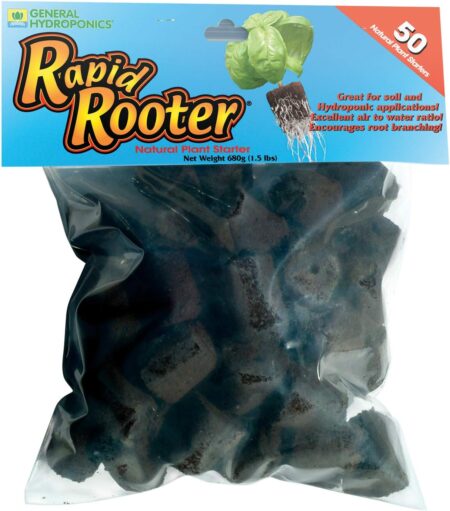
- Rapid Rooters with Tray – The perfect environment for newly germinated seeds
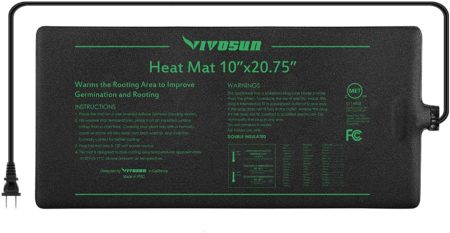
- Seedling Heating Mat – Or any warm surface that stays about 70-85°F (20-30°C) to keep seeds warm
CHEAP paper towels (don’t use the expensive cloth-like ones!)
Two plates (any plates will do)
Cannabis seeds (where can I buy?)
Rapid Rooters (note: extra Rapid Rooters can be stored in a cool, dark place for future grows)
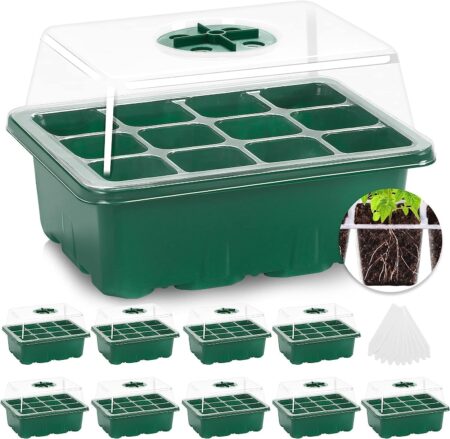
Seedling Tray to hold Rapid Rooters.
Seedling heat mat to keep seedlings warm (or any surface that’s about 70-85°F or 20-30°C)
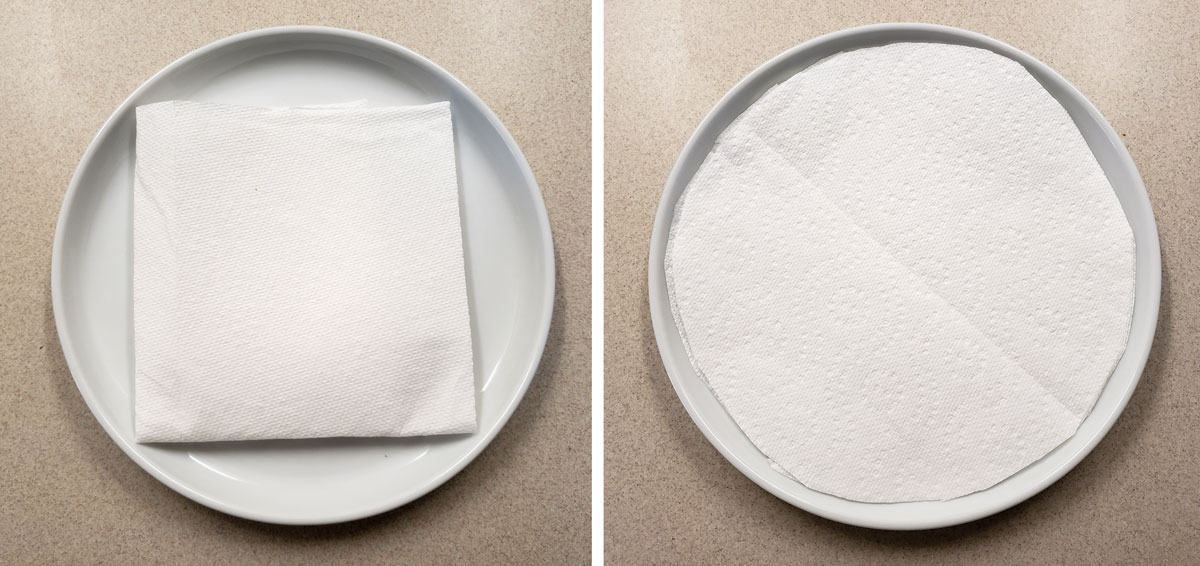
1.) Put 3-4 Layers of Paper Towels on Plate
You don’t want to load your plate up with tons of paper towels, but it’s nice to have several sheets so they can hold plenty of water. If necessary, fold or cut the paper towels to size so everything fits completely inside the plate. If a paper towel is sticking outside the plates, everything will dry out quickly.
You may need to cut (or fold) paper towels so they fit completely inside plate
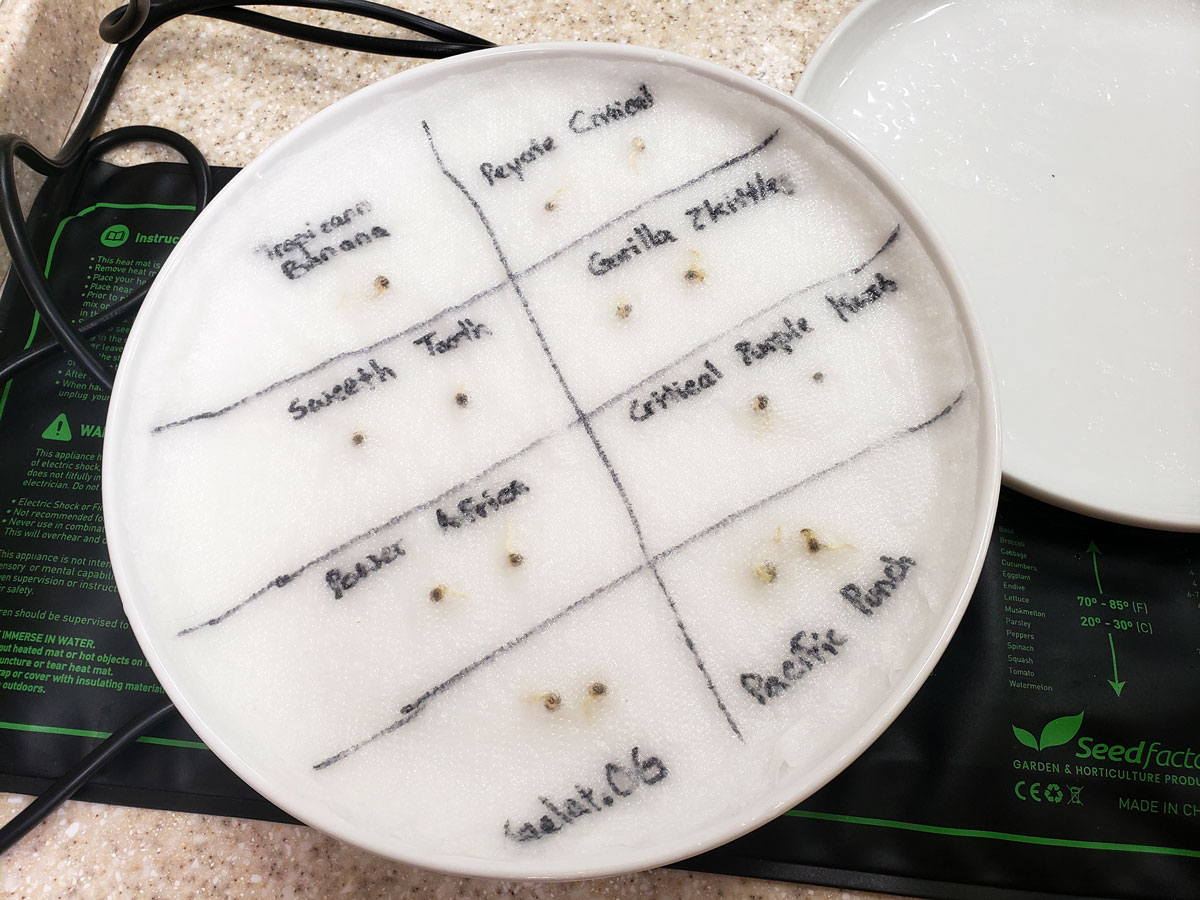
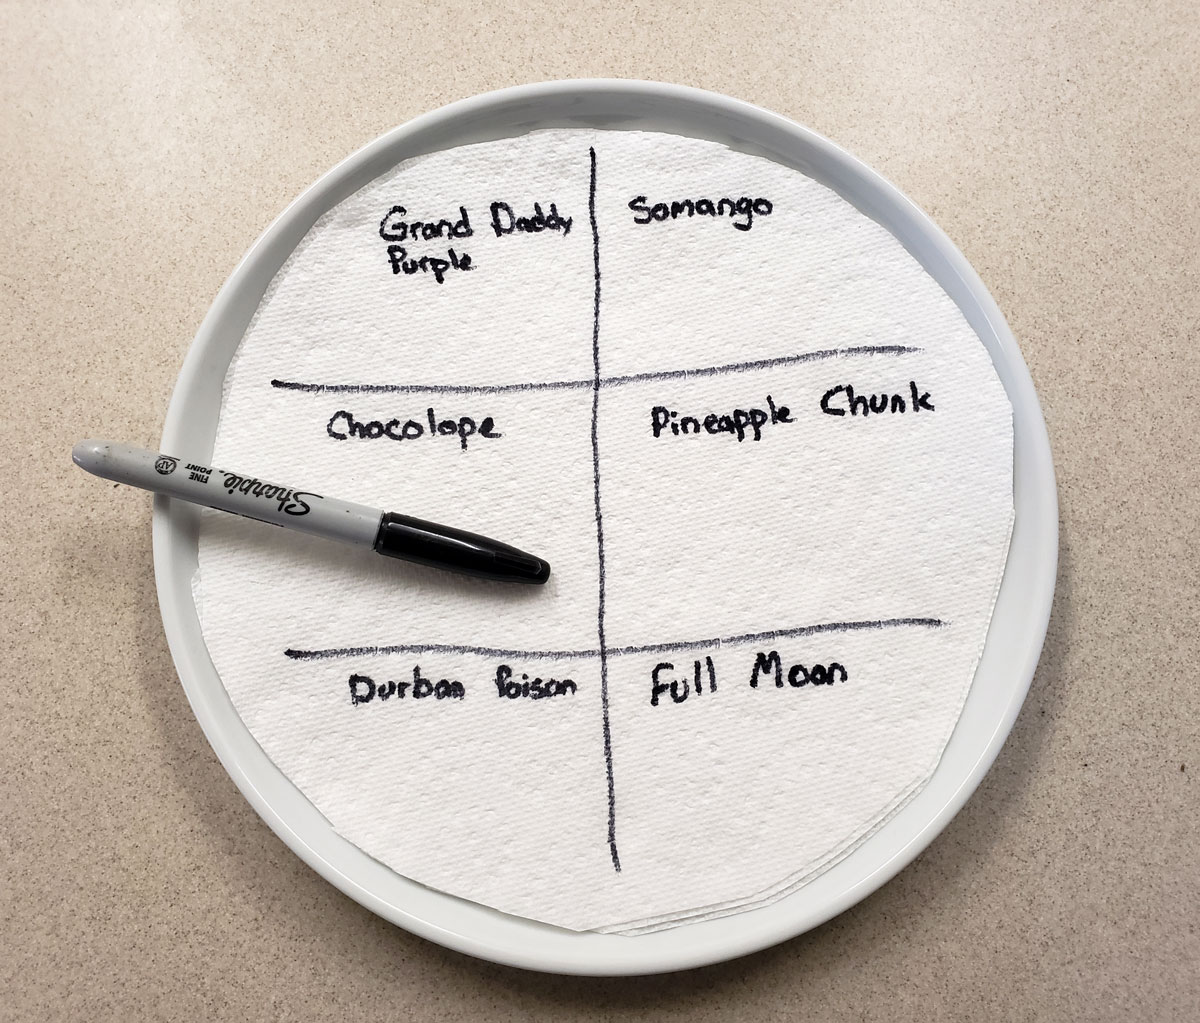
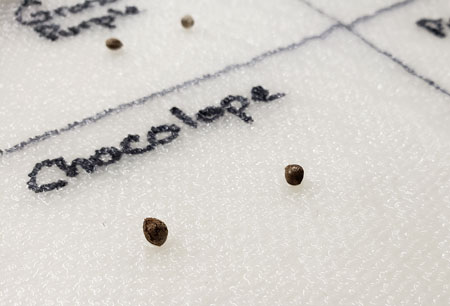
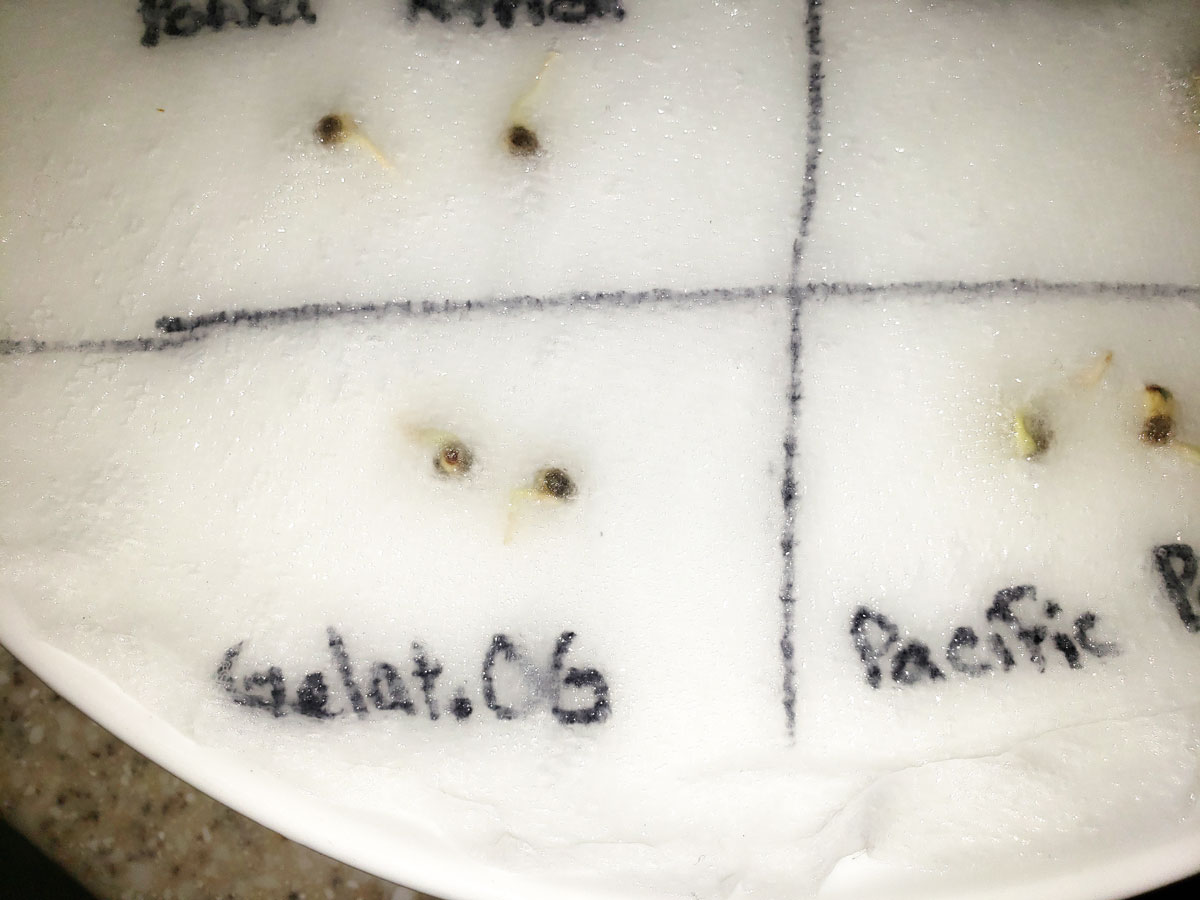
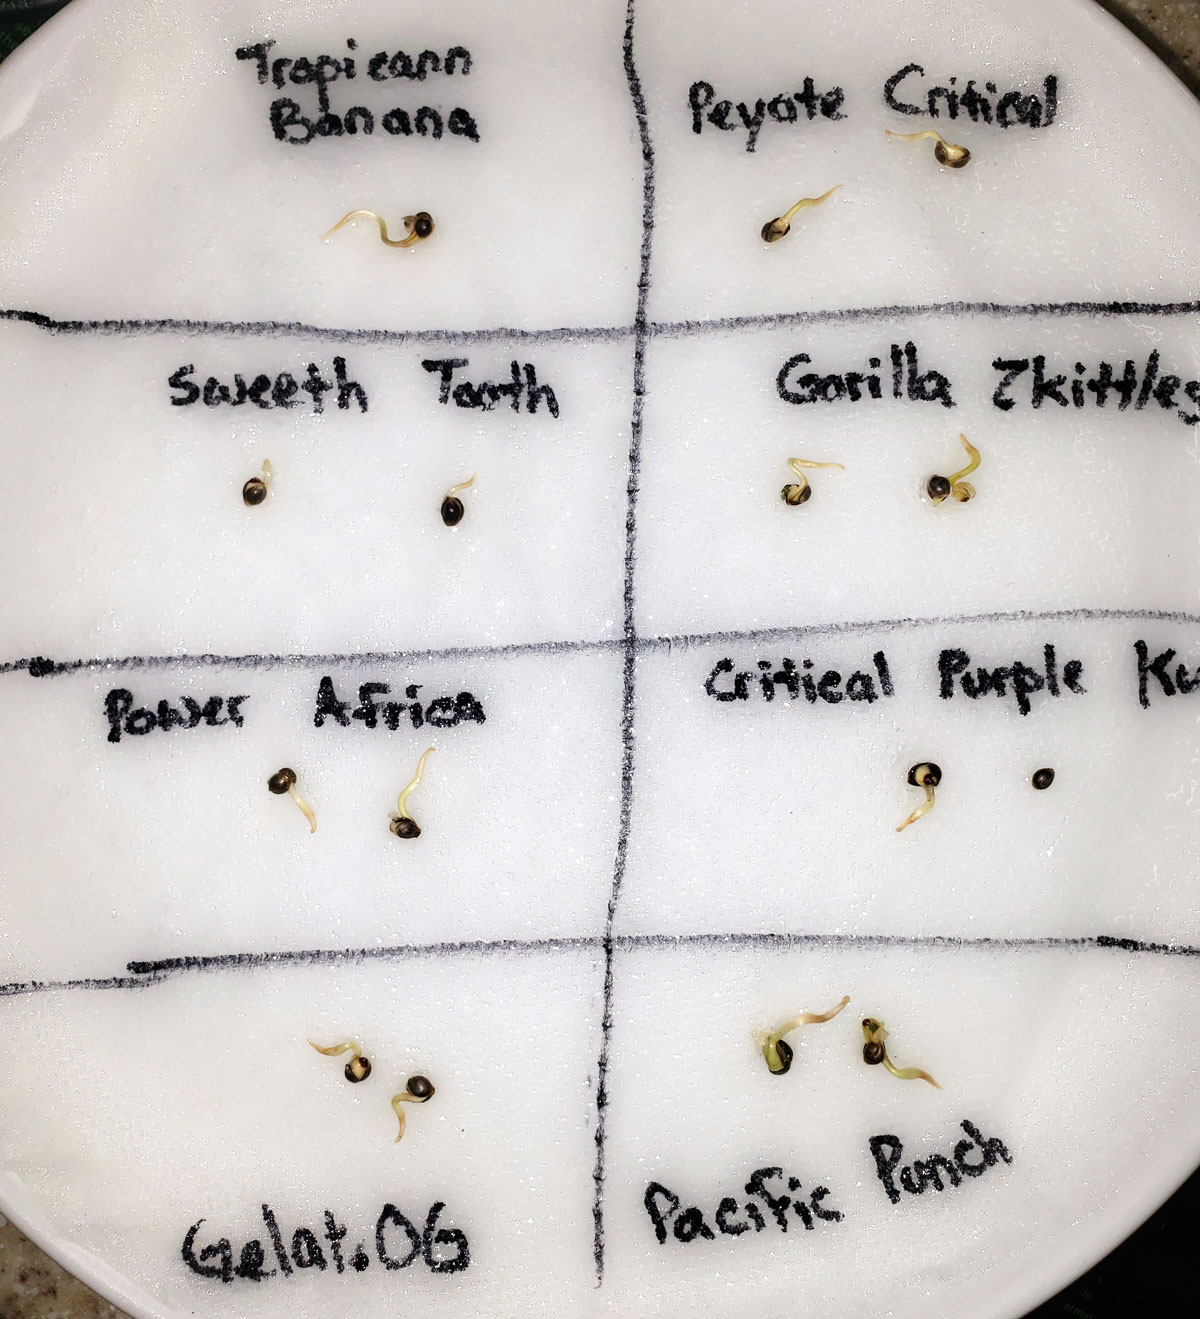
2.) Label the Strains
If growing more than one strain at a time, label the paper towels so you’ll know which seed is which.
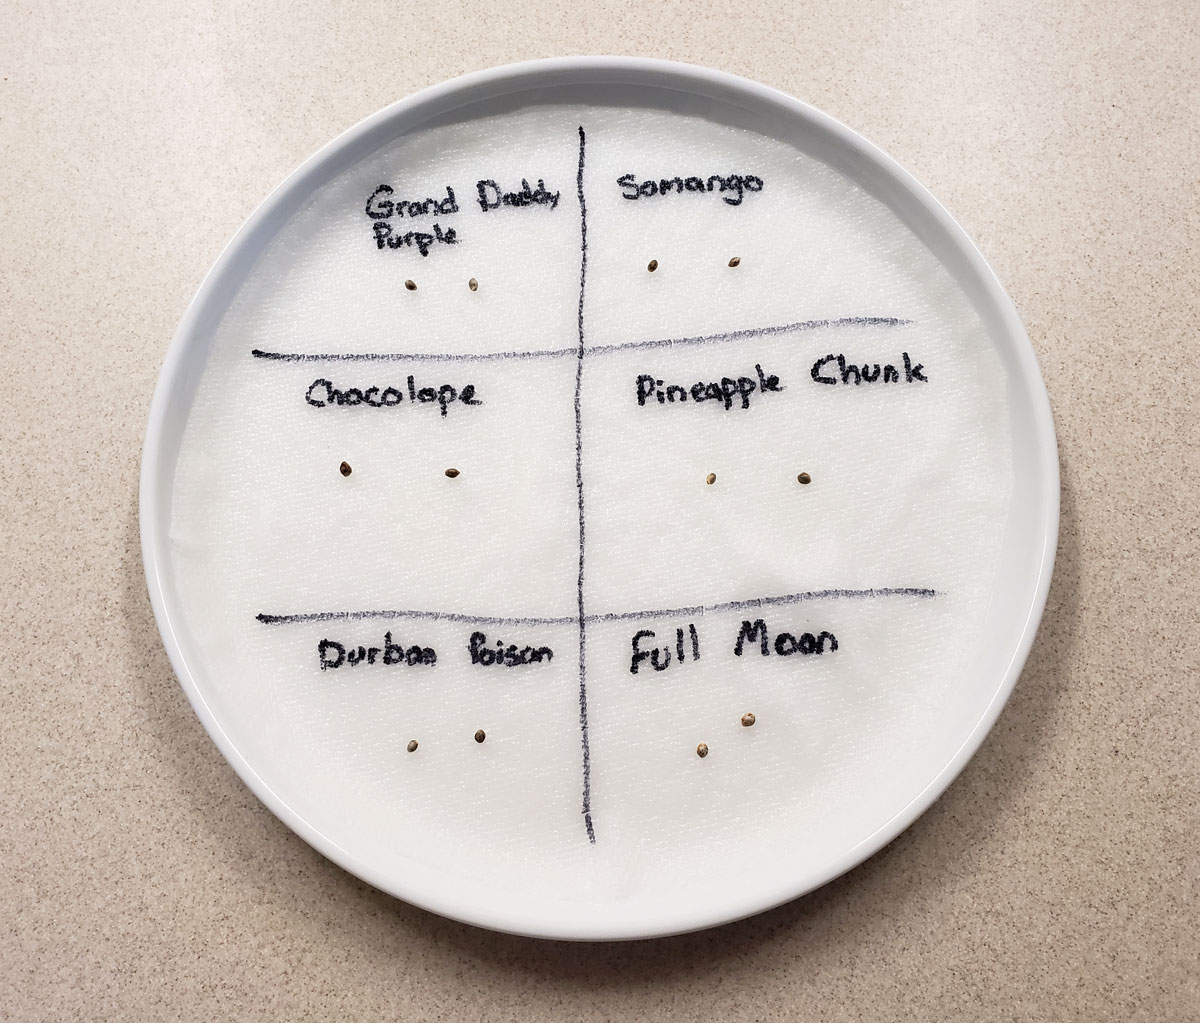
3.) Add Water & Seeds
Add some water on top of the paper towels so they’re soaked through, then place seeds down. I add water first to avoid accidentally moving seeds. It’s also a good idea to keep the plate flat so seeds don’t roll around.
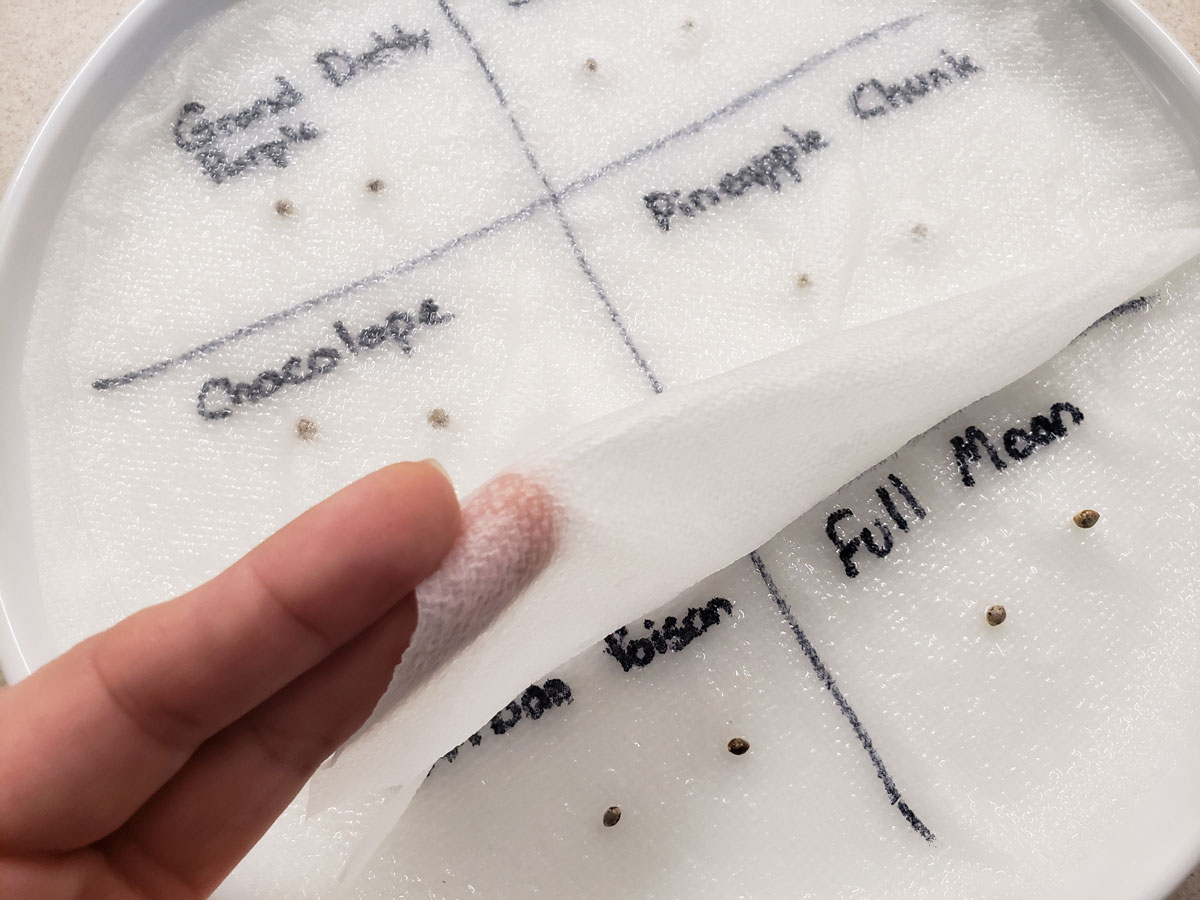
4.) Cover with 1 Sheet of Paper Towel
Put a single sheet of paper towel on top. With just one sheet you will be able to see whether the seeds have germinated without having to disturb them. You may need to add a little extra water so that the top sheet is moist all the way through.
With a single sheet on top, you can still mostly see the seeds
5.) Put 2nd Plate on Top
Lock in all the moisture by putting another plate on top.
6.) Place on Seedling Heat Mat
Plug in your seedling heat mat. It should warm up quickly. I’ve put the plates directly on the mat before, which worked well, but sometimes I worry my little weed seedlings may get too hot with the plate directly on the mat. Since I already have a Rapid Rooter tray for later, I place it between the mat and the plate. Feel free to use something else like a book or towel. The basic idea is to put some space between the heating mat and the plate so the plate still gets warm but the extra air space keeps the heat nice and even.
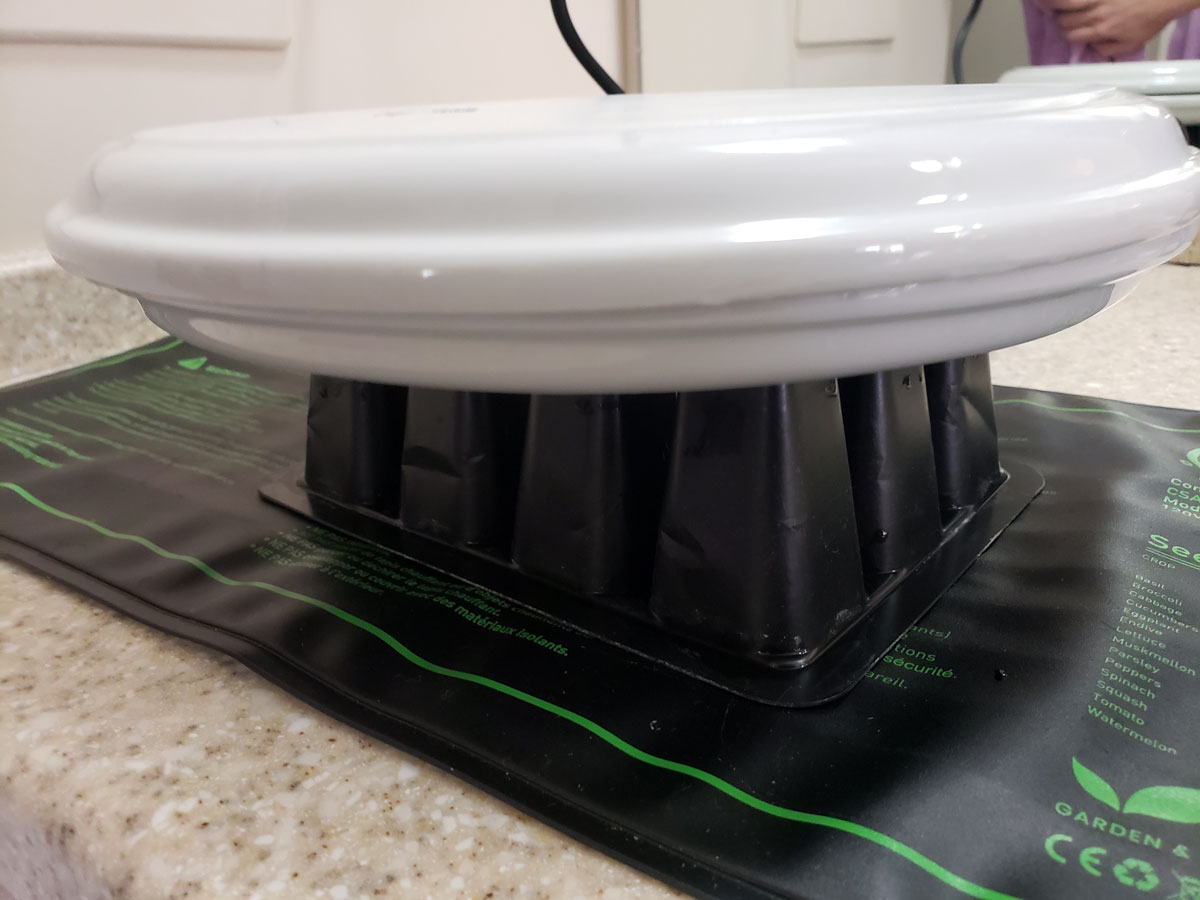
Why a seedling heat mat? Seeds germinate significantly faster when they’re kept 70-85°F (20-30°C). A seedling heat mat keeps seeds warm during the germination process. However, any warm spot works just as well (for example, on top of the refrigerator is the perfect temperature for some people). When you touch the wet paper towels, they should feel warm but not burning hot.
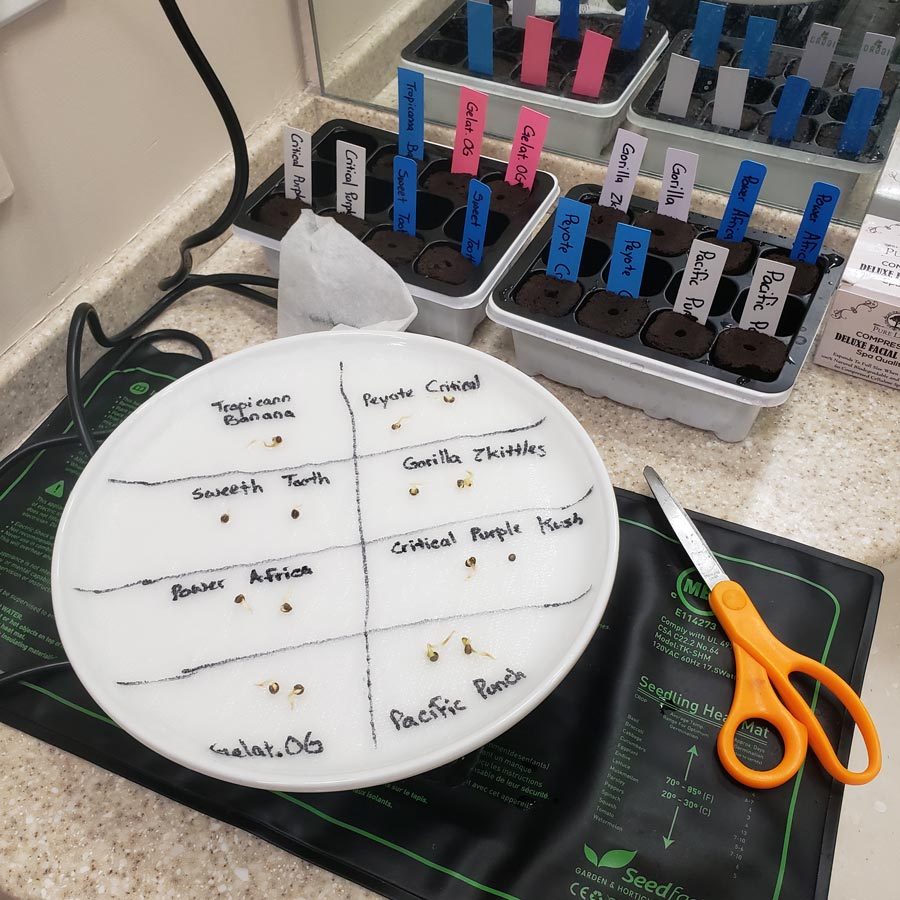
7.) Check on Seeds at Least Once a Day
Ensure paper towels don’t dry out. You may have to add more water occasionally to keep them wet. You can usually tell when the seeds have germinated without looking under the top sheet. This means you can check on your seeds regularly without disturbing them by picking up the top plate.
Seeds typically sprout in 1-3 days. Certain strains and older seeds may take a few extra days.
8.) Put Germinated Seeds in Rapid Rooters
Once seeds have germinated, gently pull off the top paper towel to reveal the seedlings underneath.
Carefully and slowly remove top paper towel sheet.
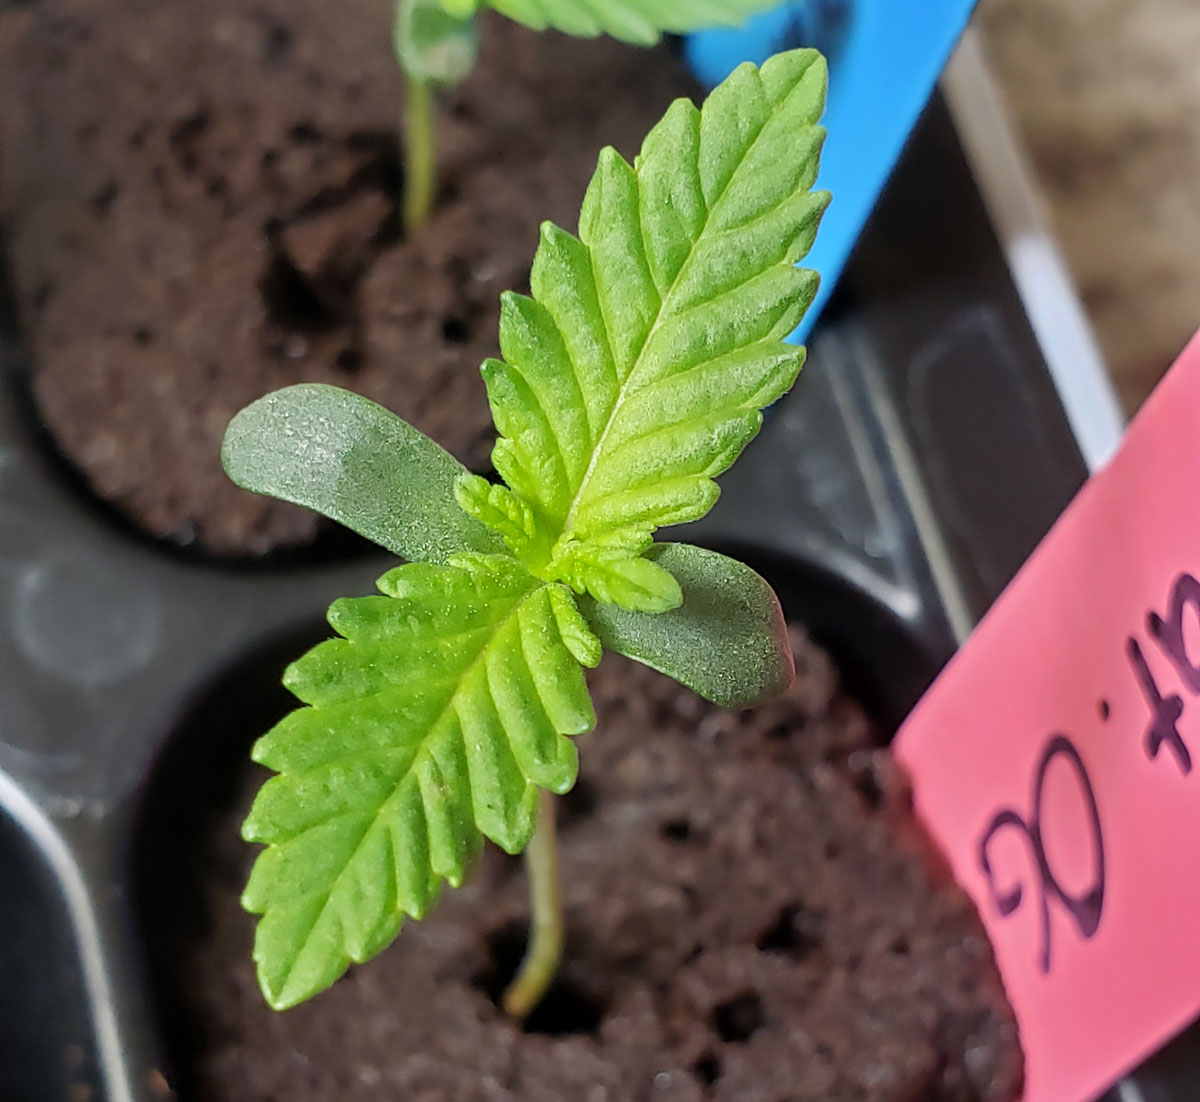
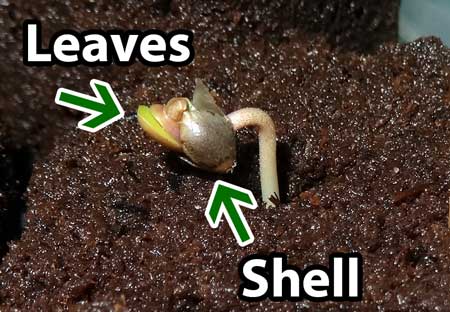
Did you know the first two round seedling leaves were already fully formed inside the shell? The germination process only releases them. New leaves are yellow at first but turn green once they start getting light.
At this point, you may see some seedling leaves have already broken free of their shells. That’s awesome. These seedlings often grow the fastest.
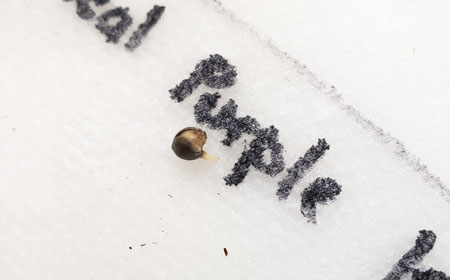
If there’s a short root or seedling hasn’t germinated yet, put the paper towel back and gave the seedling one more day. Seedlings grow faster if they have a bit more root before being planted.
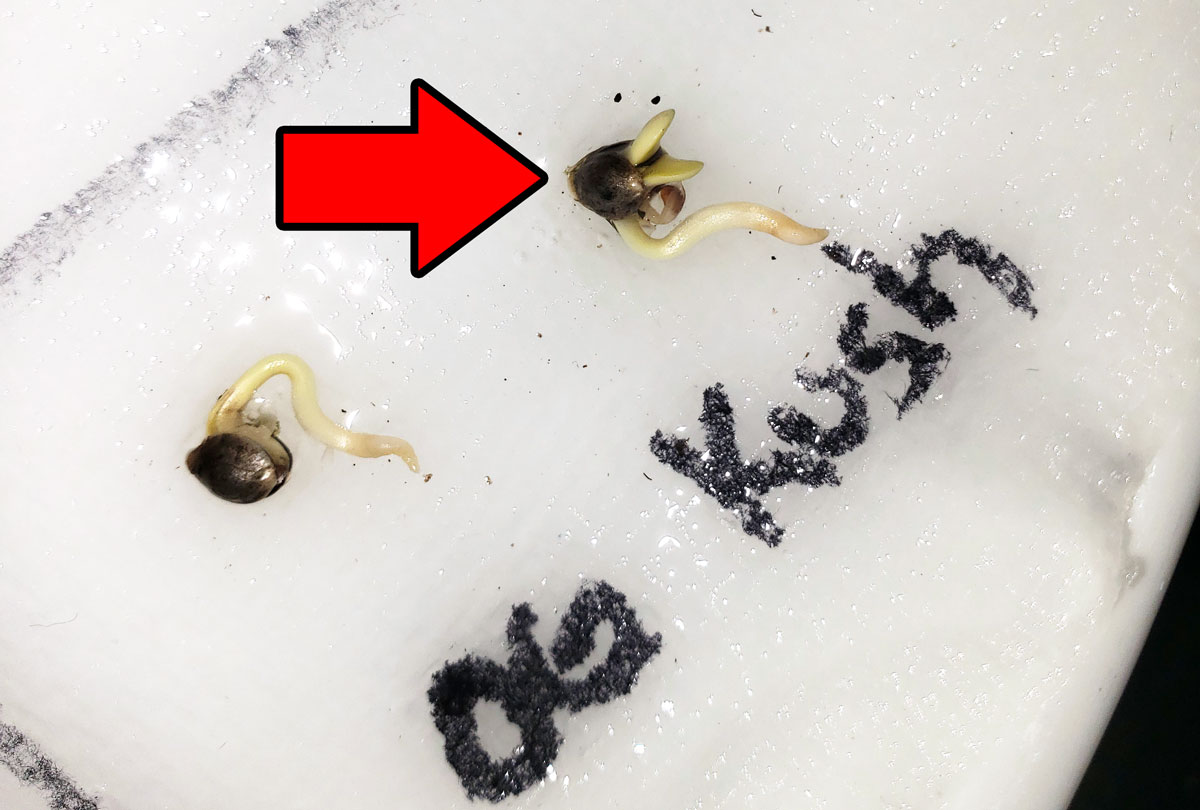
This Critical Purple Kush seed took an extra day to germinate compared to the other seeds. I gave it one more day after this so the root could get longer before I put in a Rapid Rooter.
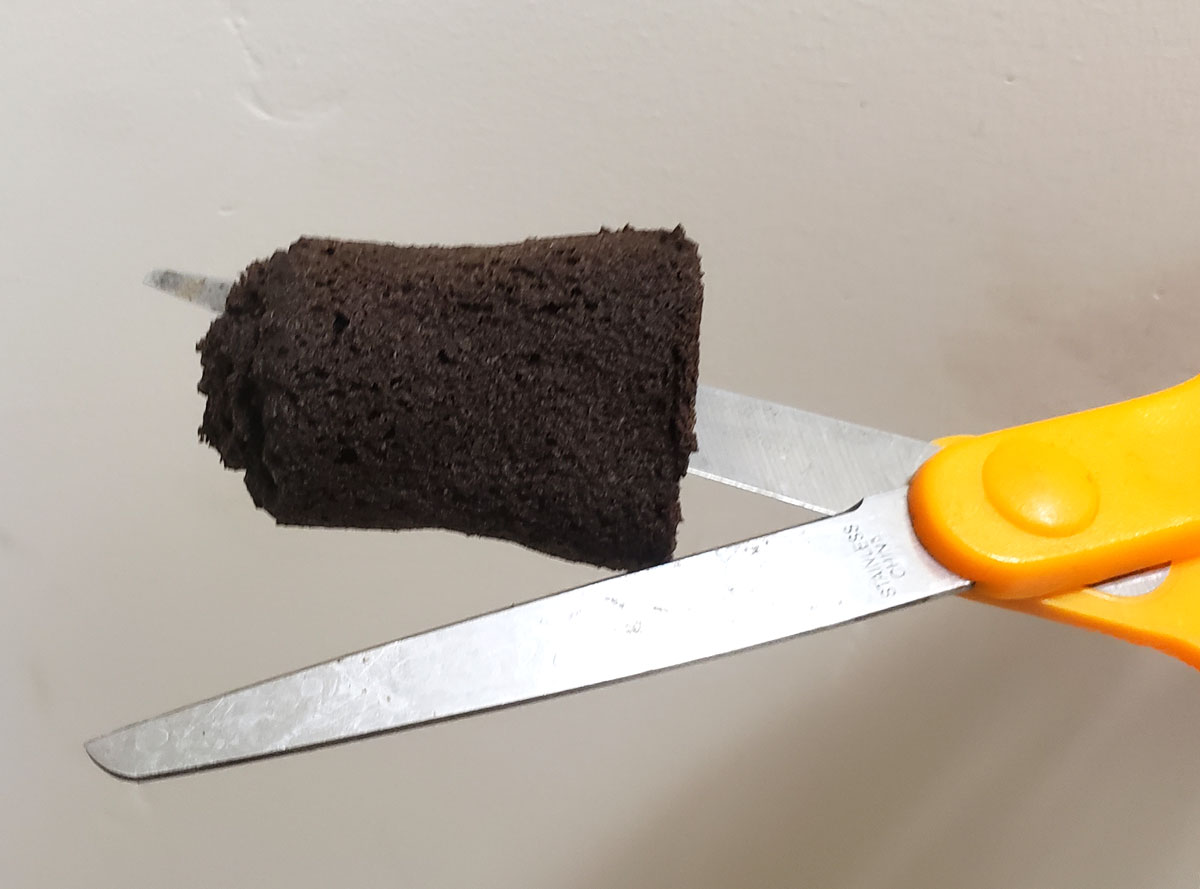
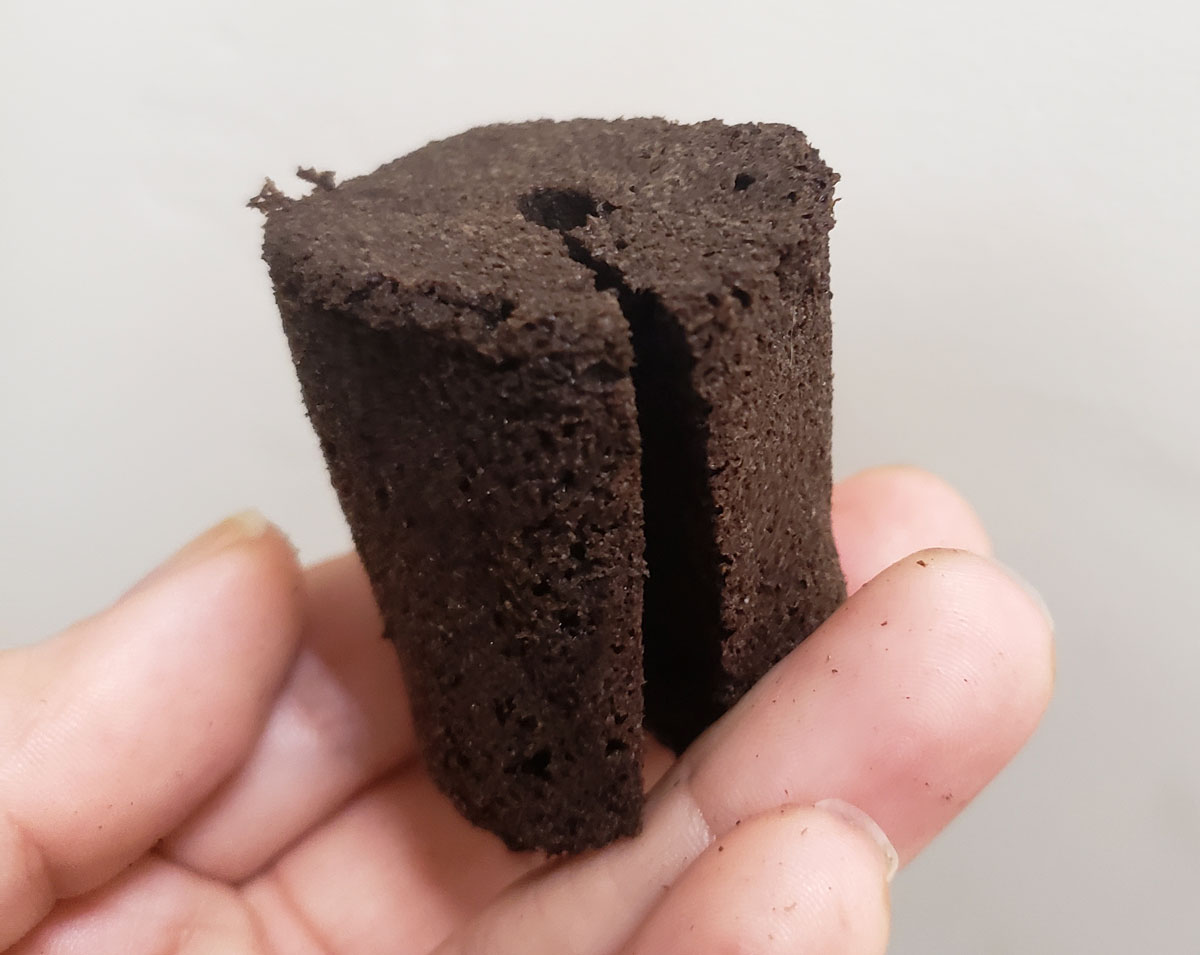
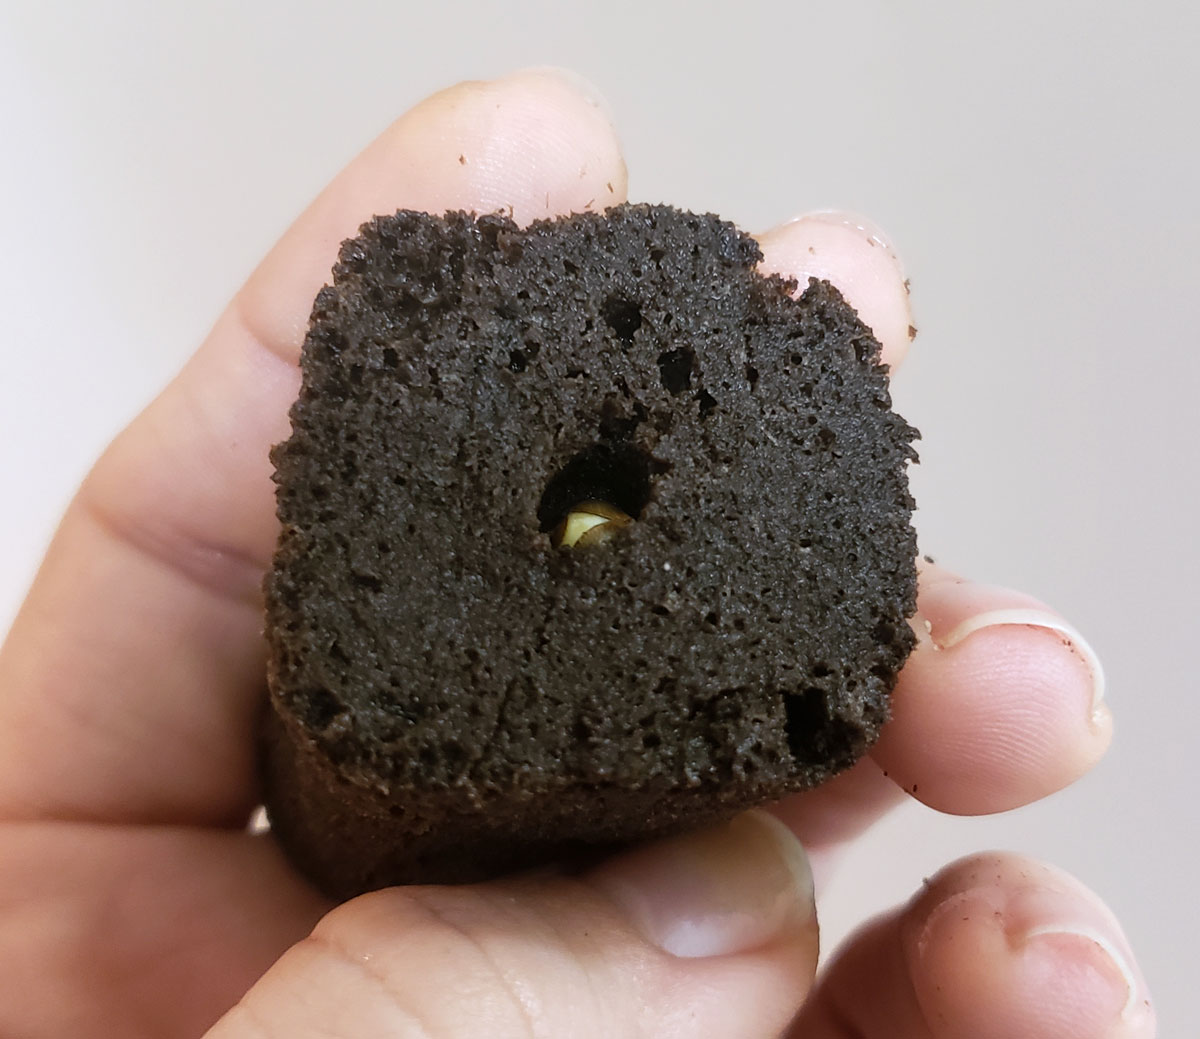
I recommend cutting your Rapid Rooters in half to make it easier to place germinated seeds. Even a seed with a long wiggly root will usually easily fit into the “crack” of the Rapid Rooter. This prevents you from bending the roots.
Cut Rapid Rooters in half to make it easier to insert germinated seeds
Try to place the seed head close to the top so they don’t have far to go. I’ve found that some seedlings don’t make it to the top if you put them too far down.
If the seedling has already lost the shell, place the leaves close to the top. These seedlings often grow the fastest.
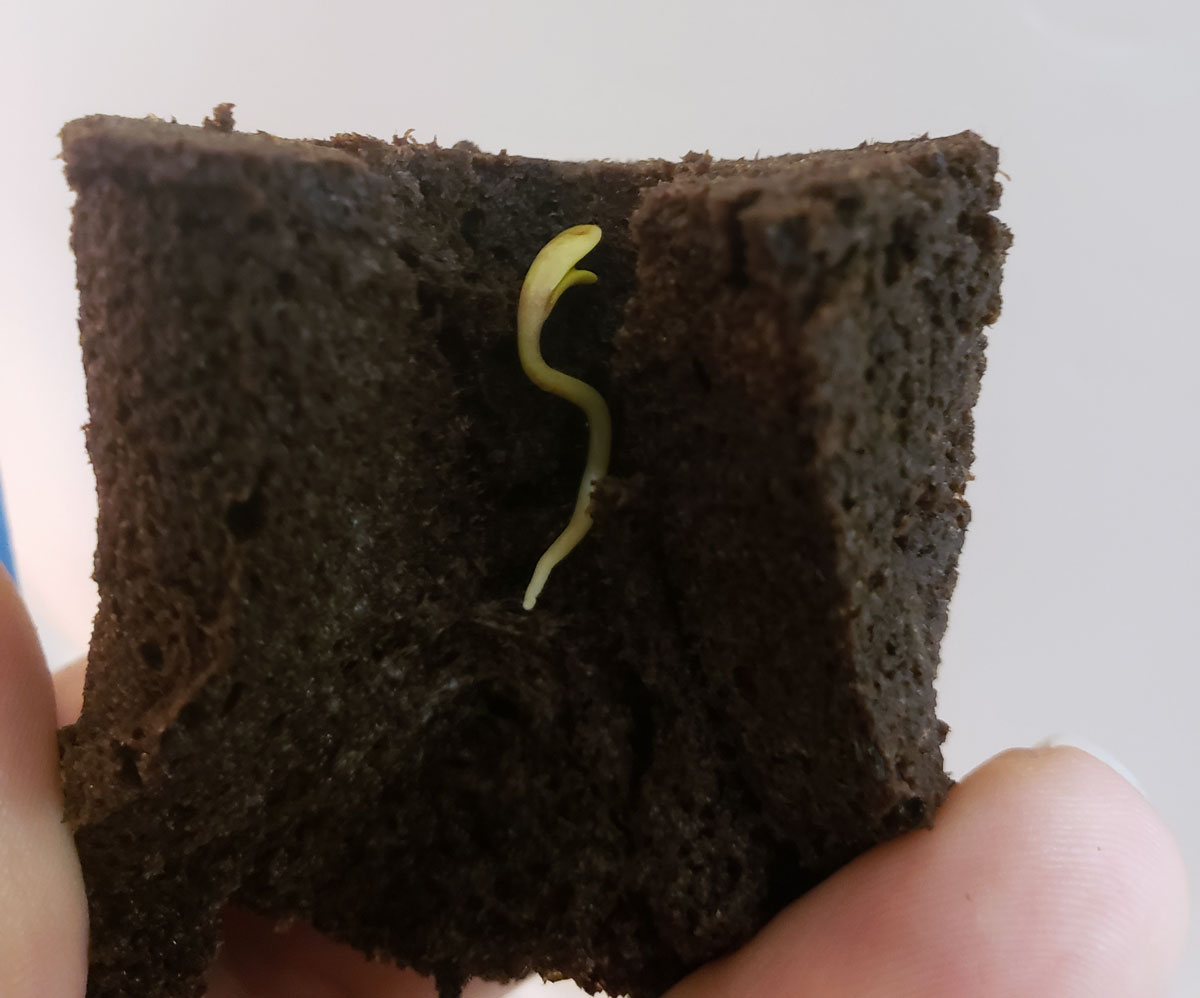
Otherwise, add the seedling, root down, with the shell close to the surface
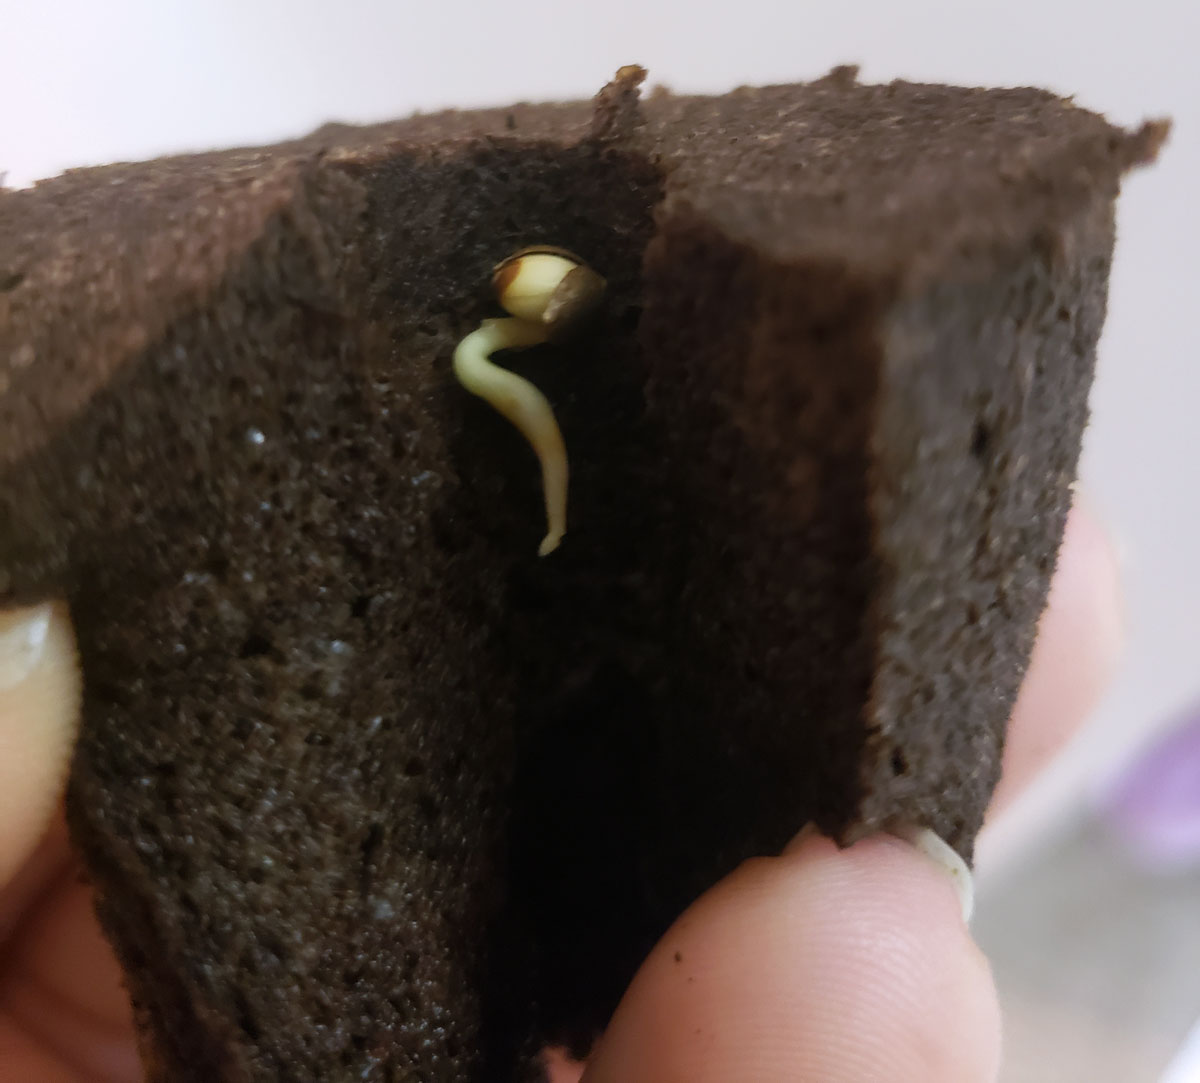
Gently close around the seedling
Put into the Rapid Rooter tray (make sure they’re moist all the way through!) The bottom shell of the tray will hold extra water so plugs don’t dry out.
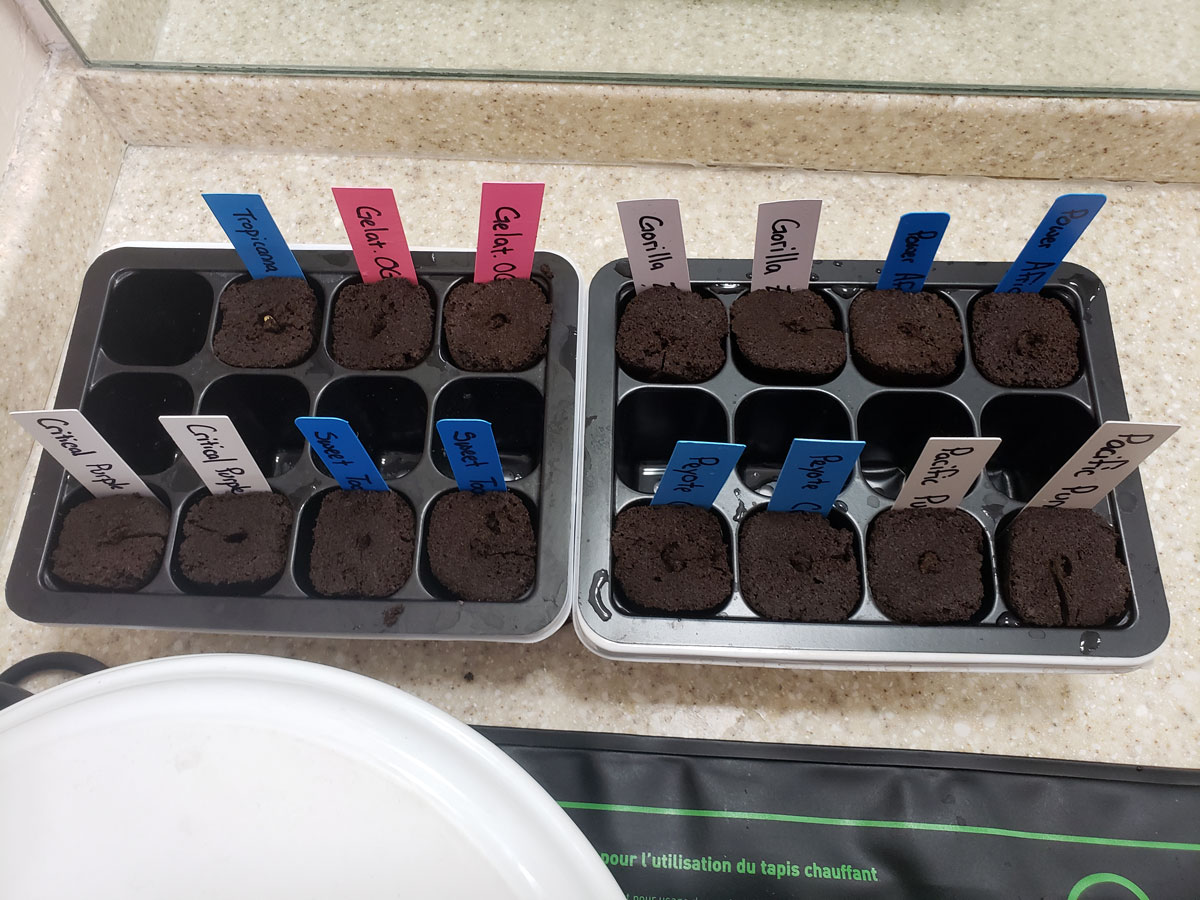
Add enough water that all the Rapid Rooters appear dark, but not shiny from too much water. Once you’re done, put the trays back on the seedling mat. Young seedlings love warmth!
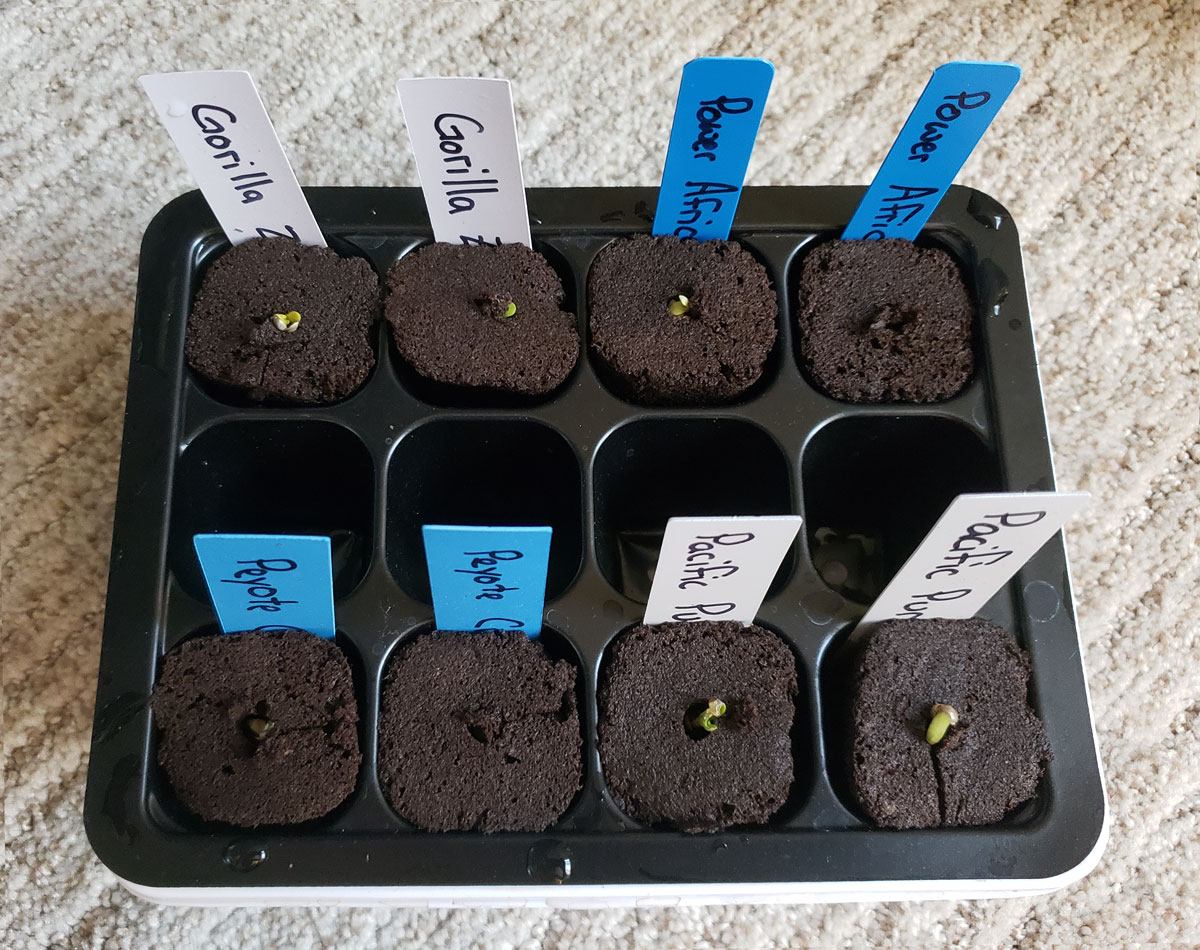
9.) You Have Seedlings!
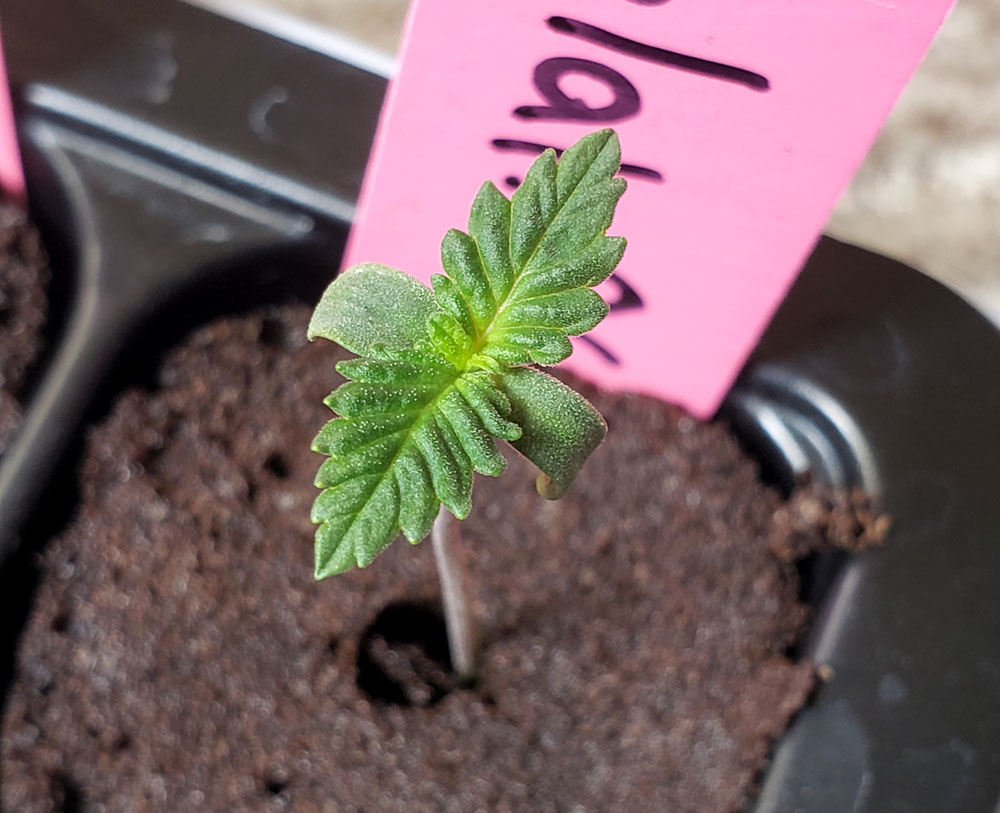
The leaves should appear above the Rapid Rooters within a day or two.
Just 12 hours later, several seedlings have already appeared above ground.
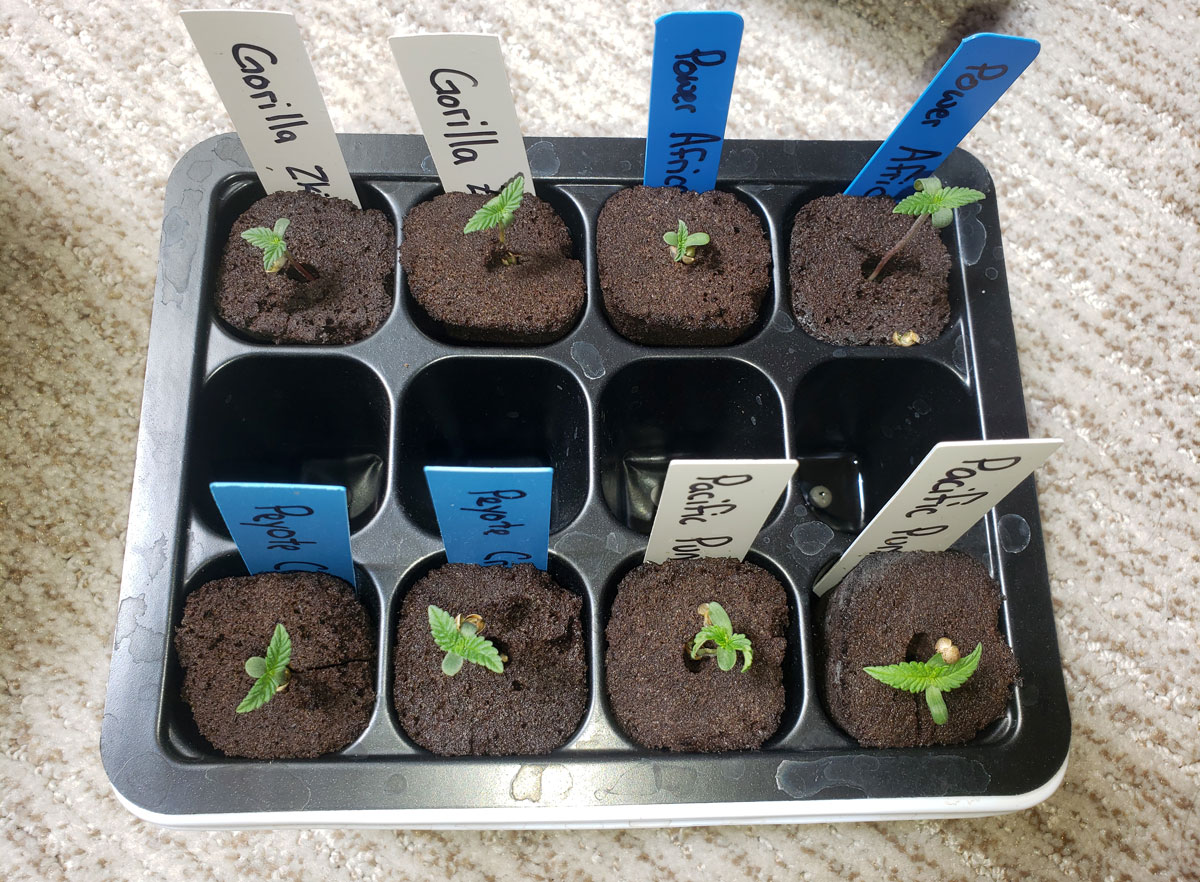
At this point, the seedlings are ready to be put under a gentle light. A sunny window works well, though your regular vegetative grow light should be fine as long as you keep it twice the normal distance away. Avoid touching the seedlings if possible. This is when they’re most vulnerable.
Within a day or two under a light (or in a sunny window), you’ll have a bunch of happy seedings!
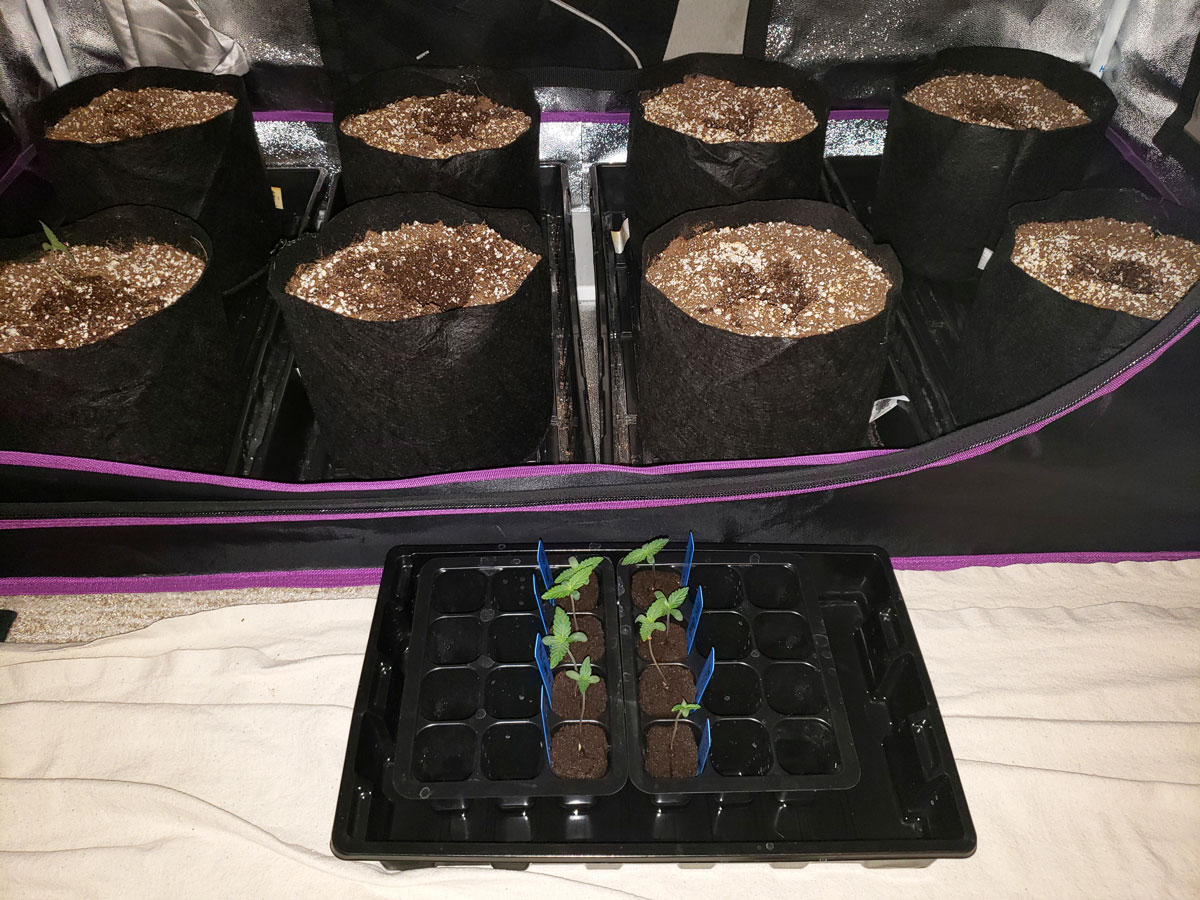
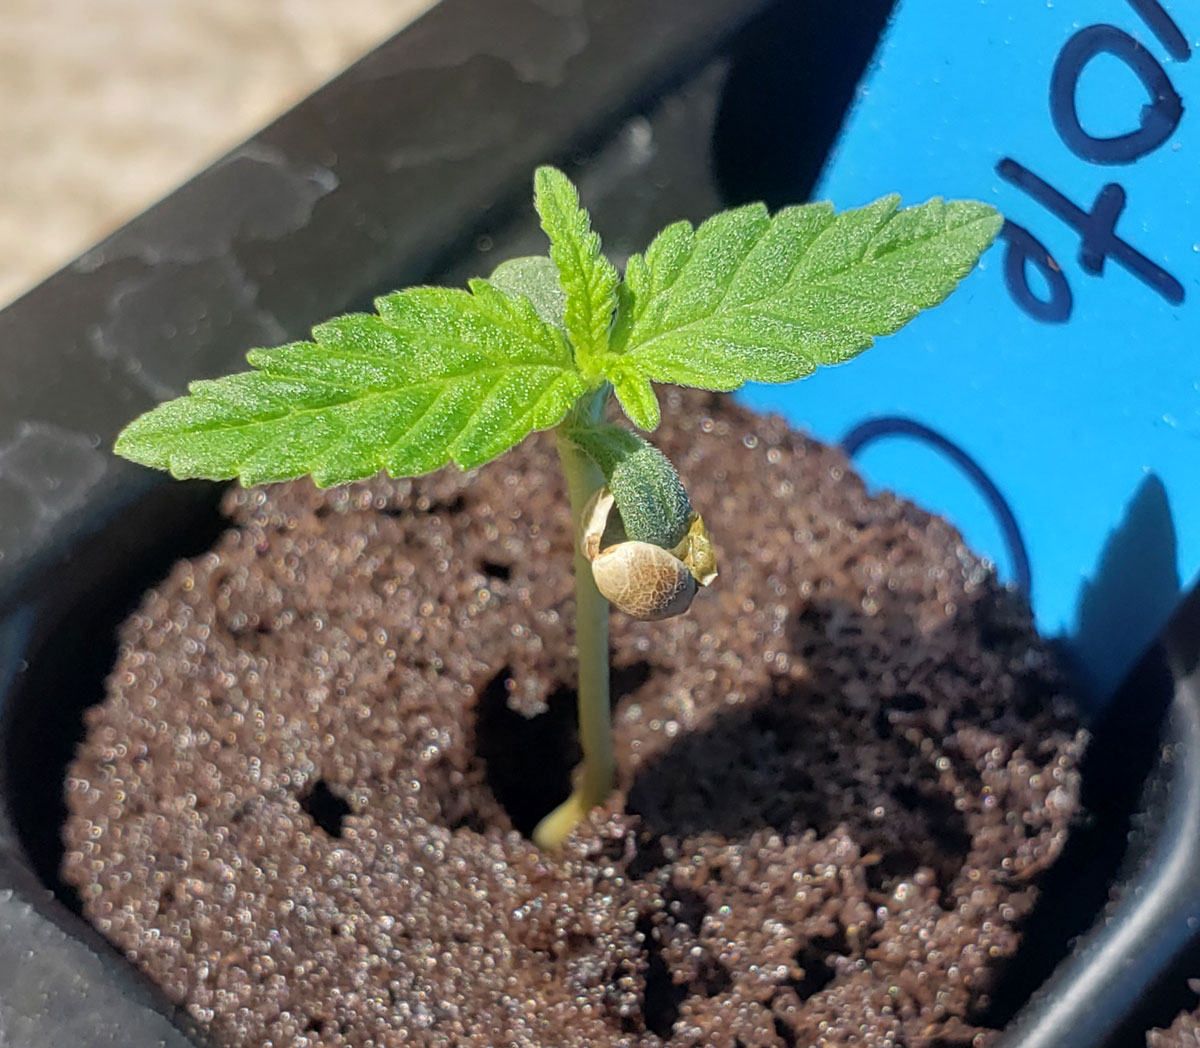
The seedlings are ready to go in plant containers once they’ve spread out their first set of serrated leaves (to about the width of the Rapid Rooter).
At this point, you can plant the whole Rapid Rooter. Don’t forget to label the strains!
Move the grow light down to the standard vegetative stage distance once the plants have 3 new sets of leaves. By now they should be growing fast!
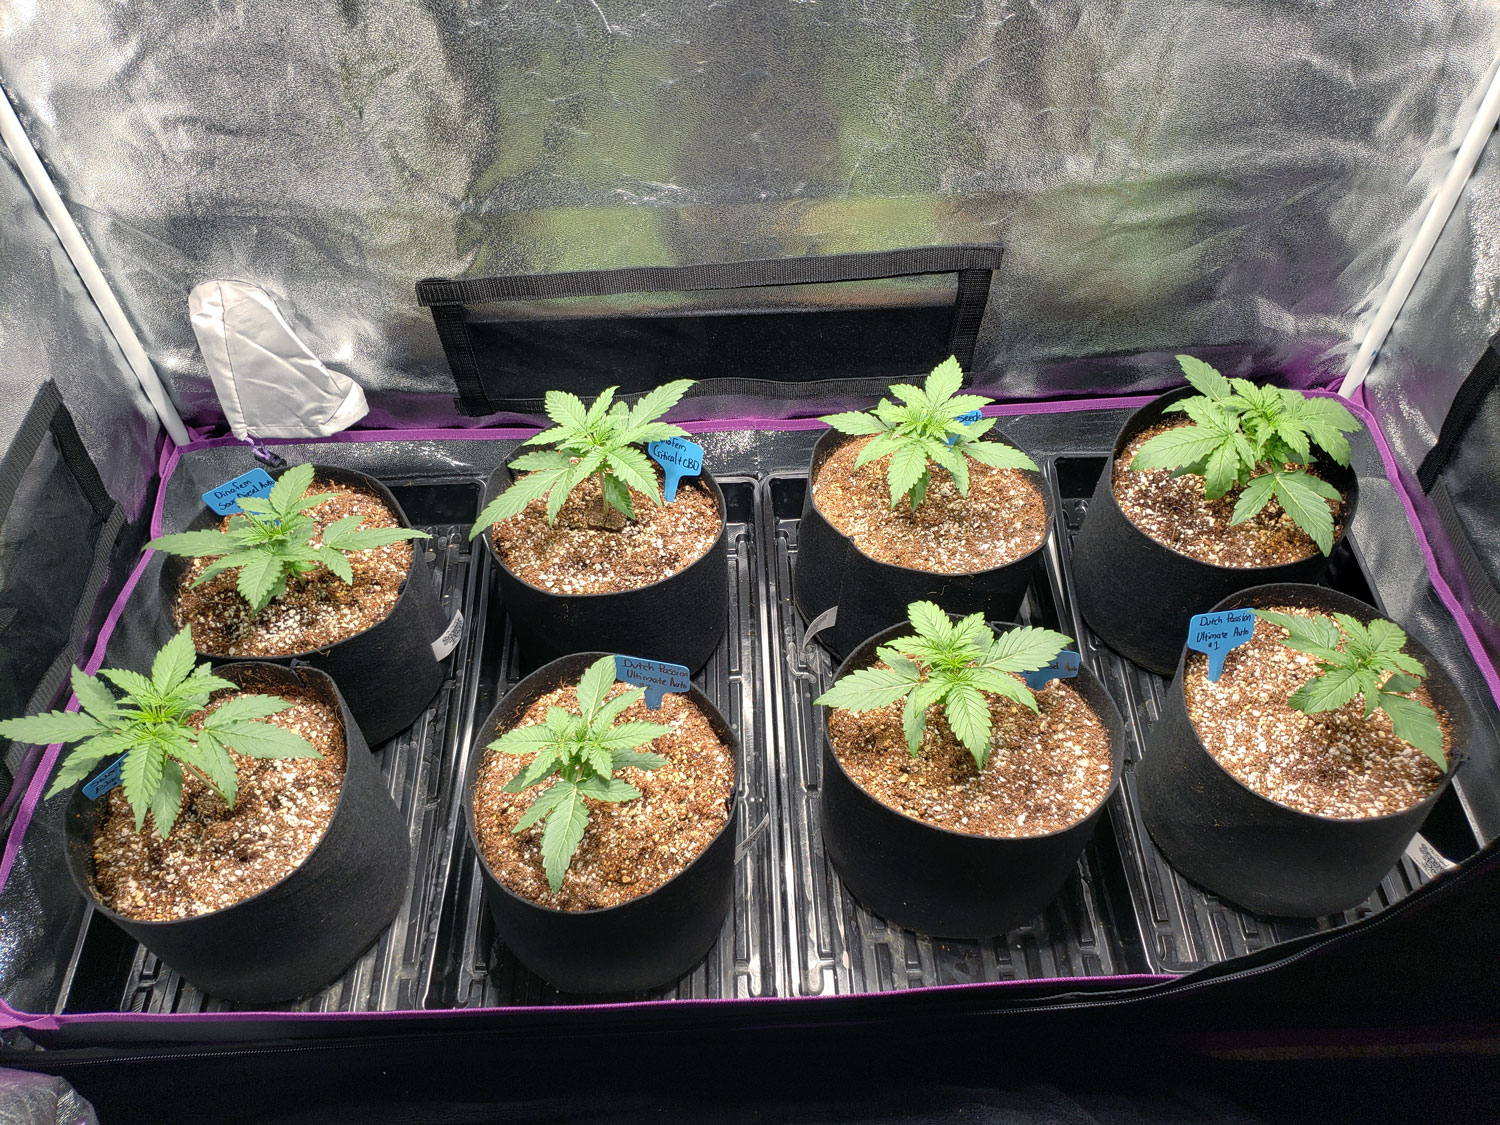
Note: Move grow light down early if seedlings start getting tall with long stems. Tall, stretchy seedlings are telling you they want more light.
Learn how to water seedlings and care for your plants until harvest.
What If the Seedling Shell Gets Stuck? (“Bucket Head” Seedlings)
One downside to this method is sometimes a seed shell will get stuck on the seedling. Here’s how to deal with that.
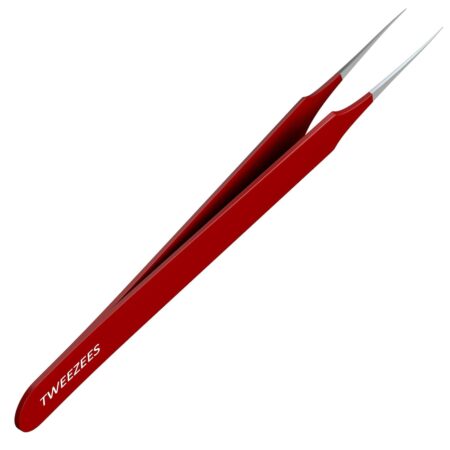
Helpful Tool: Pointy tweezers (though most tweezers will work in a pinch)
Sometimes leaves get stuck in the shell. Here’s what to do.
First, give the seedling 24-48 hours to see if it pushes the shell off on its own. Many seedlings just need a little extra time and don’t need your help.
Ignore stuck shells if the leaves are already free. The shell will fall off on its own.
If you don’t see any progress and leaves still seem trapped after a day or two, you may need to remove the shell to release the leaves contained inside. If leaves can’t break free and see the light, the seedling may die.
- Close tweezers so they are as narrow as possible and put inside the crack.
- Then slowly allow tweezers to open, which will gently pry the shell apart.
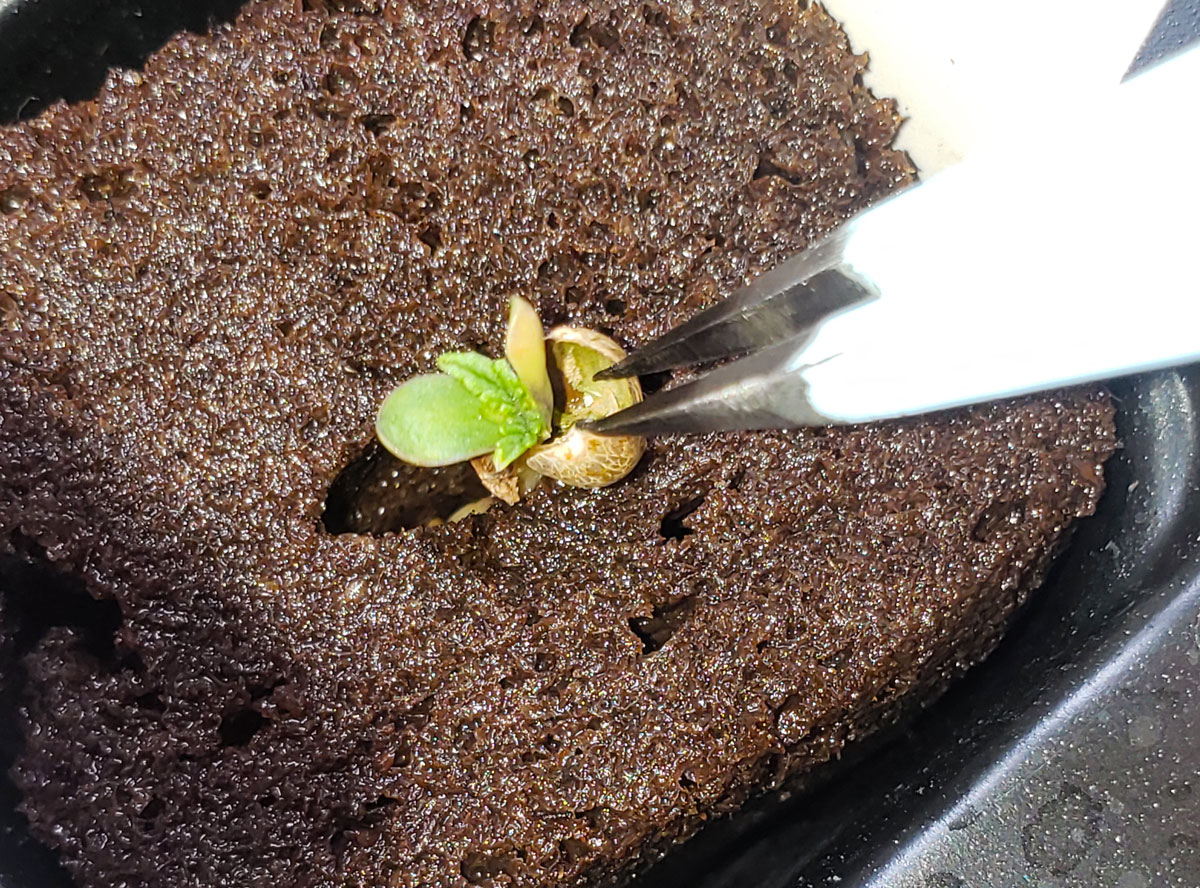
I used to use my fingers to remove shells but it can be hard not to disturb the seedling. Then I learned that a pair of pointy tweezers can be inserted into the crack and allowed to gently open to pry the seed apart. Don’t tug or use any force whatsoever. Just gently and slowly release the leaves. The leaves may be stuck to the shell at first and it can take several seconds of gentle tugging for the leaves to slowly loosen and pull away from the shell. If you’re having trouble, add some water to the stuck part and wait a few minutes to help soften it up.
If the seedling leaves aren’t opening up because they’re stuck inside the seed membrane, wet the membrane and give it a few minutes soften up. Then use tweezers to gently remove the membrane. In some cases, it’s easier to stick the tweezers inside and pry the leaves apart just like with a shell.
If leaves are stuck inside the shell membrane for more than a day or two, do this: Wet the membrane, wait a few minutes, then use tweezers to gently pry it away from leaves.
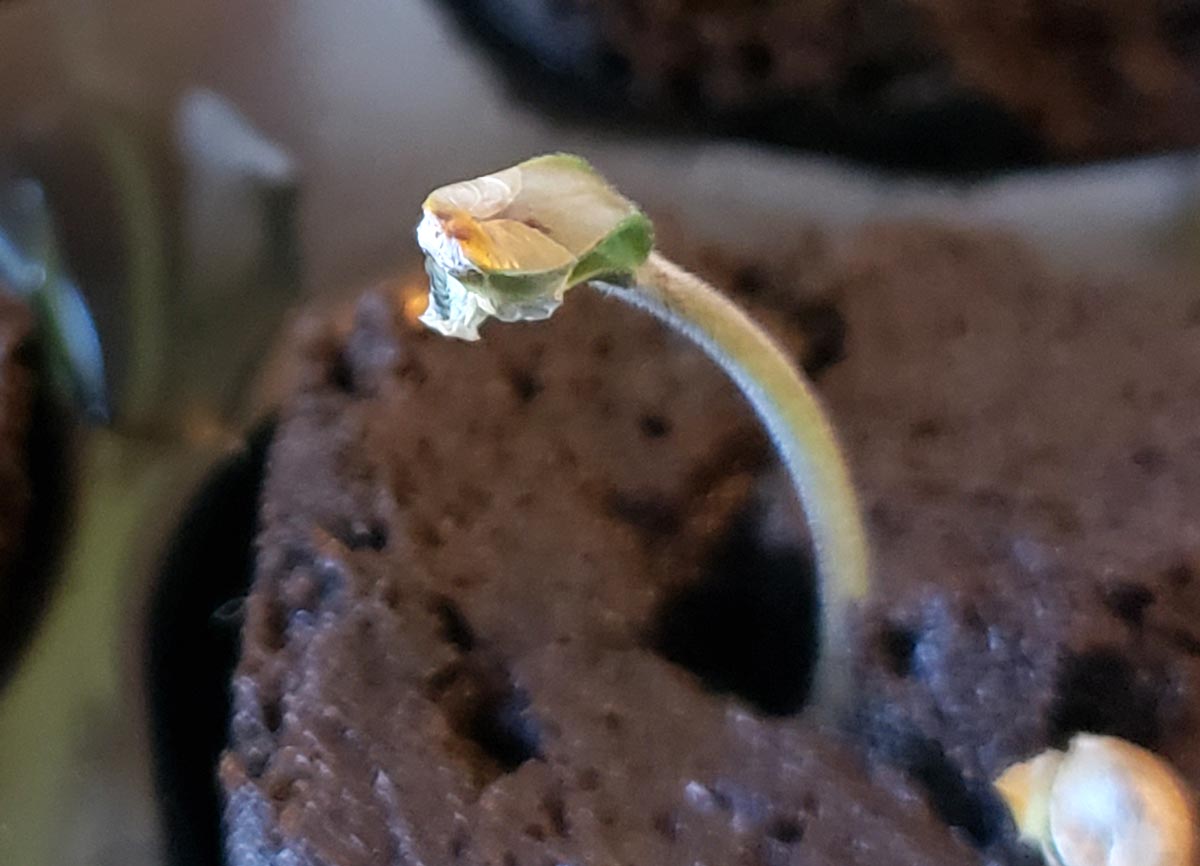
Once you can see the two individual leaves are separated, you’re good to go!
Happy seedlings are the best seedlings!

Learn how to care for cannabis plants until harvest.