by Nebula Haze
Some cannabis seeds can’t be replaced. You may have a strain or cross that’s no longer available. In the past, I’ve tried to order cannabis seeds again, only to find the breeder disappeared. Sometimes germination problems cause irreplaceable losses. On top of that, cannabis seeds can get expensive, especially small-batch seeds or experimental seed crosses, which means if seeds don’t sprout you are down significant cash.
So far I’ve had 100% germination using this method (including several seeds that were 2 years old). Learn how to do this yourself in today’s germination tutorial.
Germination problems are some of the most frustrating problems when growing cannabis. It seems like you should be able to stick a marijuana seed in some soil and let nature take care of germination. Why is it so hard to germinate seeds? What can a beginner or experienced grower do to improve germination rates? Bonus: Why are some seeds harder to germinate than others?
What cannabis seeds want during germination:
- Moisture – never let seeds dry out after they get wet, but also don’t let seeds sit in liquid water or seedlings may “drown” after they crack open the seed
- Warm – 80°F (26°C) is perfect, though any temperature between 75-85°F (24-30°C) is good
- Dark – too much light can hurt germination so it’s recommended to germinate seeds in the dark
- No touching – try not to touch or move seeds after they start germinating until they sprout
- Clean – bacteria and microscopic fungi can slow or stop germination so make sure to wash your hands before handling seeds and germinate seeds in a clean place
So what’s the best way to give this perfect germination environment? Today I want to share the cannabis germination method I use. I’ve found most germination methods work, but one of the key things that seem to help germination go faster (and reduce the number of seeds that don’t germinate) is warmth. Seeds want it to be warm but not hot, like they’re just under the surface of the soil on a sunny spring day after a light rain.
Seeds want to “feel” like they’re just under the surface in moist dirt on a warm day. Your job is to give them a better version of nature.
Over the years I’ve struggled to achieve the perfect germination temperature. In my experience, “seedling heat mats” don’t keep a consistent temperature, and they often get too hot after a few days. I’ve germinated seeds on a seedling heat mat and I’m pretty sure they got cooked, which caused them to take much longer to germinate. So how can you achieve the perfect 80°F / 26°C temperature that seeds love? Reptile heat mat!
Why a reptile heat mat?
When you keep a cold-blooded animal like a reptile as a pet, you need to provide heat to keep them warm. However, you want to make sure their home is always the perfect temperature. If it gets too cold or hot, they can die. It’s up to you as the owner to make sure they get just-the-right temperature so they’re happy and healthy.
Pet snakes and other reptiles can’t control their own temperature so they need you to provide just the right amount of warmth

That’s why reptile heat mats were first created. It’s essentially a seedling heat mat, except it has a probe with a sensor to allow you to choose the exact temperature that you want. For example, you can set the heat mat to keep the temperature a steady 80°F / 26°C and the controller will turn the heat mat on and off so it stays exactly that temperature day and night. I’ve found that using one of these mats causes seeds to germinate much faster than if they weren’t heated, but (unlike with regular seedling heat mats) the sensor prevents the mat from ever getting too hot and cooking the seeds.
This reptile heat mat took my marijuana seed germination rates from 90-95% to almost 100% germination every time.
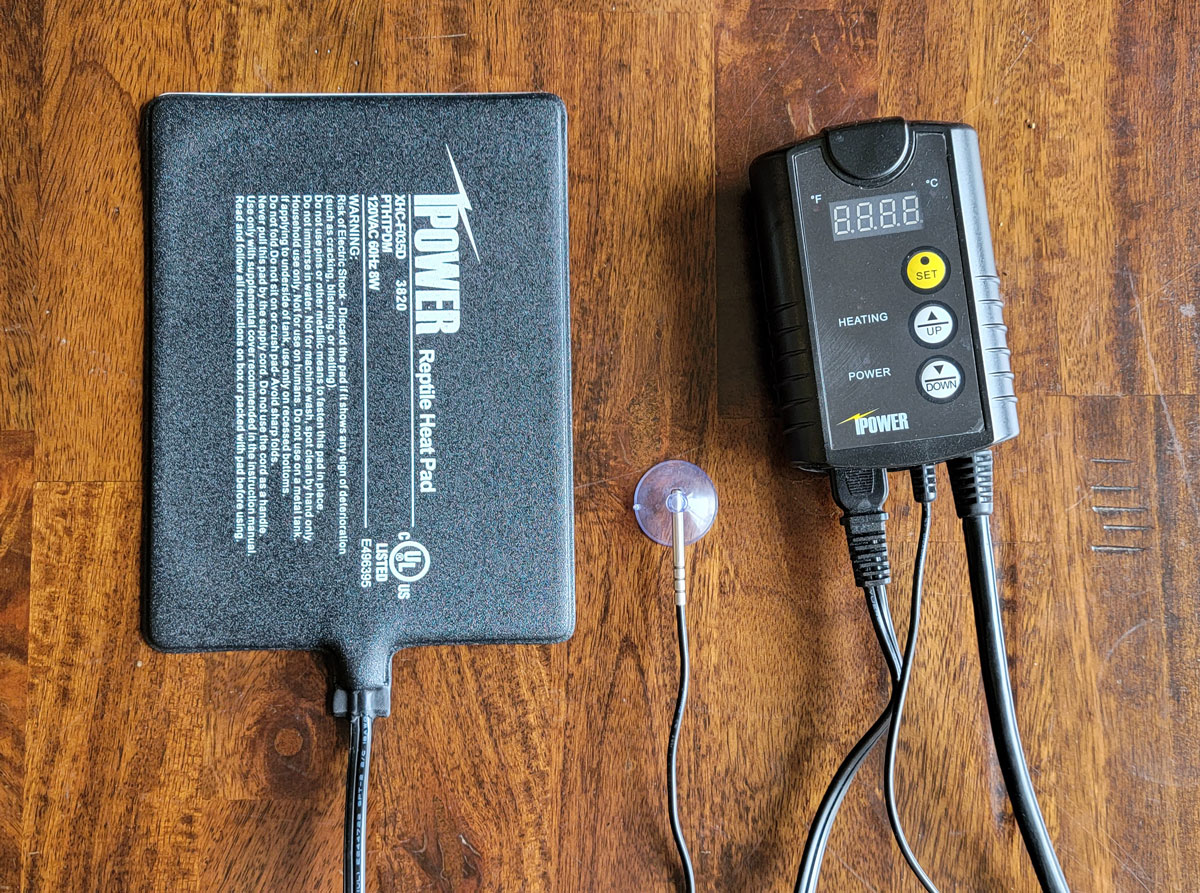
A reptile heat mat comes with a temperature controller to automatically let you keep your seeds at the perfect temperature so seeds germinate as quickly as possible (with no chance of overheating like with a typical seedling heat mat).
What you need
- Reptile heat mat – they come in different sizes (bigger ones can produce more heat), but the 6″x8″ size mat (uses 8 watts) should be more than enough to germinate a few seeds
- Paper towels – the cheaper the better (cheap rough paper towels work better for germinating seeds than the more expensive or cloth-like paper towels)
- Kitchen plates – you’ll use these to lock in moisture and keep seeds in the dark during germination
- Seeds – Here’s where to find seeds
- Seedling plugs (optional) – Seedling plugs like Rapid Rooters are a great place to put your newly sprouted seeds before planting them in their final home. Or just put germinated seeds directly into the soil.
Wet paper towel method – germinate seeds between wet paper towels
Use another plate on top to lock in moisture and then set up the heat mat underneath to maintain the perfect temperature (full germination tutorial below)
 100% germination almost every time!
Directions
1.) Choose seeds
When starting with feminized seeds (which means all plants will be female and make buds) I germinate at least one extra seed per strain just in case a seed doesn’t germinate. If I’m sprouting non-feminized (“regular”) seeds, I germinate 4-5 seeds per strain to ensure there’s at least one female plant. Even though about half the plants from regular seeds should be female, sometimes you get unlucky and get a lot of male plants (which don’t make buds). If you don’t want to worry about male or female plants, I recommend sticking to feminized seeds so every plant ends up being female.
Here’s some help choosing the right strain, here are some of my favorite seed sources, and some recommended strains for beginners.
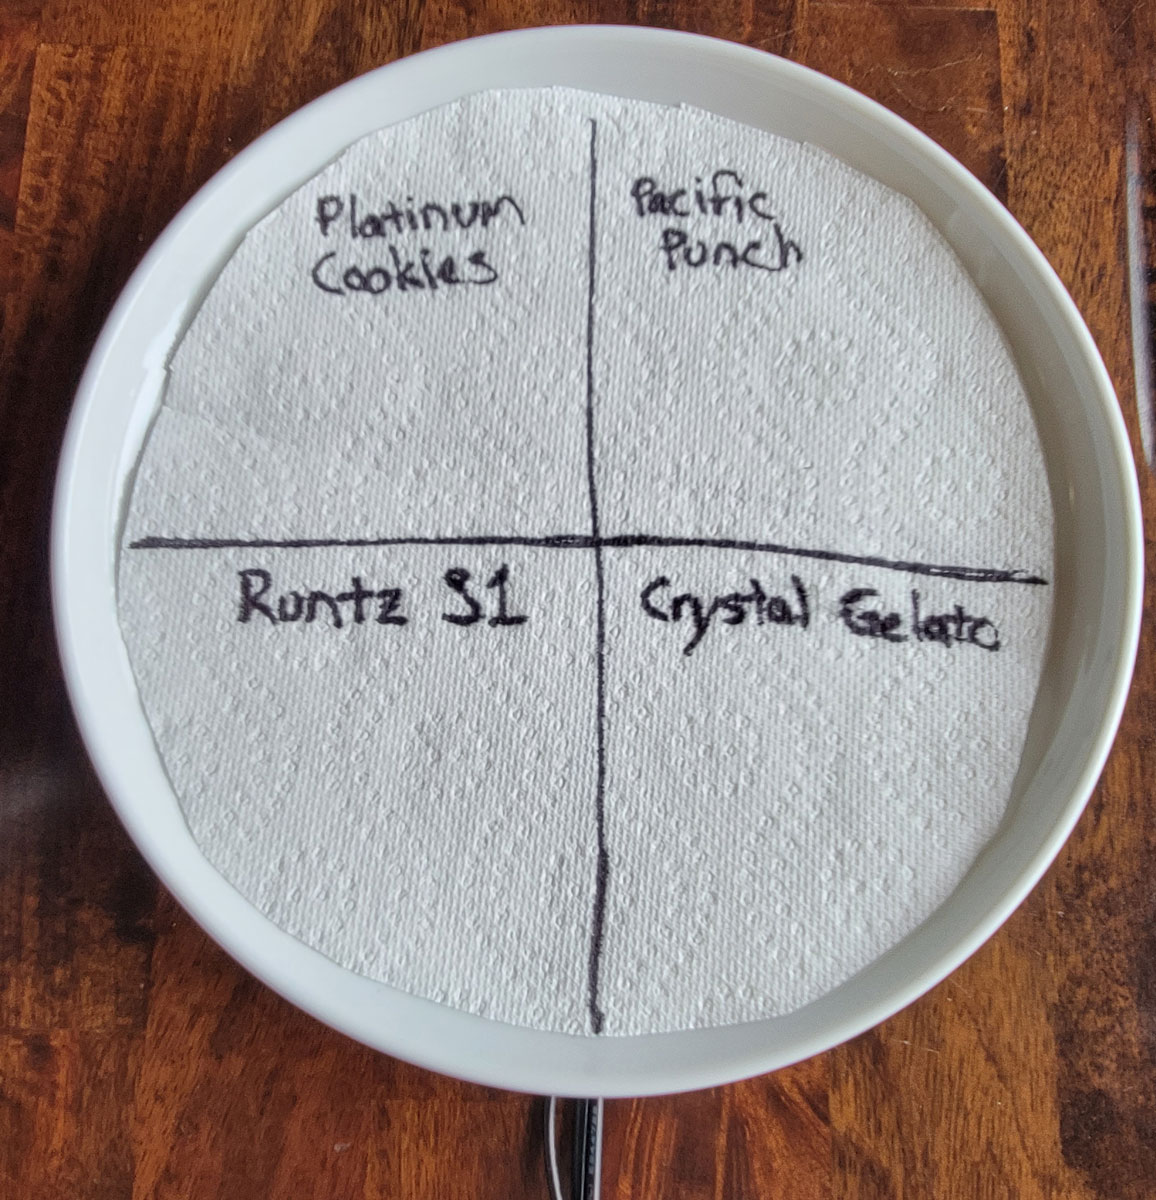
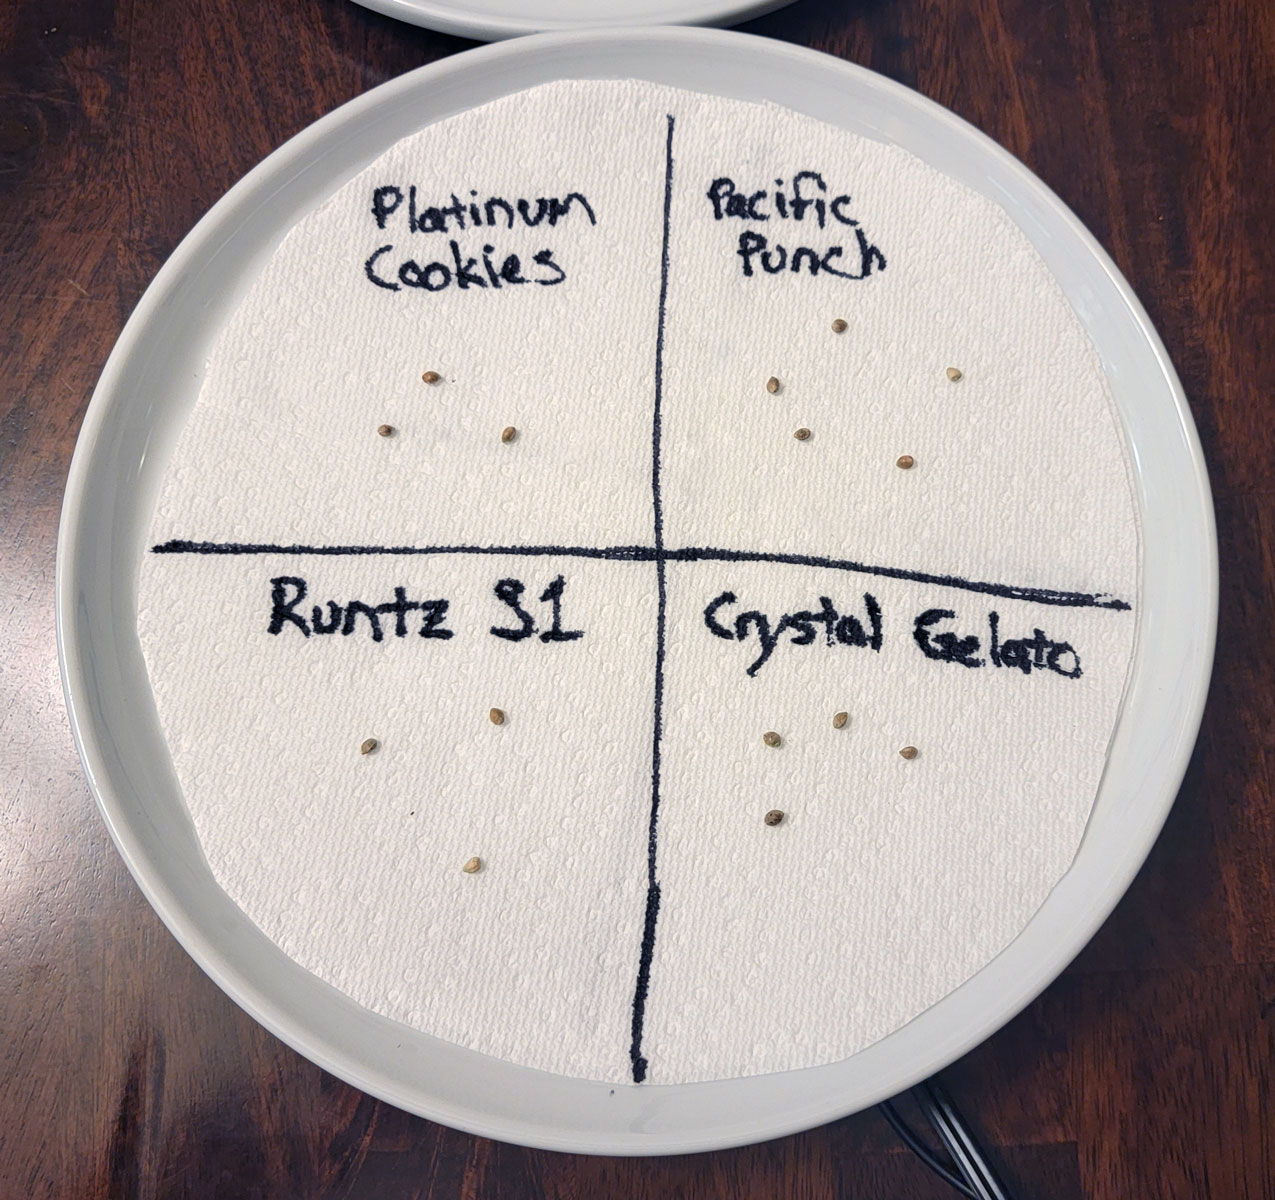
Right now I’m germinating: Platinum Cookies (U.S. Genetics), Pacific Punch (Square One Genetics), Crystal Gelato (Big Head Seeds), and Runtz S1 (Ethos Genetics).
2.) Set up paper towels and plates
Cut your paper towels to fit your plates (if any paper towel is sticking out, it will dry everything out) and label them with the names of seeds.
Prepare paper towels, plates, and label with your chosen strains
2.) Set up reptile heating mat
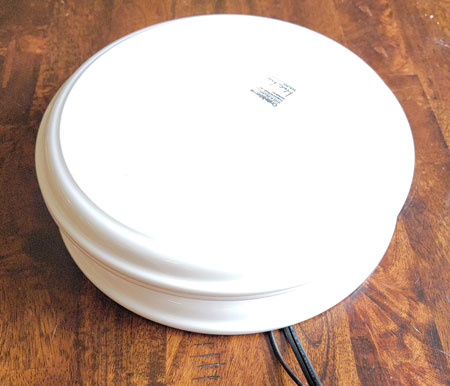
In order to get everything working properly, you need to find a way to get the probe near the seeds, but not in with them or it will let light in. I’ve found the best way to do this is to place down the mat, and use a third plate upside down so you have a great place to put the probe, then set your germinating seeds in their plate on top. So you will have 3 plates in total. One to attach the probe to, and two more to encase your seeds.
Set down heating matt, and attach probe to plate.
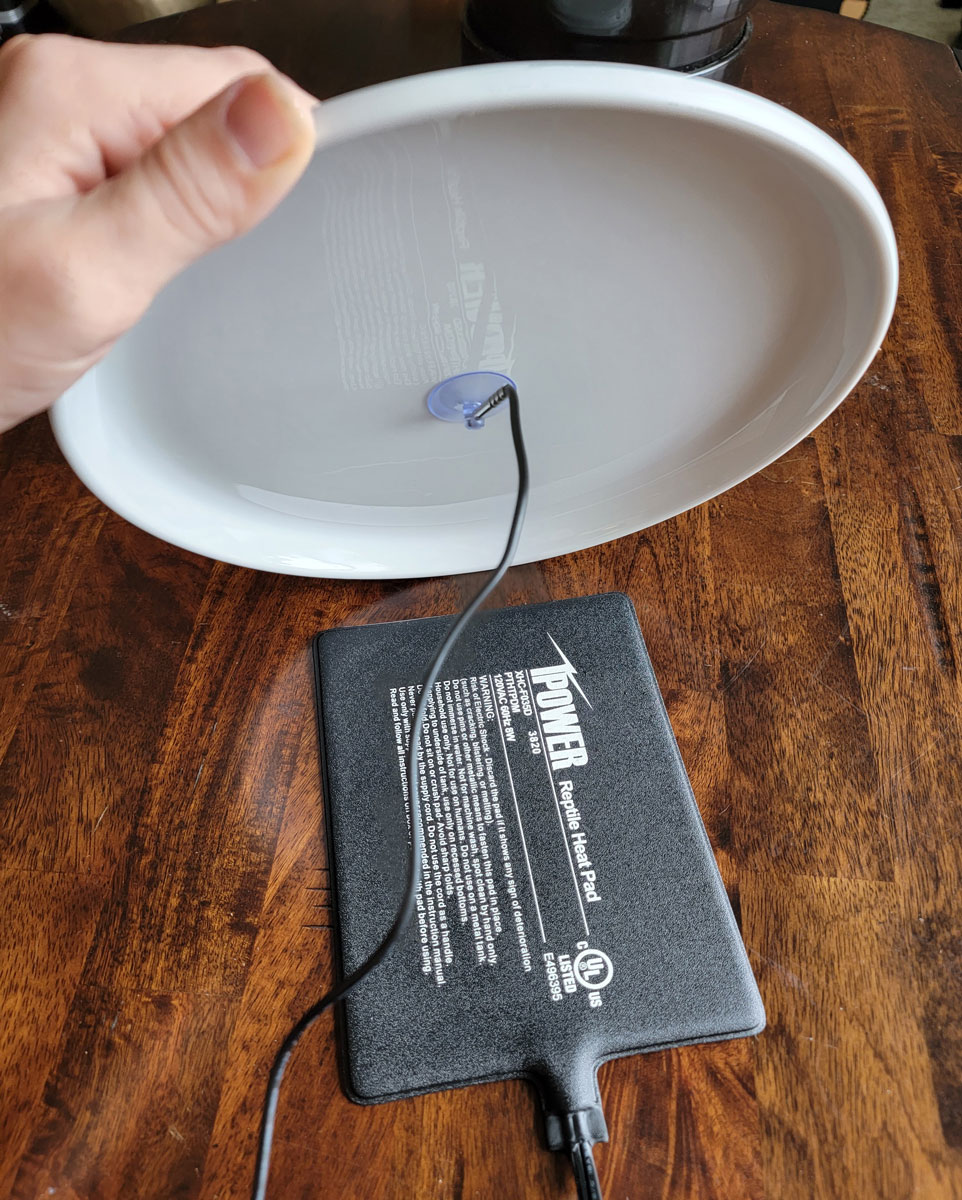
Set the plate down. At this point, the probe is just above the heating mat. Perfect!
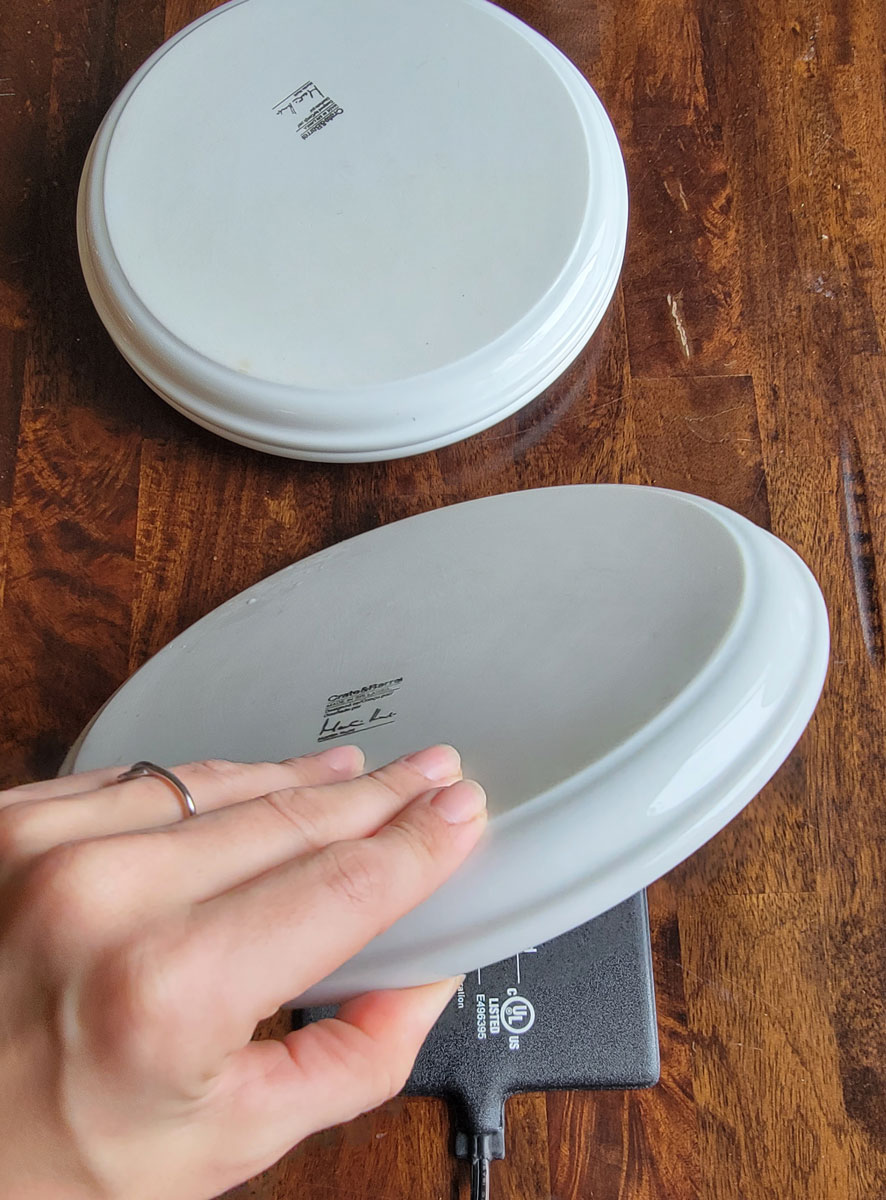
Add your prepared plate on top. Now it’s got the heating mat underneath, yet still an extra layer of protection to cause all the heat to radiate equally
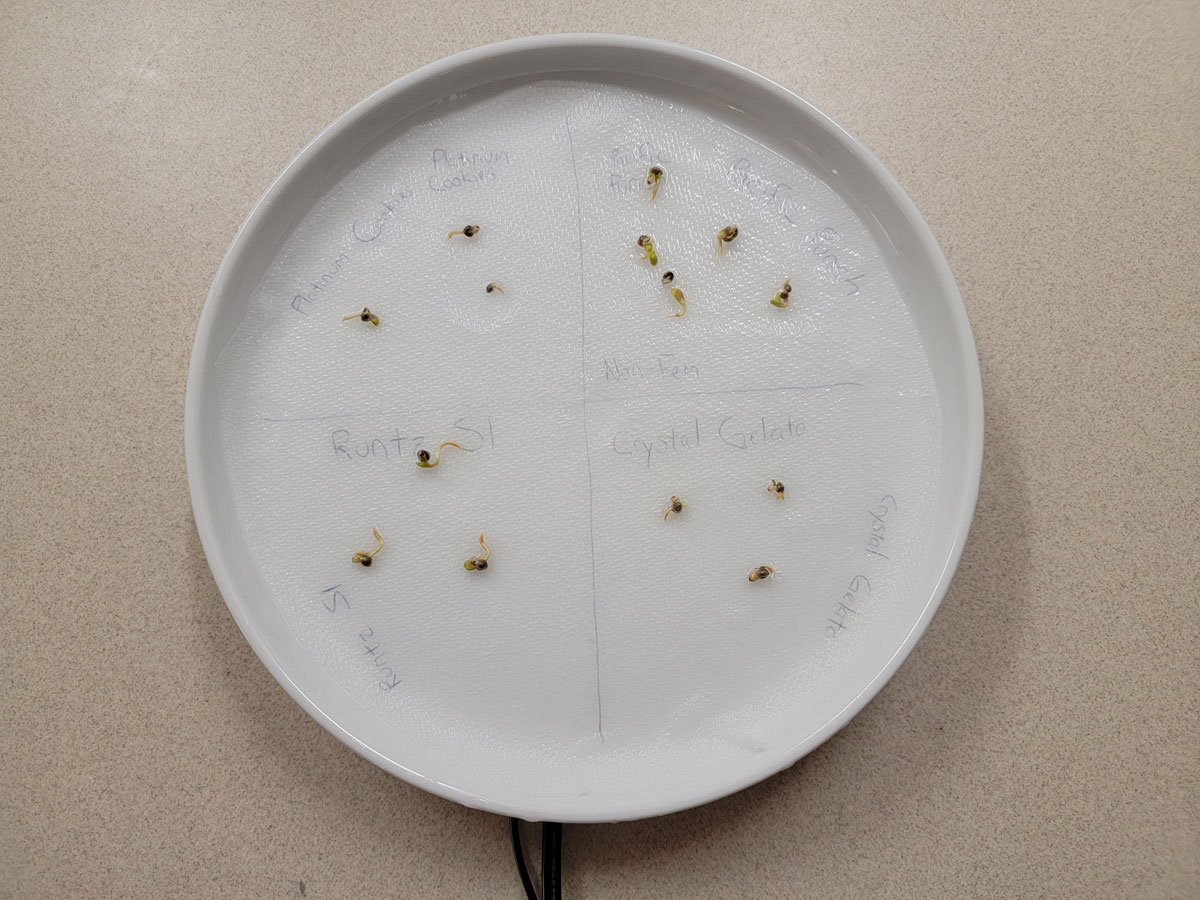
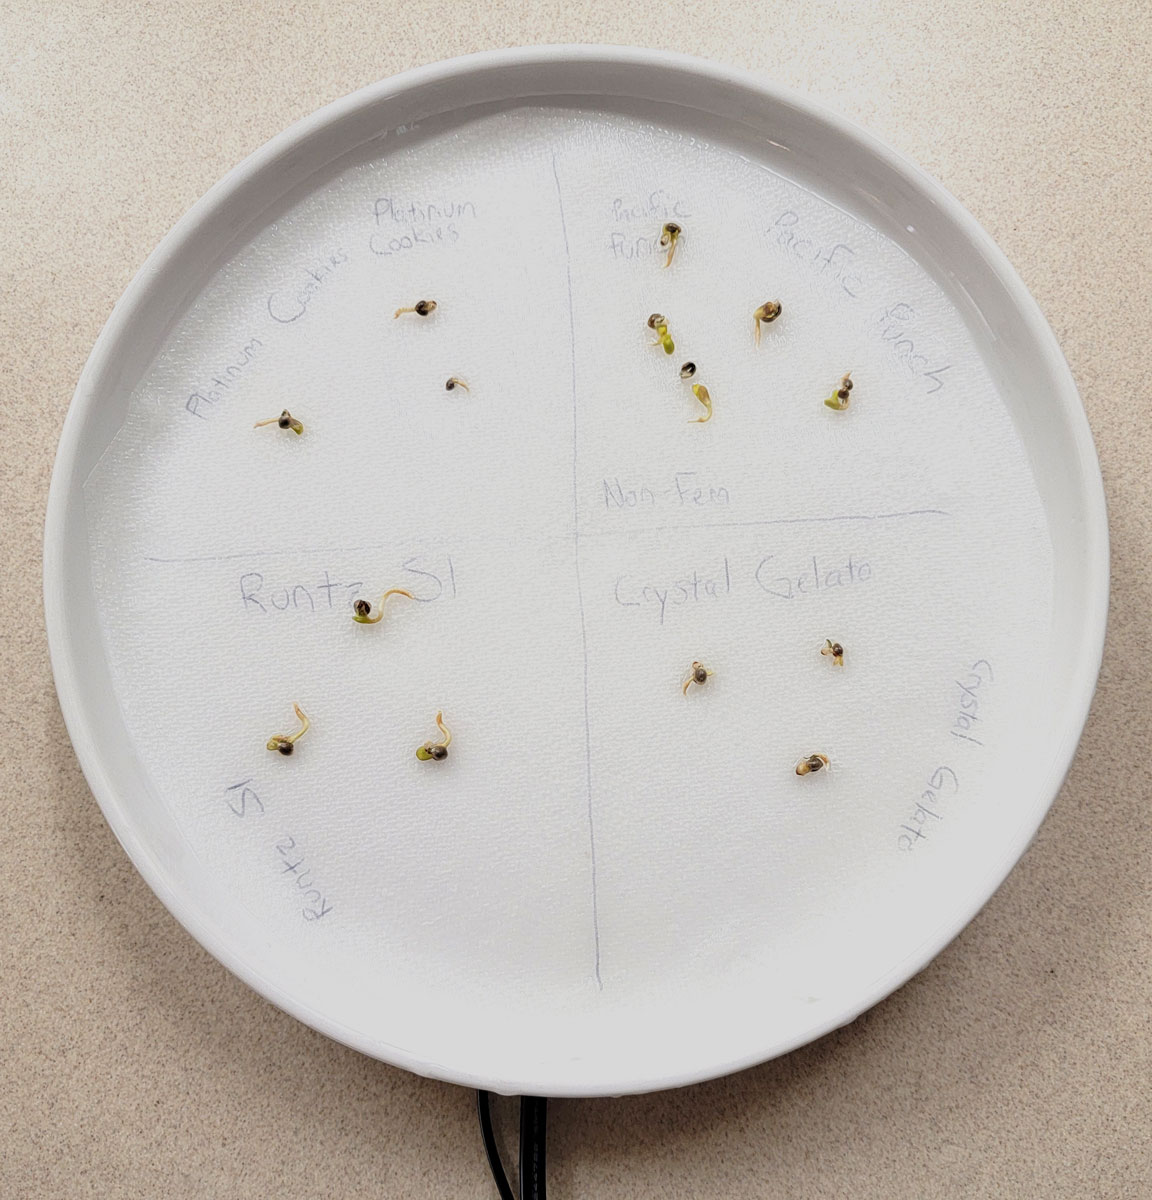
3.) Place seeds next to their labels
Be careful not to let them roll around or you may lose track of which is which
Add seeds to their proper place. Be extra careful not to let them roll around or you won’t know which one is which after they’ve germinated. Here’s an example.
4.) Add water and cover
Gently add a little clean water, making sure to get the paper towels wet without accidentally moving the seeds around. Then take a single sheet of paper towel and add it on top. It should quickly become wet too. You want everything to seem wet, but there shouldn’t be extra water sloshing around. It shouldn’t appear too shiny. If there is visible water (for example you see water moving if you gently tip the plate), carefully dab it off with another paper towel. You want your environment totally moist but still solid.
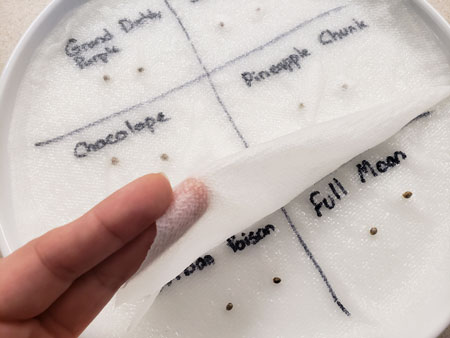
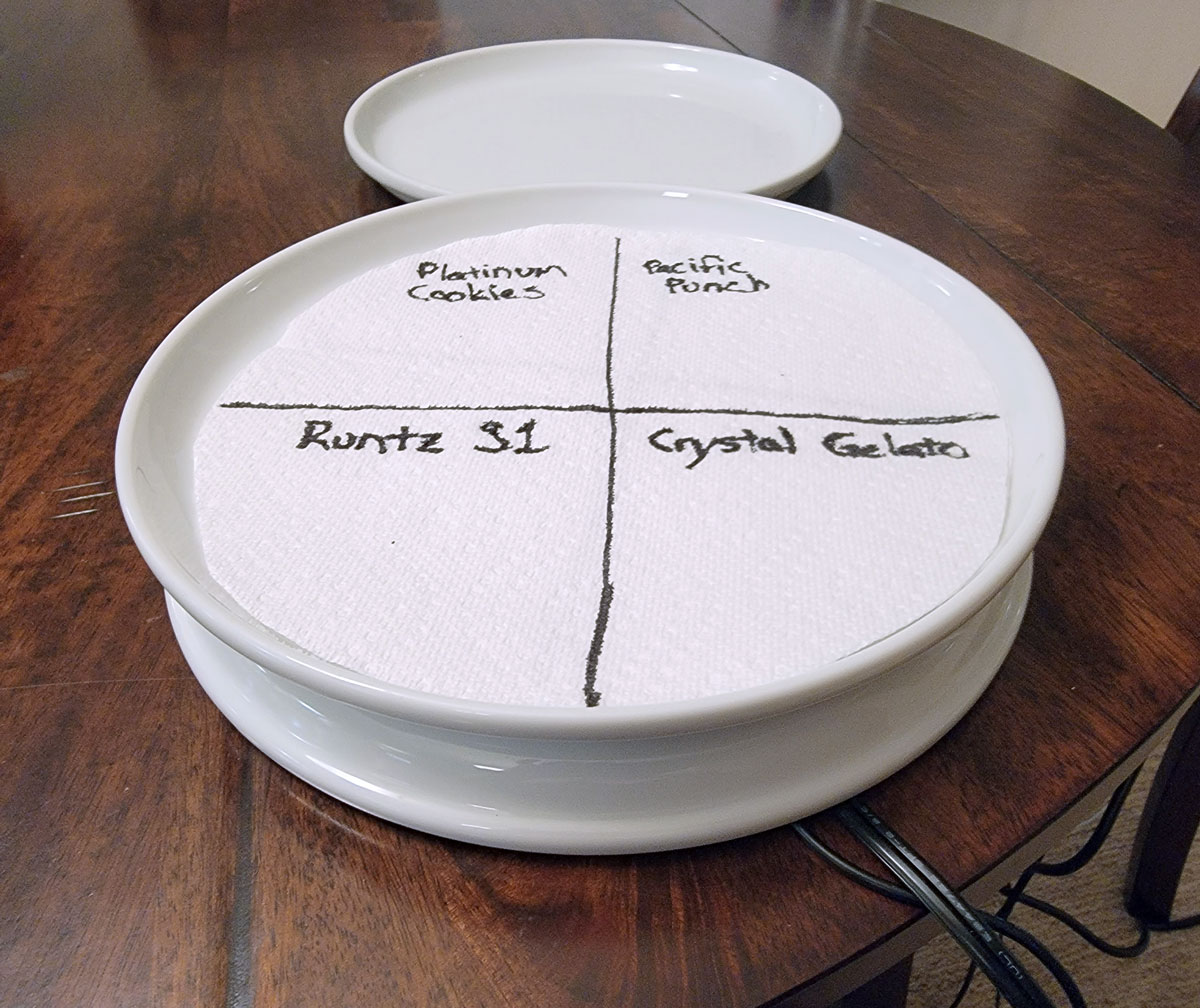
Add water (gently without letting seeds roll around) then put a single extra sheet of paper towel on top. If you only use a single sheet of paper on top, you will still be able to see what’s underneath pretty well, as pictured here. This lets you see when seeds are germinated without disturbing them.
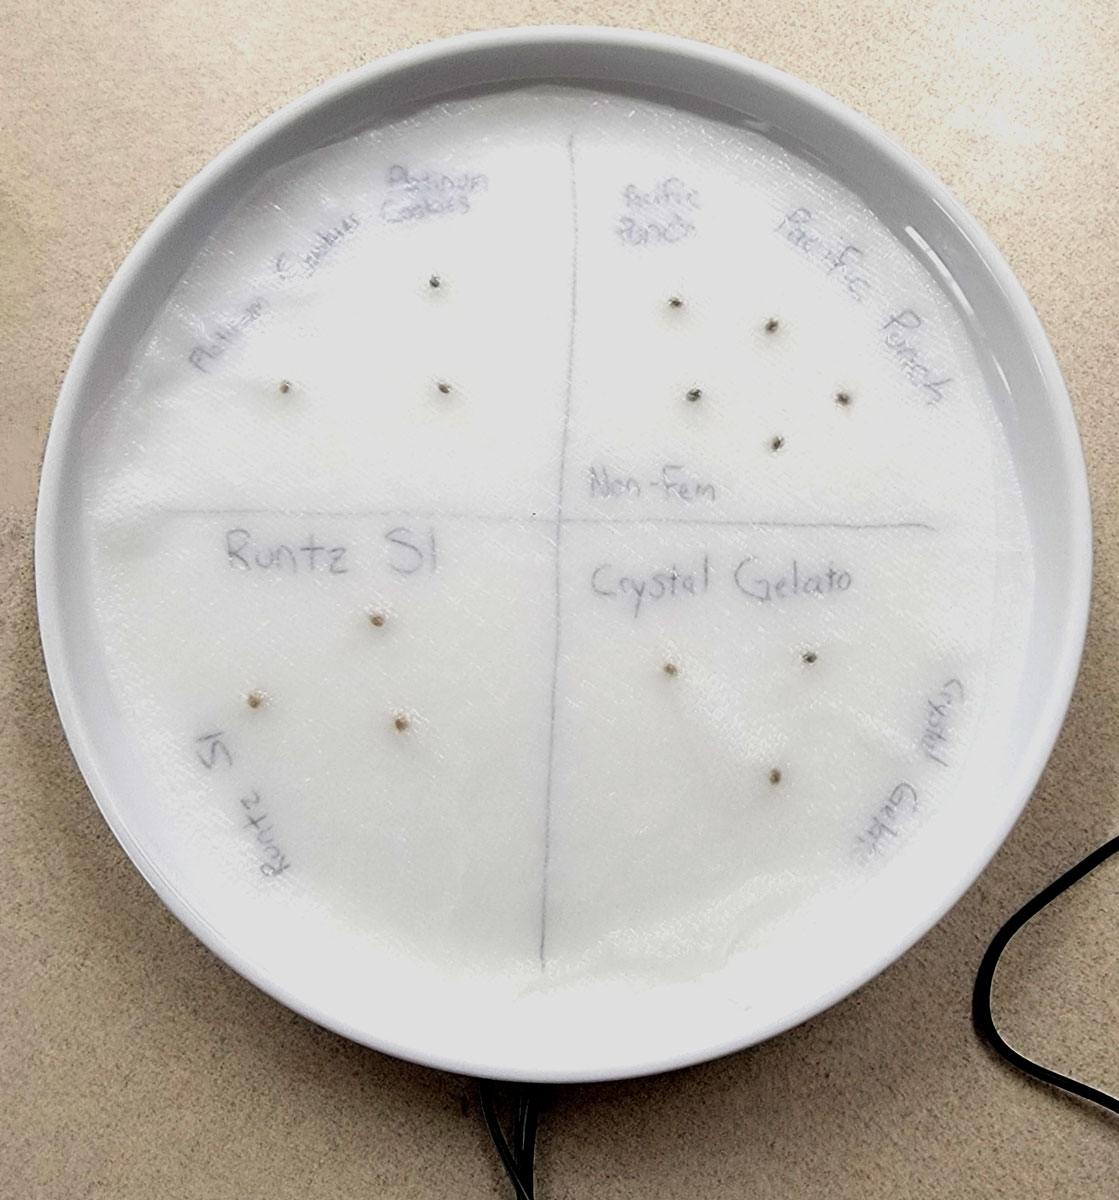
Having just one sheet of paper will ensure seeds get air and let you see whether they’ve germinated without having to disturb them. Seal the moisture in with another plate. Make sure no edges of the paper towels are sticking out around the edges or they will slowly wick out all the water and possibly dry out your seeds.
Seal the moisture in with another plate. Make sure no paper towels stick out the side or they’ll wick away moisture and dry everything out.
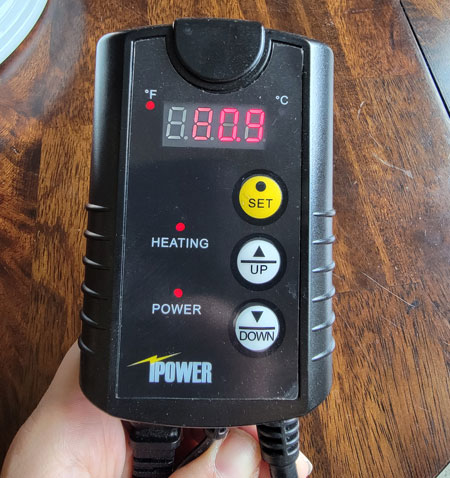
5.) Set the reptile heater to 83°F / 28°C
This isn’t an exact number (anything around 80-85° / 26-30°C does awesome), but it’s the temperature I choose. I figure a little heat is lost through the plate and it likely gets the seeds at a nice 80°F.
This is what the controller looks like
I set the reptile heater to 83°F / 28°C, but anything around that range works great. Here’s a quick video showing how to set the controller. Hold the “set” button until it blinks, set the temperature you want, then hit “set” again. You’re good to go!
If you check back in about an hour, the water should feel tepid or just slightly warm (it will never feel hot). If the water feels cold, then turn up the reptile heater a few degrees as you may be losing heat from your specific plate or your air is just a bit colder than mine.
Check on the seeds once after an hour and touch the paper towel in the middle to make sure it feels lukewarm (not hot or cold). If so, you’re good! Close it back up and try not to peak again for at least 24 hours. I know it’s hard not to check on them every hour (at least it is for me), but they will germinate better if they’re undisturbed in the dark.
6.) Seeds usually sprout in 1-3 days
Try not to check on them for 1-2 days except to make sure the temperature is right and no paper towel is sticking out the sides. Seeds like to be left alone during germination.
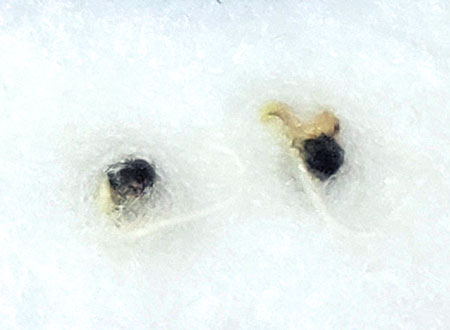
Before sprouting, this is what the seeds look like under the paper towel (little black dots). If you see this, cover them again and check back tomorrow.
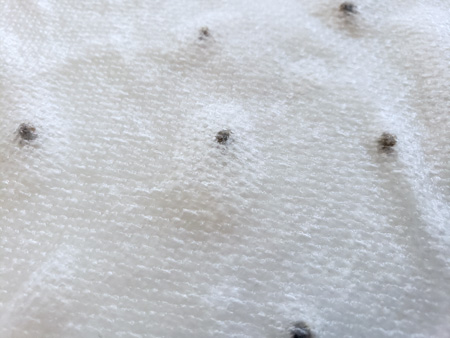
Since you only used a single sheet of paper towel on top, you should be able to see if at least some of the seeds have germinated without having to disturb them. If you don’t see roots yet, just close the plate up and check once a day from now on. Some seeds, especially older ones (or certain strains) can take several days to germinate.
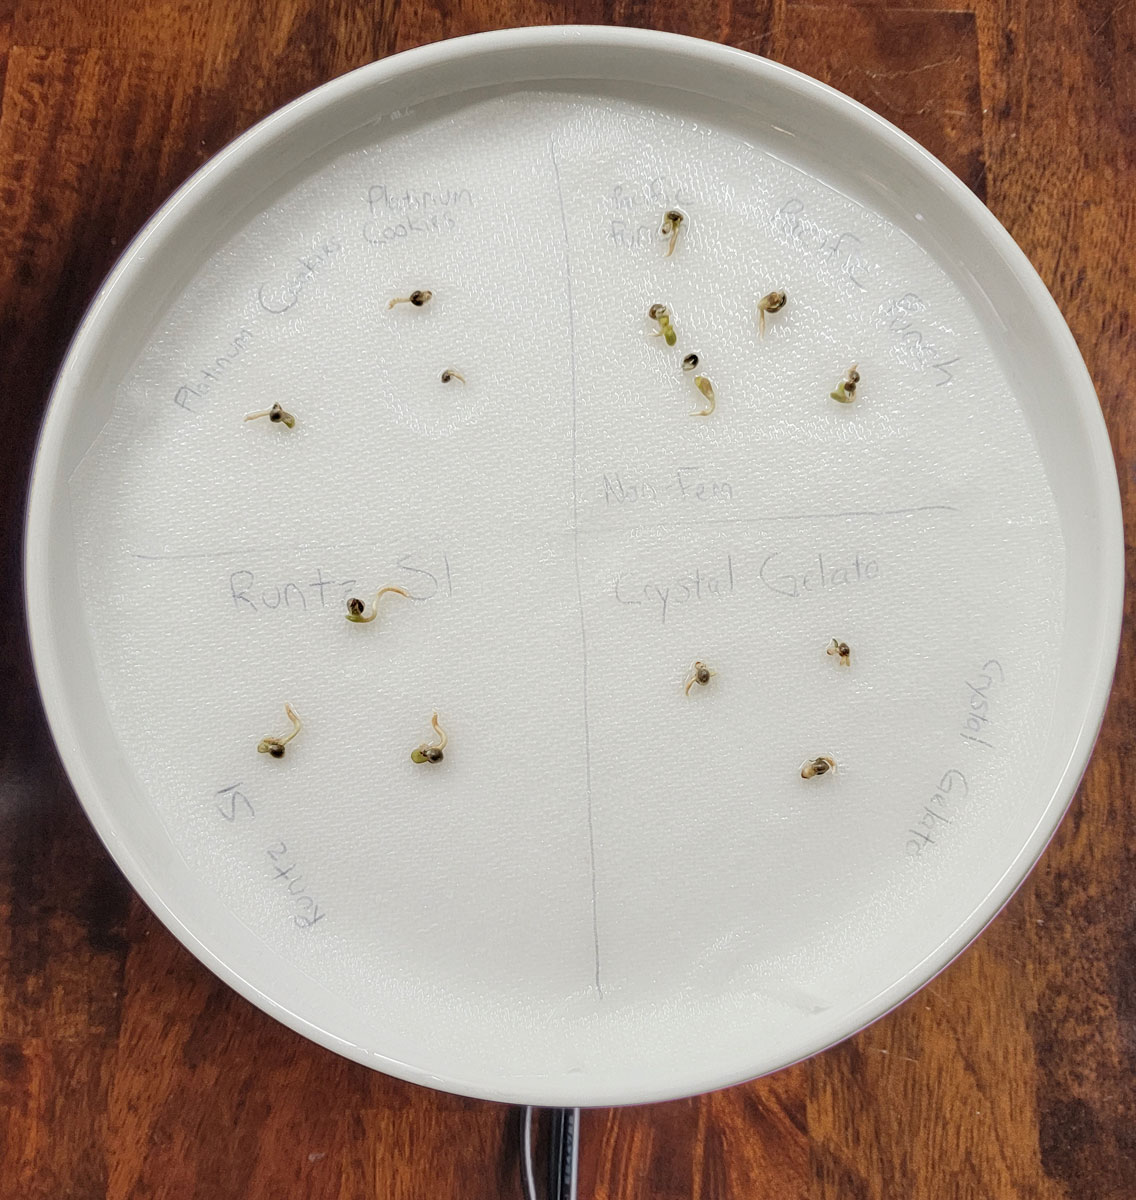
This is how seeds look once they have sprouted (through the single sheet of paper towel on top). You can faintly see their roots, and sometimes you can ever see yellow leaves. Note: the leaves are fully formed (but yellow) in the seed and break free during the germination process.
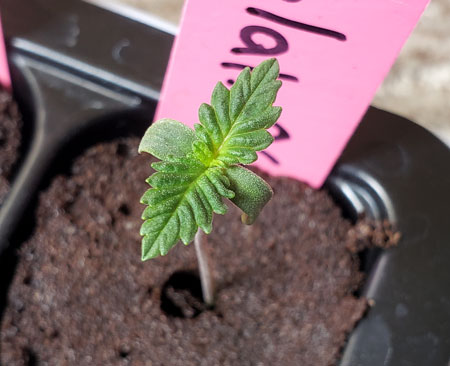
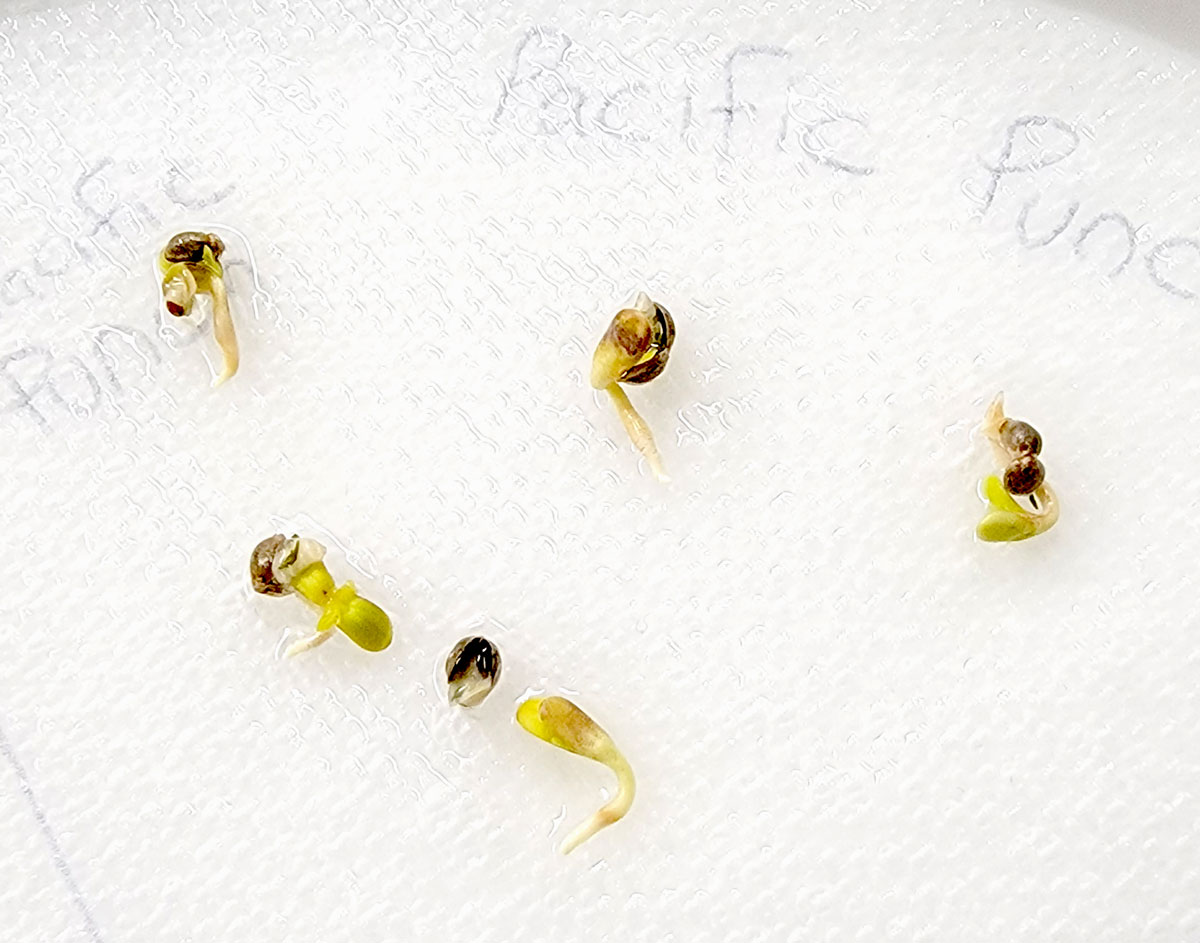
And here’s what the seedlings look like after gently peeling off the top layer
It’s normal if new seedlings look yellow (the leaves are always yellow inside the shell, but turn green once they get exposed to light)
7.) Put germinated seeds in their next home
At this point, you can put your seeds directly into their next home. I like to put seeds in Rapid Rooters because that gives me a few more days to examine all the seedlings and see which ones are growing the best before picking the winners for their final home.
You can also put germinated seeds directly into soil or coco, just be gentle and try to plant seeds with their roots down.
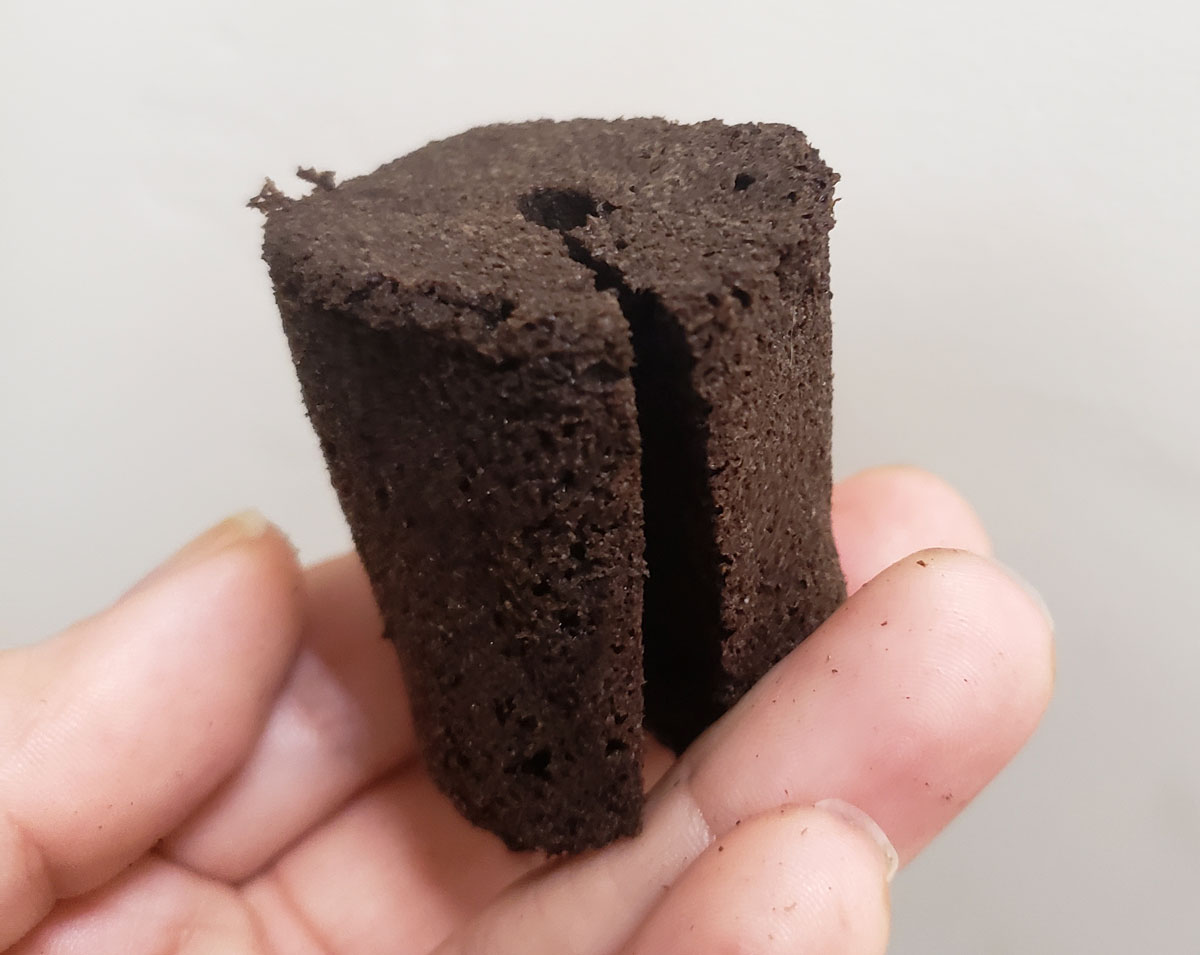
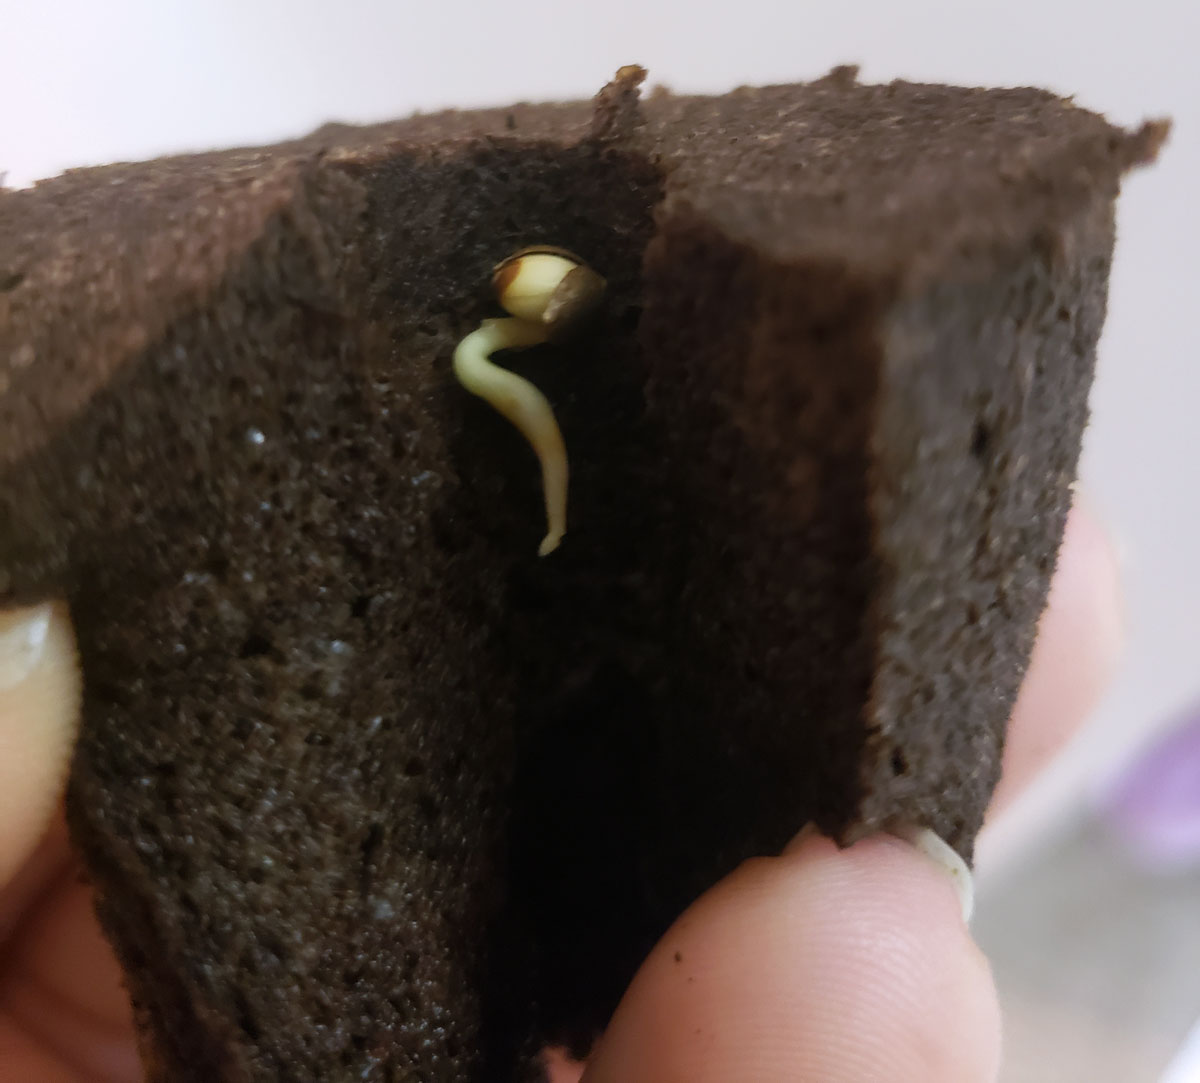
Cut open a Rapid Rooter
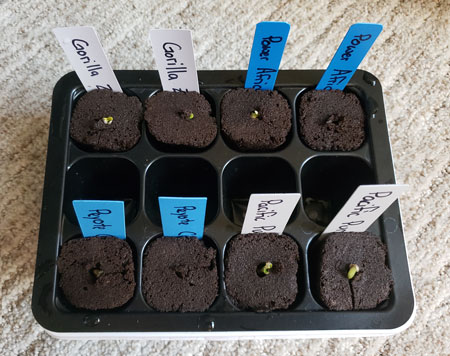
Put your sprouted seedling inside, with the seed head just under the surface
Gently close the Rapid Rooter around the seedling and put it in a tray or shot glass (or any way to hold it upright while the root is growing). If the seed/seedling seems loose like it might move around, pick a little piece off a Rapid Rooter and gently put it in the hole to make sure the seed head is totally secure (you don’t want it moving around while the root is still growing into the seedling plug).
Put Rapid Rooters under gentle light in a warm place (for example in your regular grow spot with the light 2-3x further than normal, or near a sunny window)
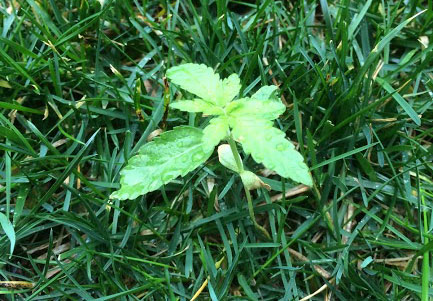
Soon your sprouts will be seedlings
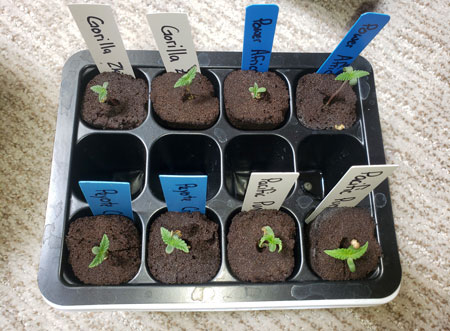
Once seed leaves are about the width of the Rapid Rooter, they’re ready to be planted in their final home

Enjoy your beautiful new seedlings! Click here to learn how to care for your seedlings.
I love new life. Each leaf is unique and beautiful 🙂