by Nebula Haze
Recently we’ve received a few emails about “bud washing” or essentially giving cannabis buds a “bath” to clean them after harvest.
Is bud washing necessary to grow the best cannabis?
Do marijuana buds need a bath after harvest?
Possible reasons to wash your buds
- Pesticides were used while buds were forming
- Plants had a bug infestation (bud washing can help remove bug poop and dead insect bodies)
- Remove large amounts of any other contaminants including hair, dust, fur, etc.
- Buds were grown outdoors and exposed to contaminants from nature
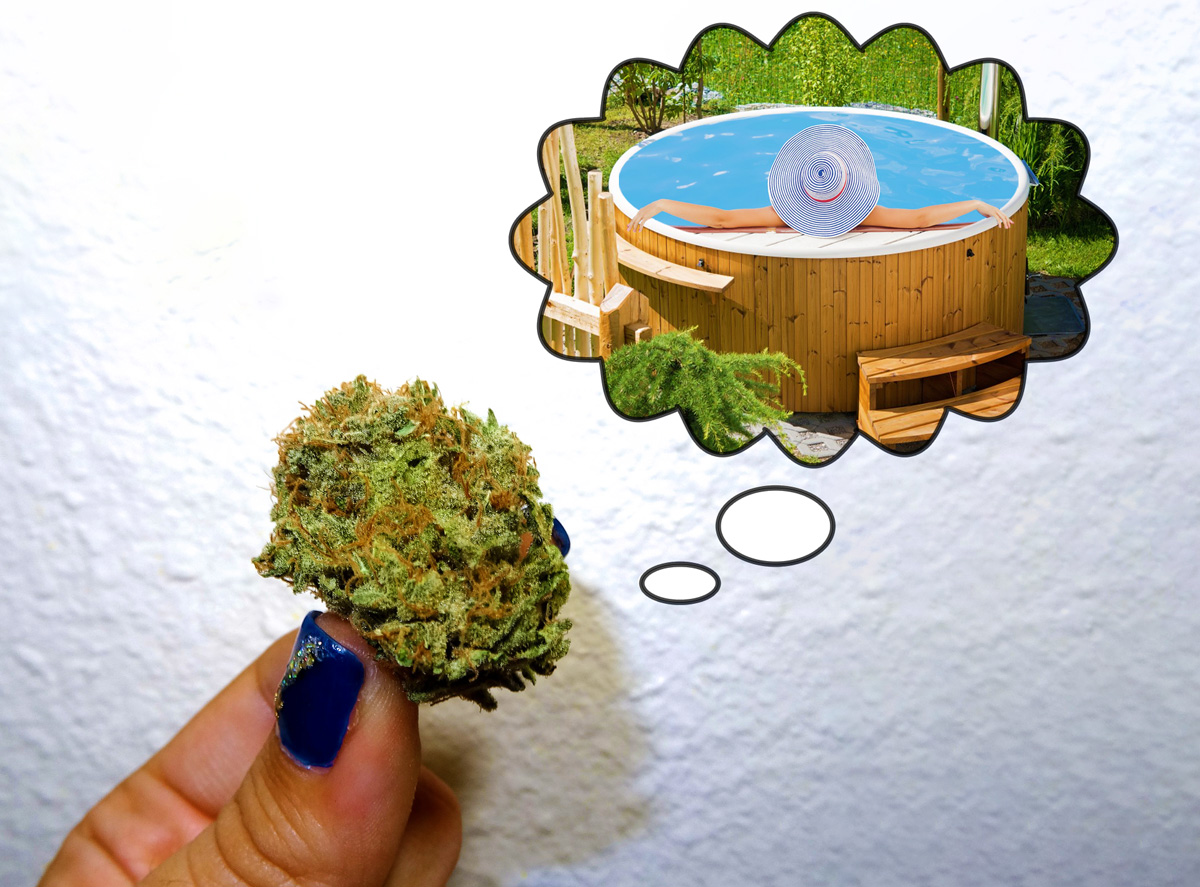
Essentially, bud washing is a last-resort option when buds need to be cleaned and you’re not willing to throw the weed away.
Bad reasons to wash your buds
- Most other reasons
➡ Jump Right to How to Wash Your Cannabis Buds
Some growers wash buds because it seems like a good idea. For example, you wash an apple from the store right? There’s a big difference. We wash produce from the store because we don’t know what it comes in contact with before it reaches our home. Most produce you buy was also grown outdoors without a personal touch. If you’ve grown your buds indoors in a clean environment, they shouldn’t be exposed to contaminants that need to be washed off.
Bud washing is a last-resort option when buds are dirty and you’re not willing to throw them away. In my opinion, the time to “wash” your buds is in the process of making bubble hash 😉
Not only is it unnecessary to wash clean buds, you run the risk of triggering mold. If you’re going to treat your buds with anything, stop to consider why. The best way to grow clean weed, in my opinion, is to grow weed in a clean environment.
How to grow clean weed indoors
- Grow tent – Growing plants in a tent typically produces cleaner weed than if the plants were grown in an open room.
- Air filters – There are air filters that proactively clean dust and pollen from the air. An intake filter is used to clean air that is coming into the grow space.
- Keep the grow room clean – It helps to be organized and put things away in their place. A cluttered grow room tends to get dirty over time.
- Vacuum – If you are seeing dust or pet hair on your buds, it makes a huge difference to vacuum the grow area on a regular basis.
You don’t need to wash buds that are already clean
What about outdoors?
Growing cannabis outdoors is one of the times where bud washing may be helpful. Unfortunately, nature is full of fun surprises including fur left by deer rubbing your plants, nettles or pollen, webbing from the occasional spider, and more. There are few outdoor environments that can produce weed as clean and pristine as what can be grown indoors.
For outdoor growers, bud washing can remove some natural contaminants from nature and give you cleaner buds. The jury is still out on how well bud-washing removes mold, fungus, or spores. Please contact us if you’ve ever done any lab tests that demonstrate the efficacy of this technique.
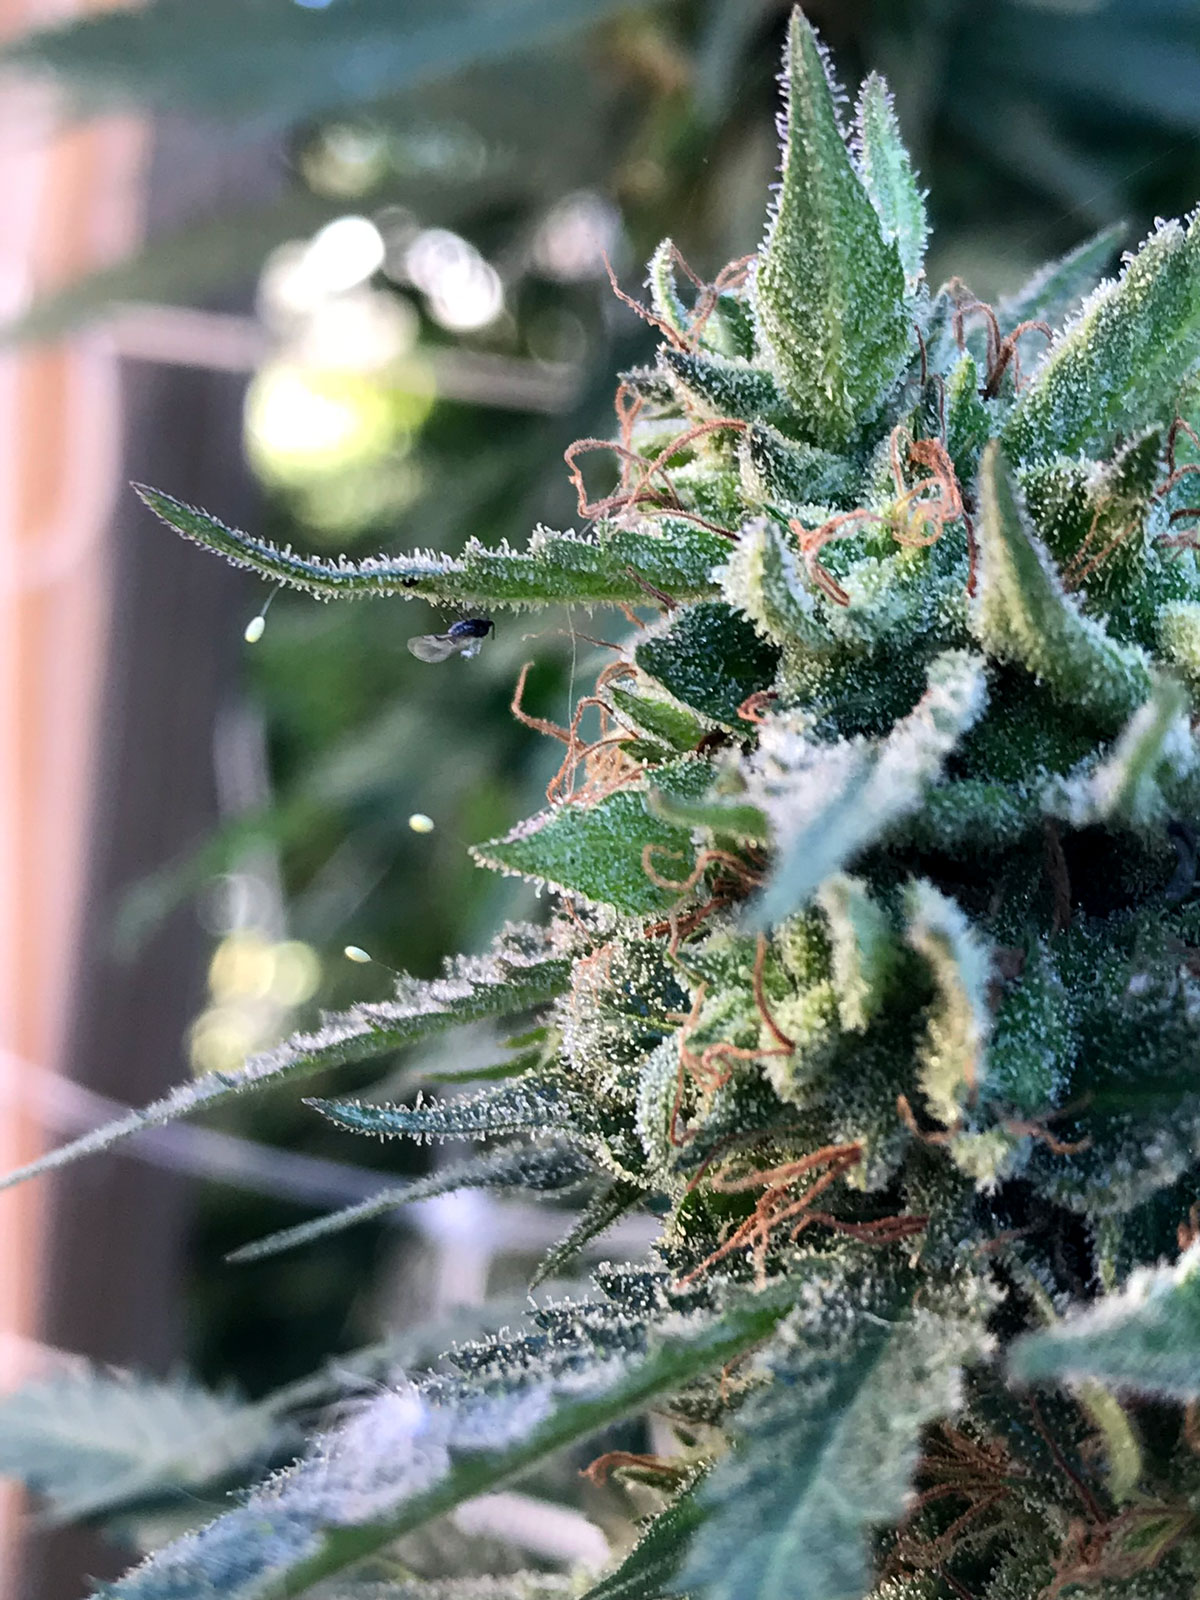
The dangling eggs on these cannabis buds are lacewing eggs. It’s good to see these eggs in the garden because lacewings are a natural predator of many cannabis pests. But you might want to wash them off after harvest.
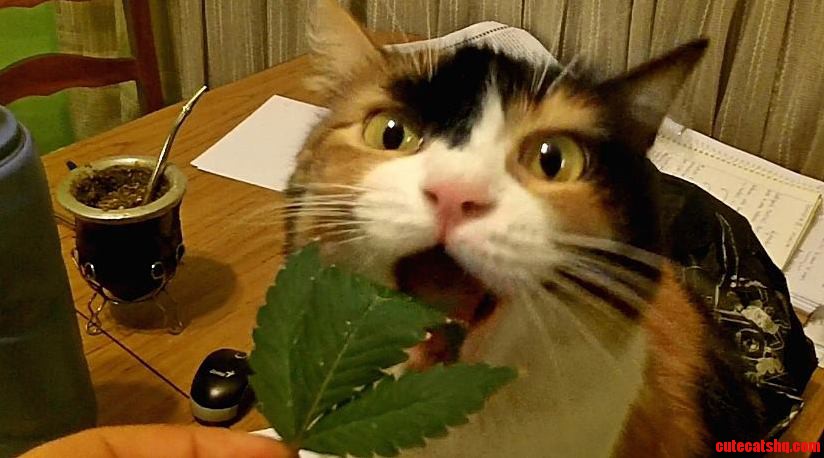
What about pets?
It’s a good idea to keep any shedding animals away from your plants, but I love hanging out with my cat while working in the garden. However, I’ve noticed that as long as I vacuum and use a grow tent, buds come out clean. However, I’ve grown an autoflowering plant in a window before, and I noticed the buds had pet hair on them even though I vacuumed.
Use a grow tent in the flowering stage to keep pet hair off your buds
What about bugs?
Bugs are a fact of life. They love cannabis just like us and when they invade your grow room it feels violating. It’s relatively straightforward to get rid of bugs when plants are in the vegetative stage because you can use most pesticides and you don’t have to worry about anything getting on buds.
Learn about common cannabis pests
Can you save plants after an infestation? (these are aphids)
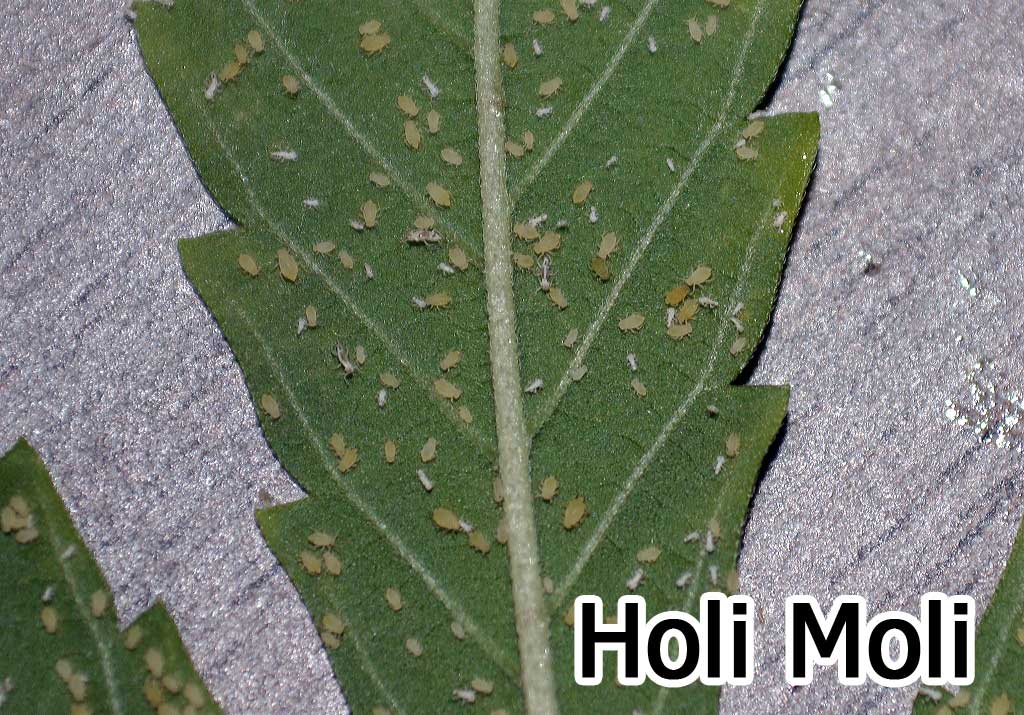
But if plants have already started making buds when pests move in, you have some hard choices to make. Do you throw away the plants? Do you treat them? Will buds be safe to smoke?
- Bad infestation – If the infestation is particularly bad, you might consider throwing the infested plants away. A really bad infestation is often hard to treat. Once bugs have taken over your plants, they seem impossibly good at surviving. This is especially true for spider mites (aka “The Borg”), broad mites, and hemp russet mites. Most other pests are survivable.
- Small to medium infestation – Look at the safe insecticide list and see if there are safe options for the type of bug you have. Some bugs are easier to get rid of than others. Additionally, bugs that come from other species of plants are typically much easier to get rid of than if your bugs came from another cannabis grow room. If you get thrips on clones you bought from the dispensary, they’re probably going to be much tougher to get rid of than some random thrips that wander onto your cannabis from outside.
- Flowering stage – The more buds have developed, the more it’s recommended you either toss plants or harvest them early and cut your losses. Even if you successfully treat an infestation without getting pesticides on the buds, the buds may still be covered in bug poop, eggs, webbing, dead insects, etc. Some growers choose to wash their buds at this point, but I personally recommend tossing plants just to be safe.
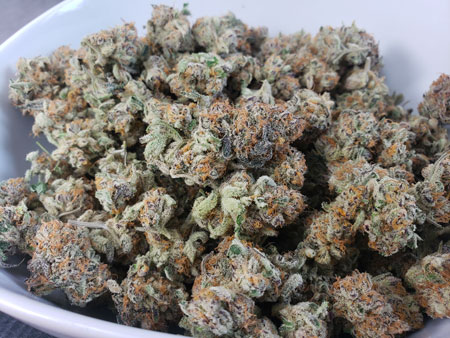
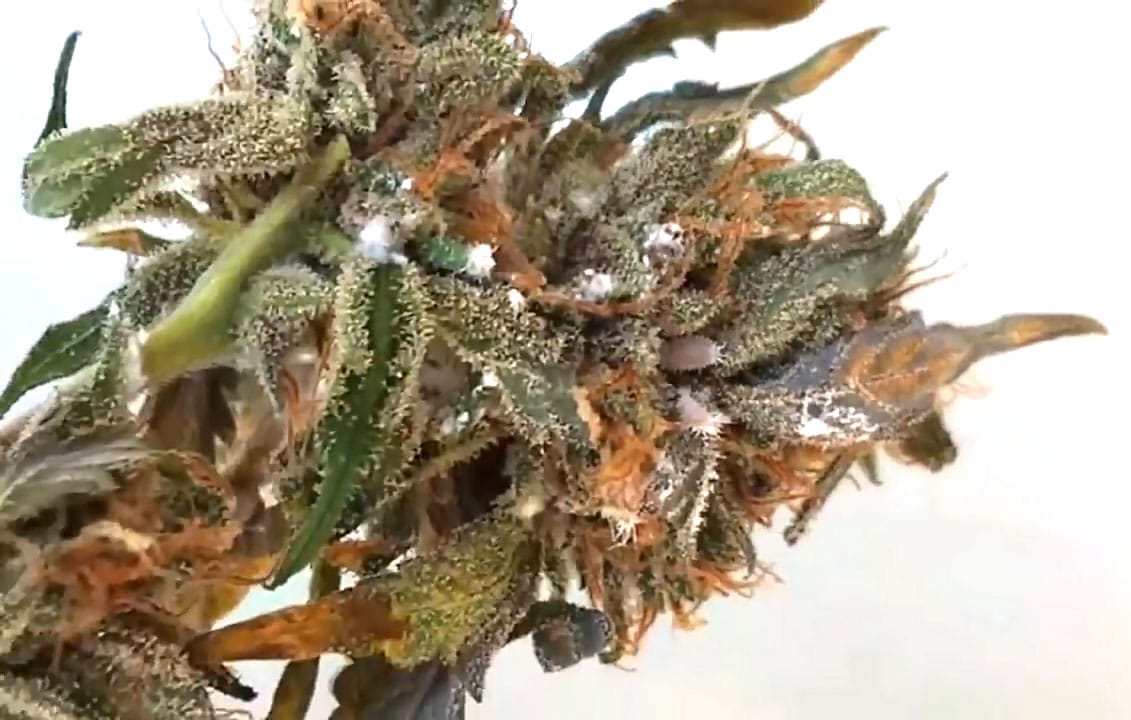
These buds are covered with mealybug bodies and the white fluff produced by their babies. Not good to smoke.
How to prevent bugs
- Start with seeds – The most common reason growers get a bad infestation is because they brought an infected plant into the grow room from someone else’s garden. For example, a clone or plant from a dispensary or other grower. The best way to ensure you are not importing bugs with your plants is to grow cannabis with seeds. If you have no other choice, consider spraying or dipping new plants with a safe insecticide like a horticultural oil. After treatment, quarantine plants for 14 days to ensure they’re bug-free before bringing them into your grow space
- Avoid using soil – You are much less likely to get bugs when growing in an inert medium like coco or hydroponics because many bugs need soil for their life cycle. The few times I’ve gotten bugs in my growing career were always when I was using soil (I’m pretty sure they were coming from my neighbor’s roses through a bad window screen…). It’s possible to get bugs in coco or hydro, but it’s much more rare. However, if you follow all the other tips on this page you can easily grow plants in soil without bugs.
- Grow indoors – It’s much easier to protect plants from bugs when you’re growing indoors because you have much more control over the environment.
How to identify and get rid of cannabis pests
It’s easy to avoid bugs when you start with seeds, avoid soil, and grow indoors (especially in a grow tent)
Other tips
- Grow tent – Even indoors, a grow tent can help prevent outside bugs (for example your neighbor’s rose bush) from getting to your plants. However, this is only marginally effective because you’re still going to be opening the tent to check on plants. Plus some bugs are small enough to crawl through the mesh air holes.
- Keep grow room windows closed – If you have a lot of plants around your home, it can help to make sure the windows are closed in the grow room.
- Don’t walk into the grow room from outside – Along the same lines, don’t check on plants as soon as you get home. Avoid going from outside directly into the grow room.
- Inspect new plants or flowers – If someone gets a bouquet of roses or a new houseplant, take a minute to make sure they don’t have bugs before you let them in the house.
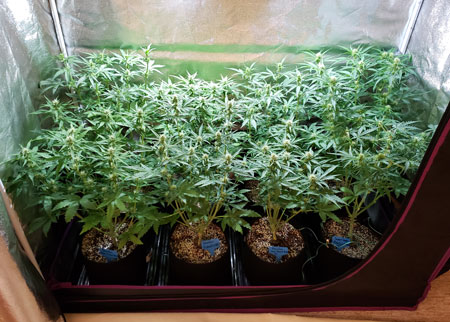
A grow tent offers some protection from bugs and greatly reduces dust/hair getting on buds

Now you know how to grow beautiful, sparkling buds without a hint of contamination. No bud baths are required.
But if you have read through this tutorial and bud washing your cannabis seems like the right choice for you…
How to Wash Your Buds (tutorial by Doc Bud)
This forum thread goes into some of the specifics of bud washing (which I haven’t personally tried myself), including commentary from Doc Bud, the self-described creator of the technique.
Directions from Doc Bud from this thread (posted October 5, 2013) – The following text is the property of Doc Bud and is published here for reference purposes.
I’m glad to see people are adopting my bud washing technique!
Yes, I “invented” it. I shared it with you folks here on 420….and nowhere else. I’ve never met, spoken to, or heard about anyone else doing it before I tried it…..and I enjoy freaking people out by putting fresh buds in a bucket of water….
But as many have said here, the results speak for themselves!
Let me put it to you like this:
Let’s say I grew lettuce, cucumbers, tomatos and carrots in my basement. It’s dusty down there, I’ve got fans flowing all around….battled with some PM, had some mites…..every now and then I get some rot or other disease on my plants….bugs flying around, dead skin cells, hair…..and I spray the plants with compost tea, fish fertilizer, kelp meal, etc.
So, you wanna come over for a salad? We’ll just pull the veggies out of the ground, plop ’em in a bowl and start eating! No need to wash…..right?
The first time you wash your harvest and see all that brown crap left behind you’ll begin to see the light! Then, when you smoke your first washed harvest, you’ll understand.
For those who are new to this, here’s my method:
4 buckets total. (5 gallon buckets are perfect)
Bucket 1: 3 parts RO water to 1 part 3% H202.
Bucket 2: 5 gallons of RO with 1 cup baking soda, 1 cup Lemon Juice
Buckets 3 and 4: RO only.
Cut down plants, pull off fan leaves by hand, remove any necrotic leaves. Leave sugar leaves and anything with frosting on the plant.
Fully submerge in bucket 1 (H2O2) for 30 seconds. Submerge for a full minute if you had ANY sign of PM or bud rot. Let water drip from buds and then…..
Fully submerge in buckets 2 through 4 for 30 seconds each…lightly agitating the whole time.
Allow produce to drip dry. You can blow a fan on it if you like, just make sure it’s blowing clean air.
Hang and dry per usual.
Final manicure of buds is best done after they dry. It goes very fast and you’re left with washed, highly resinous trim….makes superb joints. I’m also educating my customers to select untrimmed buds, which are actually better than the manicured ones because they still have sugar leaves attached. The trichomes in the leaves have more THC than those in the buds…..so it’s good to get the whole spectrum in there.
I give instructions for this in my journals, as I do it every single week, on every single harvest. Once you try it, you’ll never go back.
This works so well for a couple reasons:
1. takes off dirt, foliar sprays, bugs, fiberglass dust, etc.
2. fully hydrates the leaves, allowing photosynthesis to occur for a day or two on cut and trimmed buds. I recommend leaving a light on the buds for the first day or two after washing.
This results in very, dense, clean burning, smooth tasting produce! That’s the basic recipe….and I’m tweaking and changing it all the time.
Warning: Do NOT use an “organic produce wash” that is based on oils! They sell these in grocery stores and health food stores, and while they might be good for lettuce and cukes….the oil removes resin from the plants…..don’t use it!
Water will not harm resin….oil can and does.
Anyone who wants to know more about my methods is welcome to ask me about them anytime!
Doc Bud
Ben’s Experience with Bud Washing
I recently received this email from a reader sharing their experiences and processes for washing cannabis buds. I thought it was helpful so I’ll share it here.
Hi, I liked the article on bud washing and thought I could add my experience.
When I Wash Buds: I wash all plants grown outdoors and all indoor plants that were sprayed for any reason or if there was mould any where in the grow.
Water Source: If the plants have not been sprayed and don’t have bugs on them I just use rain water to wash.
Mould: I have often washed buds over the years and have not had a mould problem and the end result does not seem degraded. I have regularly had bud in storage for over two years that does not get mould. ( I don’t recommend keeping bud that long. No matter how well cured or stored, it seems to start degrading after a year.)
Process: In my washing process I have a step where I soak buds in a 3:1 mix of rain water and white vinegar for 20 to 30 minuter then do a rain water rinse.
Drying Buds After Bud Washing: When I have finished the wash I put the buds in a salad spinner to remove the water. From the spinner the buds go on racks in an air conditioned room where I run the air conditioner on the dehumidifier mode. If there had been any indication of mould I also run an air purifier that has an ultra violet function in the room during the drying stage.
Making Extracts: An air conditioner on dehumidifier mode also works well for drying keif if you are making bubble hash or rosin.
Thank you for all the great articles.
Regards,
Ben
There you have it, straight from cannabis growers with bud washing experience.
What do you want to learn more about next?