by Sirius Fourside
Table of Contents
- Old-School Method (aka Green Dragon)
- The Ed Rosenthal Method
- Water Bath Method
- Making Tinctures with a Magical Butter Machine
What Is A Tincture?
A tincture is a concentrated herbal extract. In the cannabis world, this means it’s an herbal extract that has some of the useful properties of weed. Cannabis tinctures are usually made from alcohol but they can also be made with glycerin to skip the intoxicating effects of the – usually high-proof – alcohol.
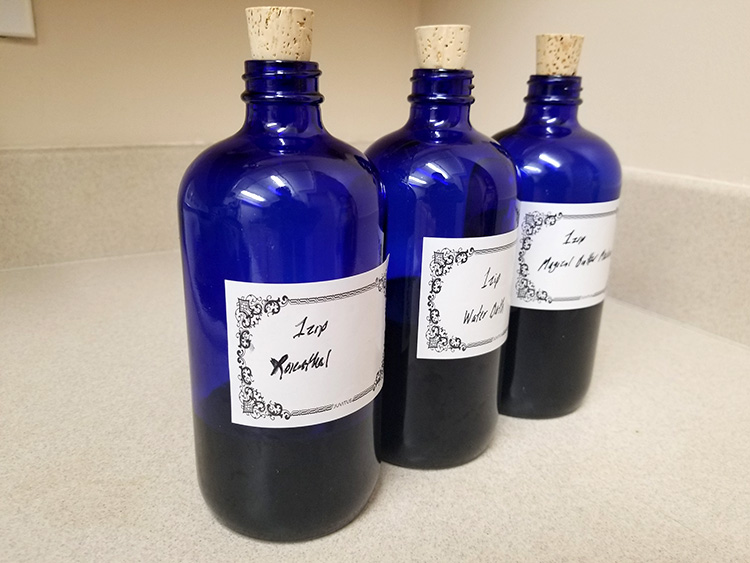
3 jars containing cannabis tinctures, each one made in a different way.
Today’s article will teach you 4 different ways to make cannabis tinctures, from the most simple (put weed and alcohol together in a jar and shake) to the most automated (make it in a specialized tincture machine). Let’s get started!
Edible vs Topical
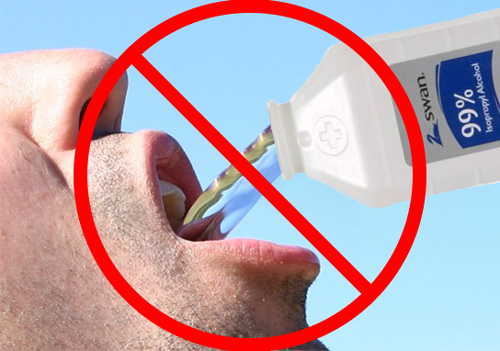
Some tinctures are made to be ingested while some are made to go on your skin. The difference comes from how the tincture was made. If you make tinctures with food-grade materials like Don Q 151 rum (a good replacement for old classic Bacardi 151, which was discontinued in 2016), Everclear, Glycerin, etc., then the tincture is going to be edible. If you’re making tinctures with stuff that isn’t safe to ingest, like isopropyl alcohol, balms, or lotions, then you’re making a topical tincture that should be applied to your skin instead of being eaten. Don’t make edible tinctures with isopropyl alcohol, it’s very dangerous to eat that stuff!
Don’t ingest anything made from isopropyl alcohol!
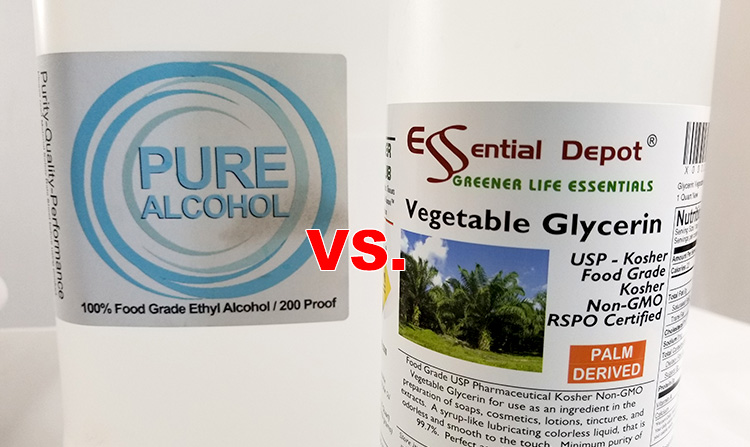
Alcohol vs. Glycerin
Simply put, alcohol is better for making tinctures because it’s better at bonding to THC than glycerin.
Alcohol makes tinctures faster than glycerin because alcohol bonds with THC more easily. Any alcohol being used for tinctures should be high-proof to absorb as much THC as possible. High-proof alcohol can be tough to find depending on where you live, so you can substitute it for the highest-proof alcohol you can get, but expect weaker results.
Glycerin is a plant-based solution that is great for tinctures when you don’t want any of the taste or intoxicating effects of alcohol. Although glycerin is a great vehicle for tinctures, it’s not as good as alcohol at bonding to the THC in your cannabis. In fact, some growers prefer to make tincture with alcohol, and then add glycerin afterward. For stronger glycerin tincture, you could evaporate some of the alcohol and add glycerin in its place.
We’re using 100% Food-grade Ethyl Alcohol
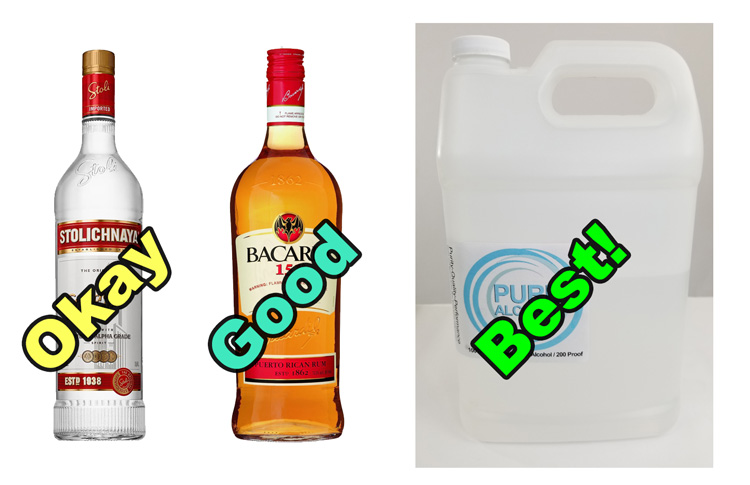
Types of Alcohol
If you have easy access to Everclear, you’re already set. Everclear is a great type of alcohol to use for tinctures because it’s pure and it’s edible (which is super important).
You can also use a 151-proof rum like Don Q 151. Although it’s not as good of a choice as Everclear, it’s strong enough to bond to THC easily and it’ll definitely get the job done.
As another option, you can get a super-strong Polish alcohol called Spirytus (thanks Ed Rosenthal!). Although you won’t find it just sitting on the shelves of your local supermarket, you can order it and have it shipped to you from a reputable company like BevMo. Spirytus is stronger than anything that’s 151 proof and is a great substitute for those who can’t get Everclear. Otherwise, Don Q 151 will do the job just fine.
If you can’t get Everclear or something similar in your area, a 151-proof rum (like Don Q 151 rum) is a good substitute.
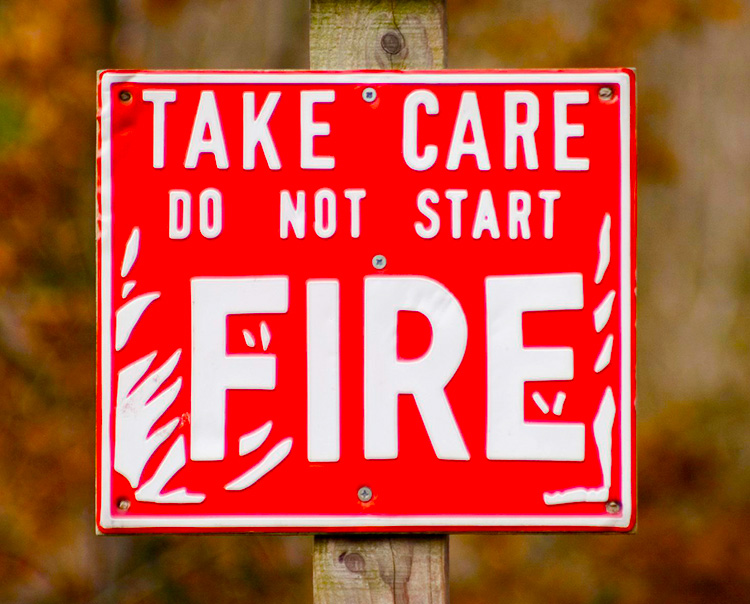
Safety first!
Making tinctures involves the use of high-proof alcohol. All of the alcohols we recommend are great for making tinctures, but they’re also flammable!
Here are a few steps to keep tincture creation as uneventful as possible:
- No open flames – Unfortunately, that means no smoking. Even a small spark can be enough to create a massive fire under the right conditions.
- No gas stoves – It’s insanely dangerous to attempt cooking tinctures near gas-burner stoves. Alcohol fumes + a gas stove is a recipe for an accidental fire. If your stove uses gas, try using a hot plate if possible, but under no circumstances should you take the chance of using a gas burner stove.
- Ensure Good Ventilation – High-proof alcohol makes fumes that can be easily ignited when they build up. If you keep the area well-ventilated, the concentration of flammable fumes in the air stays low enough that it can’t be combusted. In other words, make sure there’s new, clean air in your cooking area to avoid a flaming mishap.
- Keep a dry-chemical fire extinguisher handy – As long as you follow the rules above, you’ll be safely making your own tinctures. However, it’s always a good idea to be prepared by owning a working fire extinguisher! You can get extinguishers at hardware stores or online. It’s a good thing to have around your house in case of an emergency whether you’re making tinctures or not.
When it comes to making tinctures with high-proof alcohol, fire is your worst enemy!
Weed to Alcohol Ratios
There is quite a bit of opinion on how much weed/alcohol to use when making tinctures. The amount a person is looking for can vary greatly depending on what effects they’re looking for. Here are some starting guidelines that you can try first and adjust as necessary for your specific case:
- Mild – 1g of weed to 30ml of alcohol (1oz of weed to ~850ml of alcohol)
- Medium – 1g of weed to 20ml of alcohol (1oz of weed to ~570ml of alcohol)
- Strong – 1g of weed to 10ml of alcohol (1oz of weed to ~280ml of alcohol)
Again, none of these measurements are set in stone. If you try one of these ratios and it feels too strong, move to one of the milder ratios and try it again. Too weak? Try one of the stronger ratios. If you’re already at the strongest/weakest ratio and it still needs to be adjusted, that’s no big deal! Just add less alcohol to make the tincture stronger, or add more alcohol to make it weaker. You can also evaporate some of the alcohol to increase potency, or add glycerin to your tincture to decrease potency without adding more alcohol. Tinctures are very customizable!
How to Make Tinctures
Old-School Method (aka Green Dragon)
This is the slowest method, but it’s also the most famous. You’ve probably heard of “Green Dragon” if you haven’t already had it. The fact that it takes almost no extra materials can’t be hurting its popularity…
Supplies:
- Weed
- High-Proof Alcohol
- Cobalt Blue Mason Jar w/ lid (clear and amber glass jars work too)
Steps:
- Decarboxylate 1 oz of weed.
- Add the weed to a glass container like a mason jar.
- Add about 300ml of alcohol to the jar. Close the jar tight.
- Place the jar somewhere cool and dark for about 3 months. Shake up the jar when the mood strikes you.
- Alternate Method: Shake the heck out of the jar over the course of an hour; many people believe this is just as effective as waiting for 3 months. I don’t know if it’s just as effective, but I tested the 60-minute method and it definitely works. It’s like a less-quick, quick-wash.
Old-school “Green Dragon” can take a long time to make!
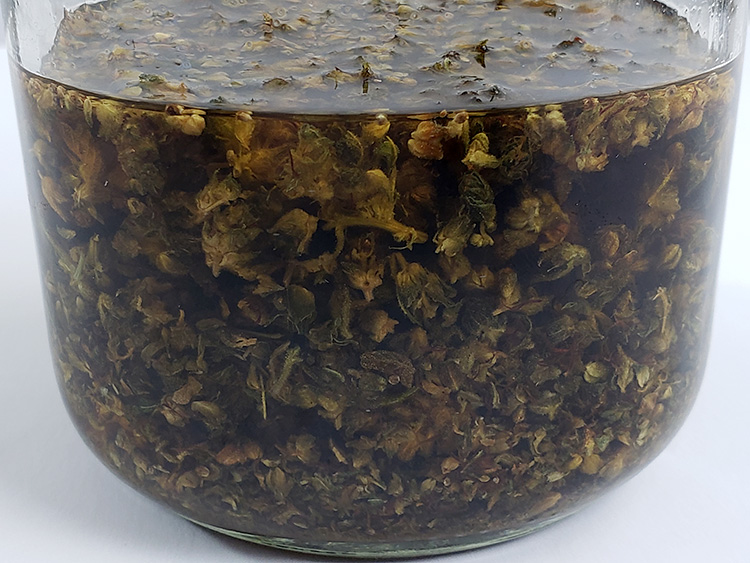
Make sure to shake your jar of Green Dragon every so often.
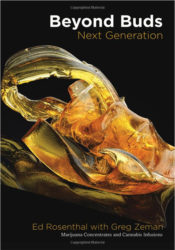
The Ed Rosenthal Method
I’m a fan of Ed Rosenthal. He comes up with original (or at least original to me) ways of doing things, but even better, he always has a reason behind his methods. This technique is from his book on concentrates/edibles called “Beyond Buds: Next Generation” and I suggest you pick up a copy. It’s a beautiful book with great info and I’m sure you’ll learn something new!
Supplies:
- Weed
- High-Proof Alcohol
- Amber or Cobalt Blue Mason Jar w/ lid
- Blender/Food Processor
- Mesh Strainer
- Large Metal Bowl
- Another Large Bowl (Metal or Glass)
- Cheesecloth
Beyond Buds: Next Generation by Ed Rosenthal. I own a copy and it’s good!
Steps:
- Decarboxylate 1oz of weed
- Add the weed to your strainer, then put the strainer in the large metal bowl
- Fill the bowl with water until the weed floats, and let it sit for 90 minutes.
- This should help leech out some of the chlorophyll from your bud.
- Pull the strainer from the bowl so the water drains.
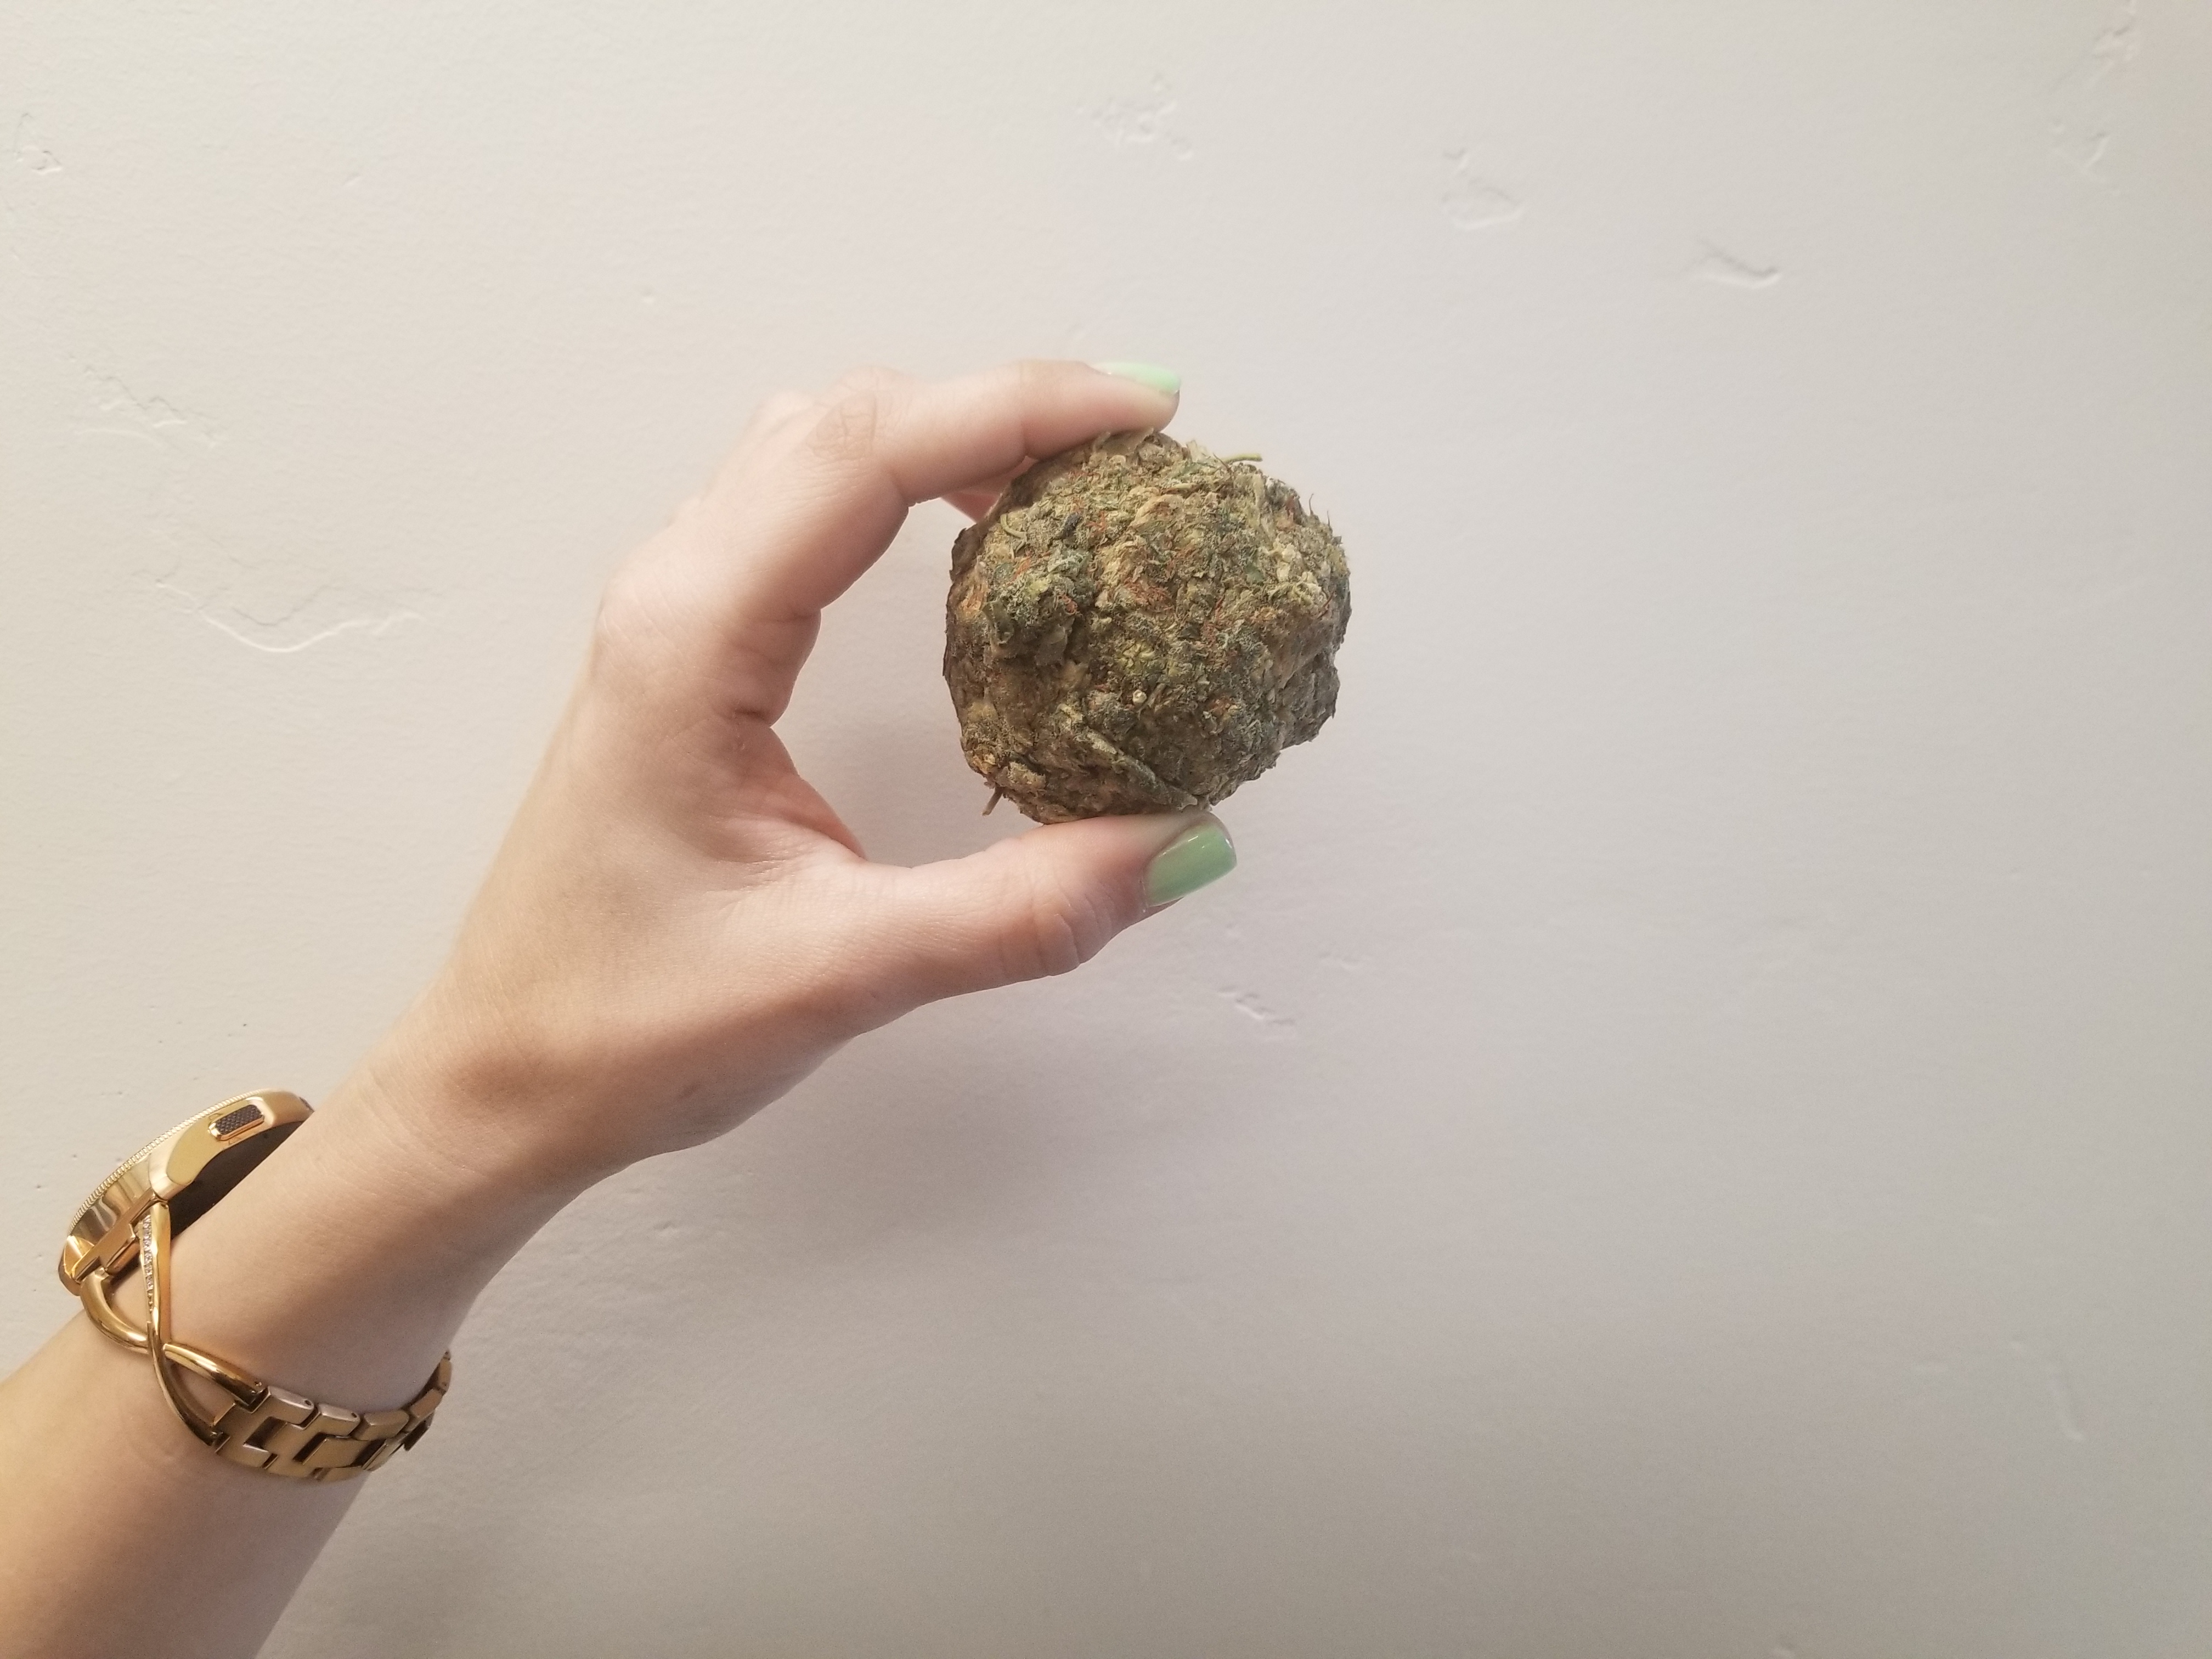
- Collect your wet weed into a ball and squeeze the water out with your hands.
- Break up the squeezed weed and add it to your blender.
- Add about 300ml of alcohol to the blender and blend on low for 5 minutes.
- Let the mixture sit for an hour, then blend again for 5 minutes.
- Pour the mixture through a strainer into a different bowl, making sure to collect the used weed material.
- Make sure to squeeze any tincture out of the material.
- The mixture you just filtered is a potent cannabis tincture! Put it to the side so you can store it later.
- Put the used weed material in a container with fresh alcohol to soak for another hour.
- Pour the mixture through a strainer again, but this time you can discard the used weed.
- Pour your tincture through some cheesecloth spread out over a bowl to filter out particulates.
- This step isn’t necessary, but it looks nicer.
- Pour your tincture into an amber or cobalt blue jar that can be sealed.
- Your tincture is ready!
That’s an ounce of weed rolled into a ball. We played with it more than we should have.
Water Bath Method
The water bath method is a fast way to make tinctures, but it also requires the most care since you have to make sure the water bath doesn’t get too hot.
Oddly enough, this method is the lower-budget version of using a Magical Butter Machine since it does all the same things but needs you to be there to take action and monitor for safety.
Important: Do not perform this method with any open flames anywhere in your house! Evaporating alcohol creates a flammable vapor, and having an open flame anywhere near flammable vapor is a recipe for firey disaster. Please be safe!
Supplies:
- Weed
- High-Proof Alcohol
- Mason jar (for cooking) – you can often find these cheaper in person at Wal-Mart, the grocery store, Home Depot, craft store, etc.
- Amber or Cobalt Blue Mason Jar w/ lid (for storage)
- Coffee Grinder/Food Processor
- Mesh Strainer
- Large Metal Bowl
- Cheesecloth
- A pot for cooking (not for smoking)
- An accurate candy thermometer or another cooking thermometer
Steps:
- Decarboxylate 1oz of weed.
- Grind up your cannabis.
- Add the weed to your mason jar.
- Add about 300ml of your alcohol of choice to the jar.
- IMPORTANT: DO NOT CLOSE OR SEAL THE JAR!
- Fill the pot with 1” of water and place on an electric stove (no gas stoves!) on medium.
- Use your thermometer to make sure the water is no hotter than 165°F.
- Place the unsealed mason jar with your weed and alcohol into the pot.
- This is called a water bath. See the picture below to see what it looks like.
- Adjust the temperature as needed until the alcohol/weed mixture gets to 165°F and let it cook for 30 minutes.
- Stay next to the water bath and make sure it doesn’t get too hot (above 165°F).
- Remove the jar from the water bath and let it cool for about 30 minutes.
- Pour your tincture through some cheesecloth spread out over a bowl to filter out particulates.
- This step isn’t necessary, but it looks nicer.
- Pour your tincture into an amber or cobalt blue jar that can be sealed.
- You’re done!
Watch the temperature closely when using a water bath.
Making Tinctures with a Magical Butter Machine
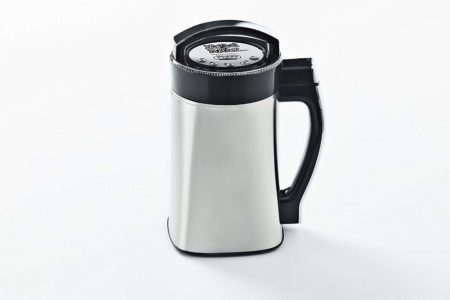
The Magical Butter Machine might be the best way to make tinctures. It stirs tinctures more than a human could, it constantly heats the material, and it has infinite patience, unlike a human being. It can stir and heat your tincture for 8 straight hours with no work on your part past the initial setup, which is crazy.
Supplies:
- Weed
- High-Proof Alcohol
- Magical Butter Machine ($200)
- Amber, Clear, or Cobalt Blue Mason Jar w/ lid (for storage)
- Mesh Strainer
- Large Metal Bowl
- Cheesecloth
Steps:
- Decarboxylate 1oz of weed.
- Add the weed to your Magical Butter Machine without grinding it.
- Add 2 cups (or more for a less potent product) of your alcohol to the machine.
- 2cups is the bare minimum you can add.
- Set the temperature to 130°F.
- Set the timer to 4 hours (tincture)
- …or set it to 8 hours for a stronger product.
- Let the machine finish, then unplug it and let your mixture cool for 30 minutes.
- Pour your tincture through some cheesecloth spread out over a bowl to filter out particulates.
- This step isn’t necessary, but it looks nicer.
- Pour your tincture into an amber or cobalt blue jar that can be sealed.
- Tincture time!
This is 2 cups of tincture that just finished cooking in the Magical Butter Machine
This is the machine you see above, the Magical Butter Machine.
Get one on Amazon.com!
How to Use Tinctures
There’s no perfect recipe for how to try tinctures since everyone has different tastes and tolerances. Here’s the best advice I can give for how to try your product:
- Get “Boston Round” jars with droppers. These make it much easier to measure out doses of your tincture so you can repeat what works for you.
- Try “Sublingual Administration”: Place a few drops of tincture under your tongue until it absorbs. This method provides quicker THC absorption with less alcohol intoxication.
- Don’t try tinctures for the first time if you have important things to do. Testing is best done on a free day at home just in case it’s too strong.
- If your tolerance is low, or If you don’t know your tolerance, start with a drop or two of tincture then wait 1.5-2 hours to see how it affects you.
- For those with battle-tested, higher tolerances, try a full dropper and wait 1.5-2 hours to see how you feel.
- You can also add tinctures to a shot’s worth of a non-alcoholic drink with a strong flavor such as cranberry juice or root beer.
Storing Tinctures
- Alcohol tinctures last multiple years if kept in an amber/cobalt glass bottle in your refrigerator. The amber/cobalt coloring keeps light from degrading the cannabinoids in your tinctures.
- Glycerin tinctures can last a few months if refrigerated.
Whew! That was long! Did I miss something? Do you still have any questions? Use the contact form to let us know!