by Nebula Haze (with contributions from Adam Jacques & Elton Prince)
 I’m always amazed at how mainstream cannabis cultivation has become in the USA! The other day I was in my local electronics store and I saw a classy-looking magazine for sale called Grow Magazine – The Quintessential Cannabis Horticulture Magazine (pictured to the right – here’s their website). I was ecstatic to see an upscale marijuana grow magazine in a big-box store and even more excited to learn they’d been around for a while!
The March/April issue of 2017 (labeled “The Sun Grown Issue”) was one of their stand-out issues and it was all about outdoor cannabis growing. I was pretty impressed by the amount of quality content! In fact, the issue was so good you can’t get it anymore! There was an interesting article on page 44 about cannabis light deprivation by commercial marijuana farmers Adam Jacques and Elton Prince. They share their experience operating an outdoor pot farm in Eugene, Oregon using the “Light Dep” technique, in order to produce a second outdoor harvest each year while also improving overall bud quality and sometimes even yields.

Since that issue of the magazine is now sold out online and we are right around the time when growers are putting their marijuana plants outdoors, I wanted to share the main points for outdoor growers who may have missed it!
I’ve included the most actionable information from the article, as well as many extra tips and tactics I’ve learned from other outdoor pot farmers over the years! If you’re intrigued, make sure you check out future issues of this awesome publication!
“Super” Autos: An Easier Alternative to Light Dep?
Light Deprivation (“Light Dep”) for 2+ Outdoor Harvests a Year
There are several benefits to “Light Dep” or the “Light Deprivation” technique for outdoor cannabis growers!
In essence, a blackout tent is used to artificially alter the plant’s light schedules (similar to how indoor growers put their lights on a timer), giving the grower the ability to force the plant to start making buds as soon as they are put outside!
- 2+ Outdoors Harvests a Year (instead of just one in the fall)
- Harvest #1 May – Late July (or your local Spring to Mid-Summer)
- Harvest #2: Late July – Natural Harvest (or your local Mid-Summer to Autumn)
- If it’s warm year-round at your location, you can also have additional harvests during the winter months
 Better Overall Bud Quality – The outdoor commercial growers in Oregon who helped hone the Light Dep technique explain they’ve found that relatively smaller outdoor plants tend to produce higher quality bud than huge multiple-pound outdoor plants. The smaller plants are also less likely to suffer from bud rot or other types of mold. By splitting one harvest into two a year, they’ve found you end up with overall better bud quality on average.
- Can Improve Yields – Although each harvest is smaller than it would be with one standard outdoor harvest, the overall yields for the year end up being the same or even larger with two harvests. This may be partly due to the fact that a second set of plants is being prepared vegetatively indoors while the first one is maturing under the sun. That means you have plants using sunlight to make buds continuously during the entire summer and fall, instead of only during late summer and fall. You get to use more of the overall light in a grow season for bud growth.
 Take Advantage of Budding Under July Sunlight – The Light Dep technique lets one set of plants finish flowering under the high-quality sunlight in July. Some of the highest grade outdoor sinsemilla comes from July-fattened bud, due to the strong direct sunlight, high levels of UV rays and overall lack of mold or wetness in the middle of summer for most locales.
- Less Chance of a Catastrophic Failure – Since you have two harvests, if you lose one set of plants it doesn’t mean that you’ve lost everything. So for example, an unexpected extreme heat wave or bug infestation won’t kill all your plants for the year. You are also less likely to lose some of the plants to thieves, especially since few thieves are on the lookout for plants mid-summer. By spreading out your eggs into more than one basket, you prevent any one thing from ruining your whole outdoor harvest for the year.
- You Don’t Have to Wait as Long for Buds – If you’re out of cannabis, being able to harvest a lot of bud a few months early can make a world of difference!
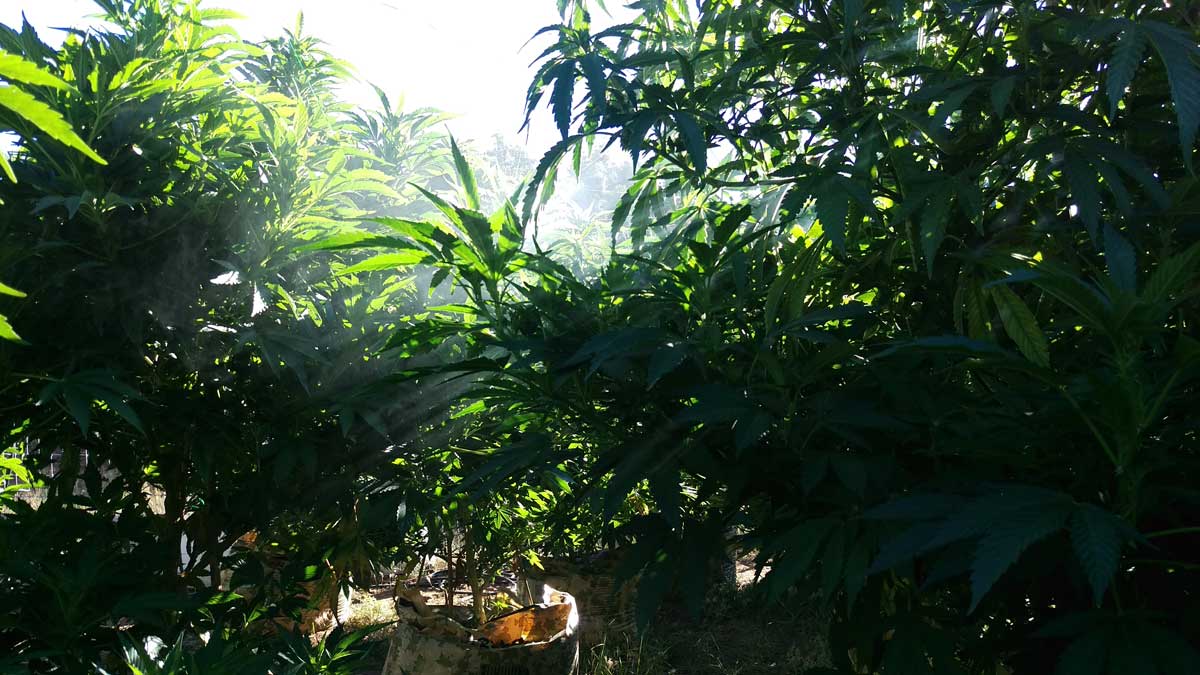
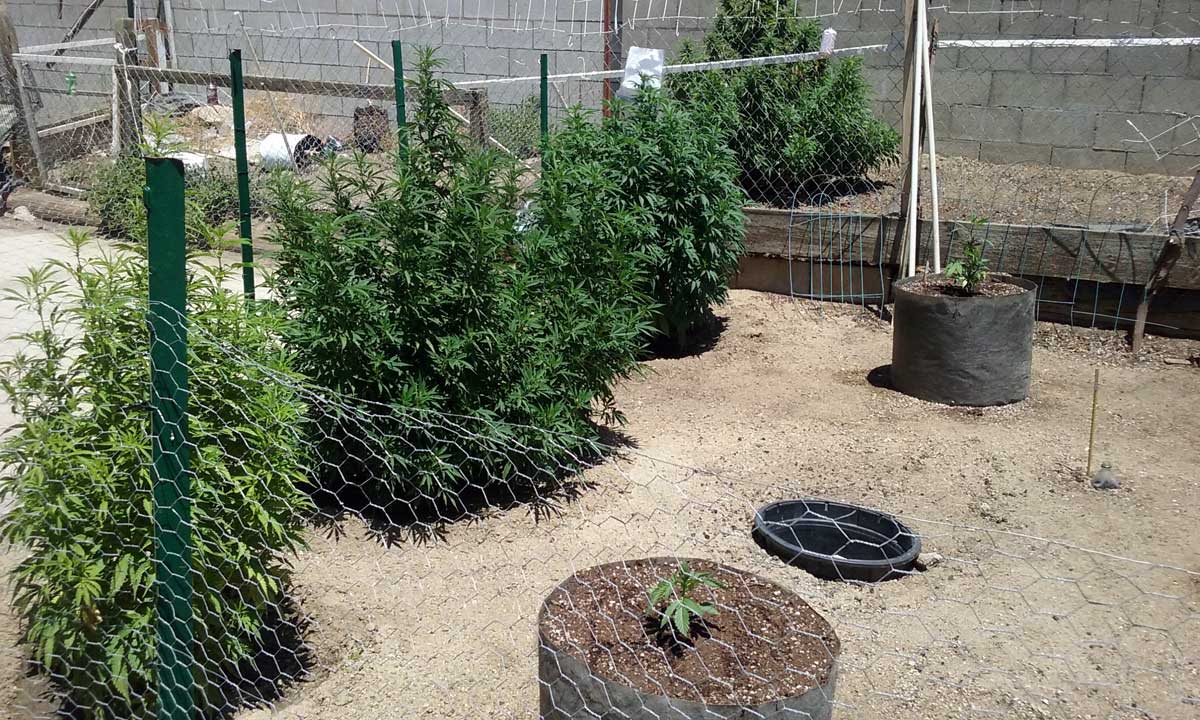
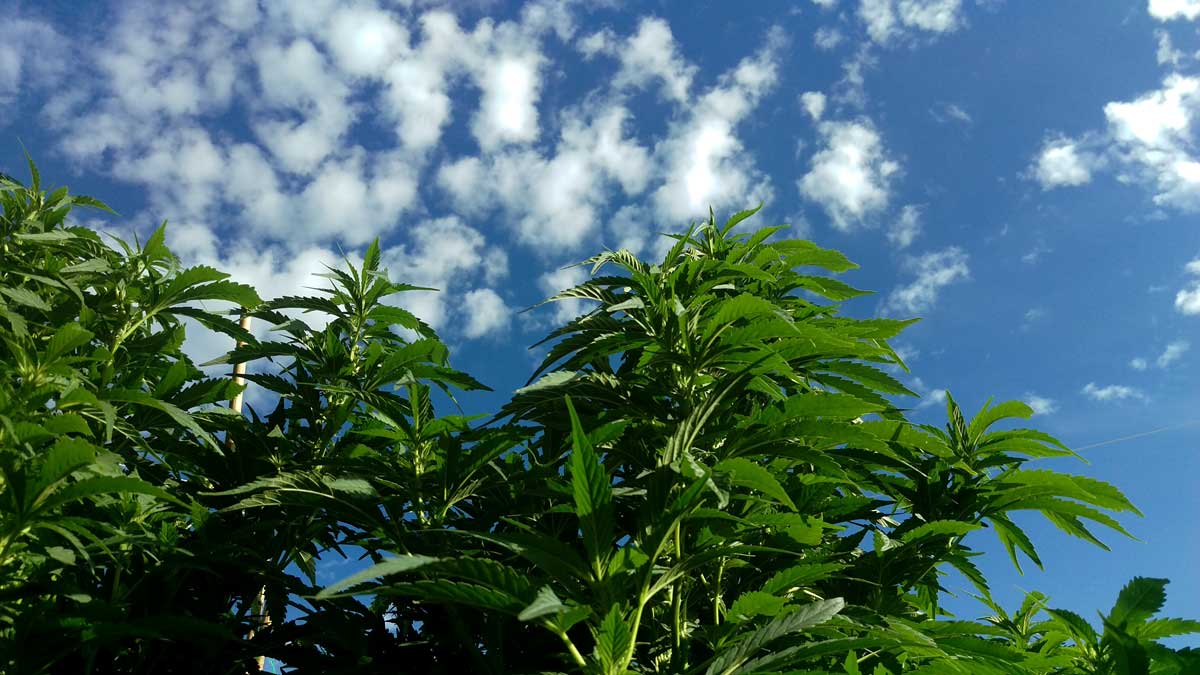
There’s something so natural about an idyllic outdoor marijuana garden, but if plants get too big it can start getting difficult to care for them!
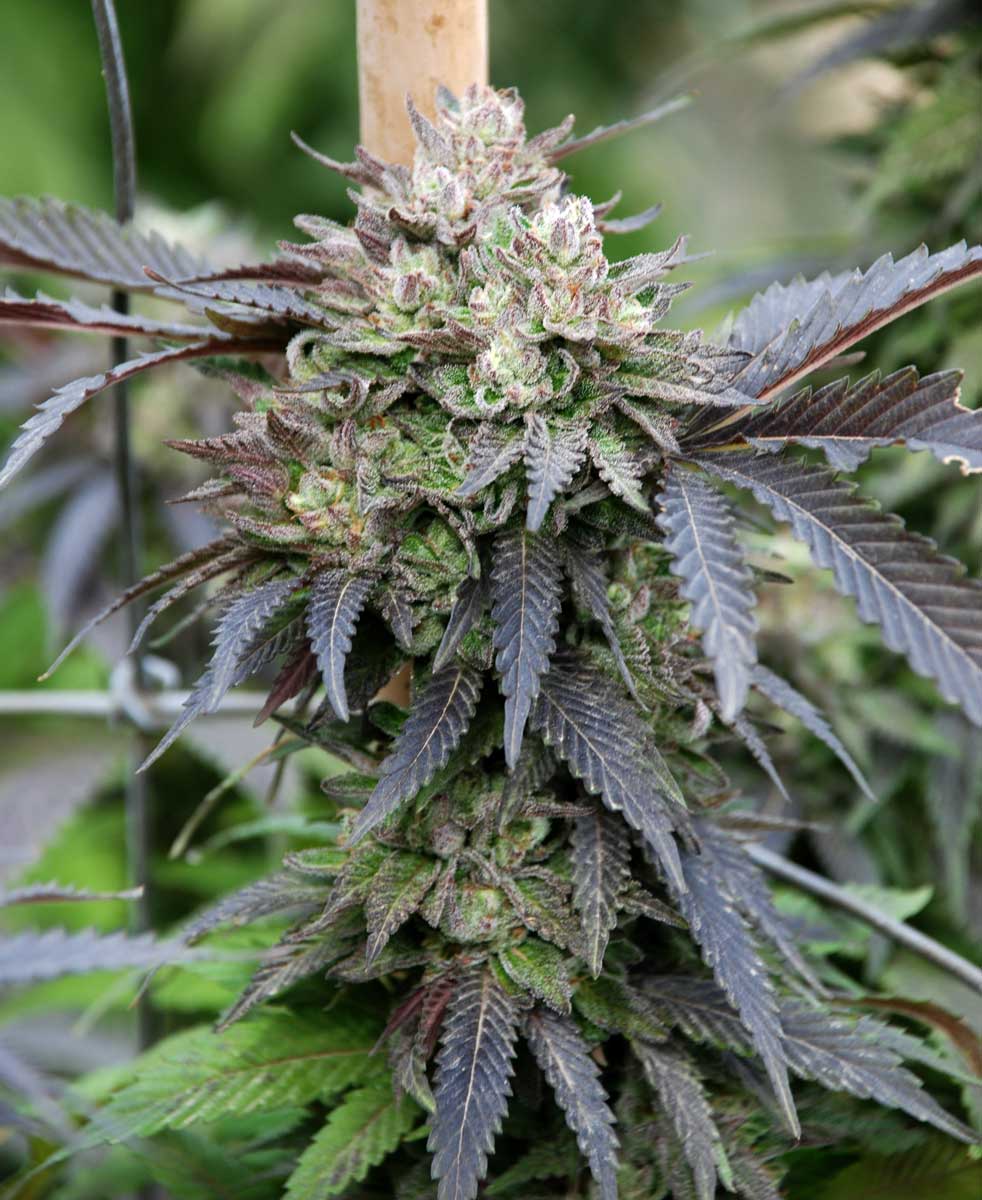
Gorgeous pic by Wayne Elfering
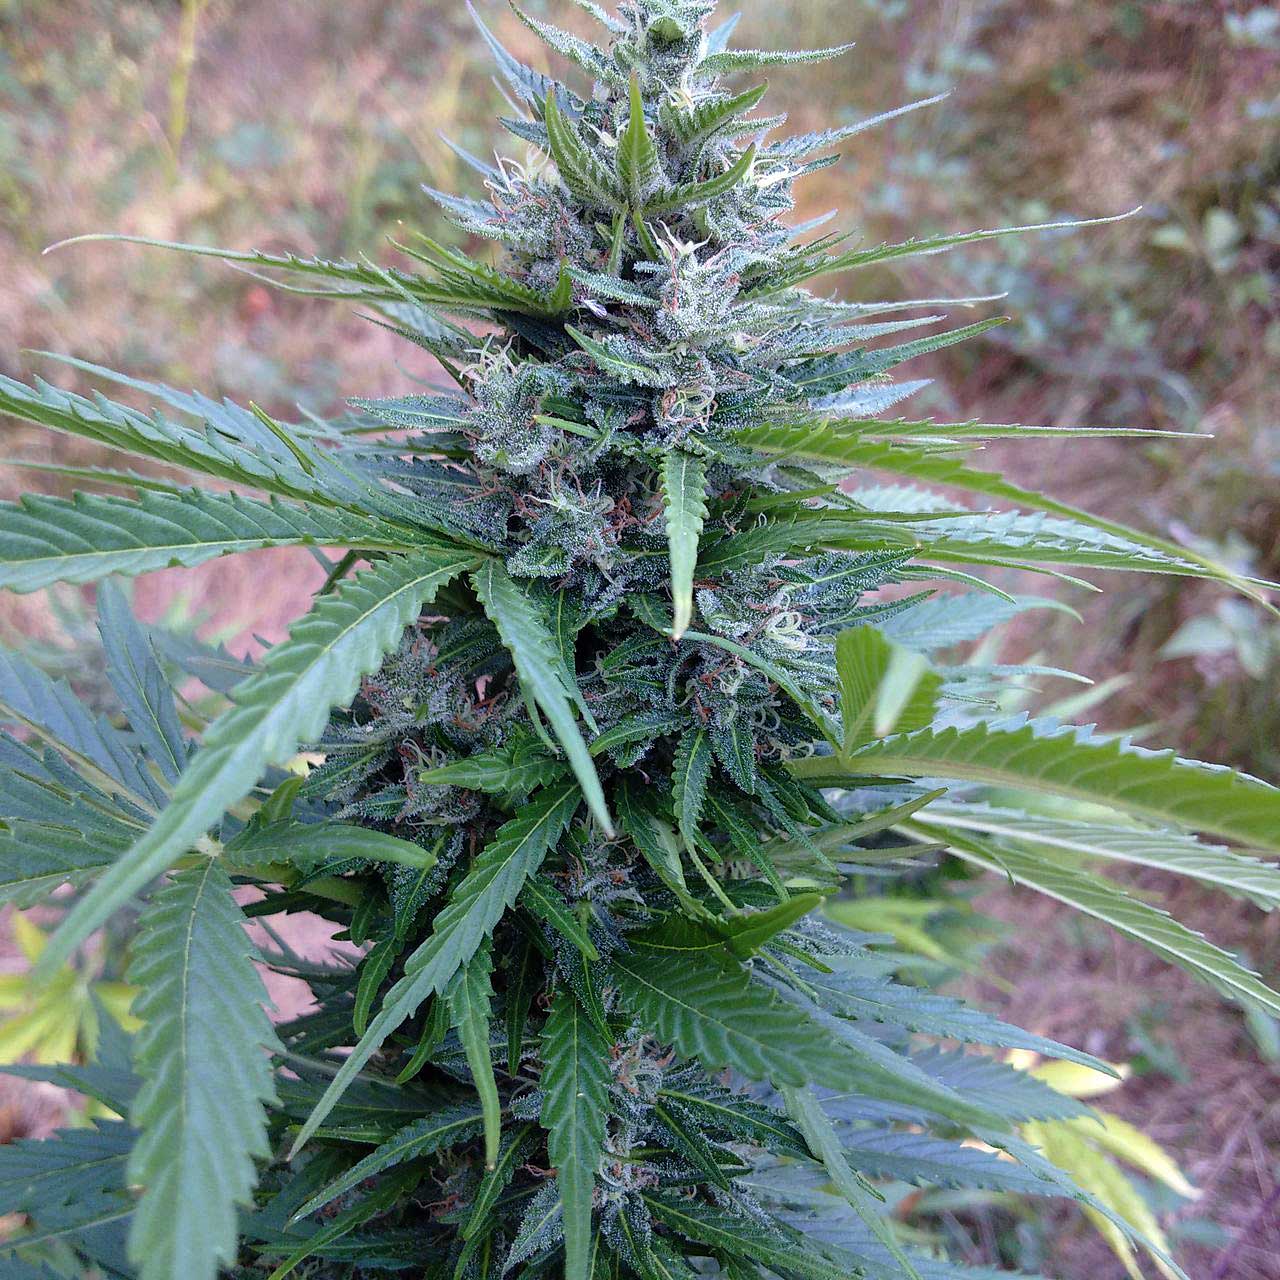
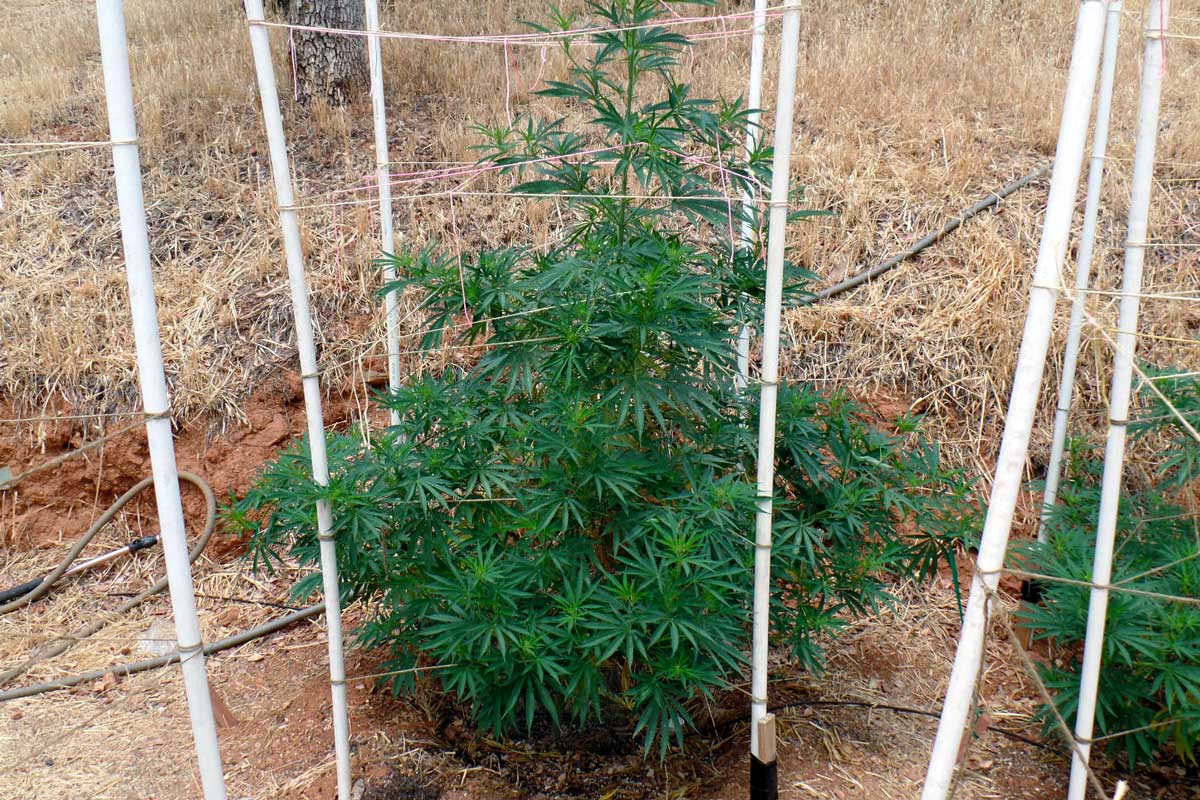
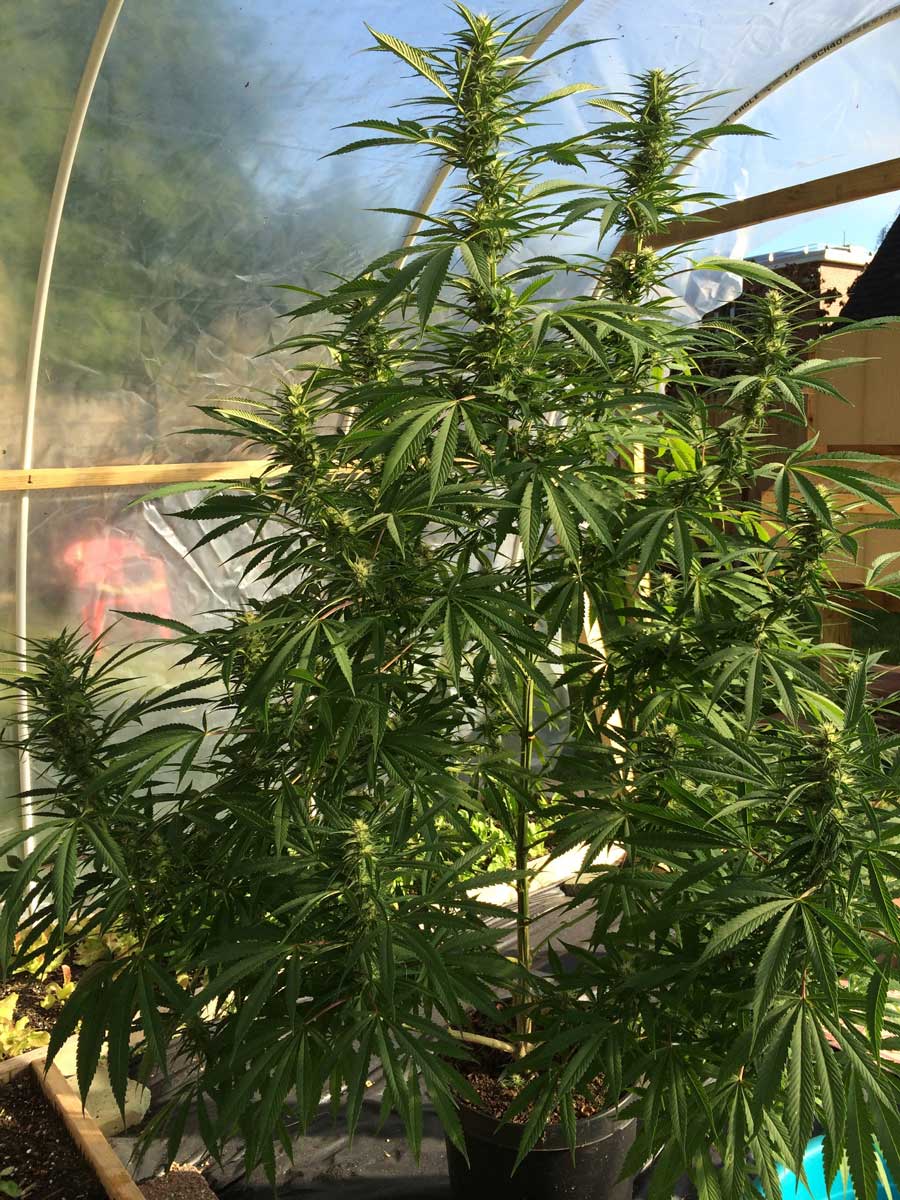
There’s also some evidence that small-to-midsize outdoor cannabis plants produce better quality bud on average than huge outdoor plants! This is an example of a mid-size plant.
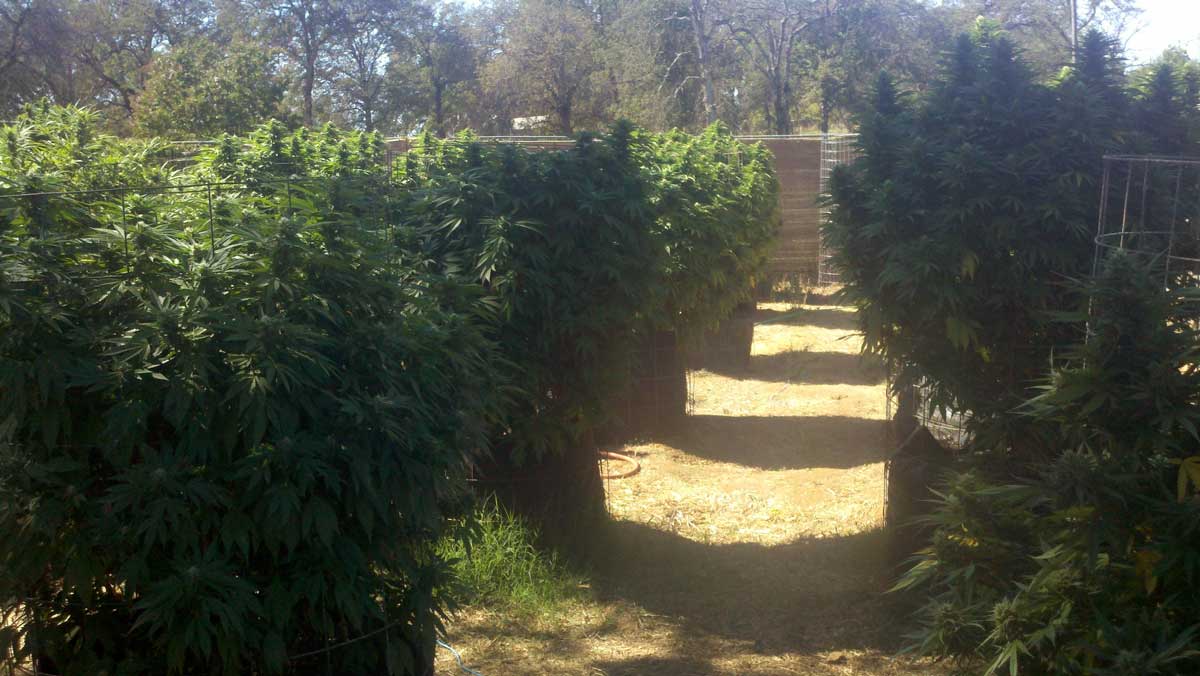
Huge outdoor plants produce a lot of bud and are amazing to see, but are generally harder to care for and the huge colas are more likely to suffer from problems like pests and mold
How to Use the Light Deprivation Technique (for 2 Harvests/Year)
The main idea is to get two harvests a year, by flowering the first set of plants in Spring-Midsummer, and flowering the next set of plants from Midsummer-Fall. This allows you to flower two sets of plants under the high quality sunlight of summer.
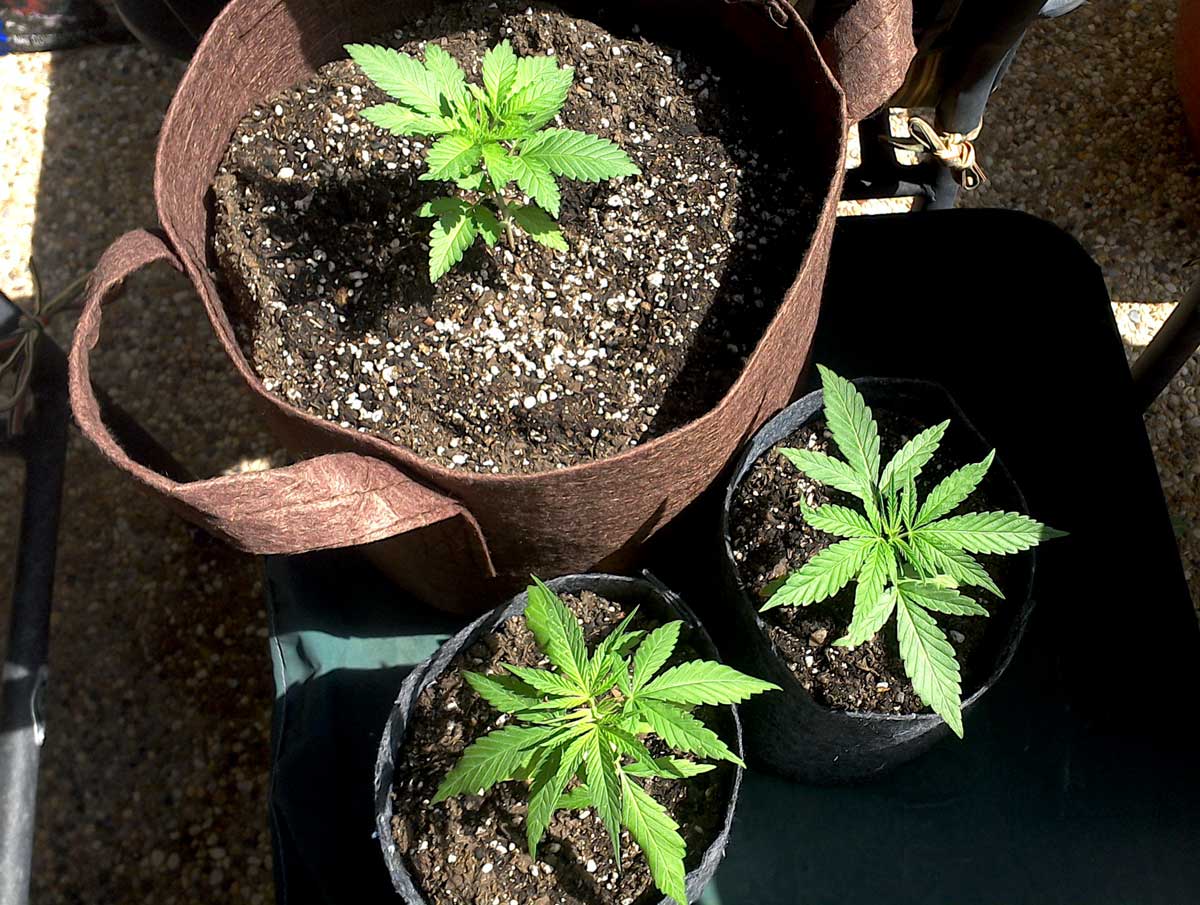
You start your first set of young cannabis plants indoors early in the Spring, then put them outside and force them to start flowering immediately via the Light Dep technique. Start your second set of plants indoors as soon as the first ones go out, so they’ll be ready to go outside after the first harvest. Since they are put outside at midsummer, they will naturally start flowering immediately and be ready to harvest at their natural harvest time.
- Start young plants indoors in the Spring under cheap fluorescent lighting, and put outside in late Spring after any chance of frost is over. In the northern hemisphere this is likely between April and late May.
- Use the Light Dep technique and a Blackout Tent to ensure plants are getting 12 hours of uninterrupted darkness every day. (More on using a Blackout Tent for custom light schedules below). This ensures that all plants start flowering as soon as you put them outdoors.
- Immediately start your second batch of plants indoors under fluorescent lights while the first batch of plants is flowering in the sun
- Harvest your first batch around mid-summer, for example late July. The summer-harvested buds should be exploding with smell and potency.
- Put out second batch of plants in late July and wait until the natural harvest. Unless it gets cold early where you live, you likely no longer need to do anything with light deprivation to get your plants ready to harvest in time for the cold season. This is now more like a “normal” outdoor harvest.Note: If it normally gets cold or wet before October where you live, you might consider continuing the light deprivation regimen until August, just to help get plants flowering and ready to harvest before the cold, rainy season hits. There are also outdoor strains made for cold climates that are ready to harvest relatively early, like Frisian Dew or Holland’s Hope.
How Long Until Plants Are Ready to Harvest?
Each strain has different length flowering periods which are usually listed in the strain description when you’re buying your seeds, though these are just average timelines.
If you’re ever unsure about what to expect with a strain, I highly recommend contacting the breeder for extra insider types! Breeders are often extremely helpful and responsive if you email them through their website 🙂
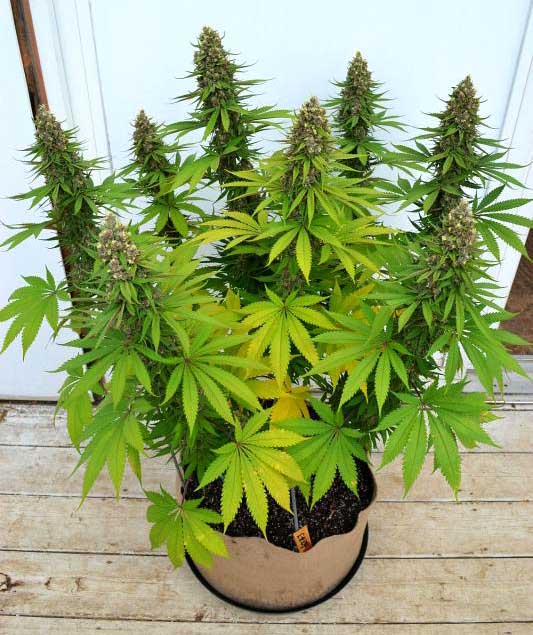
Start pot plants indoors to get the most out of your outdoor grows!

Put plants outside when they’re about a month old, after the danger of frost is over

Choose one of the light schedules below and give longer dark periods daily either by moving plants or covering them at night. As a result, they’ll be ready to harvest a little over 2 months later.

Put out a second set of plants right when you harvest this set, and you’ll be able to get one more full harvest for the year (this time without any light deprivation needed)!
Examples of Light Schedules
The most important thing is the dark period when trying to get your plant to start flowering and stay in the flowering stage. It’s okay if your plant gets less than 12 hours of light at a time (though you do want to maximize the amount of sunlight received by your plant to get the best yields), but you need to make sure that every night your plant is getting 12 hours of complete uninterrupted darkness.
This means completely covering or uncovering your plants, but with small enough plants you could also move your plants daily to hide them from the light 🙂
Give Extra Dark Hours in the Evening
This schedule has you covering your plants in the evening around the time people get home from work, and uncovering them again right before you go to bed. Doing both parts in the evening minimizes the amount of time the plant spends under the tarp at night.
This ensures your plant gets a full 12 hour night period, including extra dark hours in the evening.
- Cover plants 12 hours after sunrise. For example if sun rises at 6 am, cover plants around 6 pm.
- Uncover plants again after the light from the sun is gone, for example right before you go to bed. Instead of uncovering them late at night, you could also uncover the plant early in the morning, though they likely wouldn’t get as much fresh air at night.
- Repeat daily.
Various types of frames can be constructed to help you cover your plants to increase their dark period, from simple to complex!
Give Extra Dark Hours in the Morning
I personally don’t really like this option because I’m not a morning person. You can either tarp the plant all night long or have to go out twice early in the morning. To minimize the time under the tarp you’d need to go out just before sunrise to cover the plant, and again a few hours later to uncover it again. For me, at least, it seems easier to give extra dark hours in the evening than the morning. But everyone has a different schedule and I’m sure this is much better for some people.
- Cover plants before the sun comes up. You can do this the night before but covering them just before dawn is best to ensure they get as much fresh air as possible in the night. That being said, it’s better to cover them all night than cover them too late in the morning; make sure plants don’t get even a little early morning light!
- Uncover plants later in the morning, about 12 hours before sun goes down. For example if sun goes down at 8 pm, uncover them around 8 am.
- Repeat daily.
Example of plants growing under a frame which can be covered daily
How to Blackout Cannabis Plants As Needed
The more automated and easy you make things for yourself, the more likely you are to stick with the light deprivation regimen!
DIY Ideas for Outdoor Blackout Tent
- Anything that works as a DIY greenhouse can likely be converted into a blackout tent with some light-proof material.
- Put plants on wheels or otherwise move them daily
- Make a frame on wheels that you can wheel over your plants, and throw a tarp over the entrance during dark periods
A frame can be built from typical construction supplies, which can be used as the “skeleton” of a greenhouse or blackout tent
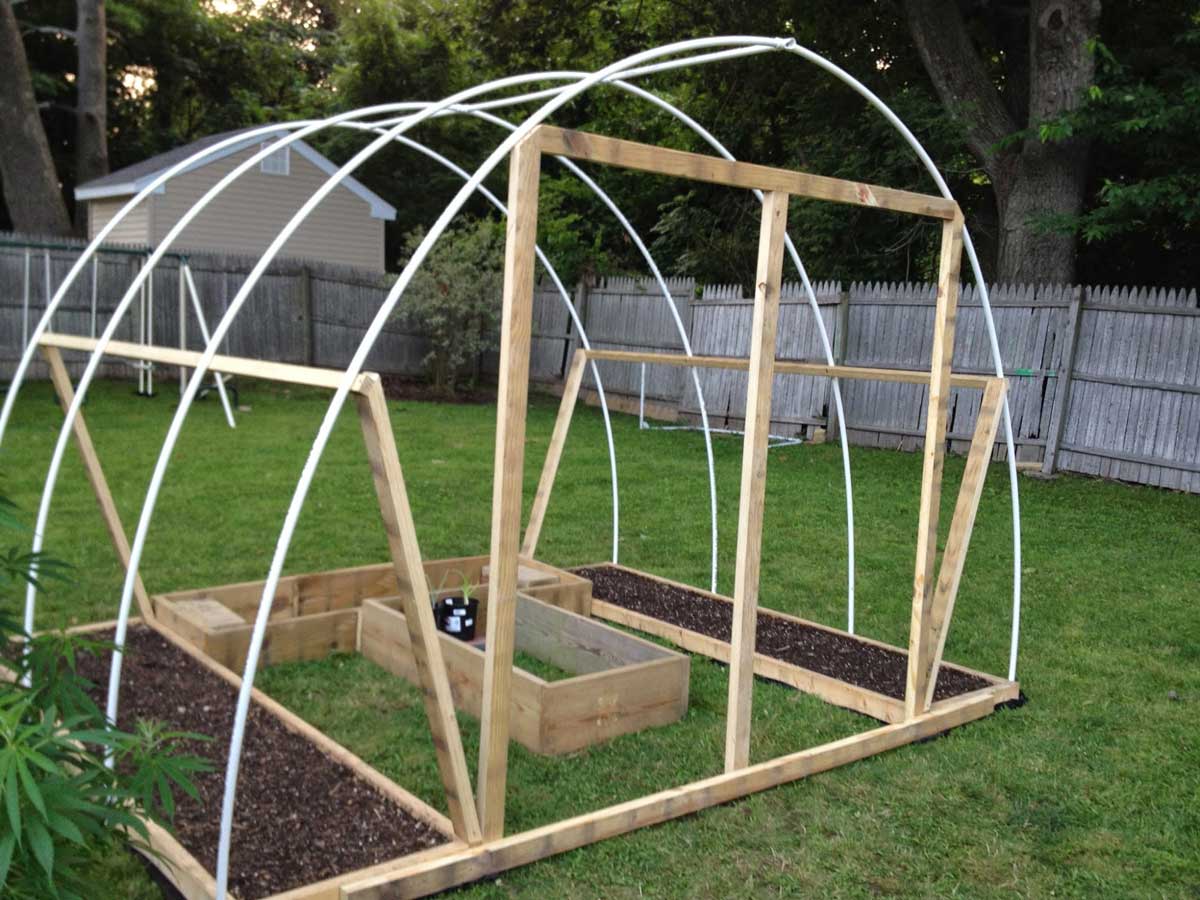
Anything that already works as a greenhouse can usually be converted into an outdoor blackout tent by covering it with something that is light proof. However, be aware (and with greenhouses in general) that plants need access to lots of fresh air (and CO2) in order to grow quickly and also to prevent mold. Make sure they can still breathe!

Commercial Systems
- There are several commercial greenhouse systems that can be blacked out on an automated basis. One example of a company that offers blackout greenhouses is NEXT G3N.
Tips for Success at Light Deprivation
- The more you automate things, the better your results tend to be (and the less work for you!). I’ve actually found this to be true with any type of growing! The more you make it enjoyable, the easier it is to take good care of your plants 🙂
- When trying to initiate and keep plants in the flowering stage, the most important thing is to ensure the plant gets 12 hours of uninterrupted, total darkness every day. Although you want to maximize the amount of time under the sun, in the flowering stage, if you must choose, it’s better to give your plant fewer hours of sun than to shorten or interrupt the dark period.
- When plants are uncovered at night, make sure there are no lights around! Even a nearby streetlight can be enough to interrupt a dark period!
- Make sure plants can still “breathe” under your blackout tent, and try to minimize the amount of time under the tent if possible so plants get as much fresh air as possible.
- Prepare the second set of plants indoors under some cheap fluorescent lighting so you can put them outdoors to start flowering as soon as you harvest the first set.
- For the second harvest, you likely don’t need to do anything special with light deprivation. By mid-to-late summer your plants should automatically start flowering on their own as long as you’re preventing your plants from getting light during nighttime. The shock from going on an indoor light schedule of 18-24 hours of day to a much shorter outdoor day will help the plant start flowering immediately.
How to Get Even More Outdoor Harvests/Year (Warm Climates Only)
- From late Autumn to early Spring, any cannabis plant put outside will start flowering right away.
- In order to keep an outdoor plant in the vegetative stage during the winter months, you need to interrupt its night period so it never gets more than 8 hours of darkness at a time (it could go more, but 8 hours is good just to be safe). A small light left on near the plants at night will do the trick. Only a few leaves need direct light to keep the plant in the vegetative stage. Even shining a bright flashlight on your plants for a few minutes during the middle of the night is enough to interrupt their dark period! The light needs to be brighter than moonlight, but it doesn’t take much!
Easy Alternative to Light Deprivation: “Super” Auto-Flowering Strains
The idea behind Light Deprivation is to get two harvests a year when growing outdoors. This can increase both bud quality and yields compared to having just one big harvest with monstrous plants.
However, in order for the technique to work, growers need to cover and uncover their plants every day for the first several months of summer. This not only reduces the total number of sunlight hours the plant gets each day, if you don’t have an automated system it can be a big pain in the butt!
There is a far easier alternative that takes away the need to cover and uncover the plants, while still achieving the same result of double outdoor harvests.
How to Produce Three Outdoor Harvests a Year with “Super” Autos
A “super” auto is not a technical term as much a general marketing term for an auto-flowering strain that is bred to get far larger and produce more bud than standard auto-flowering strains. This can make them difficult for indoor growing, but great for getting the impressive yields outdoors. While most autos will only get a few feet tall, “Super” autos tend to get 3-5+ feet by the time they’re ready to harvest. Small autos will also work, but the smaller plants don’t take as much advantage of the sun and yields will be lower per plant.
Using auto-flowering plants instead of photoperiod plants let you play around with various outdoor harvest schedules without having to worry about light deprivation
Learn more about auto-flowering strains of cannabis.

1.) Choose Auto-Flowering Strains for Outdoors
Many “Super” autos are bred for outdoor cannabis growing. Honestly almost any auto-flowering strain will do the trick, but a lot of the ones bred for indoor hobbyist growers tend to stay short and small, which doesn’t take full advantage of the sun, and won’t get as high a yield as the larger Super Autos.
2.) Start 3 Sets of Plants One Month Apart from Each Other
- Start first batch of auto-flowering plants indoors about a month before you plan to move them outdoors (for example April or beginning of May)
- Move first batch of plants outdoors around the end of May after the last chance of frost, when they are about a month old
- Immediately start your second batch of auto-flowering plants and put outside when they’re a month old, around end of June.
- Immediately start third batch of plants and put outside when they’re about a month old, around late July.
Put auto-flowering marijuana plants outside when they’re about a month old
3.) Harvest Once a Month for Three Months
- First Harvest – At this point in late July, your first batch of plants should be just about ready to harvest.
- Second Harvest – Second batch of plants should be ready by end of August
- Third Harvest – Third batch of plants should be ready by end of September.
Examples of Suitable Auto-Flowering Strains for Three Outdoor Harvests a Year
- Hubbabubbasmelloscope Auto by Mephisto Genetics (anything by this breeder is great; they only breed autos)
- Super Lemon Haze Auto by Greenhouse Seed Co.
- Maxi Haze Auto by Grass-o-Matic
- Think Big Auto by Dutch Passion (this one takes a few weeks longer than the others, but worth it!)
- Super Skunk Auto by Sensi Seeds
- Any auto-flowering strain that really catches your eye! 😉
You’ve now learned the basics of the marijuana Light Deprivation technique for two outdoor harvests a year, as well as the Super Auto alternative to get 2-3 outdoor harvest per year without Light Dep! Now get out there and harvest some bud!
Time to start growing!
Beautiful pic by Wayne Elfering
You Might Also Enjoy…
What’s the Best Way to Store Weed?
12 Cool Growing Tools You Might Not Know About
First-Time Grower’s Shopping List
Cute Picture Gallery of Animals Hanging Out on Cannabis Plants 🙂