by Nebula Haze
This list covers some of the things I wish I’d known when I first started growing cannabis indoors. It’s possible that some of the items might not apply to you, but I’m sure every indoor grower ends up learning at least some of these lessons.

1.) The best way to learn how to grow is to just start growing
One of my biggest regrets about growing is that I didn’t start sooner.
It’s easy to get lost with endless research about growing cannabis. Which method is the best? Which grow light for your space? Which method gets the most yields?
The truth is, the best way to learn about growing cannabis is to just jump right in.
Sometimes people (who want to grow) get stuck in the research phase of growing. They spend so much time researching that they get paralyzed by choice and never actually start growing, for months or even years.
No research can 100% prepare you for the actual process of growing. Even experienced growers get unexpected problems. Each grow will teach you more so that you get better and better results, so you might as well start now.
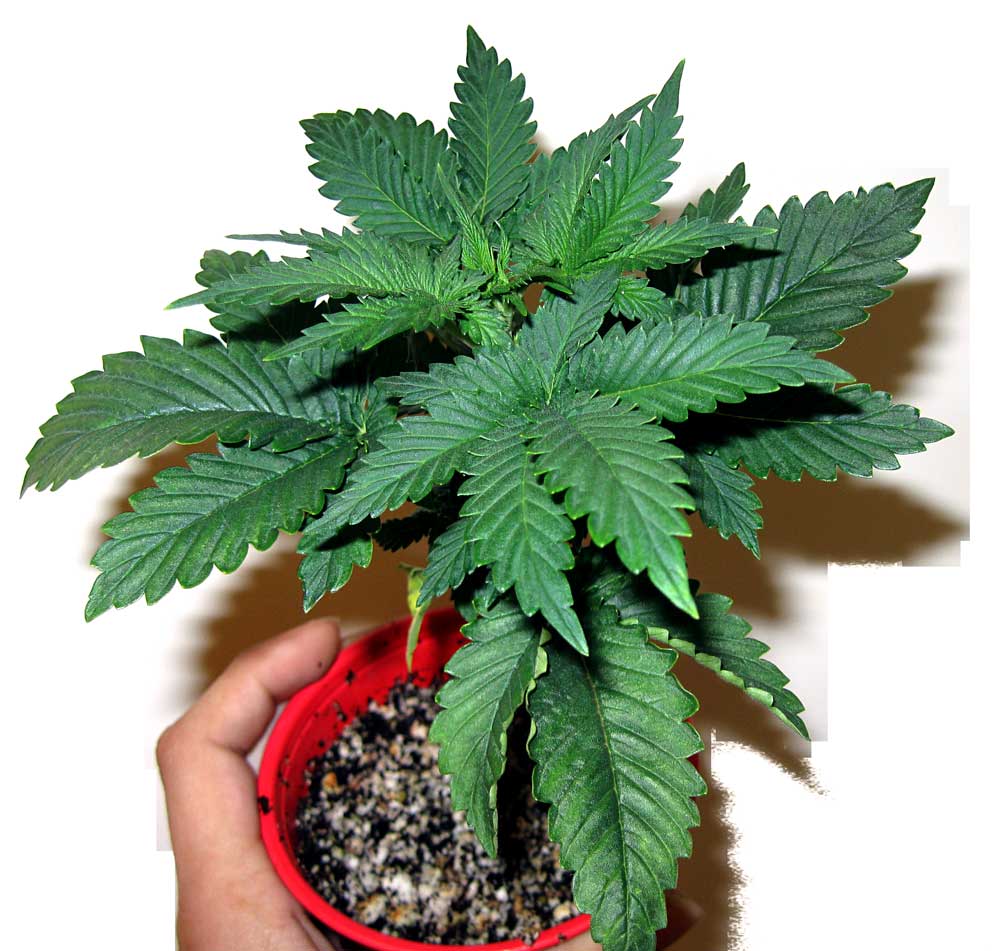
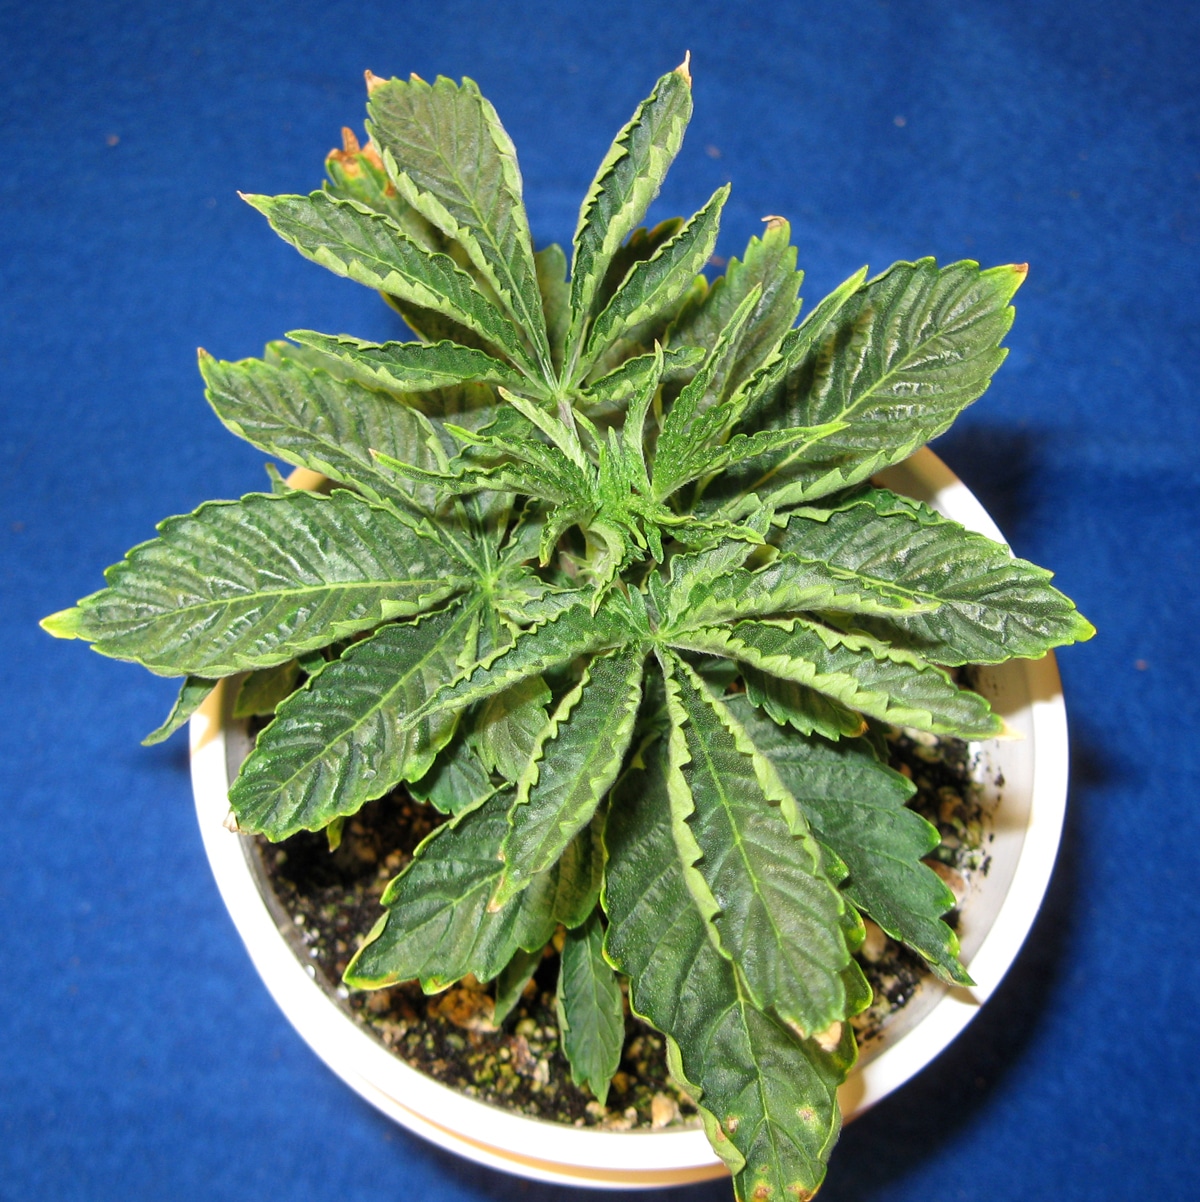
2.) Don’t stop taking notes or pictures just because you have problems (and we all do!)
Okay we’ve all been there. Maybe you’ve been writing notes and taking pictures of your cannabis grow. But then something happens. Something bad. Maybe a deficiency, root rot, bugs…
Every grower will run into a growing problem some time or another. It can be tempting to stop documenting your grow because your plants don’t look as good as they used to.
Don’t stop! The most important time to document is when you’re having problems.
It has helped me so much to be able to go back and refer to old pictures and notes. It’s impossible to keep everything in your head, especially after several grows, and you will thank yourself later that you kept track of problems instead of tried to pretend they didn’t happen.
Learn how to fix plant problems here (with lots of pictures)
Many growers don’t document their grows in any way, and that’s completely fine. But I believe many growers would benefit from a small notebook or calendar to write simple notes. Grow notes help you later, especially grow notes about plant problems. Speaking of calendars…
3.) Be aware of timelines
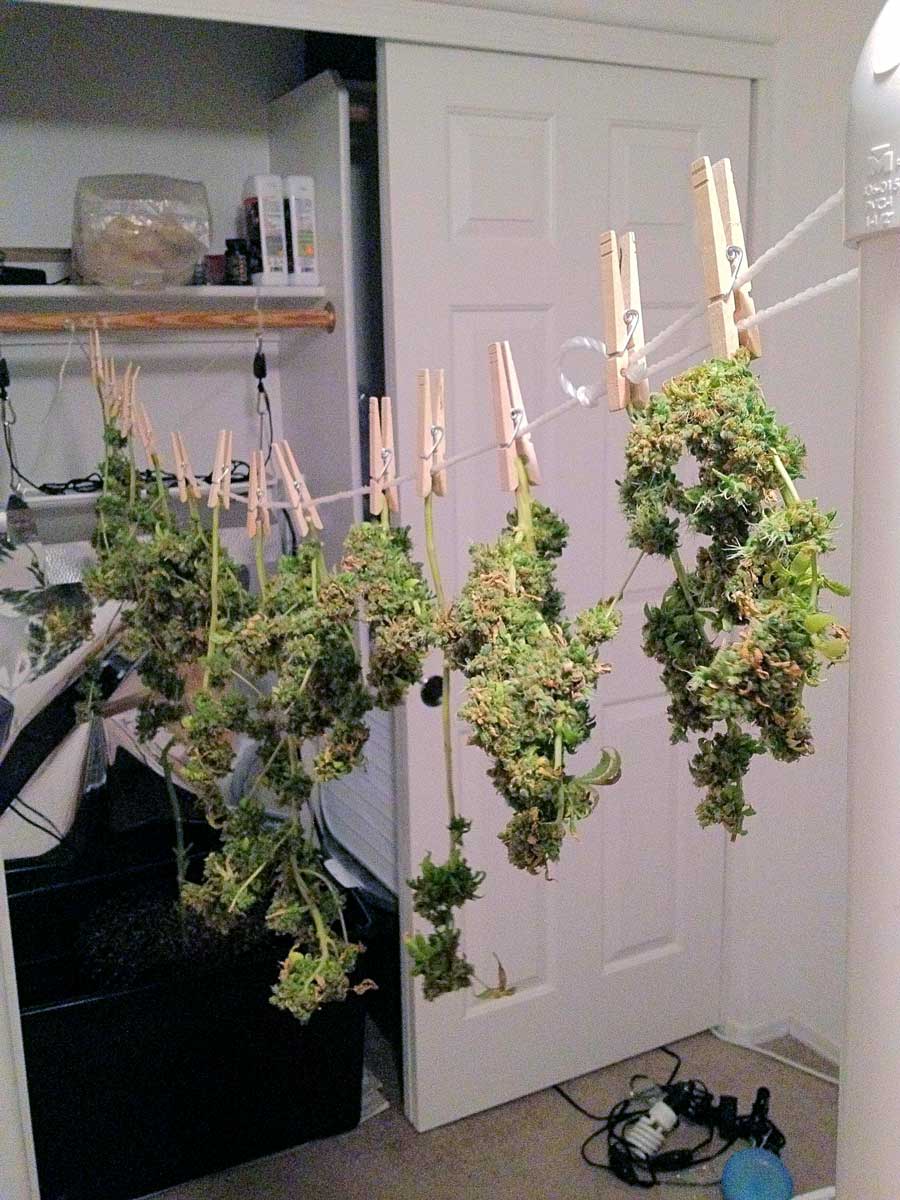
A cannabis grow usually takes around 3-5 months from seed to harvest. After that, you need to account for 3+ weeks to dry and cure buds if you want to enjoy your buds at “full strength” (some growers cure their buds for even longer).
It’s common to see growers start a grow without thinking about how long it will take to harvest. They’ll end up with an upcoming vacation or some other event that takes them away from their garden.
It’s important when starting a new grow to consider whether you’ll be able to be there for your whole plant’s life.

Auto-flowering strains will give you the quickest harvest with some strains being ready to harvest as soon as 10 weeks from germination. I personally believe auto-flowering strains can be a good choice for beginners.
If you don’t have at least 3 months to care for your plants, don’t start growing just yet.
Learn more about the cannabis growing timeline.
4.) Know Your Grow Lights!
Indoor growers have to replace the sun. Your main options for cannabis grow lights are…
- (Best for most growers) LED grow lights – Many models
- HID grow lights – Metal Halide (MH), High Pressure Sodium (HPS) and Ceramic Metal Halide (CMH or LEC)
- Fluorescent grow lights – T5 grow lights
Other types of grow lights like plasma and induction are not recommended. “Induction grow lights” are basically glorified fluorescent lights. They’re weirdly expensive, but at least they work. “Plasma grow lights” are also expensive and they don’t even really work that great for growing cannabis. Stick to the main options for the best results.
LED grow lights
Best Option for Most Home Growers
LEDs come in all sizes to fit any grow space. The technology has been around for a while, and is constantly improving. For most growers, an LED grow light is their absolute best choice.
But there are good and bad LED grow lights. They aren’t all made equal. That’s why I recommend that you only use LEDs if you get a model made for growing a plant like cannabis. Some of the best models of LED grow lights come with a warranty, and give you the ability to contact the manufacturer directly with questions like how far way to keep plants from the lights.
There are great LEDs out there, just don’t get tricked into buying a bad one!
Learn more about which LED grow lights are best for growing cannabis.
MH/HPS Grow Lights
Best for Indoor Growers in a Cold Space
These HID (High Intensity Discharge) grow lights produce great weed but also a lot of heat. If you’re concerned with heat, they’re probably a poor choice. But if you’re growing in a consistently cool grow space, like a basement, LEDs may not warm up the space enough for fast growth. In that case, MH/HPS may actually be your best option. Keeping plants warm is almost never a problem with MH/HPS lights!
Learn about MH/HPS Grow Lights.
T5 Fluorescent Grow Lights
Avoid for Growing Cannabis
T5 grow lights are a type of fluorescent light that’s specifically made for growing seedlings and young plants. They can support plants up to about 24″ tall, which is just enough to grow a very short cannabis plant through to the flowering stage when you control your marijuana plant’s growth through the vegetative stage.
But almost any LED grow light works better for cannabis. LEDs get bigger yields, produce less heat, and buds come out better quality.
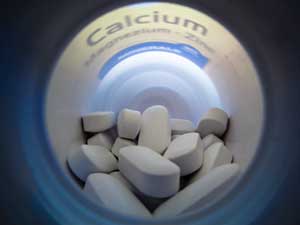
5.) Pay attention to pH
Some growers get away with not paying attention to the pH of their water. It’s the luck of the draw. Yet for most growers, testing and adjusting the pH of the water causes plants to grow better (especially if you’re providing extra nutrients in the water).
Proper pH is essential for cannabis plants to absorb certain nutrients through the roots. If the pH is too high or too low at the roots, it can cause the plant to start showing signs of nutrient deficiencies even if the nutrients are physically there. This is because the pH changes the chemical structure of certain nutrients, and the wrong structure can lock nutrients out from the plant.
Soil Optimal pH: 6-7
Hydro Optimal pH: 5.5-6.5 (also soilless mediums like coco coir)
By making sure the root pH is in the optimum range, you will save yourself problems and help plants grow healthier and faster.
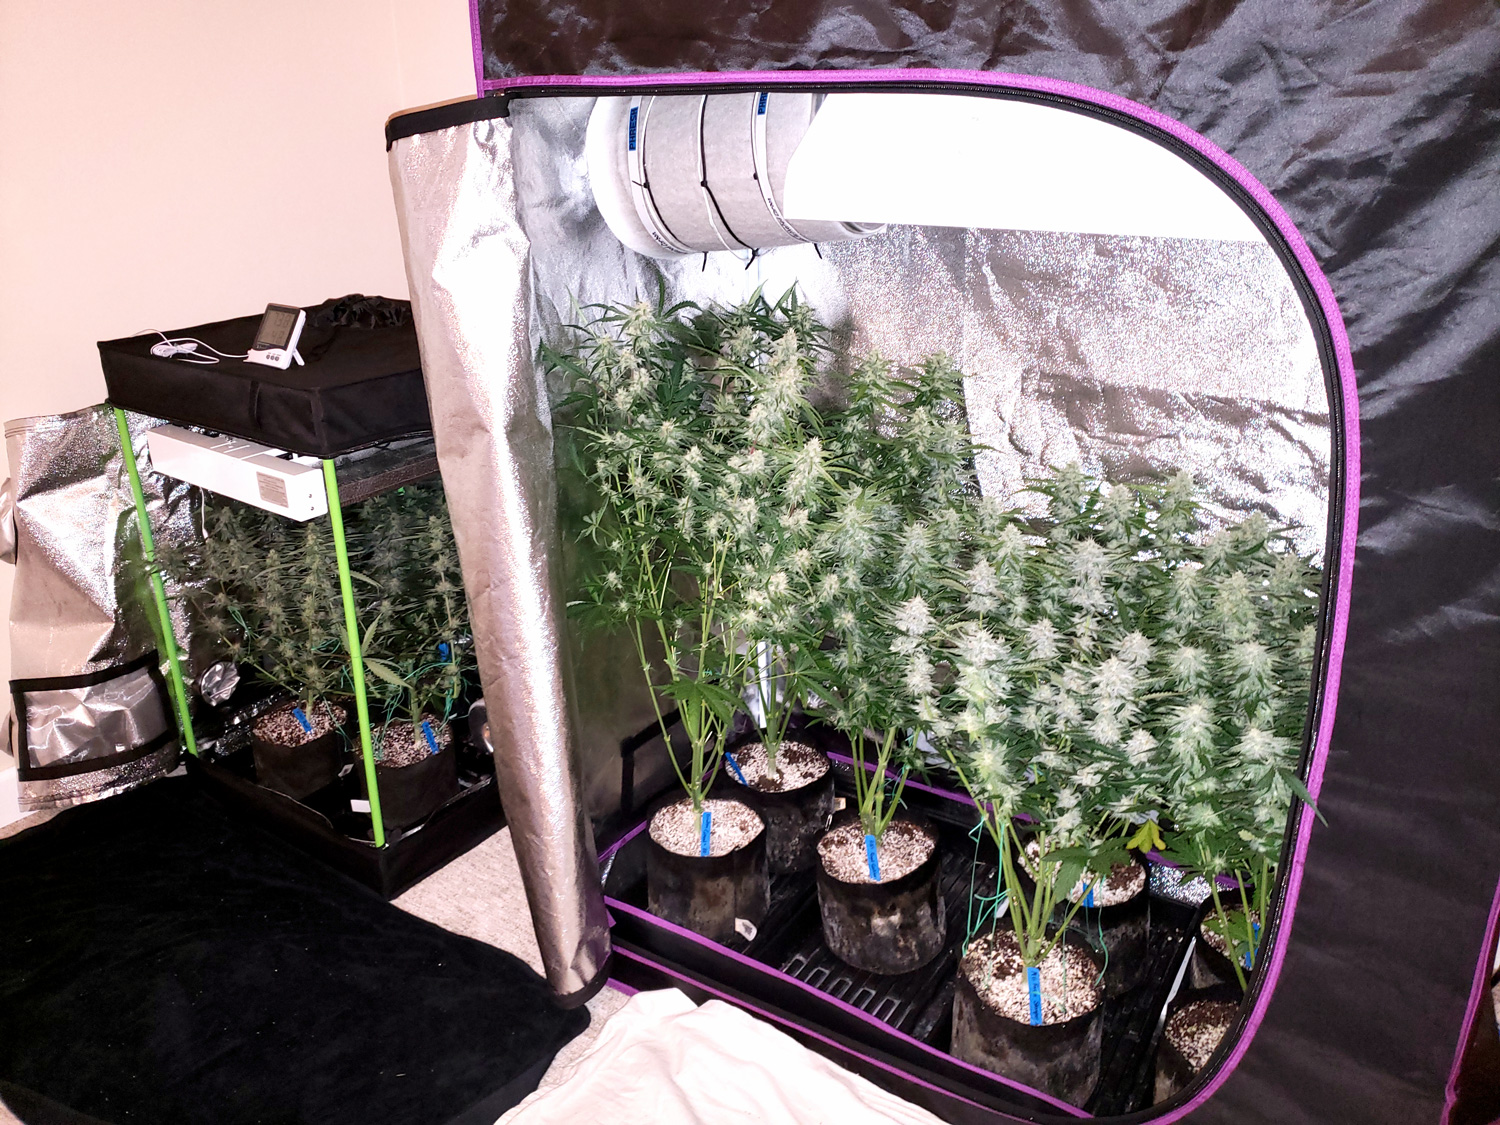
6.) Grow Tent vs Building a Grow Box
Grow tents are not too expensive. They look relatively discreet (especially the smaller tents) and provide the tools to create a perfect environment for cannabis plants.
Yet I see many growers trying to construct their own special grow box. If you’re doing it because it’s fun and you love building things, or need a custom setup, that’s great. But I see a lot of growers make their own grow box in an attempt to save money.
Oftentimes, they’ll end up with problematic grows, and by the time they’ve fixed all the problems, they’ve spend as much as it would have cost for a professional grow tent anyway (or more!). Before you dismiss the idea of a grow tent, I encourage you to shop around.
Once you grow in a tent, it’s hard to go back to anything else.
7.) More nutrients does not equal more buds
Growers often refer to nutrients as “food” for plants. And it’s true that nutrients are essential to cannabis growth, but nutrients don’t directly power the growth of buds.
Cannabis nutrients are more like a multivitamin than food. And just like a multivitamin, you don’t get extra health benefits by taking many at once – in fact it can make you very sick. Cannabis plants are the same way. They want just enough nutrients to thrive, but not enough to make them sick.
Nutrients for plants are like vitamins, not food!
I sometimes see a tendency for growers to try to push the limits as far as how much nutrients to give to their cannabis plants. It can seem like if you “feed” your plant with more nutrients, you’ll get better results. I know I did this.
Yet I’ve found that I get the best growth, healthiest leaves, and biggest yields by giving cannabis relatively low levels of nutrients – just enough to prevent nutrient deficiencies, but not any more than that. Typically I follow nutrient schedules at half the recommended strength to start.
If your plant looks healthy and is growing fast, don’t increase your levels of nutrients!
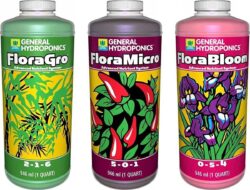
Which Nutrients & Supplements for Cannabis?
Nutrients and supplements are a common cost-sink. Do you really need those fancy bottles, or could you use a more simple nutrient system that costs a lot less? A lot of nutrients come with big claims, especially the expensive ones. But if you use too many nutrients or supplements at once (or mix the wrong ones together), it can unintentionally cause a lot of plant problems.
Many nutrients are overpriced for the benefits you’ll get, especially nutrient systems that target cannabis growers. For first-time growers, you’ll often get better results for less money by sticking to a simple nutrient system from a trusted nutrient company like General Hydroponics or Fox Farm. These companies provide relatively inexpensive nutrients, but they work great for growing cannabis.
If you do plan on adding supplements, try to use ones from the same company and are made to work together. But it’s important to understand that a base nutrient system (usually 2 or 3 bottles) almost always has all the nutrients your plants need to get to harvest.
Learn more about cannabis nutrients.
8.) The strain you grow makes a HUGE difference in your results
A lot of new growers start with bagseed (seeds they find in their buds) and that can be a great way to get started. However, it’s important to understand that the genetics of a cannabis plant can make a huge effect on how the plant grows, such as…
- How tall or short the plant tends to grow
- How quickly the plant grows
- How big buds grow
- What buds look like (color, shape, etc)
- How buds smell and taste
- How long until plant is ready to harvest
- THC (or CBD) levels
- And many other factors…
Therefore, one of the problems with bagseed is most growers have no idea about where it came from or how the plant will grow.
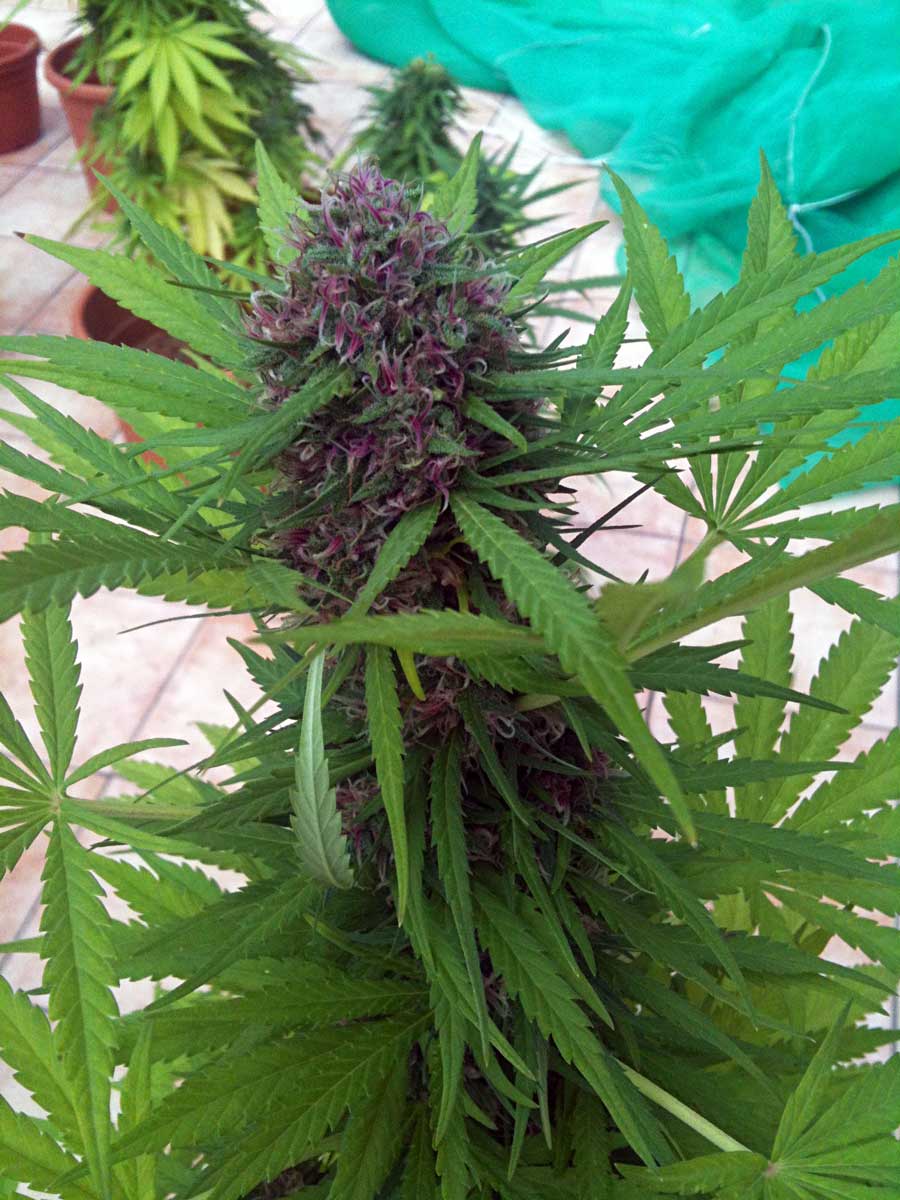 To make things tougher, a seedling does not always produce similar buds (or grow like) the mother plant it came from.
If you want to ensure your plants grow a certain way, or that your buds smell/look/taste a certain way, or have a high enough potency, don’t leave genetics up to chance! Choose a stabilized strain from a trusted breeder, and you’ll have the option to choose exactly what you want to grow.
Learn about getting good seeds here: https://www.growweedeasy.com/seeds
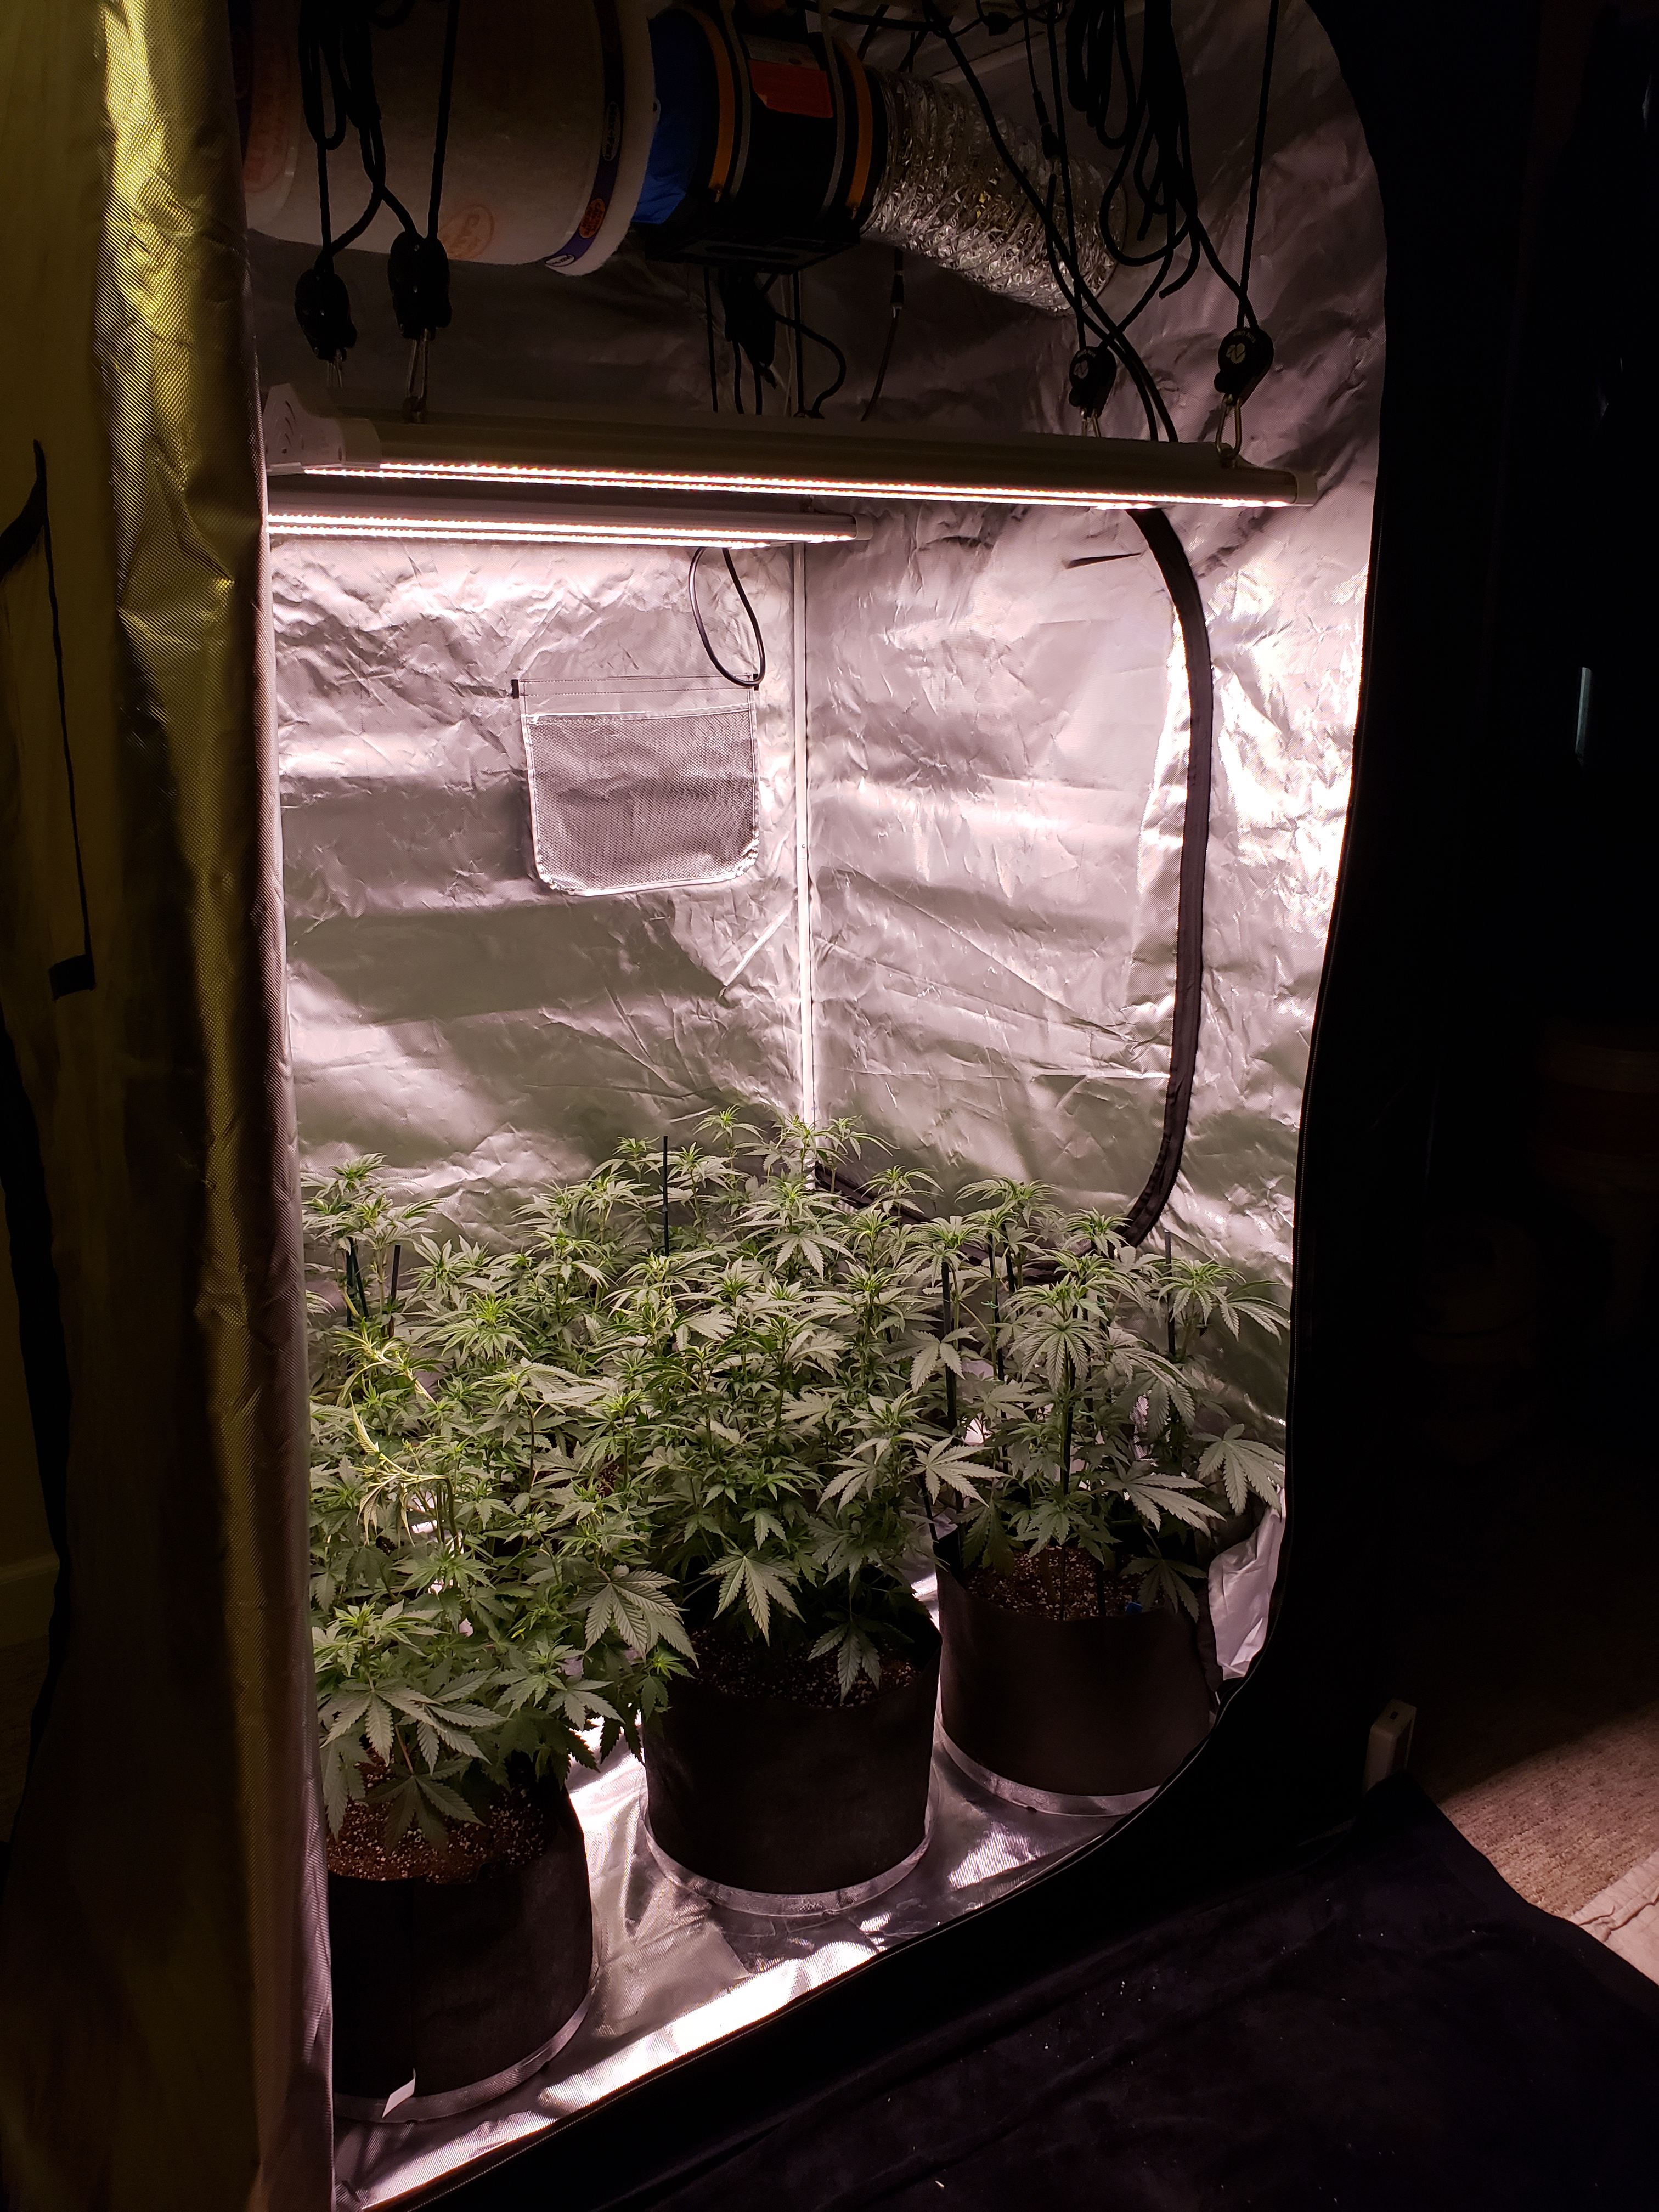
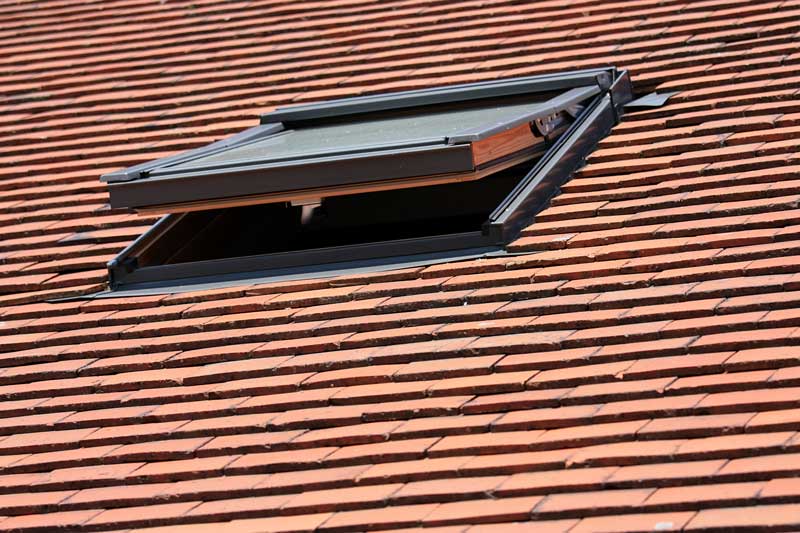
9.) Vent your grow space! You’ll regret letting your grow room get too hot
A lot of first-time growers try to find a way around venting out extra heat from the grow space. You can avoid this if you have a very small grow lights such as a 100W LED, but once you start getting into the 300-400W+ territory, you simply can’t get away without venting.
It’s tempting to create a completely enclosed grow space, with no air going in or out. It’s easy and cheap to stick some plants in a closet or box. A closed door or enclosed space prevents the escape of smells, lights and other signs of growing. Might as well just skip the whole venting thing, right?
That’s pretty much what I did in the beginning. In my first grows I put my grow lights and plants in a small, closed closet, with a few fans blowing over the plants to move the air. I figured things would work themselves out. It didn’t. Growing in a completely enclosed space with several hundred watts of light and no venting caused a host of problems.
A hot grow room with no fresh air (or other source of CO2) can have the following problems:
- Heat stress – Leaves start cupping and may become crispy, brown or spotted
- Nutrient Burn – Plants drink more water, which makes plants more prone to nutrient burn
- White powdery mildew – A mold that looks like flour often appears on leaves when the environment is hot and humid without much moving air
- Bugs – You’re more likely to get attacked by certain pests when it’s hot and humid without circulation in the grow space, including spider mites and fungus gnats
- Humidity Problems – If there’s no venting, humidity can build up in the grow space because plant leaves give off water vapor all the time. Small plants have fewer leaves and don’t make much water vapor, but big plants can give off a lot of water vapor as they’re drinking more, and this raises the humidity of a grow space when the air isn’t vented out and replaced with fresh air.
- Buds Don’t Fatten Properly – In a high-heat environment, it’s possible for bud growth (and plant growth) to temporarily stop altogether.
- Possibly Lost Potency, Taste & Smell – Too high temperatures can “burn off” potency, smell and taste from buds – don’t let cannabis plants sit in high temperatures during the flowering stage if you want to harvest the best buds possible!
- Root problems – Too-hot temperatures reduce the amount of dissolved oxygen in water, which can prevent roots from getting enough oxygen. Too much heat makes roots more likely to suffer from several different types of root problems, including root rot.
I know a lot of these problems from first-hand experience because I didn’t vent my first few grows 🙂
Most of these problems can be prevented by setting up a simple exhaust system to vent the heat and humid air out. Plus this gives you the perfect place to place a carbon scrubber which takes smells out of the air, so you don’t have any odors outside the tent.
You don’t have to do a fancy exhaust for a small grow. Sometimes small changes are all you need. For example, a window fan pointing out is obviously less effective than using ducting (which keeps all the hot, humid air together until it’s vented out the window), but even a window fan can make a huge difference in the temperature of a room by pushing out heat and drawing in fresh air from other parts of the house.
So vent out the extra heat and humidity, add a few fans above and below the canopy for great air circulation, and you’ve got yourself a majorly improved grow space that will yield far better results than the exact same space that used to be enclosed.
Some growers try to supply with extra CO2 because, when done right, it allows cannabis plants to withstand higher temperatures and still be okay. It also requires growers to avoid venting out the grow space during the times they’re supplementing with extra CO2 (otherwise all the CO2 will also be vented outside). But a lot of growers aren’t supplementing their grow rooms with CO2 in a way that actually helps the plants. If you’ve got powerful grow lights and you’re interested in sealing up your grow room to use CO2, learn about the right way to use CO2 here.
Setting up an exhaust is easier than you might think!
10.) Wait until the right time to harvest!
I know, I know. You’ve been waiting soooo long for harvest day to come. It’s common for first-time growers to harvest their buds too early.
But waiting until buds are actually ready for harvest instead of harvesting early will not only give you more potent buds, it will give you the ability to partially choose some of the effects of the buds (such as whether bud effects are more “up” or “down”).
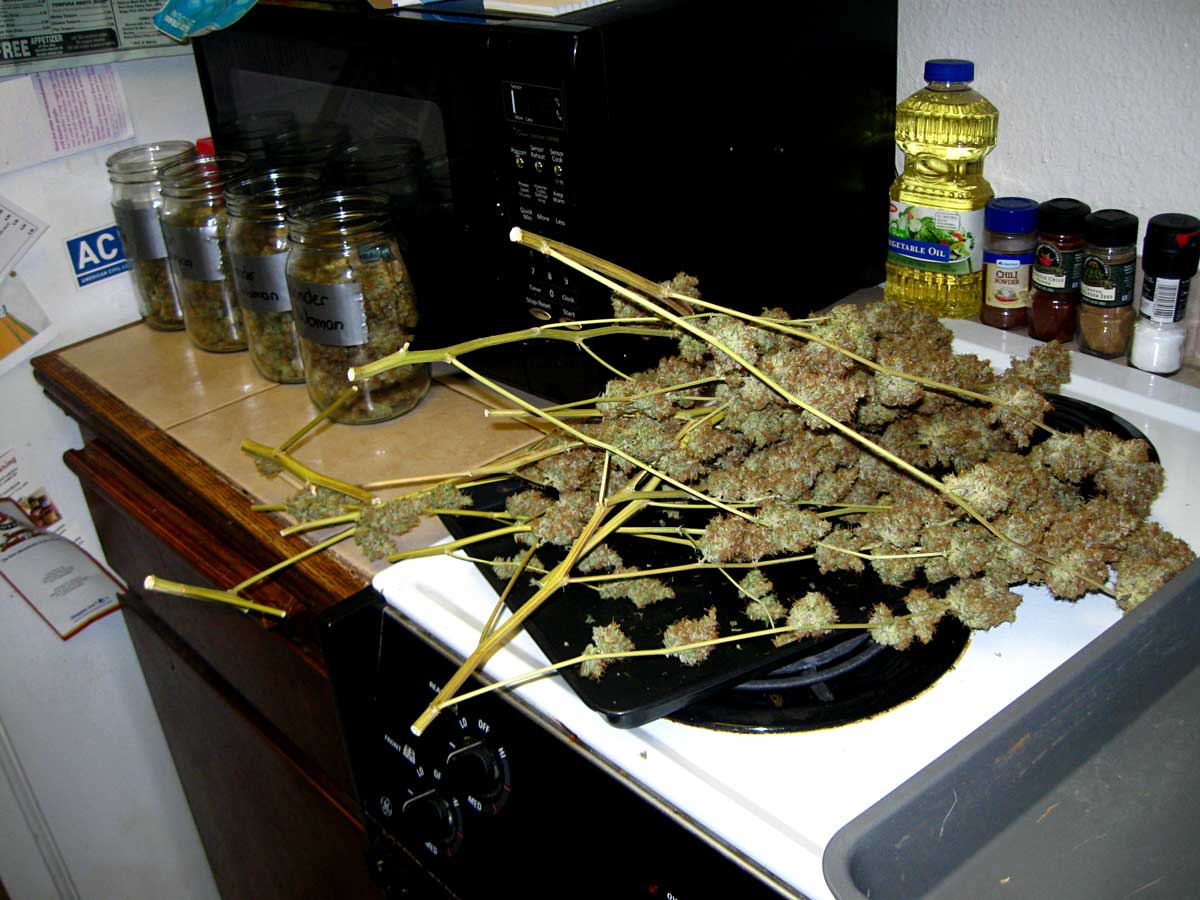
Waiting to harvest at the right time will also reward you with bigger yields.
If you’ve gone through all the trouble of growing cannabis plants, please don’t lose patience right around harvest time!
If you truly appreciate cannabis, the feeling of harvesting your first buds is probably even cooler than you imagine!
If you know you want to be harvesting your own buds, but you’re having trouble getting started…
- Don’t be afraid to start small if you’re not sure growing is right for you
- I wish I’d known that growing cannabis could be easy – maybe I wouldn’t have waited so long before I started
- Make sure you read up on the basics of growing and some plant training techniques
- Understand the basics of stealth (no smell, no sell, no tell) and use your common sense
- Don’t do spur-of-the-moment experiments on your plants. At least Google your idea for 5 minutes first!
- If you notice problems, don’t wait! Stop and try to figure out what’s wrong as soon as possible. As long as you pay attention to your garden and react to changes, you will make it to harvest and be able to enjoy your buds
- Think about having a limitless supply of bud right in your home – that’s what helped me decide to make the leap
- If you’re ready to grow, just start growing!
Jump to…
7 Tips to Growing Top-Shelf Buds
How long until I harvest my buds?
7-Step Remedy to Fix 99% of Plant Problems